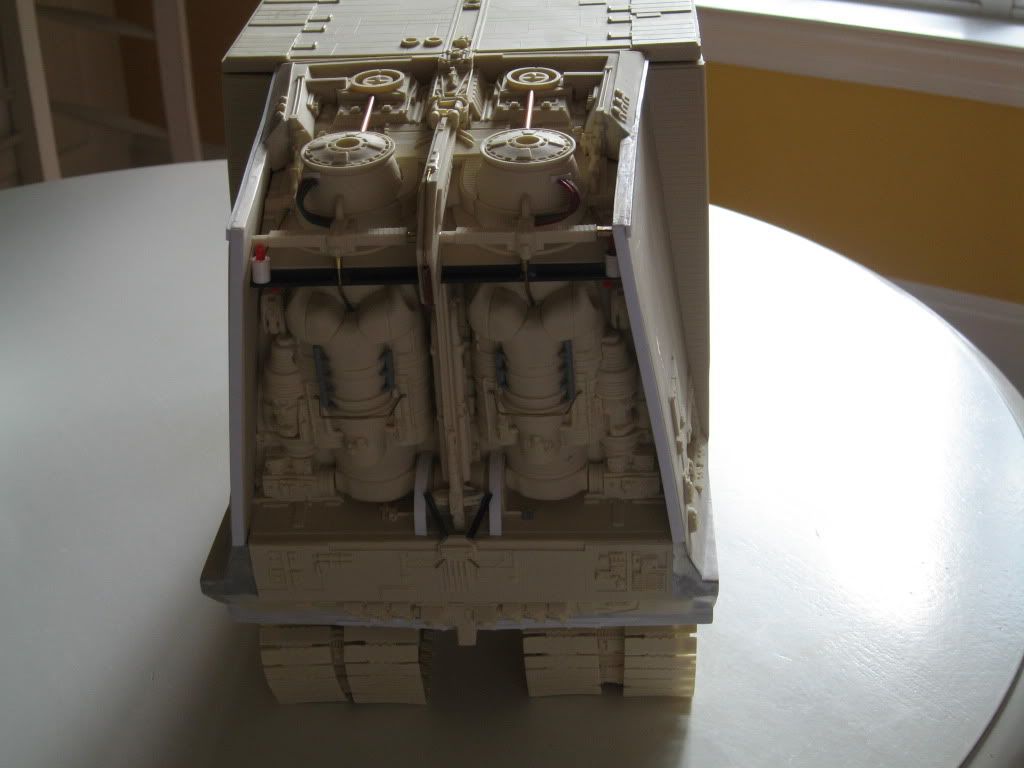
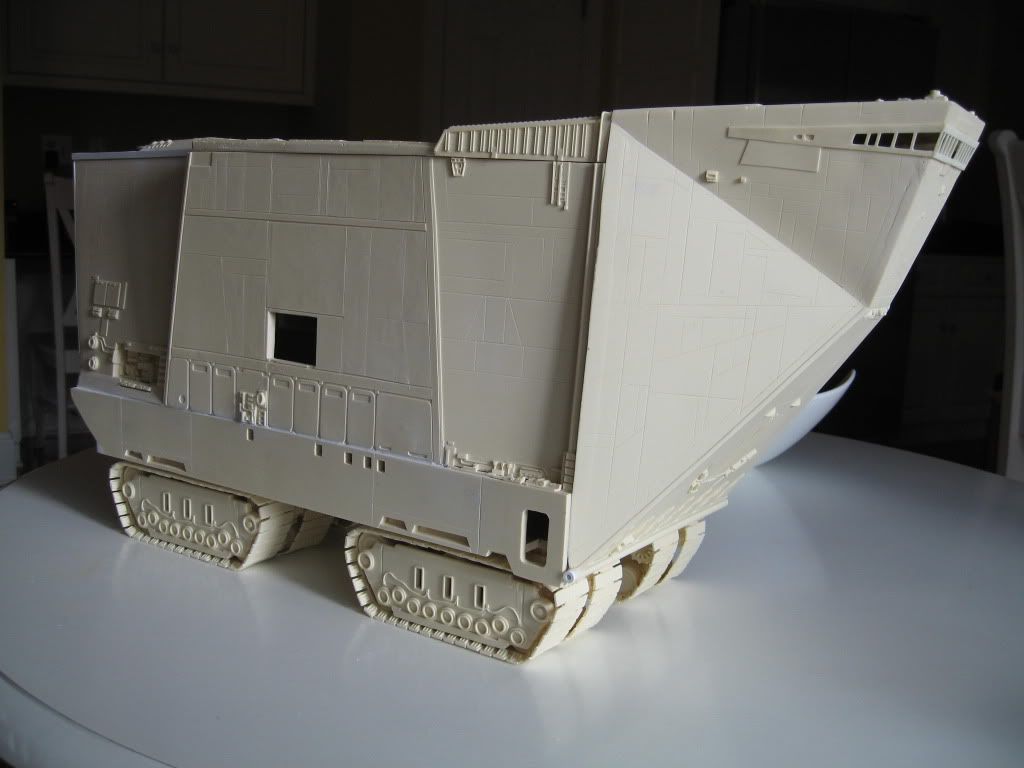
My R. Cooper Sandcrawler in progress

vaderdarth

Master Member
I should have taken more pix along the way, but I just decided to go fast and furious on the build and try to get it done.

Here it is at about 90% finished:

006-1.jpg


007-2.jpg


005-3.jpg


004-4.jpg


003-4.jpg


002-5.jpg


001-5.jpg
 
Last edited:
That looks super neat, really really nice Dave, Cant wait to get mine started, I just got so many bits going on. Its nice to get away from resin for a bit. This looks neater than Randy's build.......Cool
 
Yeah, but you gotta realize that Randy throws these together like in a couple days on purpose........doesn't do a whole lot of cleanup and stuff. Just for a showoff etc...

Dave :)
 
Even so , thats still a nice job you've done. any pointers to watch out for & are you going to light it. I just received my kit from VoodooFX, very nice.
 
Looking great there!! Your ahead of me. I'm just about to start brassing up the engine area. Hope to get the rest of mine done this next week.
 
WOW great job!!!

Did not even know it was already available, can't wait to see it painted

GFollano
 
I got most of the superdetailing done last night. I only have to add the ladders in the lower side rooms and the piping in the rear side inset panels and she'll be ready for primer. :)
 
I got most of the superdetailing done last night. I only have to add the ladders in the lower side rooms and the piping in the rear side inset panels and she'll be ready for primer. :)
Can you please tell us what was the super detailing you did?
/Soon to be starting on my own SC....
 
Well it's complicated, but I basically used all possible SS references I could get my mitts on and basically tried to alter the kit to match a bit more closely to the screen model back before it lost the forty or so pieces that were on the filming miniature in ANH. It's been beaten up quite badly over the years. It seems it's missing another handful of details every time it's on tour.

I have added model kit bashed pieces at randon to replace things that had horrid air bubbles in the resin and styrene strips to fill cracks and add interest to areas. I also scratch built some of the details that were just missing completely. I have added wire tubing and brass tubing rods etc.........for some of the details. Some kit parts were poorly cast and required alot of filling and sanding etc.............true for most garage kits.

That's about it for now. I'll take some pics with all the things I've added prior to priming and then again after priming so you can see how it all looks together. The raised details which have undercuts etc.....that would be impossible to cast look so phenomenal once it's painted. It really makes it look movie quality moreso than something that is simply cast in place if you know what I mean?

I am truly looking forward to the painting stage. My plan is as follows:

gray primer
spray the model with black to give the crevices and grooves more depth
spray the basecoats, brown for the exterior and gray for the interior.
then panel the hull plating with an overspray of darker browns and blacks
then add the dark grimy parts , smoke grime, streaks etc
then add the sand weathering: light overspray from above to let the sand stick in little places it might get caught on tattooine, plus a bit extra on the treads/covers.
the treads/covers/wheels will be sprayed their various black/gunmetal and brown parts with extra tan weathering near the ground.
Voila!

Dave :)
 
Last edited:
Looks phenomenal! I was so impressed, that I just ordered one from Randy!

Does anybody have good screencaps from ANH? I guess the would be a better reference, because all the greeblies where still there at the filming time.

Thomas
 
sadly the vast majority of the greeblies missing are on the top and rear of the vehicle............the two sides you don't get to see much of in the finished film. I'd suggest scanning in the photos from the Chronicles. There are fantastic pics of the build with primer on it and all the doodads are in place in that set of pics. :)
 
Got the piping done in the side inset panels, so tomorrow I plan to finish up the interiors of the rooms with a few details added and then it will be time to prime. I will take pics of the model prior to priming so you can see all the detail parts added that are not in the kit.......then again in primer........which always just looks fantastic because all the added bits take on their own definition as part of the whole. :)
 
Back
Top