My Nike MAG Project

MTB

Sr Member
Hello Everyone,

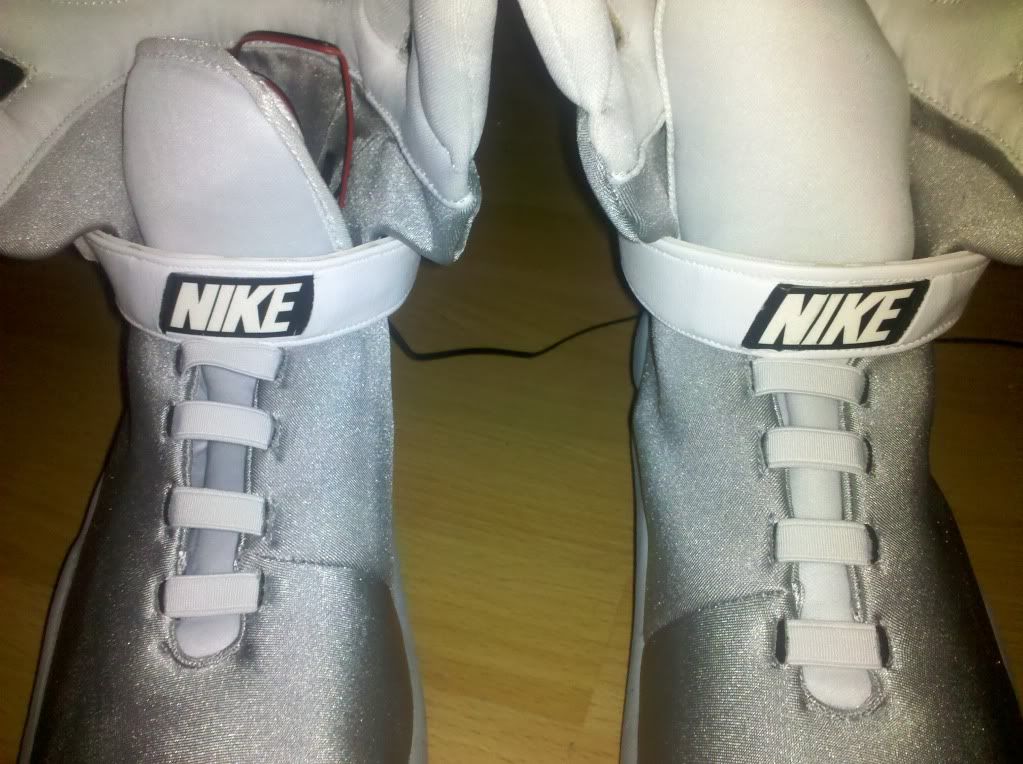
I just received my Nike MAGs in the mail from Markpoon and started my light conversion. Just thought I would post some pics of my progress so far. Also do a little how to...

Strap1.jpg

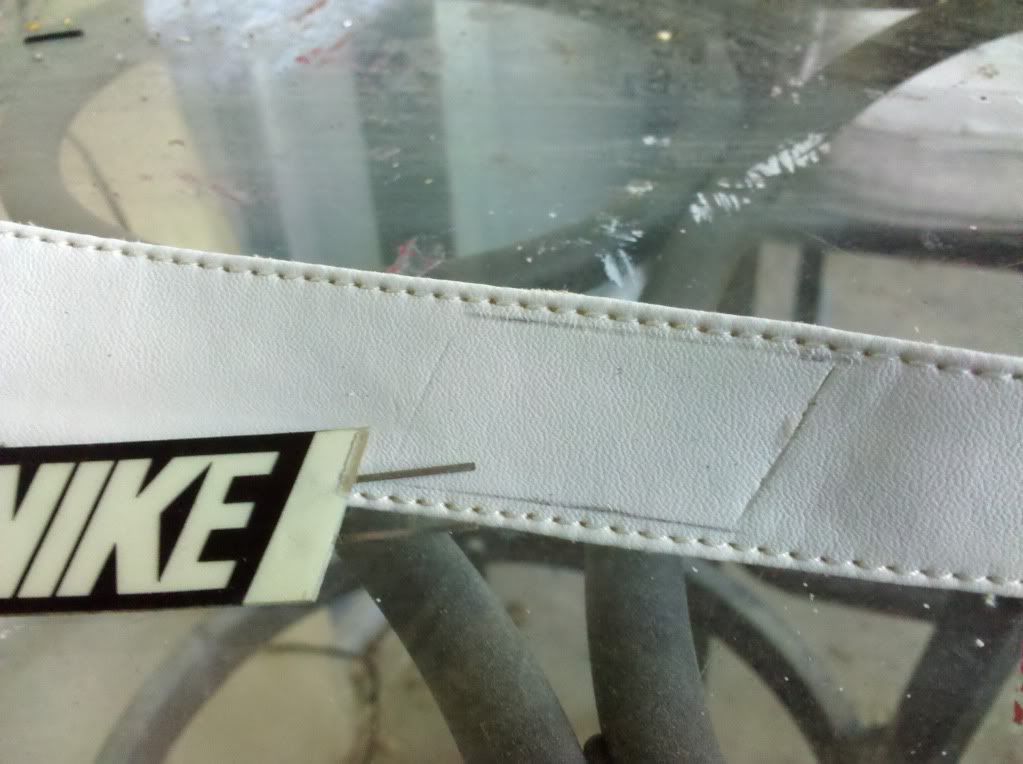
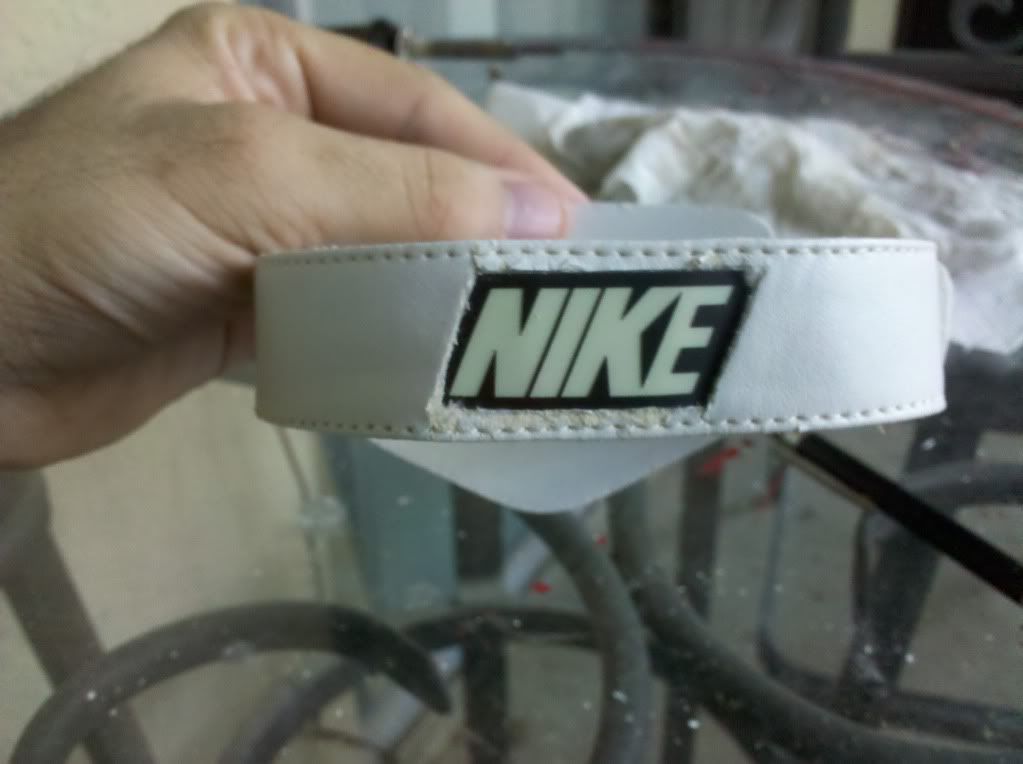
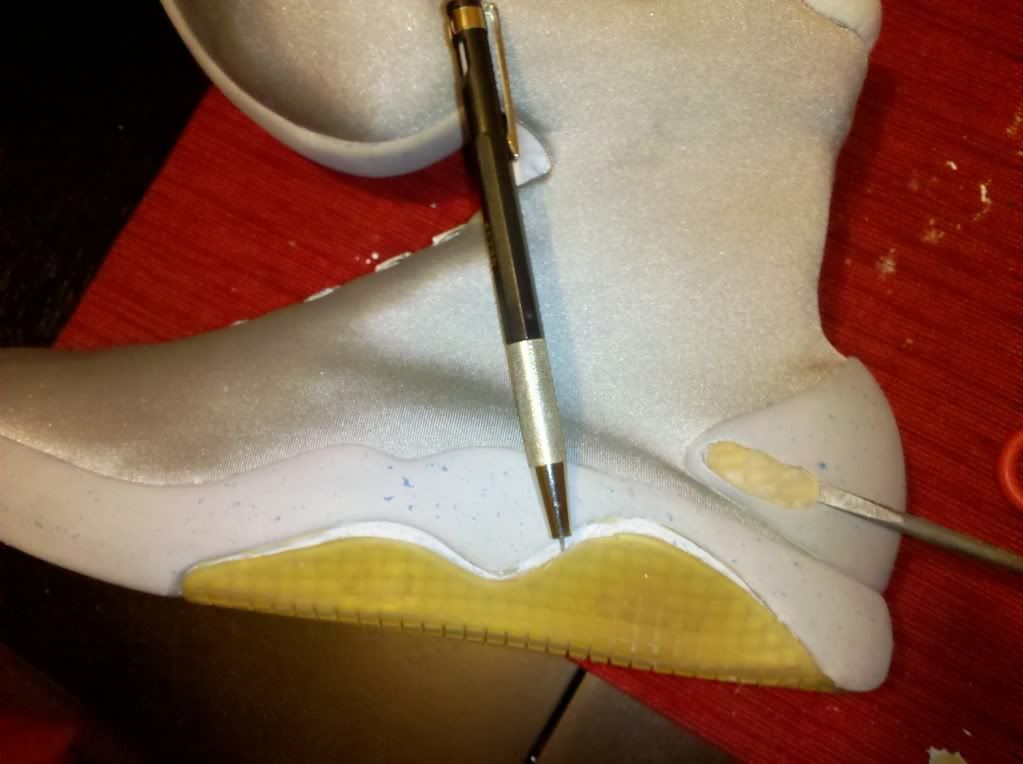
Marking where the EL strip will go.

Strap2.jpg

After cutting out the first layer.

Strap3.jpg

Strap4.jpg

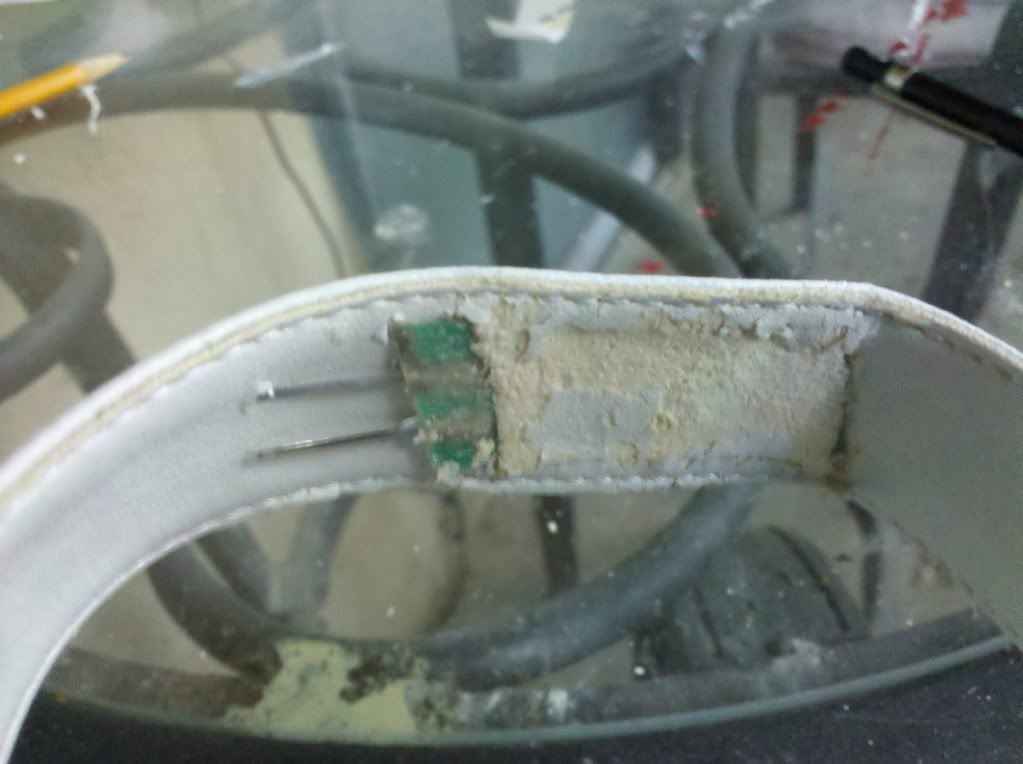
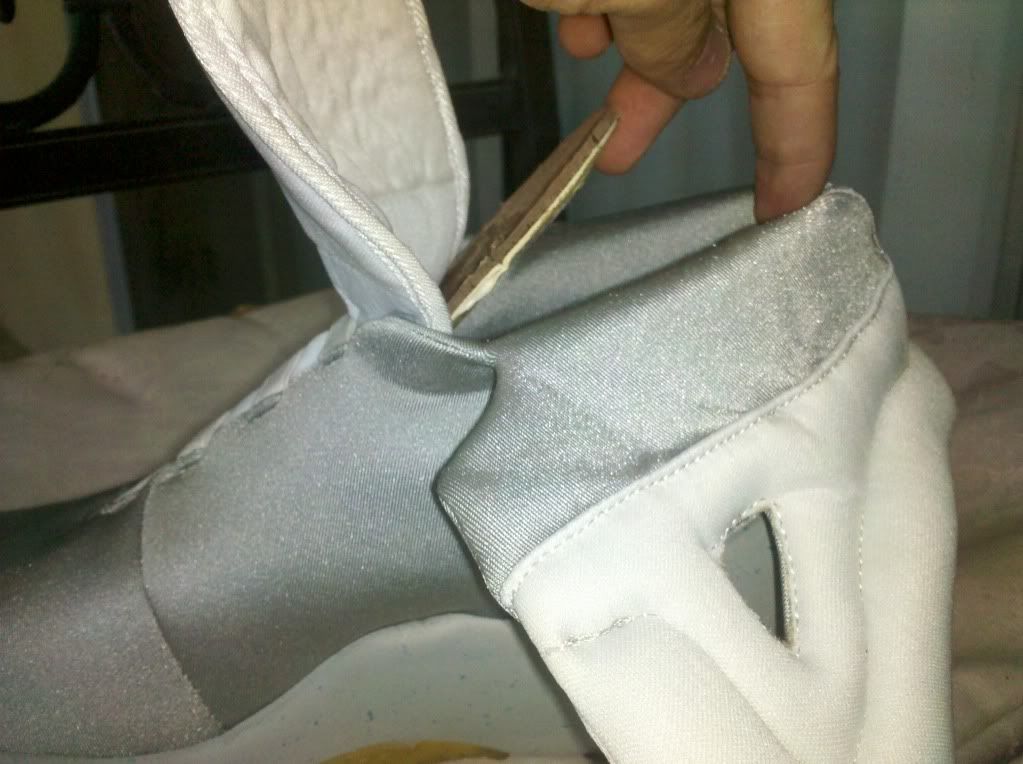
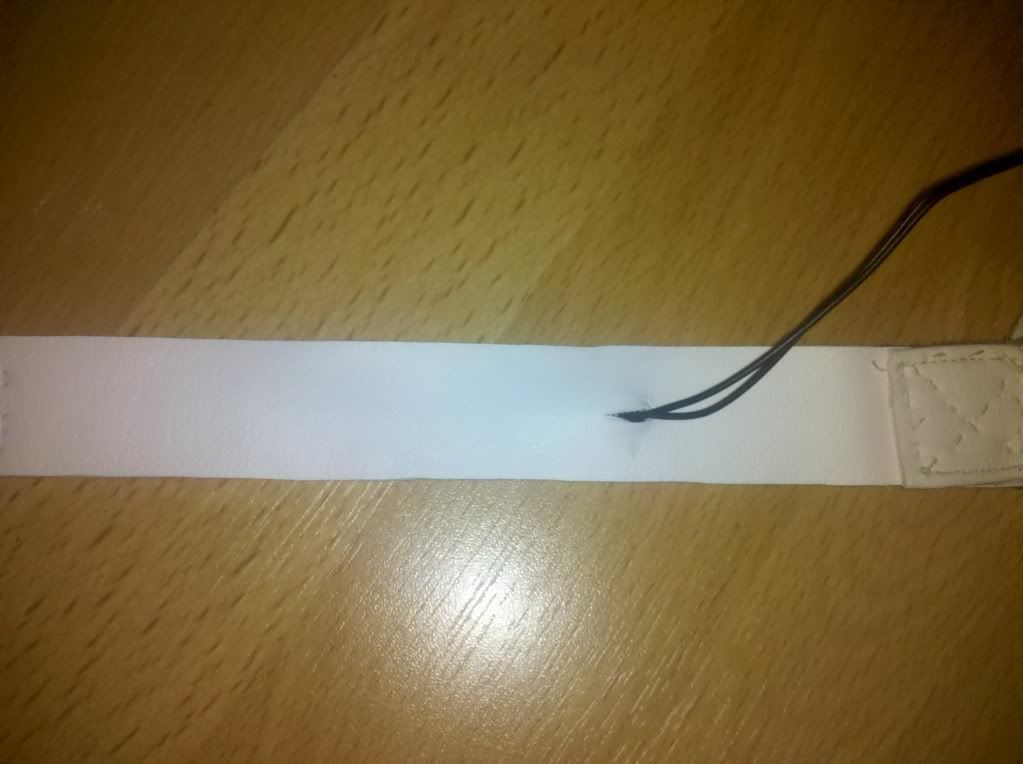
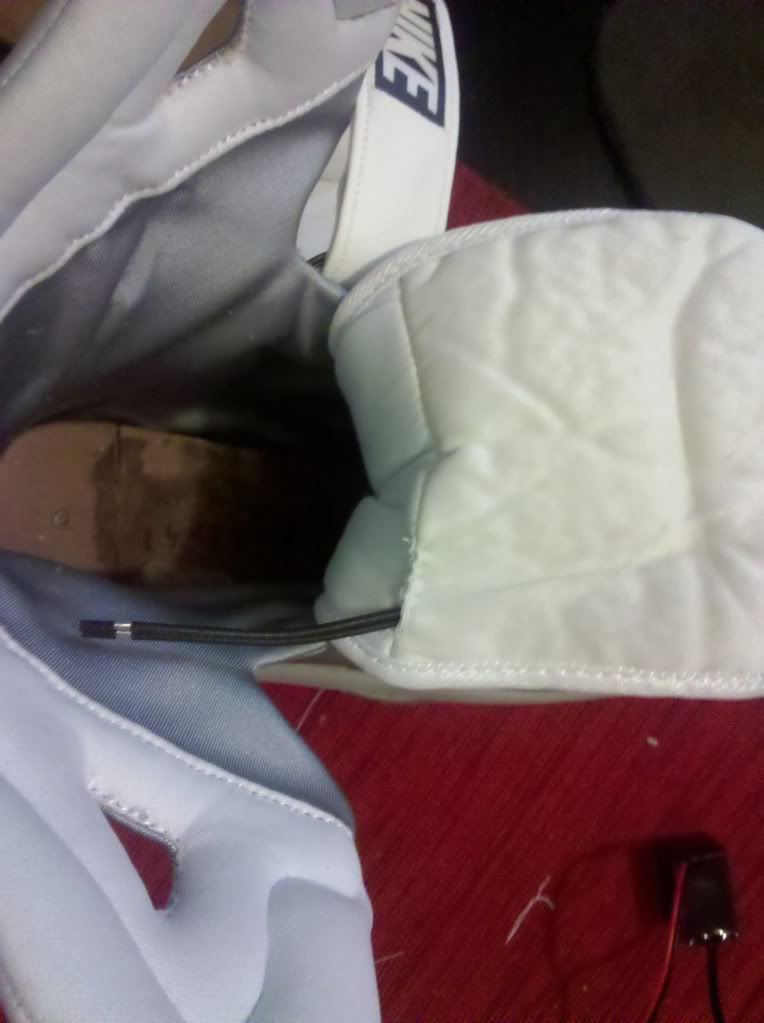
From and back of strap. On the back I cut all the way through on both ends to hold in the EL tape.

Strap5.jpg

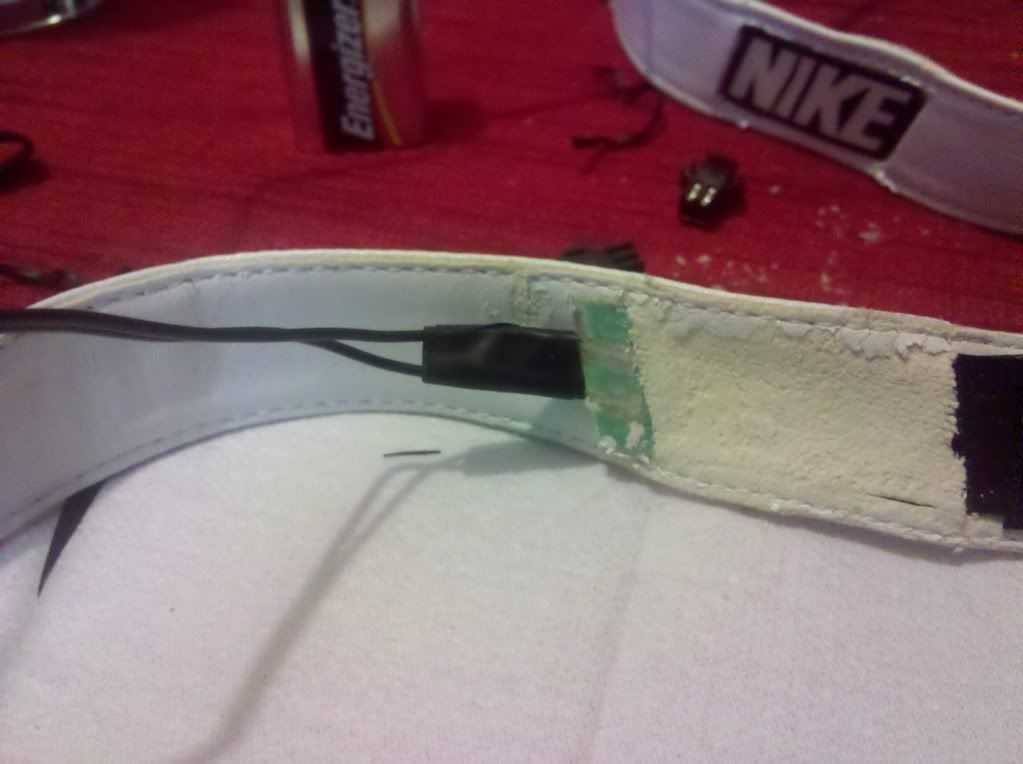
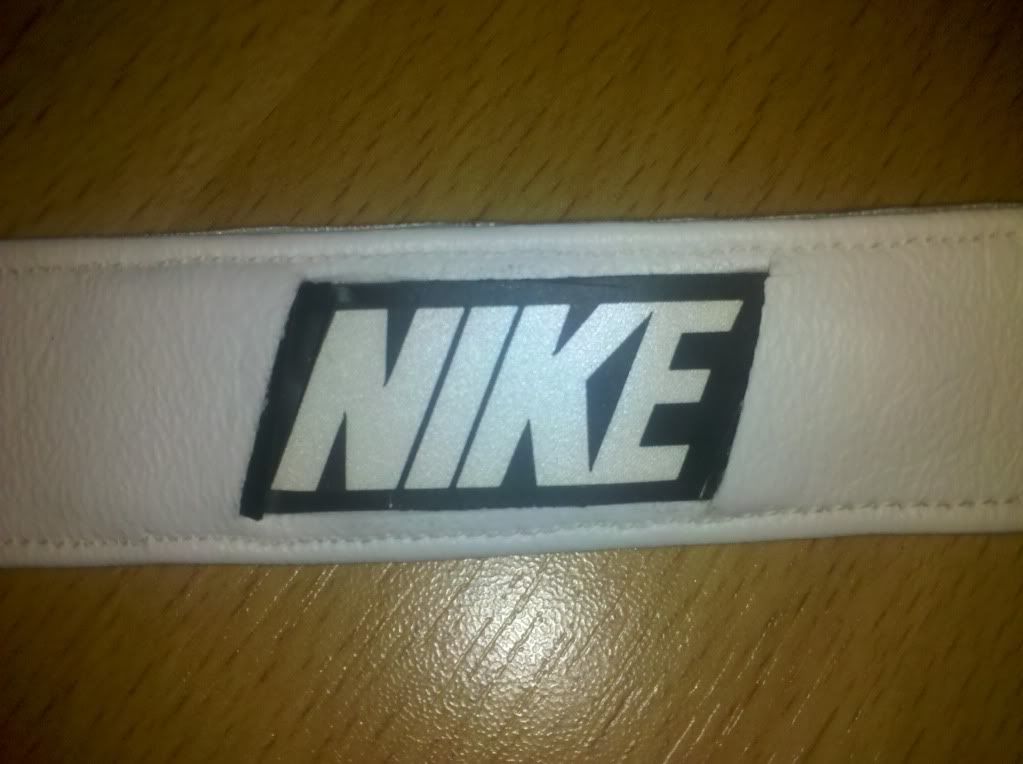
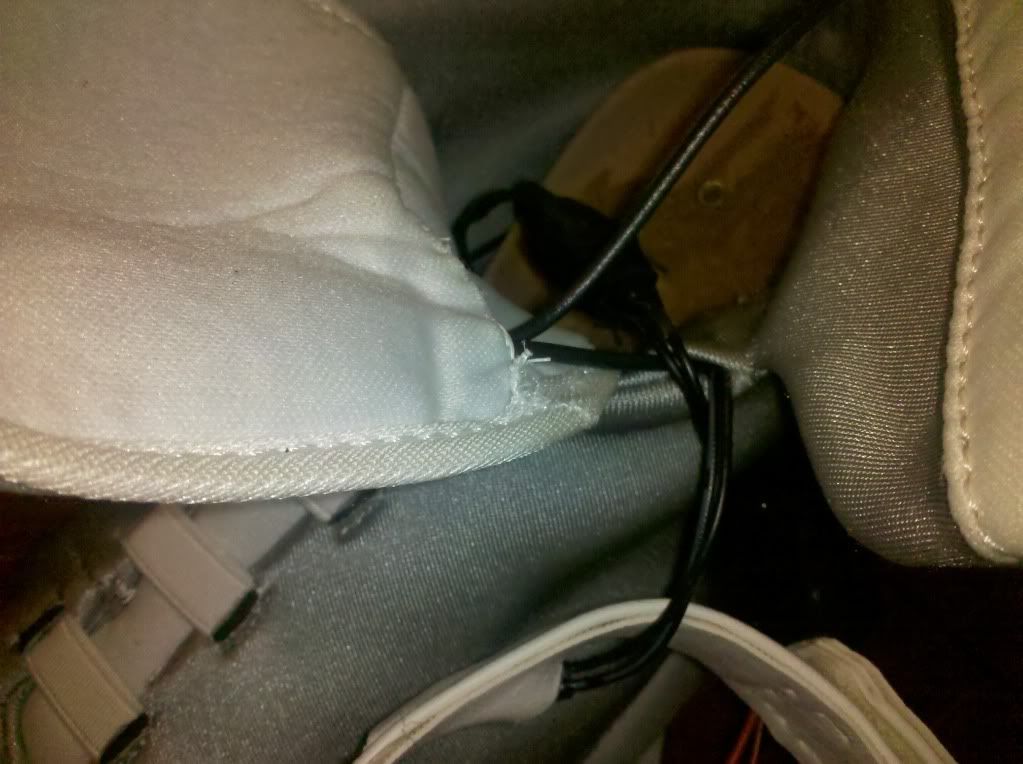
Soldered and all taped up
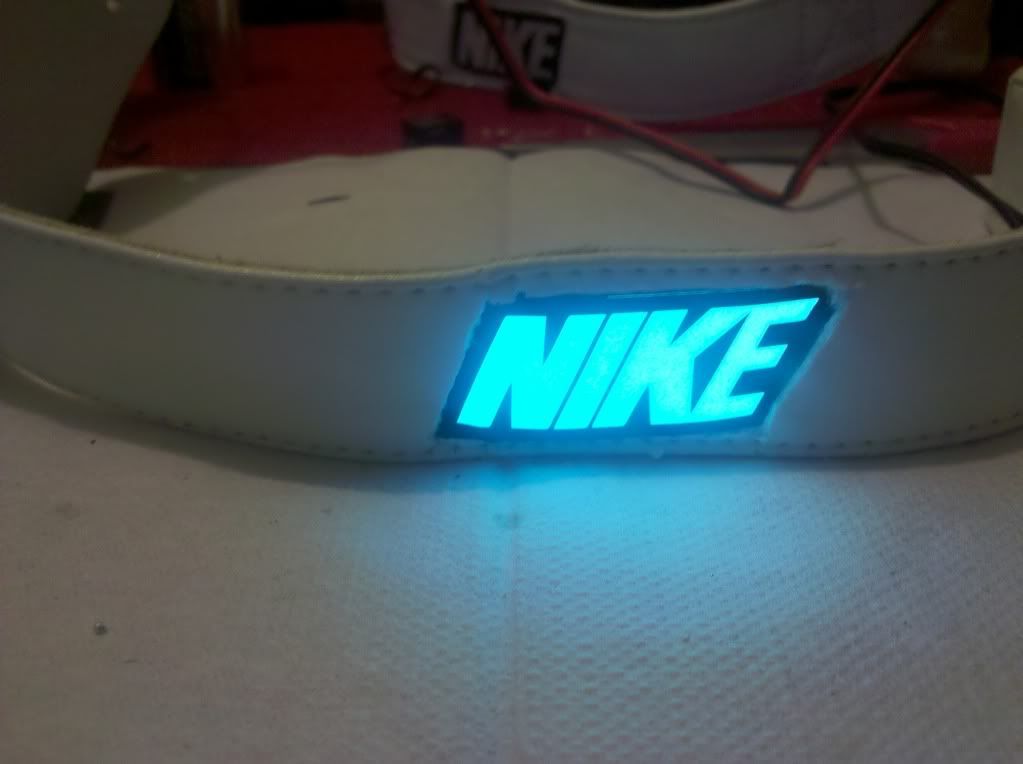
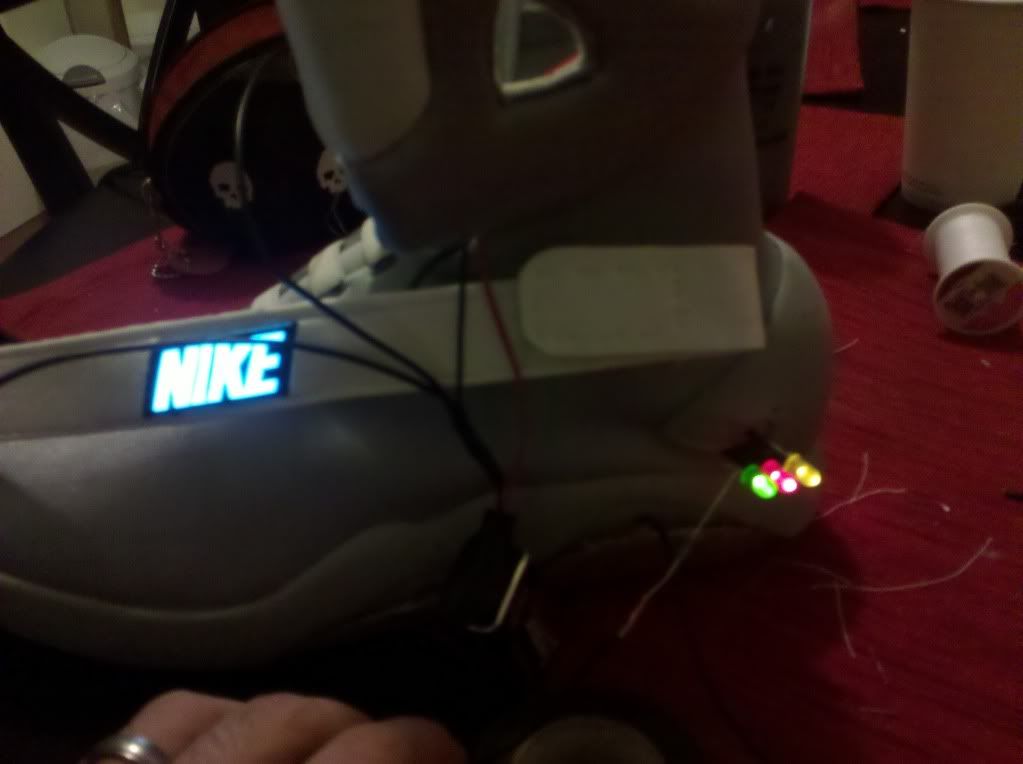
Strap6.jpg

IT WORKS!! :lol

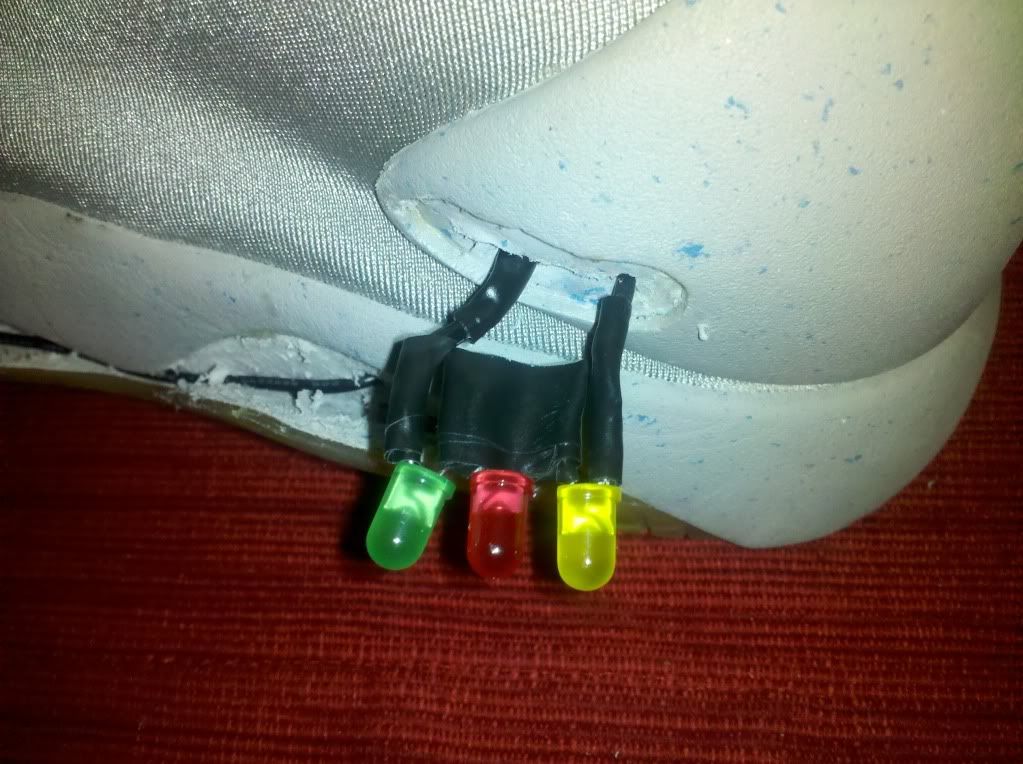
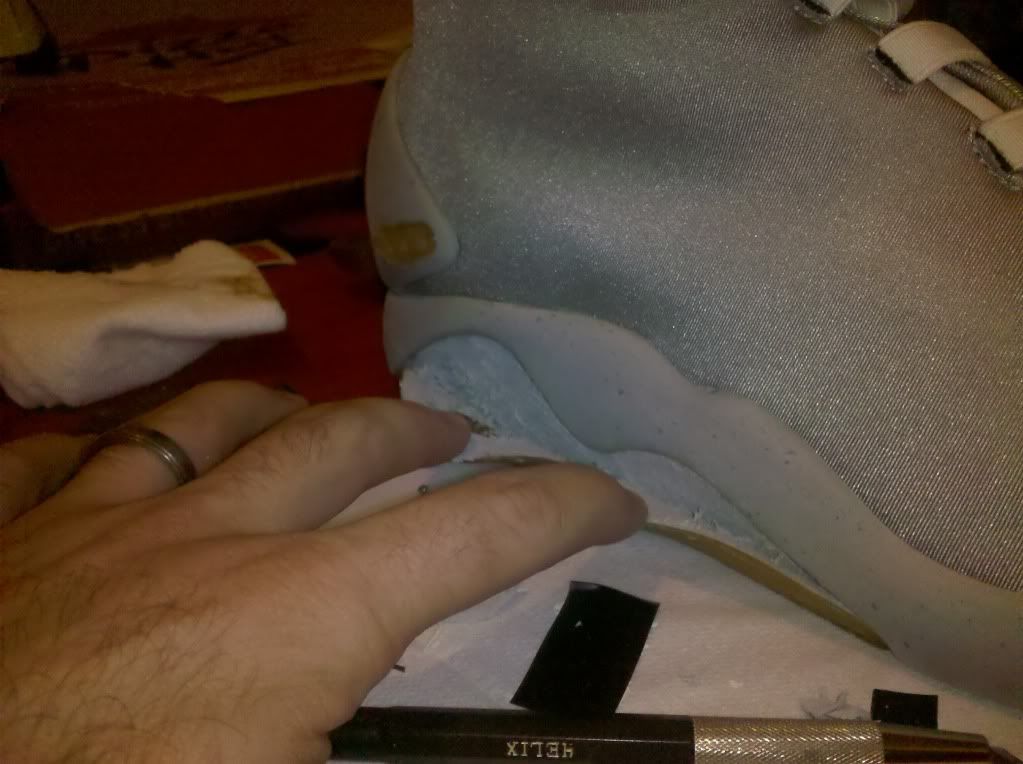
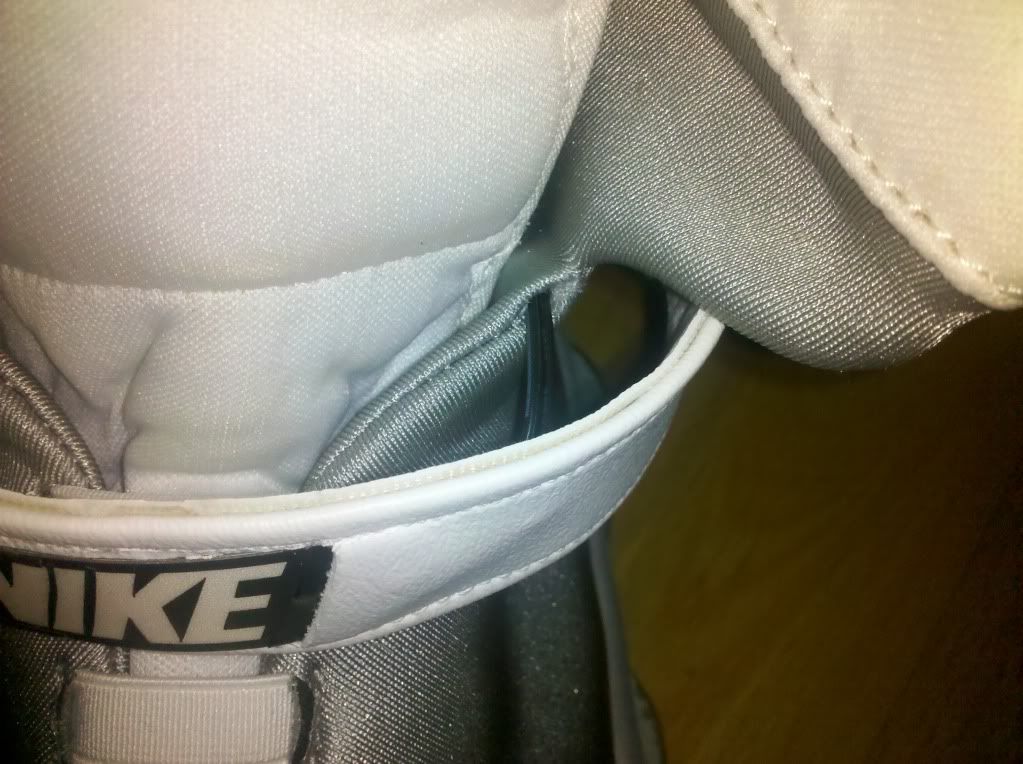
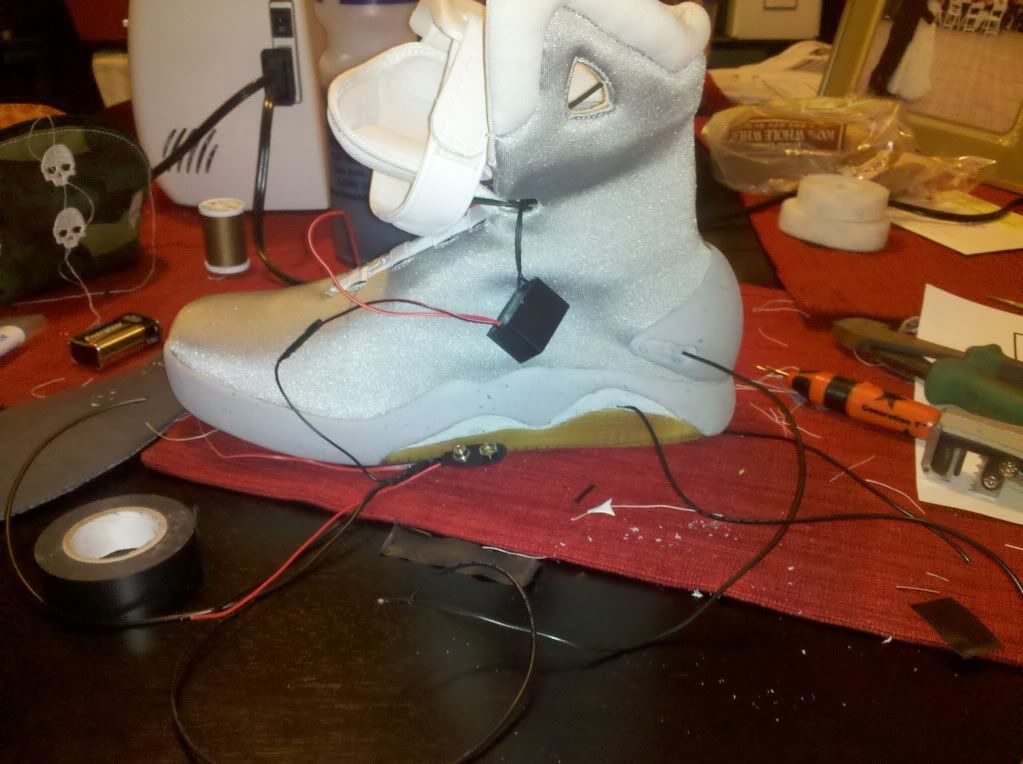
Here are some pics of cutting/peeling the soles down for the lights.

Sole1.jpg

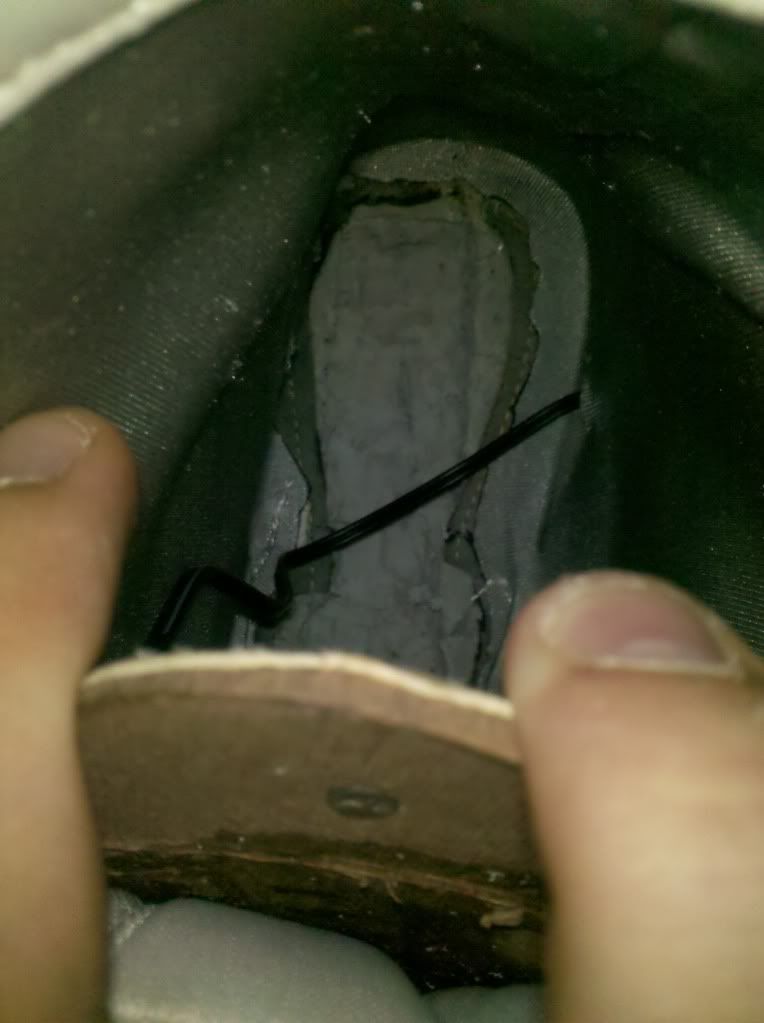
I used a small exacto knife to start then just peeled each side down. All i needed to get the small piece off was a screw driver.

Sole2.jpg

Sole3.jpg

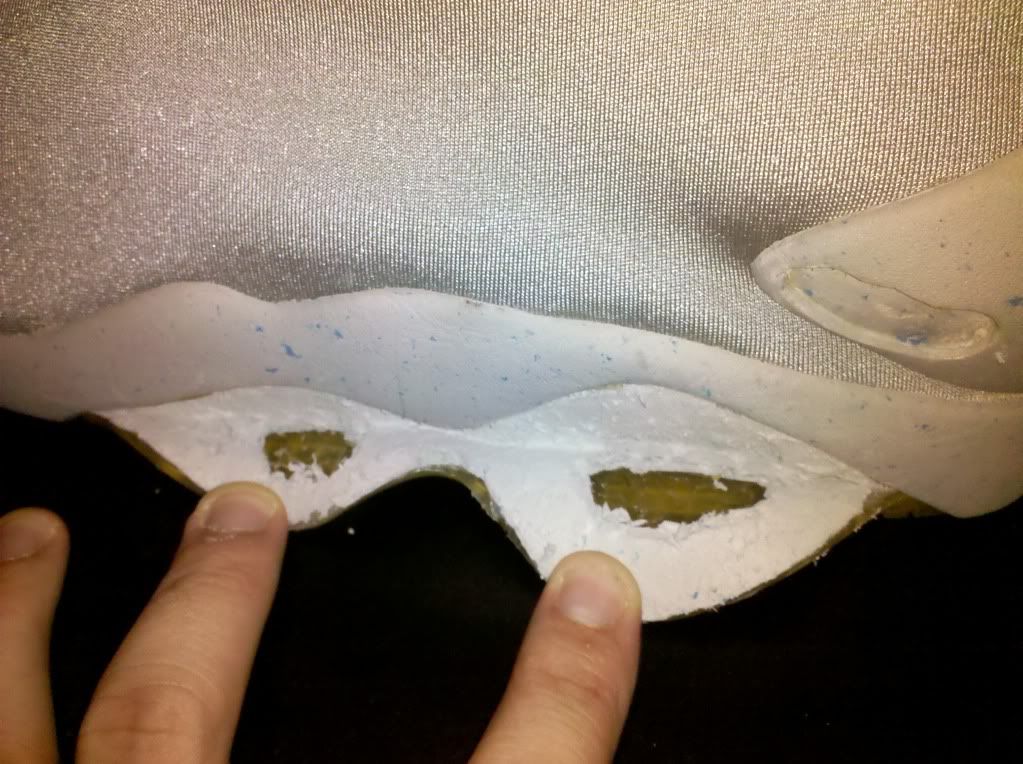
Once I got the soles peeled down far enough I had to cut off the rubber that got stuck to it. I haven't fully tested but I believe the circle I cut out will be enough to light up the sole correctly.

I decided that I want to have the battery hidden in the sole. Here are some pics to show what i did.

Battery2.jpg

Battery1.jpg

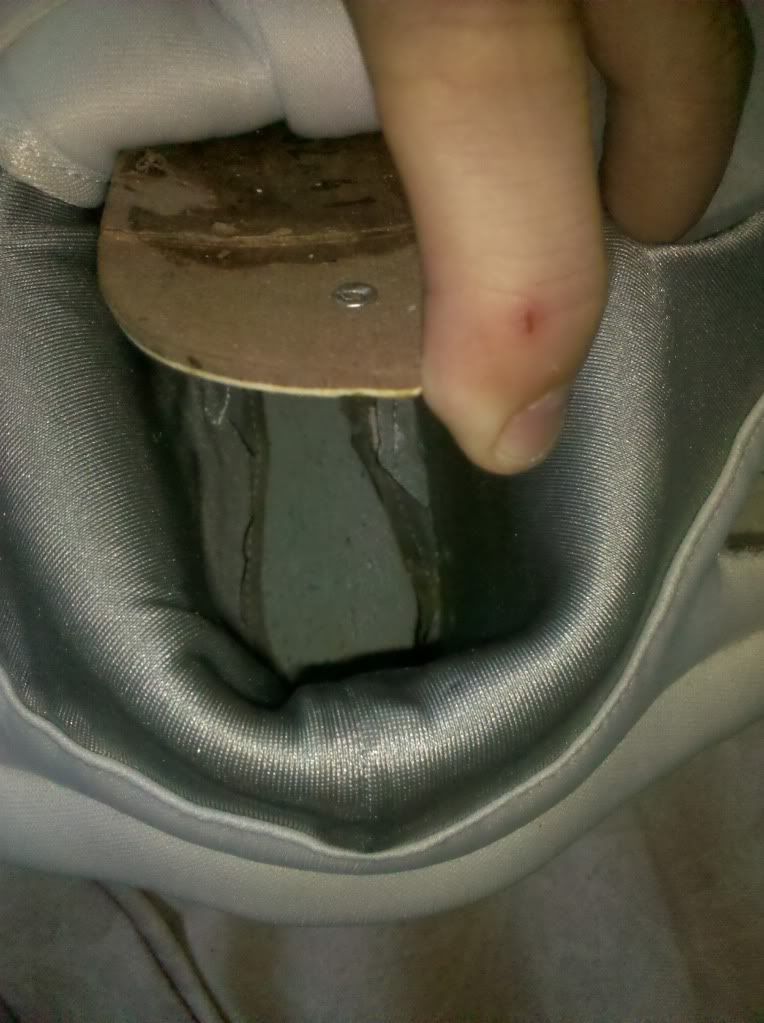
The sole insert is glued down but comes up pretty easy. I did not take it all the way out cause I did not want it moving in the shoe later.

Battery3.jpg

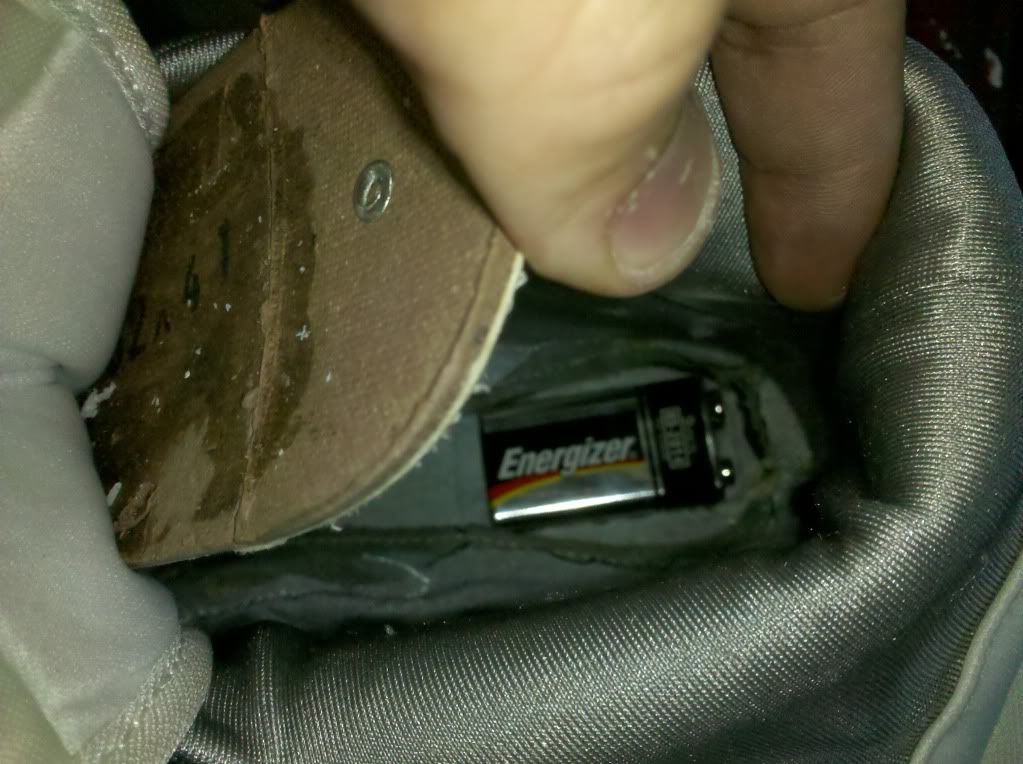
And here is the battery in its new home. It fits nicely and the sole insert lays nice and flat.


That is all I have done so far. I will post more pics as I keep working!
 
Thank you for this...this will help many of us who want to add lights into our Mark Poon Air Mags....looking forward to more progress pics...
 
Yes, thank you very much for these pics. I am thinking about adding the side LEDs on mine, and this helps tremendously. Looking forward to more!
 
Ok I was able to work on this more today, but after looking at the straps and not being completely satisfied I decided to make my own straps. As you know the straps that come with the shoes have a flaking issue. Don't get me wrong the straps are great and made well, but if you start cutting them the white starts to flake off and makes them look really bad. (You can see this in the first pics I posted of the straps)

So after a few hours I had my new straps. Since I made them I was able to do some custom wire running. Instead of having the wire from the EL tape being visible I ran the wire inside the strap then in between the fabric of the shoe and out where I have the battery and inverter in the sole. Here are some pics.

Battery4.jpg

Here is the finished battery and inverter in the sole of the shoe.

Nike1.jpg

Here is how I taped up the EL tape so it would not glow out the sides and be long enough to stay in the strap.

Nike2.jpg

NIke3.jpg

Here is the front and back of the new strap I made.

Nike4.jpg

Close up of the front so see how much cleaner the strap is compared to the old one.

Wire1.jpg

Wire2.jpg

Here is the wire going in the shoe and where it comes out.

IMG_20111003_032534.jpg

And the finished product! I don't have the EL taped hooked up yet. I had to cut the wire on the inverter to feed it through the strap. might work on that tomorrow. Ill post more as I get more done
 
Thanks Mark!

Clint, The EL tape that Mark provides has 2 leads on it (you can see this in the first picture I posted) I just cut off the clip that was on the end of the inverter and just soldered the wires on the leads.


I'm having a lot fun with this! here is what I'm up to now.

Mess1.jpg

Wires everywhere!

Switch.jpg

I decided to put the switch in the tongue. That was really easy, just opened the stitch, pushed it in then sewed it back up.

Wireentrance.jpg

I also decided to have all the wires hidden as much as I can. I'm going to use the same hole I made for the EL wire.

Well back to work! Ill post more later!
 
Nice build so far. I would've suggested using "tape wire" in the strap for the EL sheet. It is flat and can bu run inside the strap:

bd14eabc67e1fac41c555eb1338f8641.image.150x150.jpg
 
Yeah I thought of that, but when I did the test fit with regular wire it didn't bulge and wasn't noticeable. Thanks for the suggestion! If I ever do another one Ill try it for comparison.
 
Where did you get your inverters? I used the lime green colored ones Pitbull suggested on my pair, but if I get another pair your inverters look nice and small.
 
Ok I did a lot of work on today. here is a video of what i have done so far.

Mtb0083's Channel - YouTube
(Sorry I had to add the music, I just couldn't resist!)

I was able to keep all the wires hidden inside the shoes walls by using the same hole in the above pics. Here is a few pics of how I wired the side LED's.

SideLED.jpg

I just soldered the LED's together then cut a slit in the shoe and pushed them back in.

SideLED1.jpg

Here is a pic of them working.

Wire1-1.png

Here is a simple wiring diagram. The resistors may change for your project if you LED's have different forward voltage.


I Just have the sole LED's (waiting on them in the mail, I ordered some but one was burnt out and 2 were red! so they are sending me replacements) the decals and adding more paint splatter to the soles. I will post more pics of the finished shoes when the parts come in.
 
Yeah I noticed that after I had them soldered and cut all the leads down to size. If I ever do another one ill remember for sure lol I have a lot of extra parts and a ton of fabric.

And I welcome any comments and suggestions helps me learn and do a better job! So thanks!

Sent from my Droid using Tapatalk
 
MTB you are my hero!! man im waiting on my Nike Mags to come in the Mail im sooooo scared to start i dont wanna mess up the soles.. i plan on wearing mines... ill continue watching ur progess!
 
The shoes are made really well its hard to mess them up. The only thing you have to be careful of is when you cut the soles in the inside of the shoe for the battery and the inverter. The sole is a little thin in spots, just go slow so you don't poke out the bottom of the shoe. Other then that the rest is not bad at all, just time consuming.

I would also recommend making a new strap. The one it comes with is just too flaky when cut. Especially if this if your first time like me, I was handling the strap a lot and it made it worse. The strap is easy to make, super easy if you have a sewing machine that can handle it. My wife's machine could not, I had to sew it all by hand. If you have any questions (and everyone else) feel free to PM me or ask here. I have no problem helping anyone out, hell i would do the whole conversion for you if you wanted me too! (for a fee of course. I don't want to step on any toes, cause i know Pitbull does them. I believe he is taking a break and I would only do it if he gave me permission. But first I have to finish my own pair :))

I have all my lights in and they work and feel great (I'm wearing mine too) Nothing poking me or bulging under my foot. here is a quick pic of one:

Lights1.jpg


Tomorrow I will try to do the rest. The toothbrush paint on the sole and then add the decals. Then I'll get to wear them in public and embarrass my wife!! :lol
 
OMG thank you so much i have all the materials for the bottom sole i think im just waiting for the shoes.. your bottom sole looks amazinggg this gives me hope. lol i will take your advice and i will contact you will all my questions.. you will be hearing from me a lot my friend.
 
This thread is more than 10 years old.

Your message may be considered spam for the following reasons:

  1. This thread hasn't been active in some time. A new post in this thread might not contribute constructively to this discussion after so long.
If you wish to reply despite these issues, check the box below before replying.
Be aware that malicious compliance may result in more severe penalties.
Back
Top