Darth Pinhead
Active Member
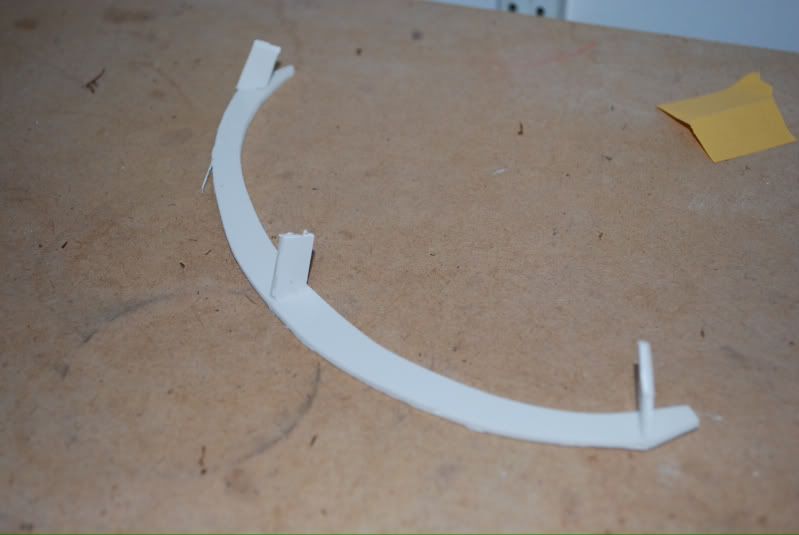
Yay! Someone else believes in templates, lol. Looking great, brother!
Yay! Someone else believes in templates, lol. Looking great, brother!
")
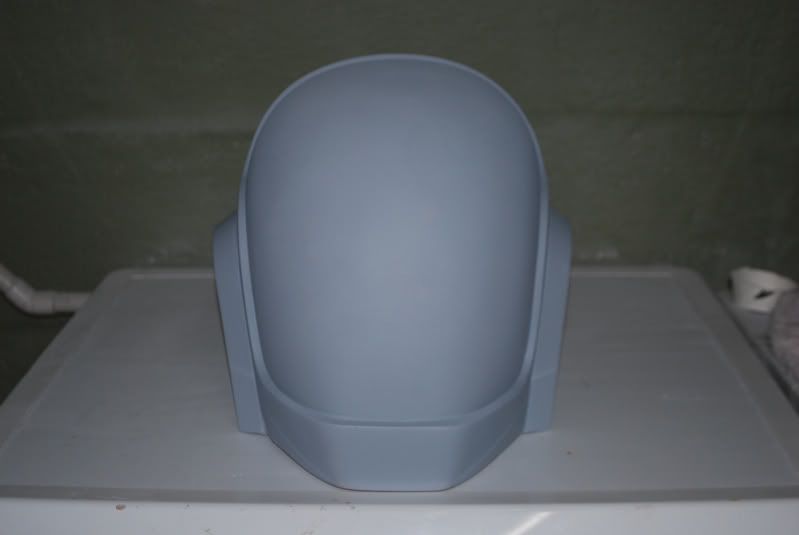
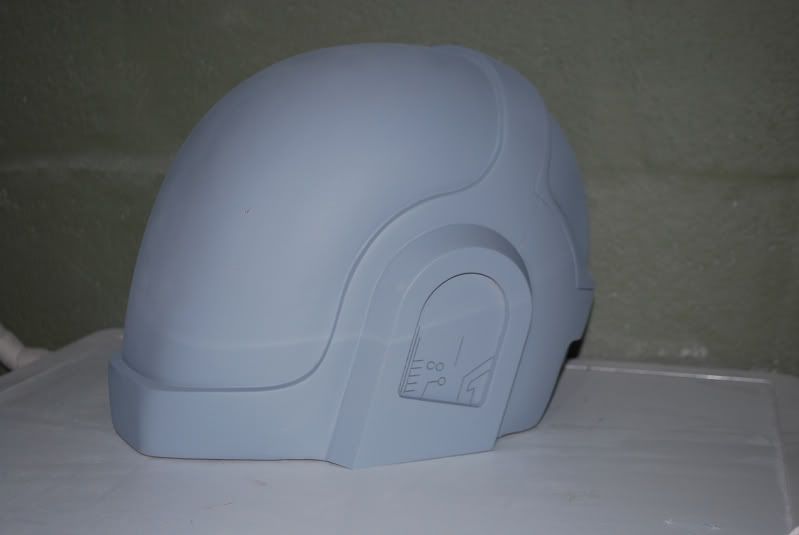
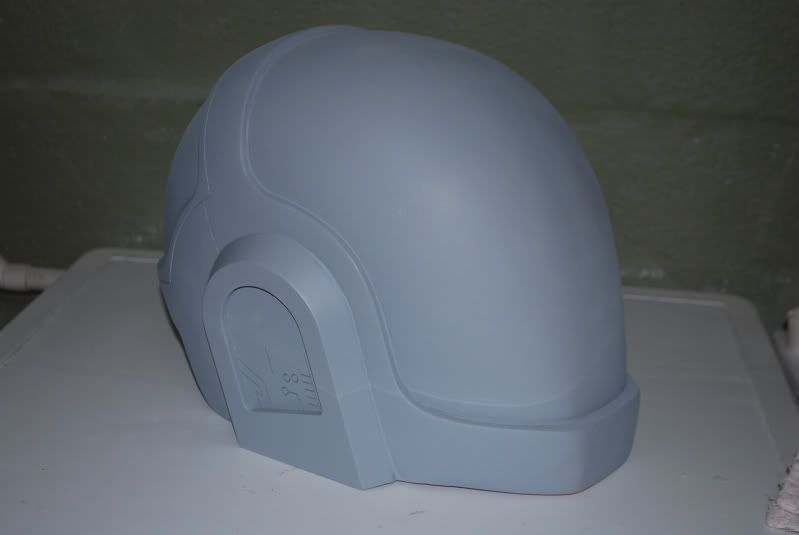
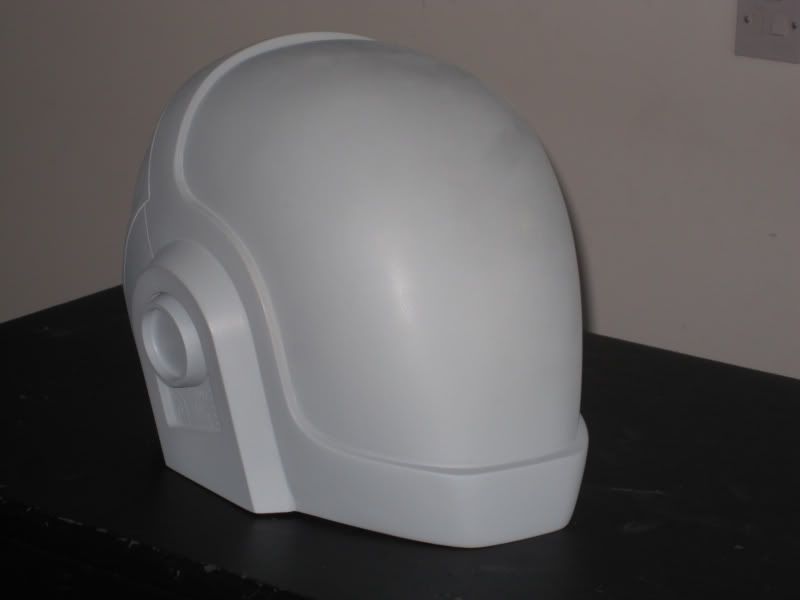
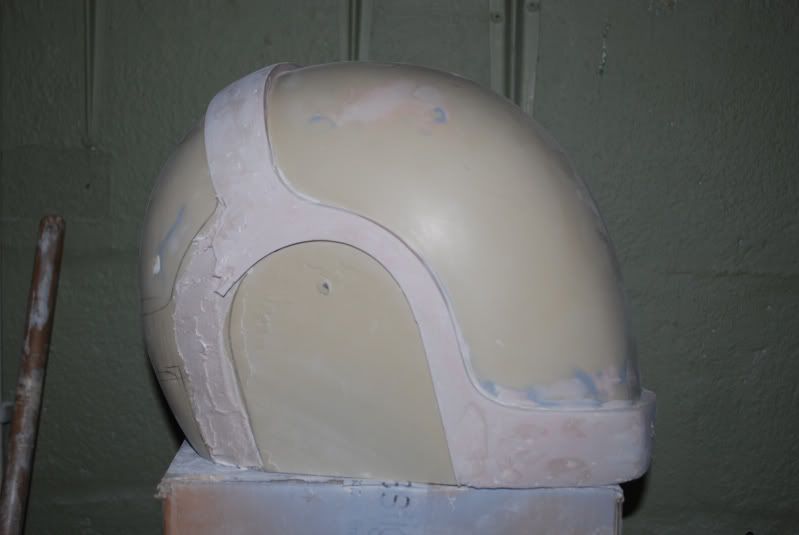
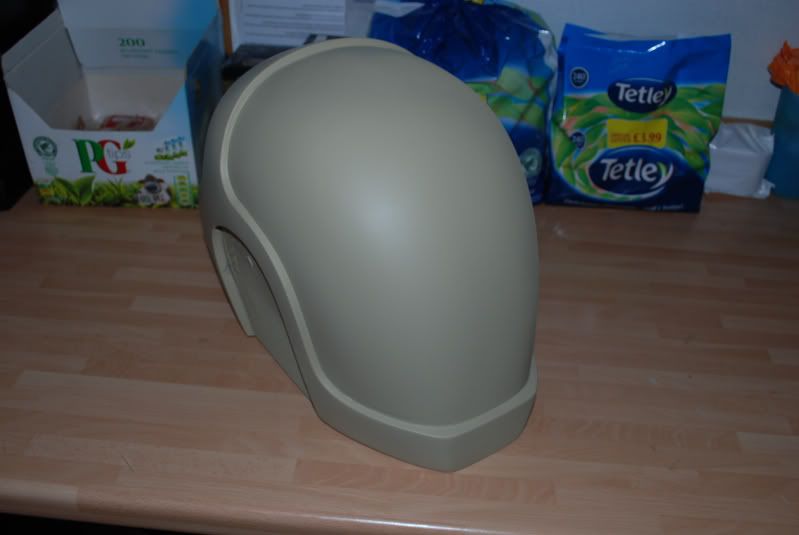
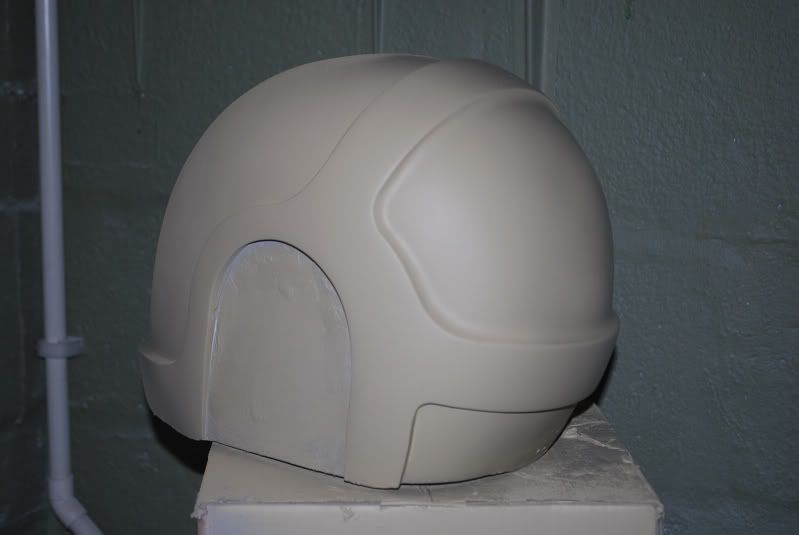
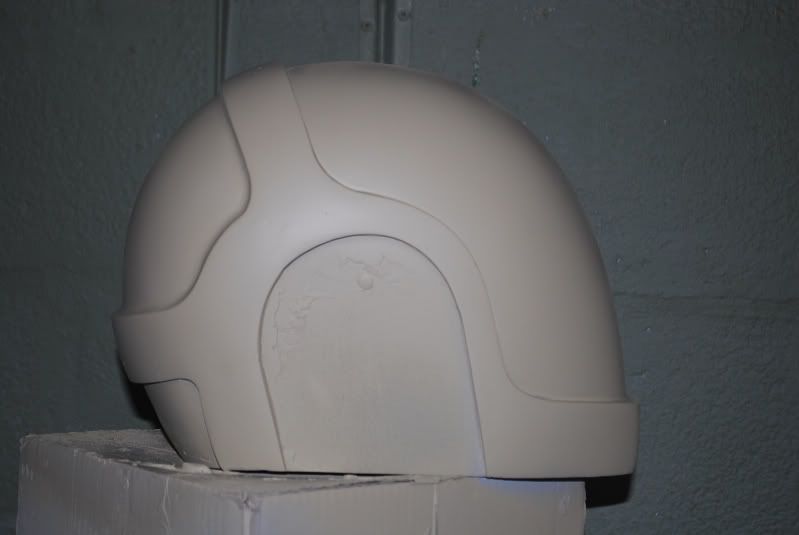
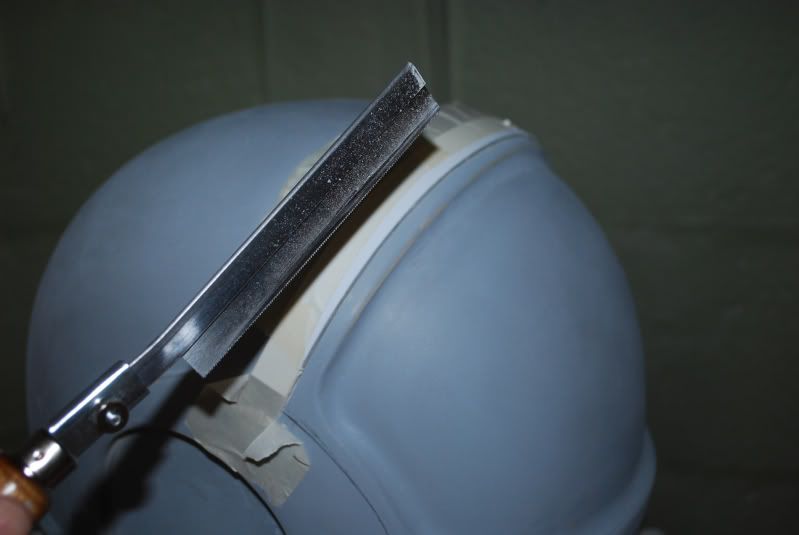
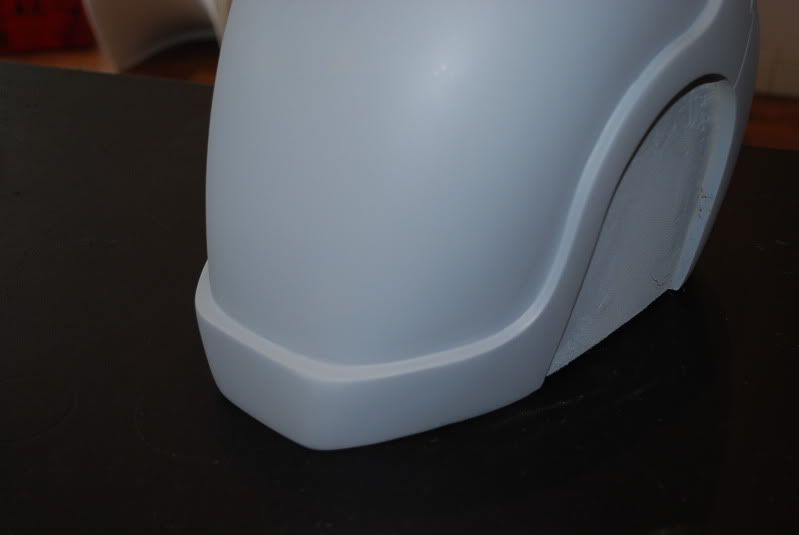
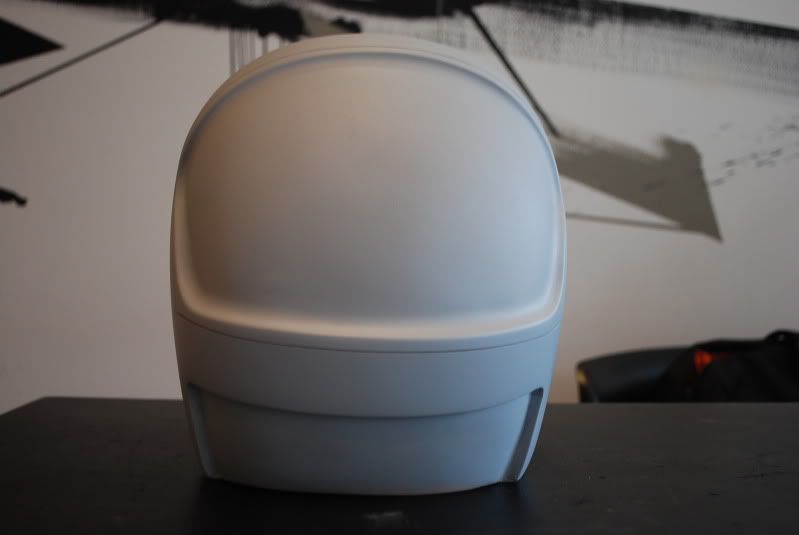
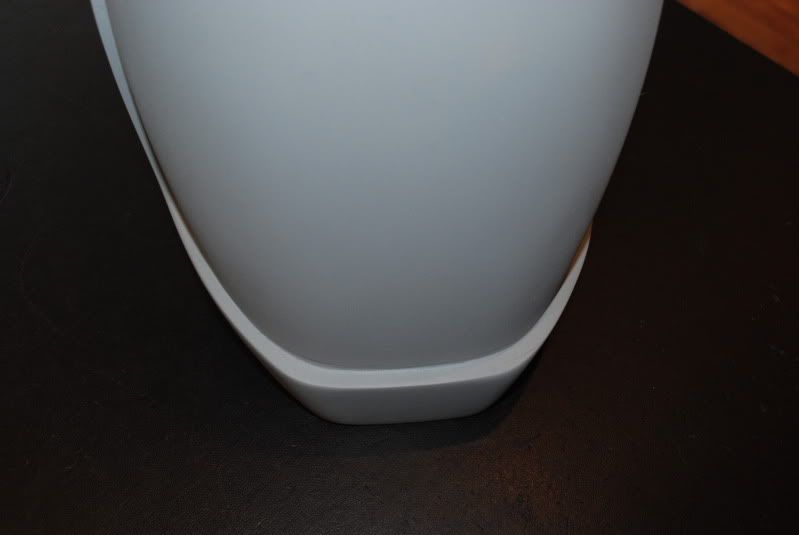
Looking good, I recently got one of Sorenzos lids and have just started trimming the resin - turns out I need a workshop and having resin dust all around the livingroom is not a good idea - luckily the girlfriend was out, I had time to hoover and dust before she came back
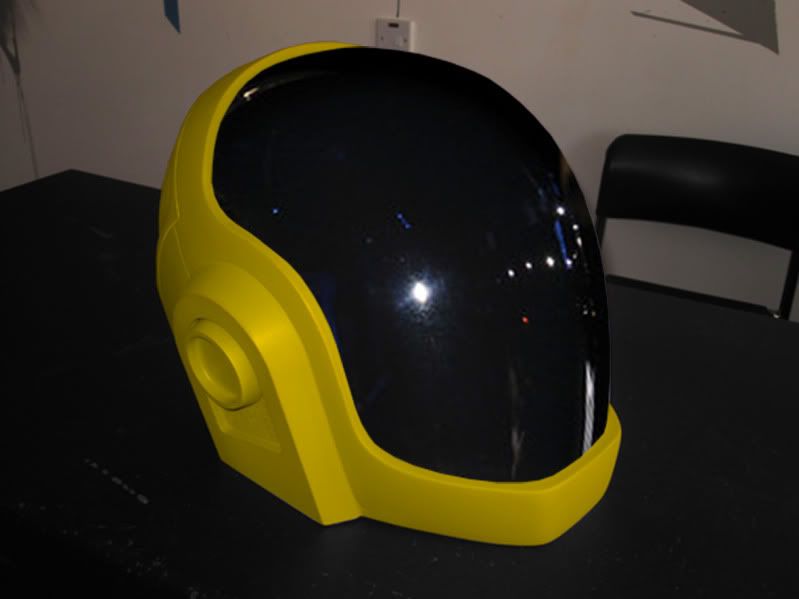
That's amazing work and detail. Very professional. Terrific stuff.

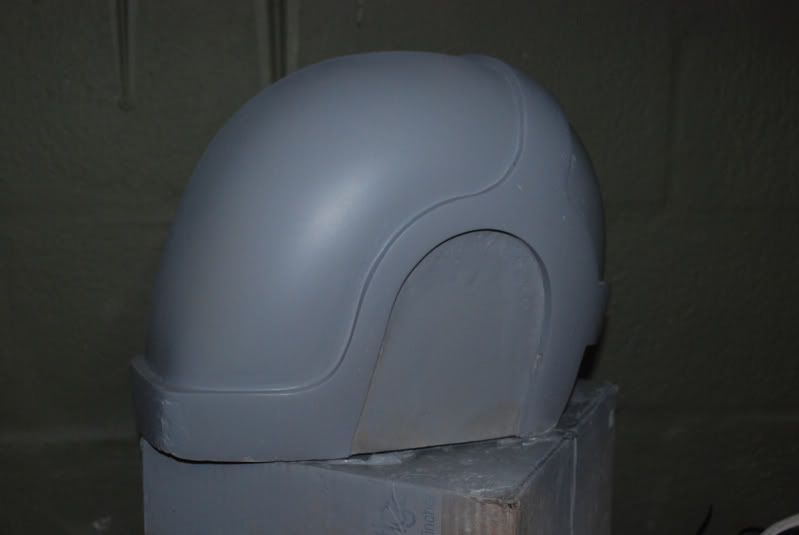
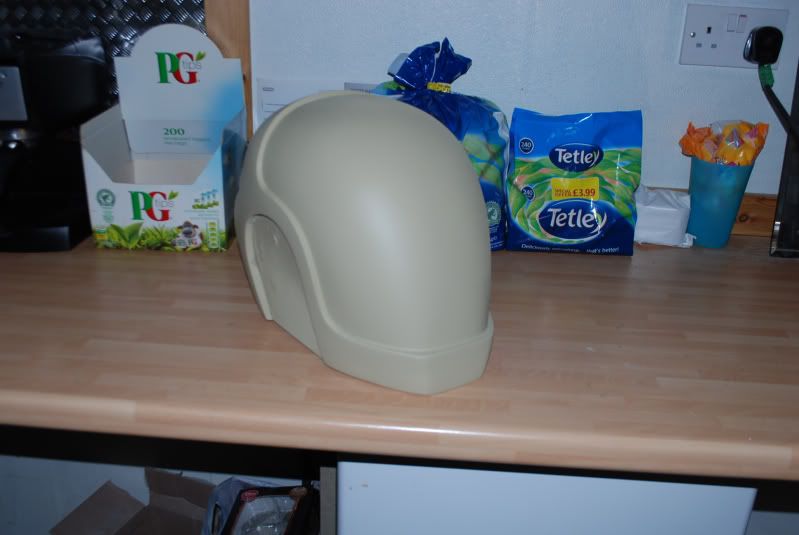
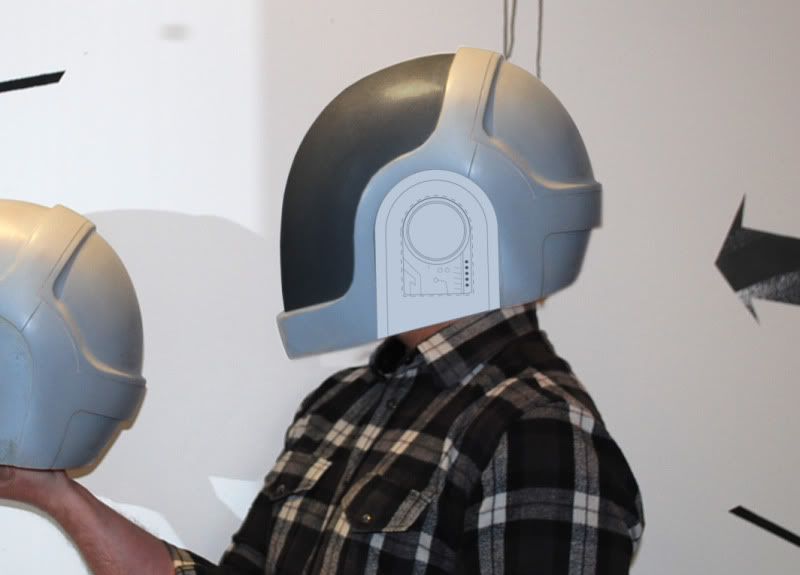
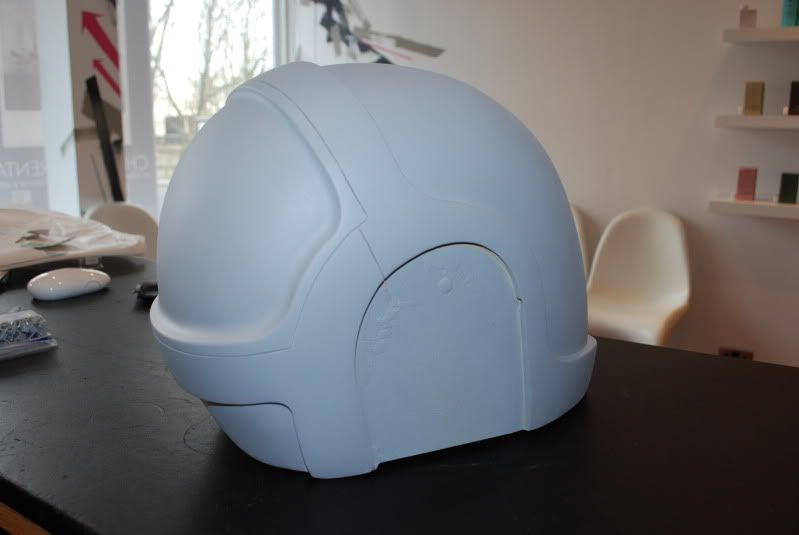
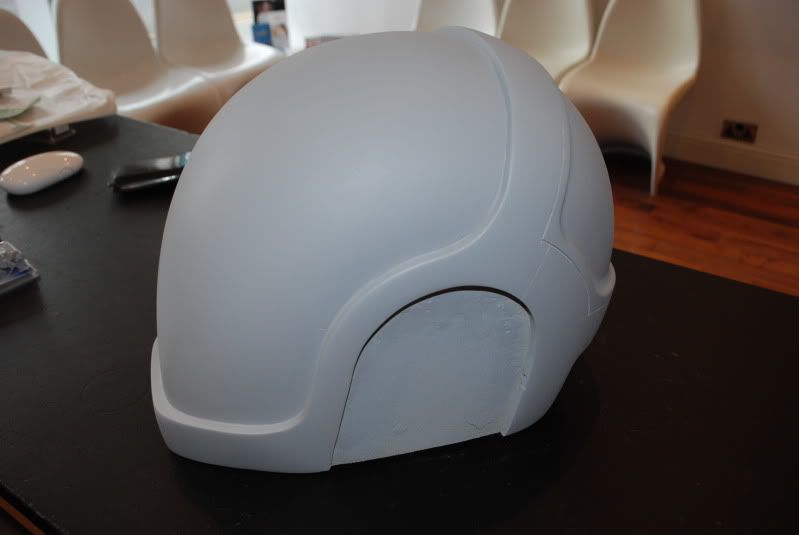 . Really looking forward to another update.