Jun Austria
Well-Known Member
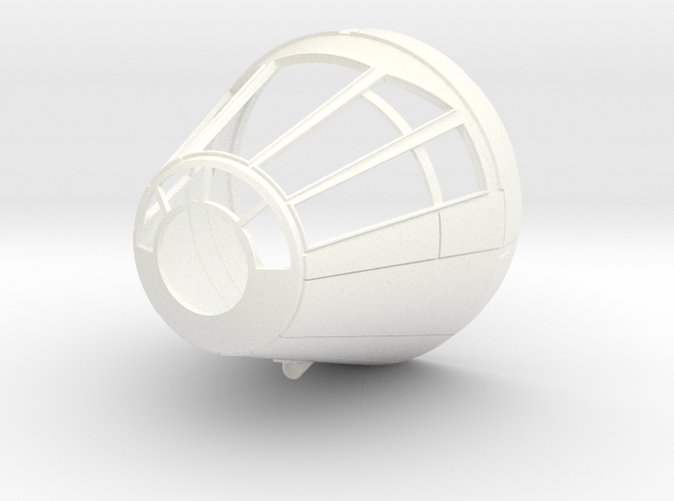
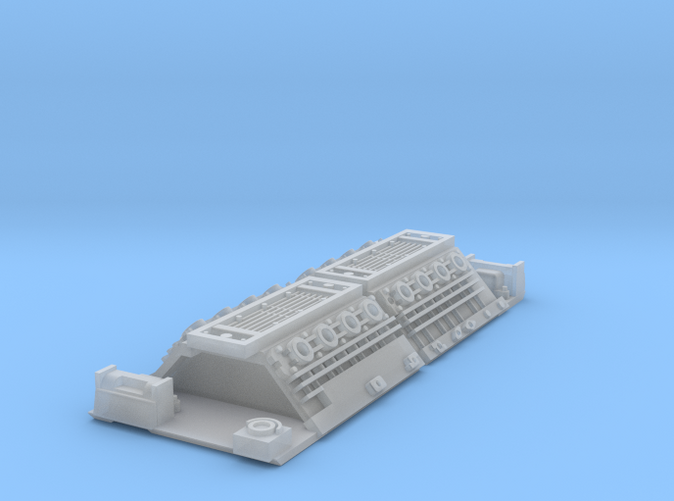
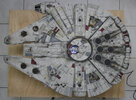
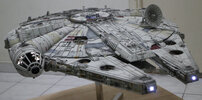
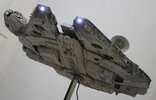
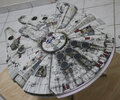
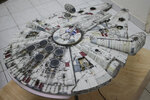
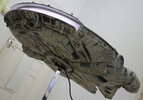
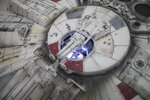
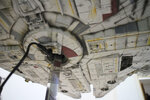
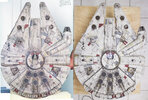
Started painting this beast last November 2020. And finished on 4th of May 2021. Finally, I can move on to another project and regain a large space on my workbench. My intention is to follow the studio model. So I didn't include the interior. Replaced some original parts with a 3d printed parts for the Cockpit Cone and the Headlight walls. And installed a metal framing inside the model for the support stand to grab on. Thank you for looking.
Attachments
-
 IMG_0018.JPG3.1 MB · Views: 558
 -
 IMG_0020.JPG3.6 MB · Views: 481
 -
 IMG_0021.JPG3.5 MB · Views: 430
 -
 IMG_0023.JPG4 MB · Views: 421
 -
 IMG_0024.JPG4.6 MB · Views: 383
 -
 IMG_0025.JPG3.5 MB · Views: 379
 -
 IMG_0027.JPG3.9 MB · Views: 360
 -
 IMG_0028.JPG4.3 MB · Views: 367
 -
 IMG_0029.JPG4.3 MB · Views: 432
 -
 Falcon ILM vs Jun.jpg6.4 MB · Views: 1,342