My Completed Sonic Screwdriver Remote Control Conversion

How did you get the sonic to be steady enough to be able to knock out the pins? It's keeps turning on me and I don't want to use a vice.
 
Couple things. Im having issues figuring out how to attach the springs to the claws and can you post the link to NMR's sonic pictures? Im having issues finding it. Thanks.
 
Hey guys, thanks for your understanding and condolences. I have once again resumed work on the sonics and will have pics up shortly.
 
Hello everyone. Been working on this for the past few days and just wanted to share how things turned out:


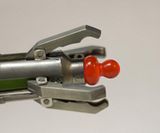
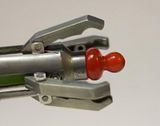
As far as changing the emitters are concerned, the previous conversions had the emitter glued in, but i figured the most efficient way for those who want interchangeable emitters would be to have the emitters secured by set screws. this way, the emitters/attachment point would stand up to flicking, and can be changed with ease. What do you guys think?

That looks awesome! Yeah that would be logical. My only thoughts might be either A) the resin might crack trying to initially set screws, or B) over time they would crack from repeated flicking.
 
That looks awesome! Yeah that would be logical. My only thoughts might be either A) the resin might crack trying to initially set screws, or B) over time they would crack from repeated flicking.

The way I have this figured is that I will drill into the emitter base, thus the screw acts as a pin and doesn't actually apply pressure against resin.
 
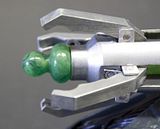
Not much of an update for now, but here are pics of the sonic with the interchangeable emitters
GMB1of1200, this is your sonic by the way. General Frosty, your sonic is up next.


[url]http://i30.photobucket.com/albums/c331/SongofChaosZERO/sonic/th_setting_screw2_zpsa8701186.jpg[/URL][url]http://i30.photobucket.com/albums/c331/SongofChaosZERO/sonic/th_setting_screw1_zps4bf187ee.jpg[/URL]

That's Fantastic! looks awesome! so looking forward to playing with it on DW nights :)
 
Just got my Sonic From the Post today, Wow Nice Job on this kursosawa, Love the Red Emitter and the fact that i can change back to the Green.
For every one who does not know, the Claws can flick but do not expect it to work like the toy, as the aluminum struts have a tighter fit than the toy. Works great and has all the Sounds from the Toy!
 
Hey everyone, i just messaged asking about doing a turquoise emitter and was wondering if A) Anyone else sees this color used from time to time in the new episodes and B) If anyone has or can get images of this emitter color to post here.
Thank you in advance!

 
Hey everyone, i just messaged asking about doing a turquoise emitter and was wondering if A) Anyone else sees this color used from time to time in the new episodes and B) If anyone has or can get images of this emitter color to post here.
Thank you in advance!

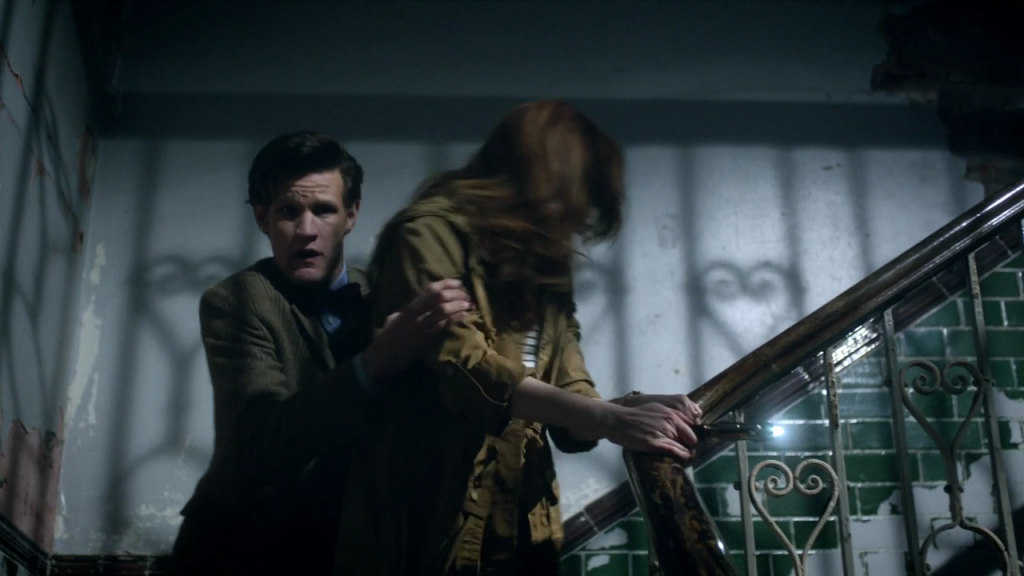
Yup! :)

vlcsnap-4779944_zpsfe0c8224.png
 
Thanks! I know there are other examples too. It's a blue/green.

I actually prefer this color to the red or green.
 
Huh...I always thought the turquoise emitter was due the use of the torch setting + color grading in post production. Either way, I'm on it. Though first I'll be experimenting with the torch setting emitter.
 
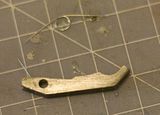
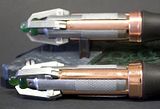
For the past few weeks, a number of folk here have been asking me about the spring loaded action of the claws. I sadly have lagged on posting the answer to that question (sorry guys). Anyhow, here are a few pics that might explain how I pulled this off.
Here we have the torsion spring on top as it comes out of the drywall anchor.


with the spring inside the claws - the eye of the spring and the hole on the claws are lined up and the pin that holds the claws to the brackets is threaded through said holes in the claws and spring. One end of the spring is pressed up against the aluminum body,the other pushes against the interior of the claw and voila, spring loaded claws.

Now for the reason for this entire pose in the first place, another update I would like to share with everyone here! Since day 1 of this project back in December, I have been searching for a way to get the best sonic possible using the Universal remote as a base. Though even with my earliest conversions, two things have always bugged me: The finish on the copper parts was way too shiny, and the fact that I was not able to replicate the marbled look of the prop emitter and shaft. It is with a great deal of experimentation and effort that I present the following:


I stripped the copper parts of the gloss coating and went to town on them with steel wool - The result being a nice brushed look and a bit of oxidation for the color variation seen on the prop in the copper. Secondly, Using two different kinds of resin + a bit of dye, I was able to replicate the marbled look of the core and shaft. Ok time for me to shut up and show some pics.

here we have a few shots of the marbled core showing the white streaks:


inside the copper cage


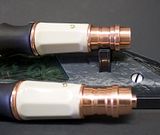
Now for the brushed copper treatment - The brushed finish on top and standard finish on the bottom


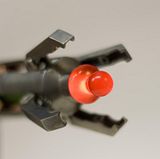
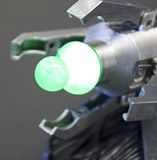
Lastly, my favorite part of my latest efforts - the emitter. In its normal state it looks as if the emitter is completely opaque, but when triggered, the result is a nice diffused and almost alien like glow.


That's all for today. Cheers my fellow Whovians!
 
Back
Top