MR Rebel Blaster Disassembly

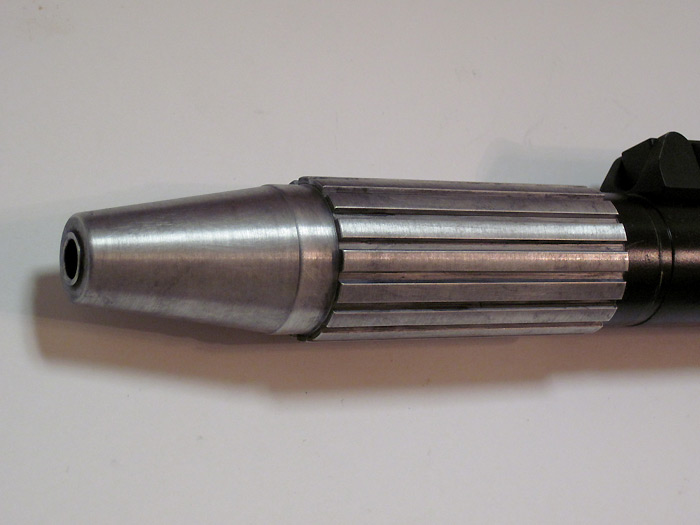
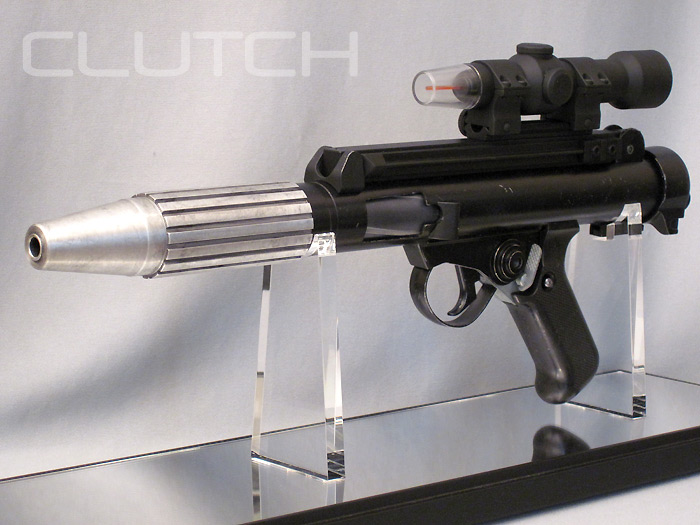
Now for the easiest part, weathering the aluminum barrel. I started by scuffing it up with some light grit sandpaper. Nothing too bad, just enough to take the shine off.

I then mixed up some Applebarrel acrylic black paint and some thinner to make a wash. You want it to be the consistency of water. You can use water to thin it, but I recommend windshield wiper fluid or glass cleaner. Slather it all over the barrel until it is good and drippy then blot it with a paper towel. Wipe it in different directions until the paint is just about gone. Then repeat. After 2-3 times, the barrel should start to darken and get some good patterns in it.

If you overdo it, wait until it is dry and then hit it with a scotchbrite pad to take the paint off. Under normal conditions, the paint should last forever without any sealer.

15z.jpg


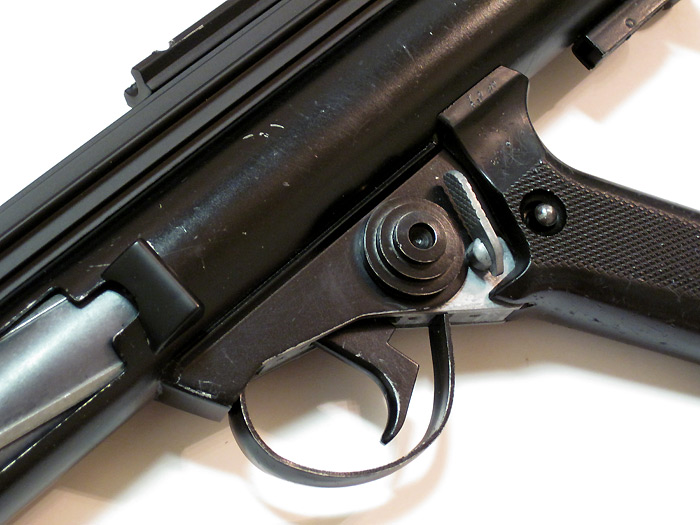
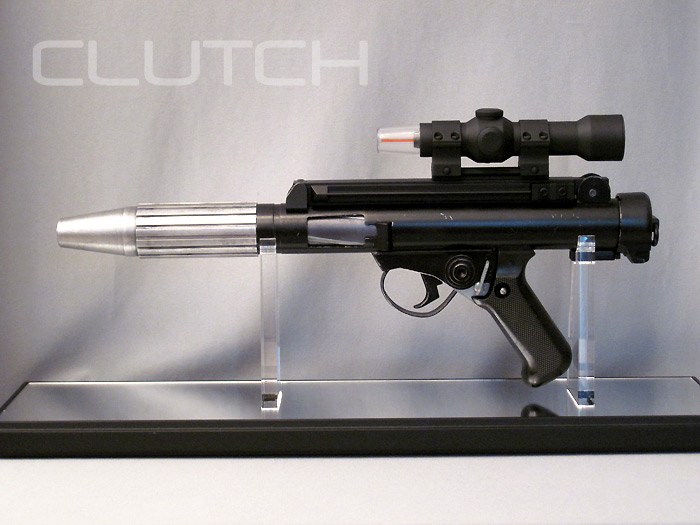
A stepped disc was glued on with JB Weld. I can't tell you how much I hate JB Weld, but it gives a good bond. The stuff has the consistency of toothpaste and when clamping parts, they tend to slide. It also dissolves paint! Luckily, the gun is weathered, so no one will know the difference. I wanted the scope rail to look like it was an add-on piece, so I left it in pristine condition to give some contrast to the weathered 'Sterling'.

16z.jpg


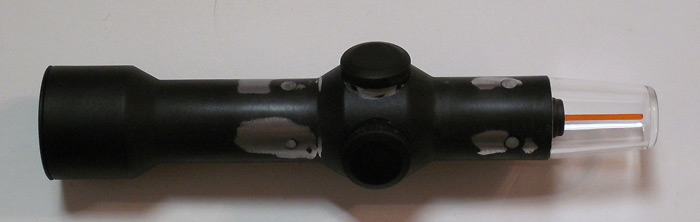
The scope with the holes filled with Magic Sculp and sanded. The caps can be removed. The things the caps are sitting on are too tall so I thought I would shorten them. Each one has a screw in it, but they are gorilla glued in. You can see the damage where I tried to pull one out with pliers.

17z.jpg
 
Last edited:
Stripped the scope rings and repainted those and the scope with flat black. I gently scuffed up the clear cap of the scope with some fine sandpaper. The pictures obliterate the fine details, so it doesn't look much different than the out of the box version. :lol I might add a coiled wire to the scope rail later, still not sure.

RB1z.jpg


RB2z.jpg
 
Last edited:
Thank you! It definitely renewed my interest in it. If anyone is itching to weather a blaster, this would be a good one to get your feet wet with.
 
Very cool! I like the addition of the disc, something missing from the MR. :thumbsup
The E-11 had the same yellow undercoating. It struck me as some sort of heat-related discoloration.

If you want to add more Sterling accuracy, paint black the rectangular area around the hole that the trigger sticks out of. Although I doubt they bothered to paint the props that way, being castings and all.
 
Thanks!

Good catch there, Treadwell. I just noticed that the waffle pattern on the safety lever is incorrect too. :)
 
Superb Clutch!
I love the look of the barrel, makes a huge difference - as does all the work you've carried out.
It looks far superior to the 'stock' blaster!
 
Thanks Howard. The barrel part is crazy easy to weather too. I spent maybe 10 minutes on it tops. One thing I forgot to mention is I did use a heat gun midway through to speed up the drying time of the wash. While drying, I made sure to turn the barrel in different directions so that the wash wouldn't pool up too much in any one area.
 
I've got an itch to do the Leia blaster. Does anyone know if the screen used one was painted or is there any good reference out there for it?
 
I tried to remove the scope off of mine the other day... after applying some pressure to get the tightening wheel to loosen It just started to spin... even after I appled pressure to the other side to stop the pin from rotating. Exactly how did you get that assembly to loosen?

Thanks,
Jedi Dade
 
Back
Top