Spirit Juggler
New Member
Some people might have seen this belt build on Galactic Knights or Rebel Legion UK forums but I thought I'd share it here as well.
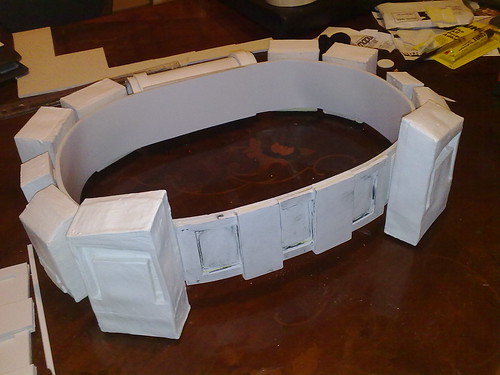
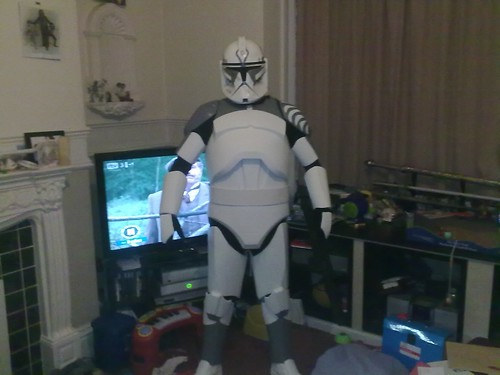
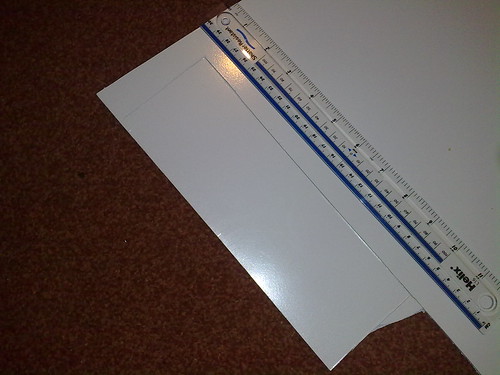
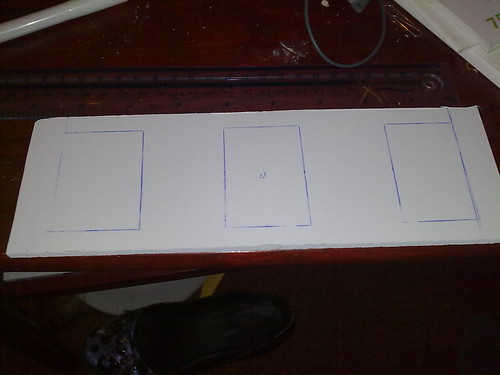
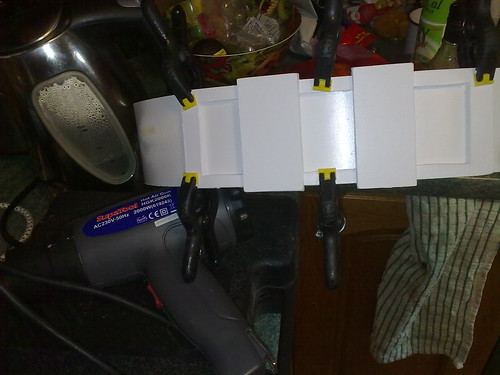
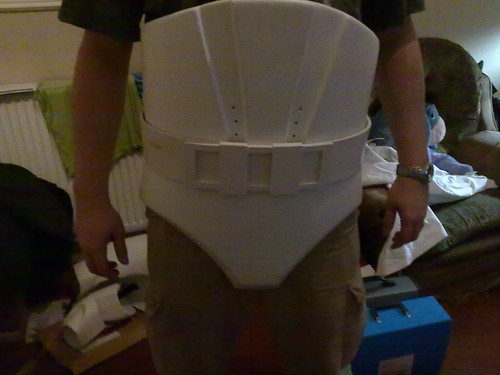
This is a wip thread for my Sar Wars Clone trooper belt build.
Money was tight when I made this and I couldn't afford to go for the likes of a steel blitz belt so if you're on a budget this might be just the thing for you, and I know of at least a couple of others who have used this wip to make their own as well.
Last edited:
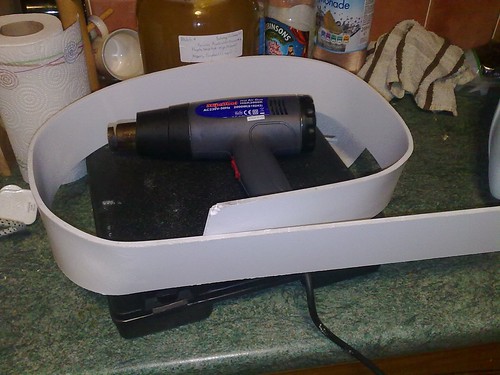


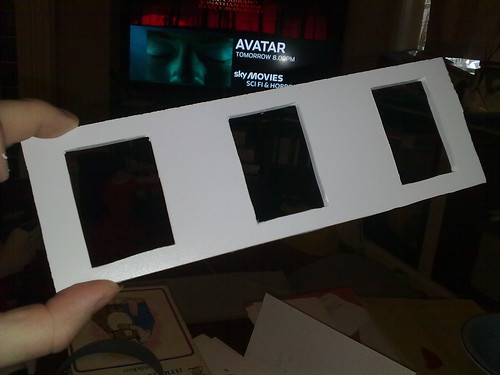
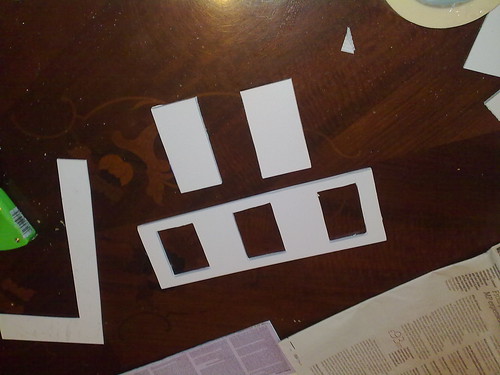

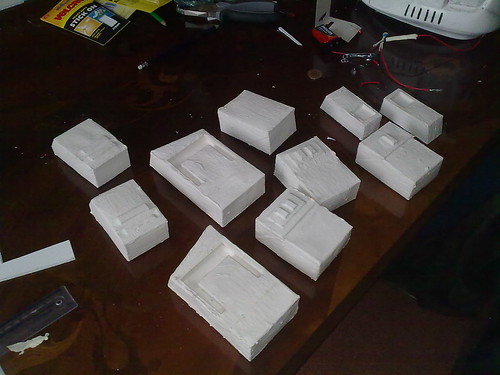
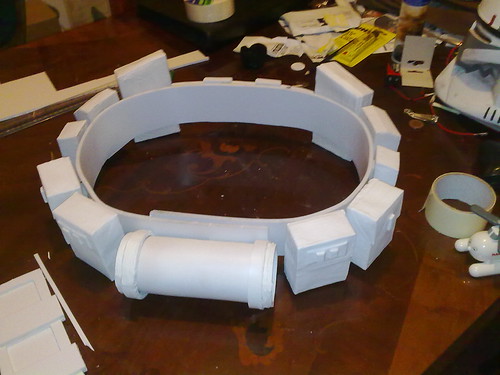
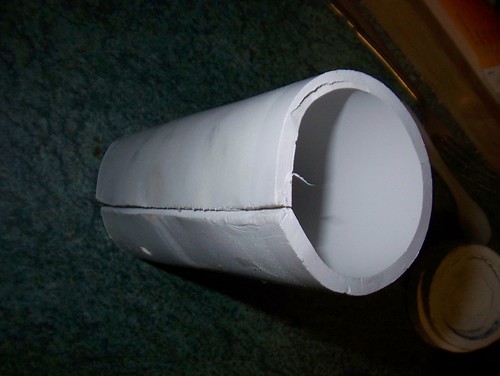
") . Craig can give you the particulars about that but I believe that several layers of jesmonite were needed. It's pretty tough stuff but with a bit of flex to it. I've since replaced these boxes with sintra built belt boxes which are much much sturdier and don't squish as easily.
. Craig can give you the particulars about that but I believe that several layers of jesmonite were needed. It's pretty tough stuff but with a bit of flex to it. I've since replaced these boxes with sintra built belt boxes which are much much sturdier and don't squish as easily.