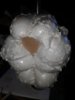
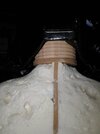
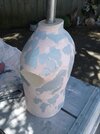
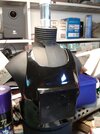
Hello again. I had been asked by a Forum Member to start up a thread for my Mini Tie Pilot Bust I had been working on for a couple of years now. So without further or do, here it is.
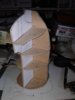
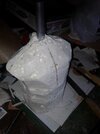
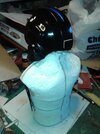
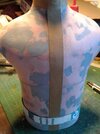
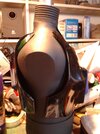
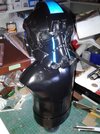
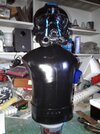
I received the helmet from Badges2nz and thought that I needed to make some armor for it to make a great display.
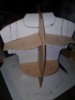
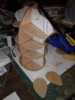
I asked fellow forum member Blaxmyth if he could print off a reduced size PDF File of the Stormtrooper Chest and Back Plate for me. The helmet worked out to be about 1/4 scale.


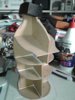
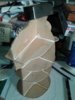
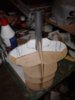
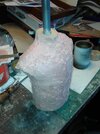
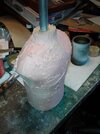
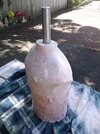
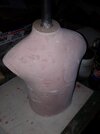
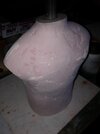
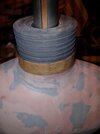
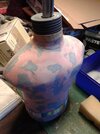
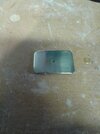
Here I have added a piece of scrap card to the bottom to finish off the edge.

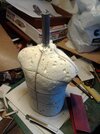
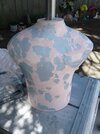
I received the helmet from Badges2nz and thought that I needed to make some armor for it to make a great display.
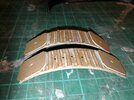
I asked fellow forum member Blaxmyth if he could print off a reduced size PDF File of the Stormtrooper Chest and Back Plate for me. The helmet worked out to be about 1/4 scale.
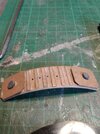
Here I have added a piece of scrap card to the bottom to finish off the edge.
Last edited:

")