TIGCreations
Sr Member
I'm going to be taking delivery of a little something for this build this coming Saturday...
All will be revealed soon enough but lets just say it's one of those Holy Grail parts that I've been chasing for years now")
the cod?
I'm going to be taking delivery of a little something for this build this coming Saturday...
All will be revealed soon enough but lets just say it's one of those Holy Grail parts that I've been chasing for years now
I'm going to be taking delivery of a little something for this build this coming Saturday...
All will be revealed soon enough but lets just say it's one of those Holy Grail parts that I've been chasing for years now
Closethe cod?
Indeed it is the helmet! And yes I would be looking to part with him as I now have a helmet that will work with my chest armour (which is why I changed buckets, need one that'll work nice for trooping)The helm? I feel kinda rude asking this, but if so, how much would you be letting your old one go for?
Close
Indeed it is the helmet! And yes I would be looking to part with him as I now have a helmet that will work with my chest armour (which is why I changed buckets, need one that'll work nice for trooping)
You get first preference mate so once I reach holidays in under a weeks time I'll shoot you a PM with a quote and as bucket load of pics for you
Hoes that sound mate?
Thanks for the offer though, and I hope you find a good home for it That sounds fantastic, but... I sort of went off on a bit of a fantasy,lol. To be honest, I'm only sixteen and don't have a job yet, so I really wouldn't be able to pay for it if it was over about $150. And I'm def not one of the crazy types that expects things to be that cheap. I definitely understand how much hard work (and money) has gone into a bucket like this, both by the original maker and yourself. So it looks like I'll have to pass this up
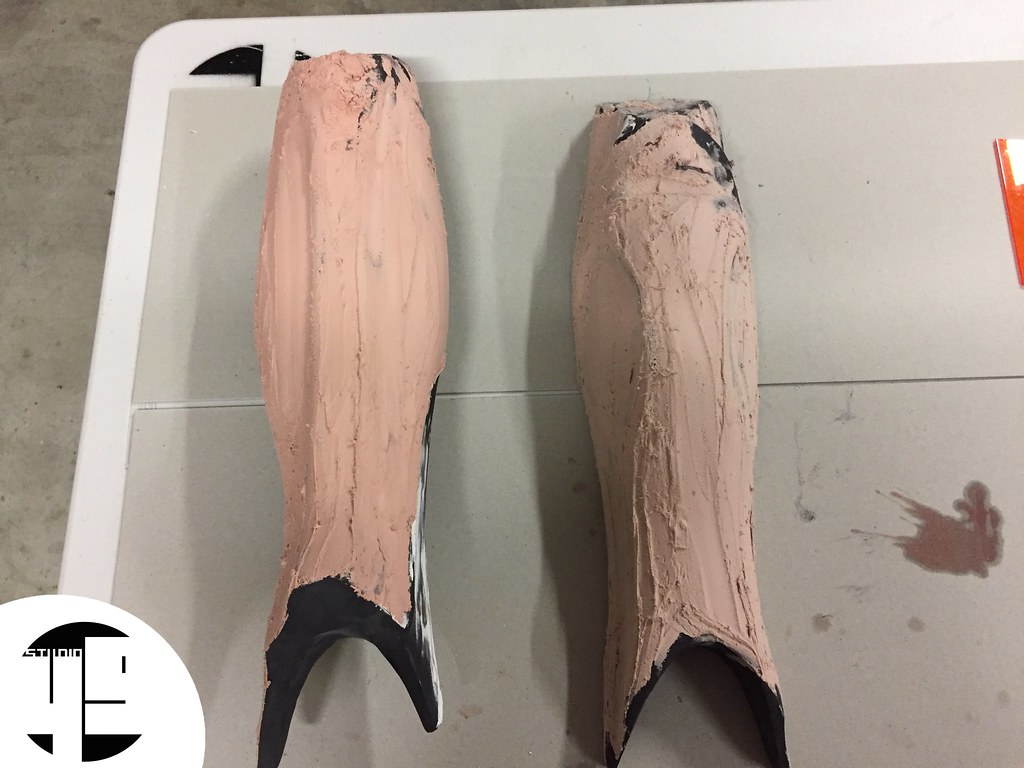
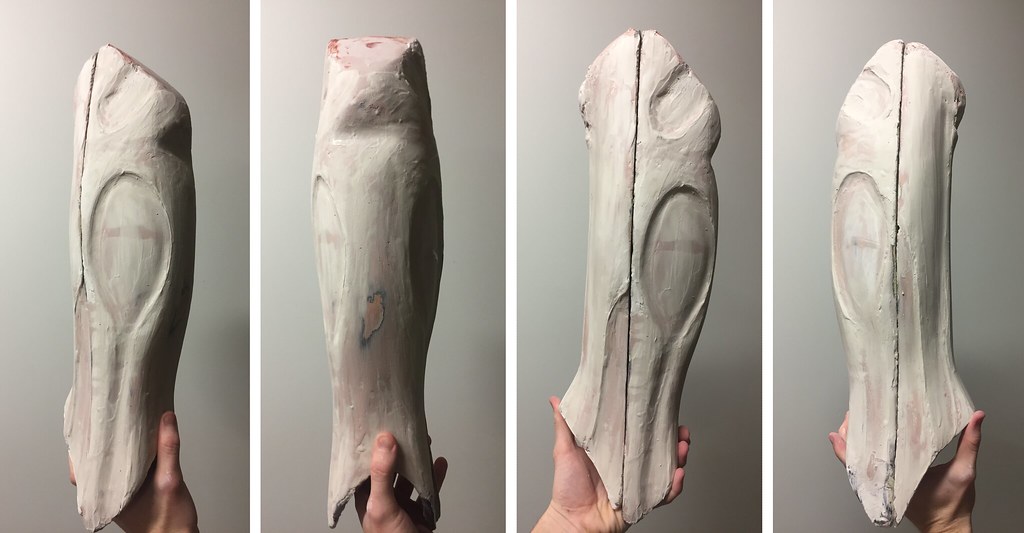
I'll be going for a nice deep matte black much like what you can see on him nowGorgeous piece. What's your plan paint wise? Black? Blue?
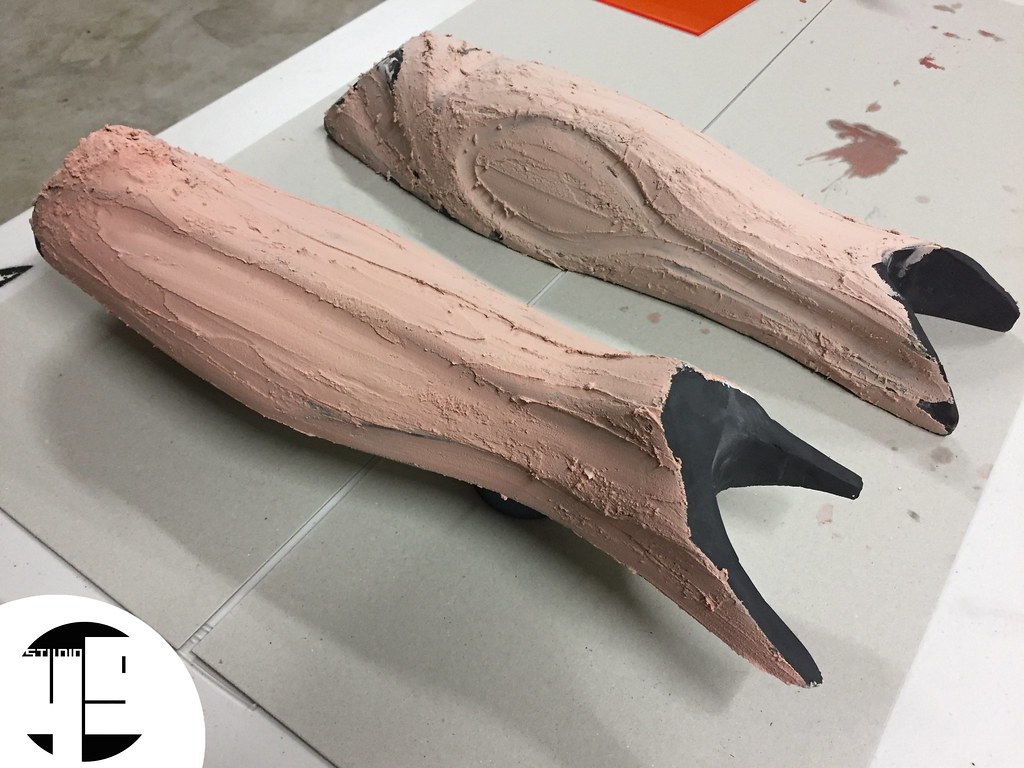
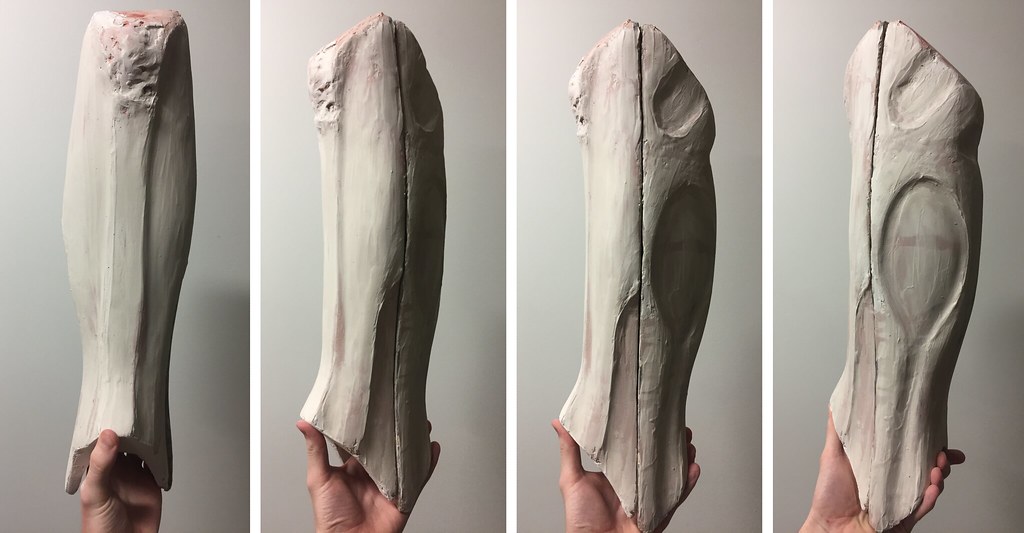
One of my favourite pieces of all time for sureBeautiful... that sculpt really captures the look
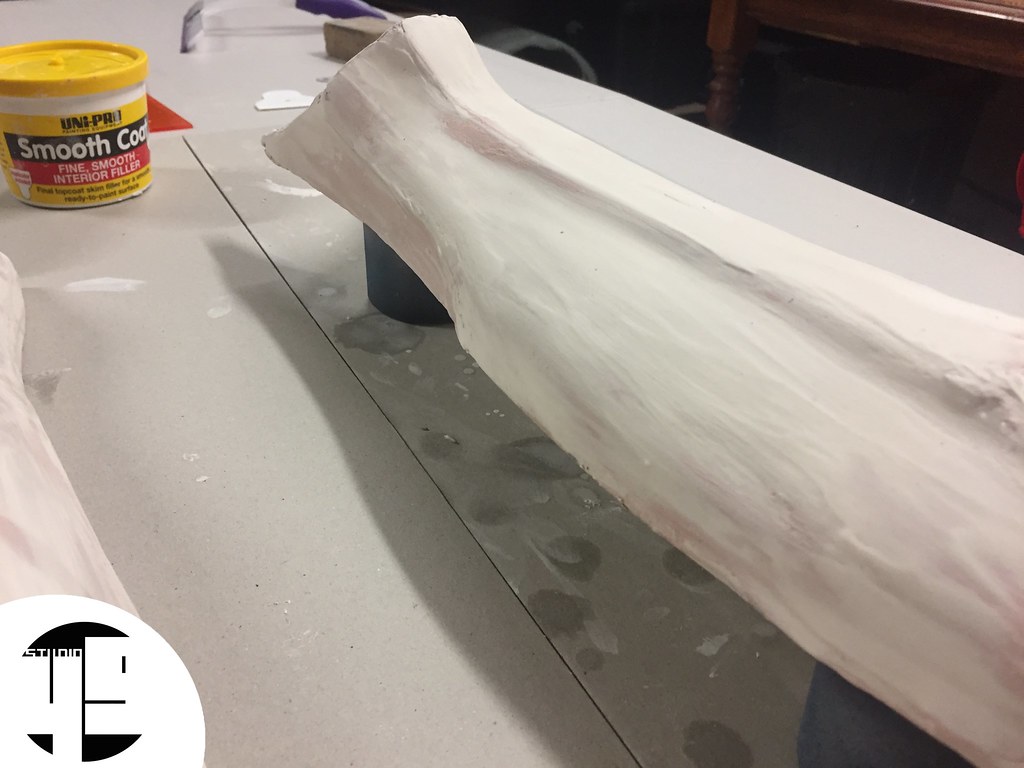
coming along brilliantly