mb kashyyyk scout (barc) build.

mrbungle

Sr Member
RPF PREMIUM MEMBER
new guy here,

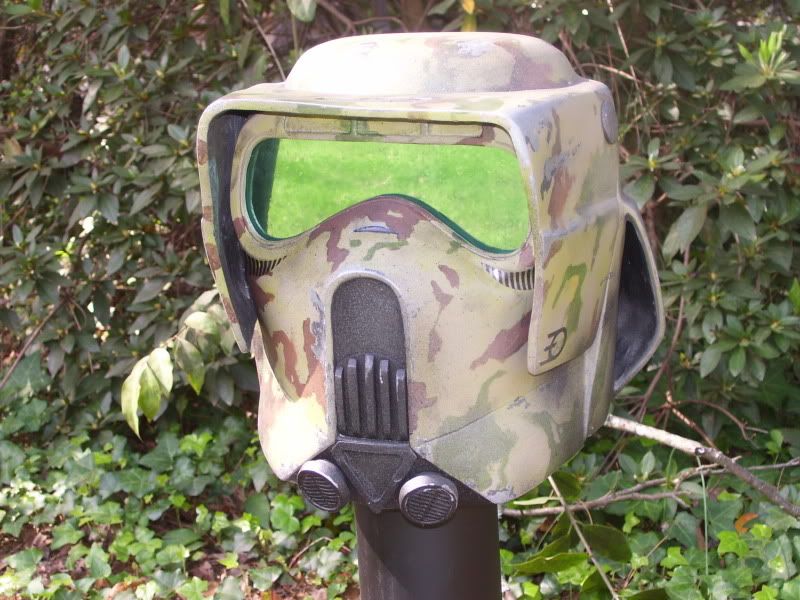
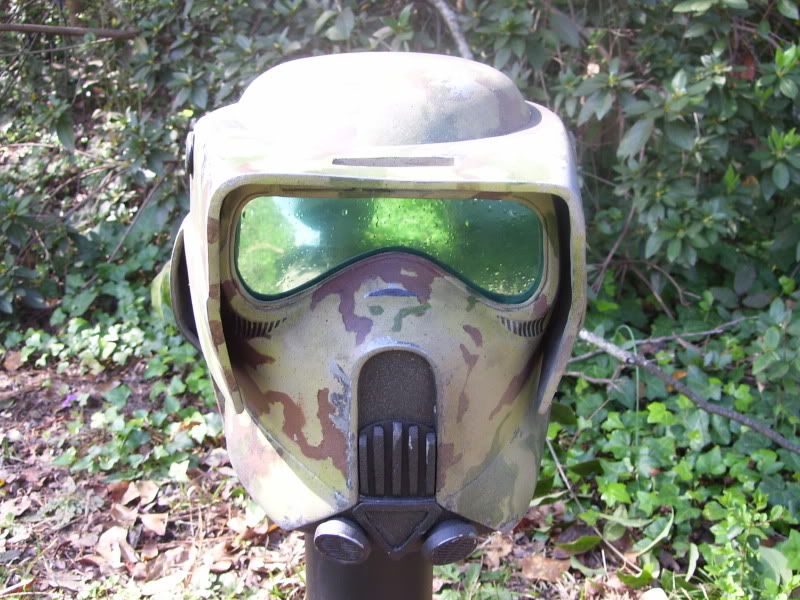
this my kashyyyk scout scratch build. everything on here i made from scratch. i just wanted to show the guys on here what i have been doing.

if you want to see all the progress on this go here
http://www.thedentedhelmet.com/showthread.php?p=417140#post417140

it will take you to my new build thread and the old one where i started posting the armor and helmet build.

once i have all the armor done i wil get them ready to mold and vacform.

helmet ..........done
003-22.jpg


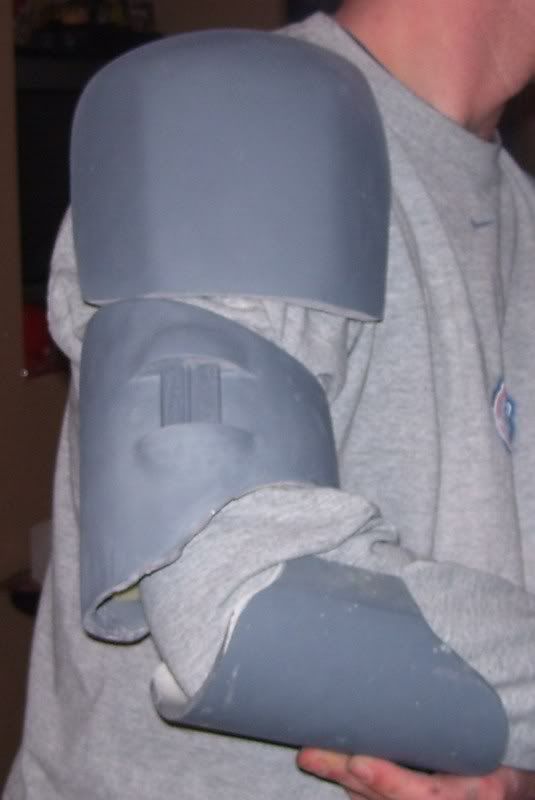
arm armor .............done.
004-15.jpg

031.jpg


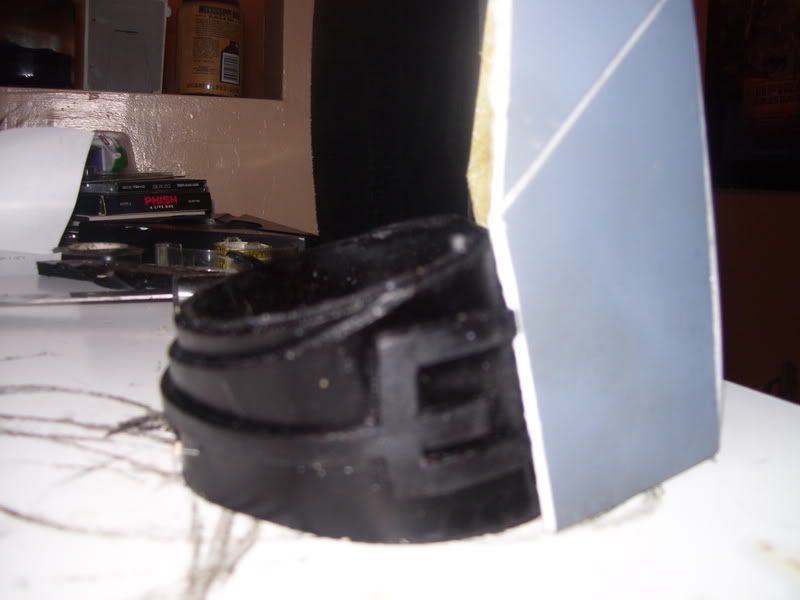
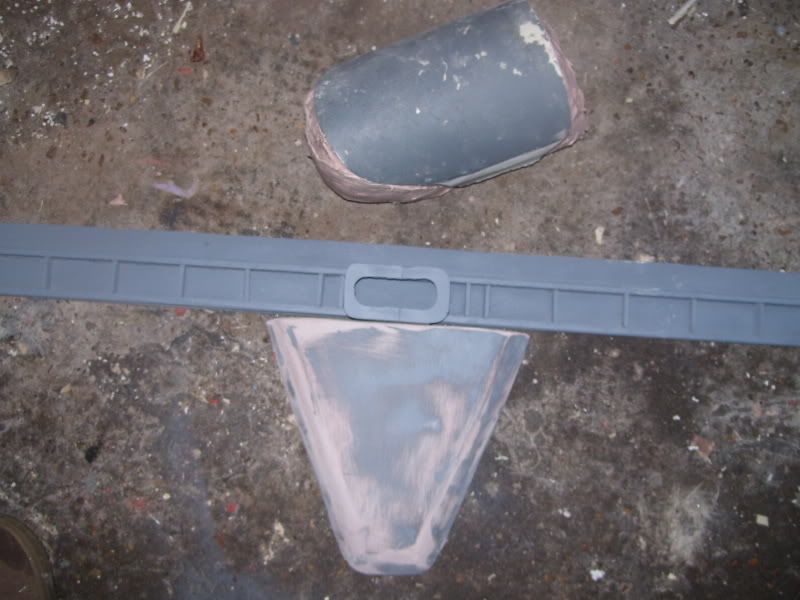
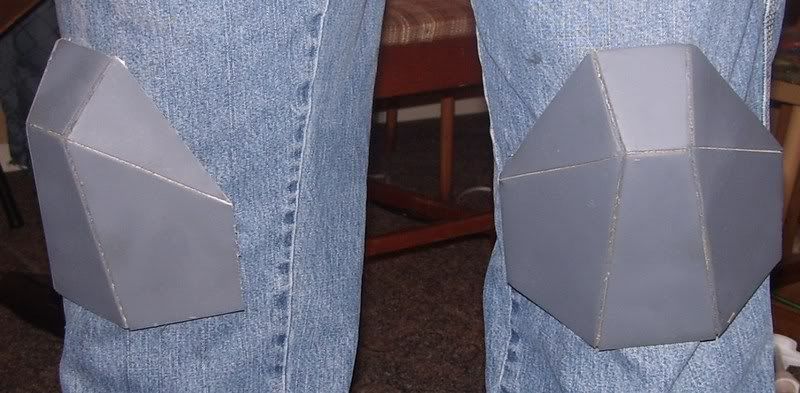
knee armor and strap ............done.
009-5.jpg

001-10.jpg


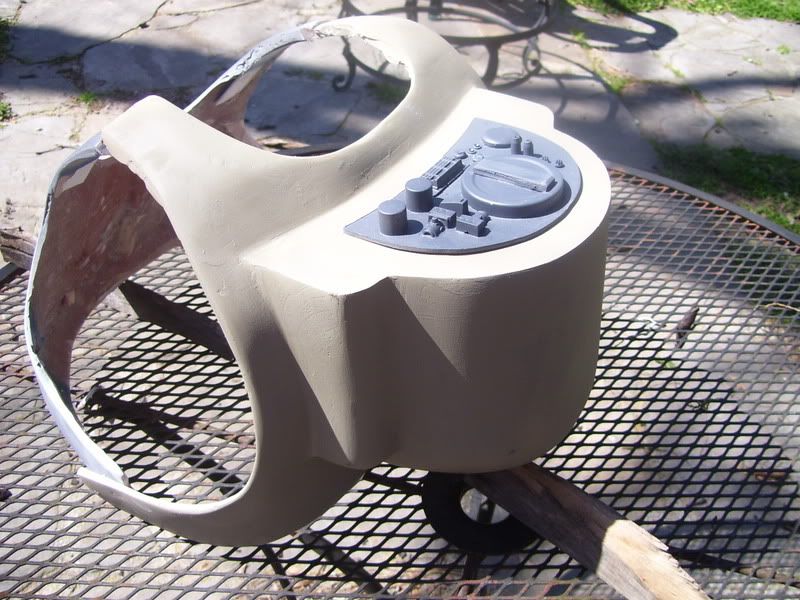
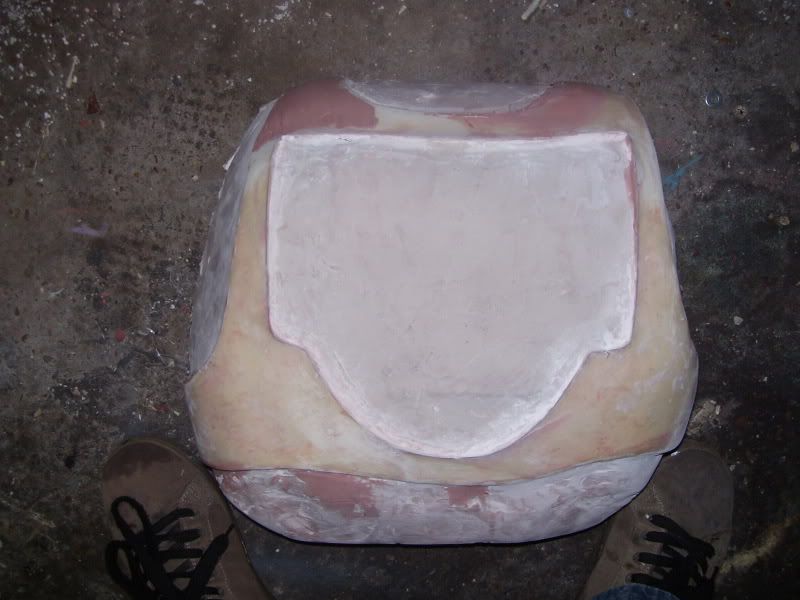
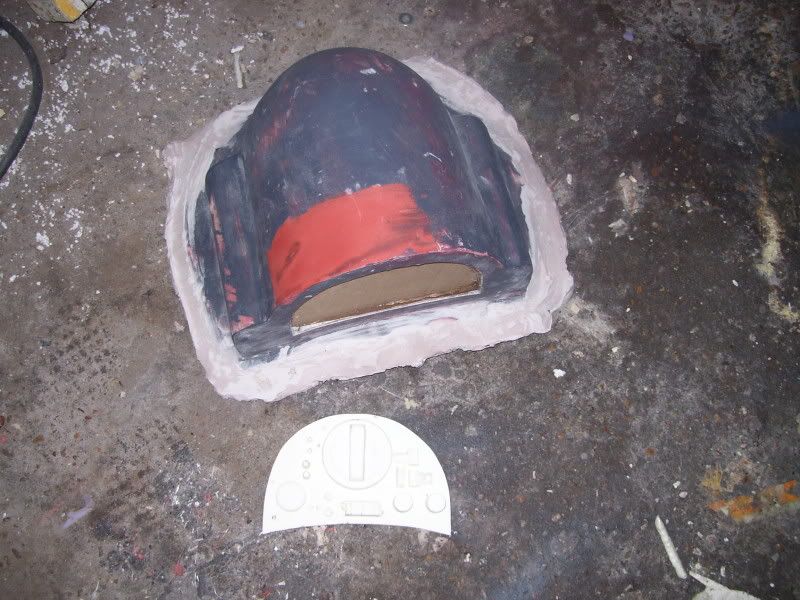
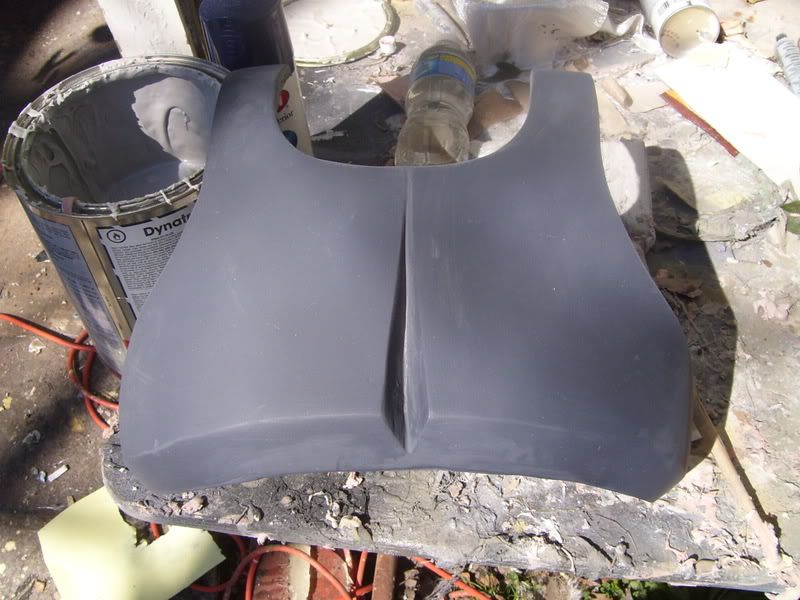
chest and backplate and tank.......................pretty much done. the greeb will be set into the tank ,flush with tank surface.
003-25.jpg

004-26.jpg


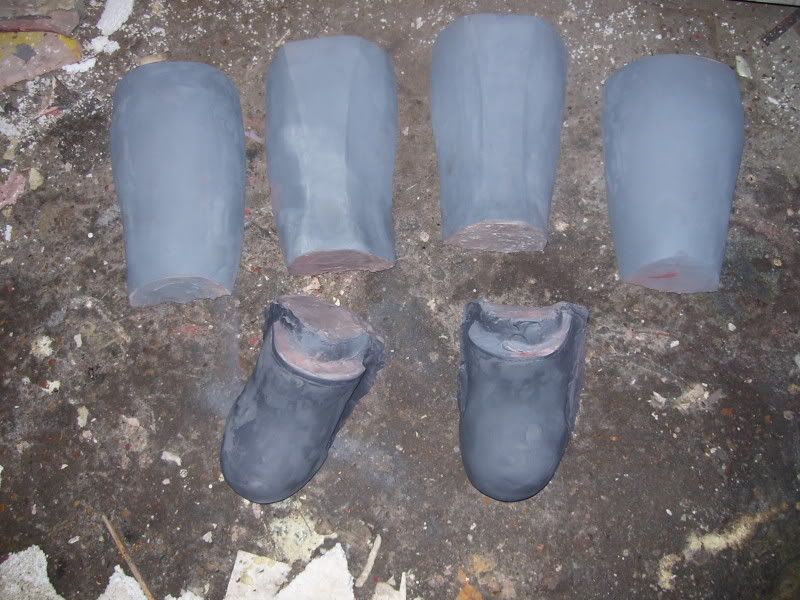
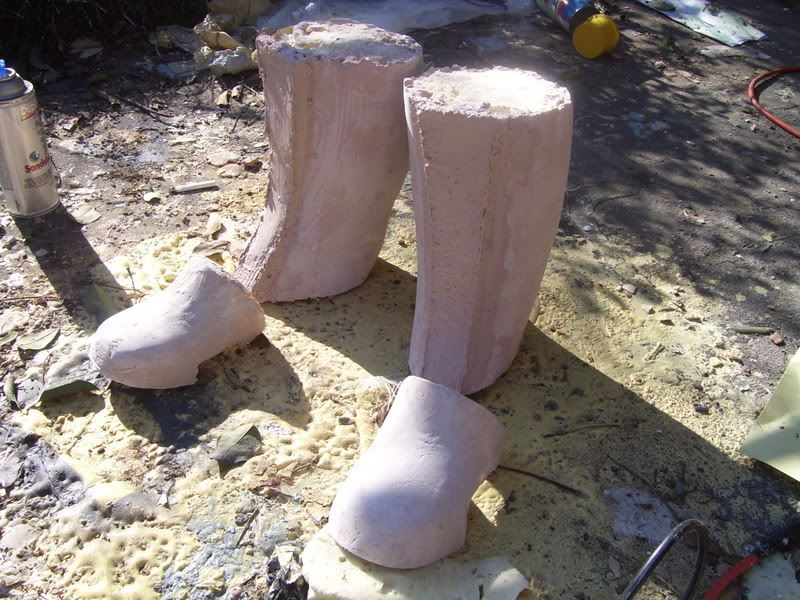
shin and boot armor just getting started. nz jedi helped on the shins......thanks tim
007-16.jpg


i am also working on the belt and cod piece. hope to have pics up soon.
 
Your obviously a very talented sculptor. Your lines are very nice and symmetrical and clean. It's a shame you don't have a manikin to build your buck mold on to vacuum form later.

I don't remember the web sit right off hand but most of the guys in the 501st will tell ya that this type of armor is mostly sculpted as a buck then vacuum formed.

But I love what your doing and It's giving me a few really good Ideas.

Thanks for sharing and keep up the good work.
 
thanks for the reponse.

i am going to vac form all the armor except the chest and the backplate and tank. the fear being if you pulled the tank and backplate that it would be too thin at the top of the tank. at least that was what i was told. so i am going to pull them out of fiberglass.

the kashyyyk scout's tank and back plate are one piece from the reference pics. not like the biker scout where it is two pieces. if i could do them in two pieces i would vacform the whole thing.

Nice sculpt :thumbsup
You could do them in two pieces, it's going to be painted anyway it would be no real hassle for someone to fill the seam prior to painting.
 
you do have a point. that is something i should look into. i would not mind cutting up a copy of the back plate and tank to get it ready for vac form.
 
Last edited:
here is the boot armor so far. real tricky to get the right look. they will be vacformed. so should be able to cut to fit.
023.jpg

024.jpg

025.jpg
 
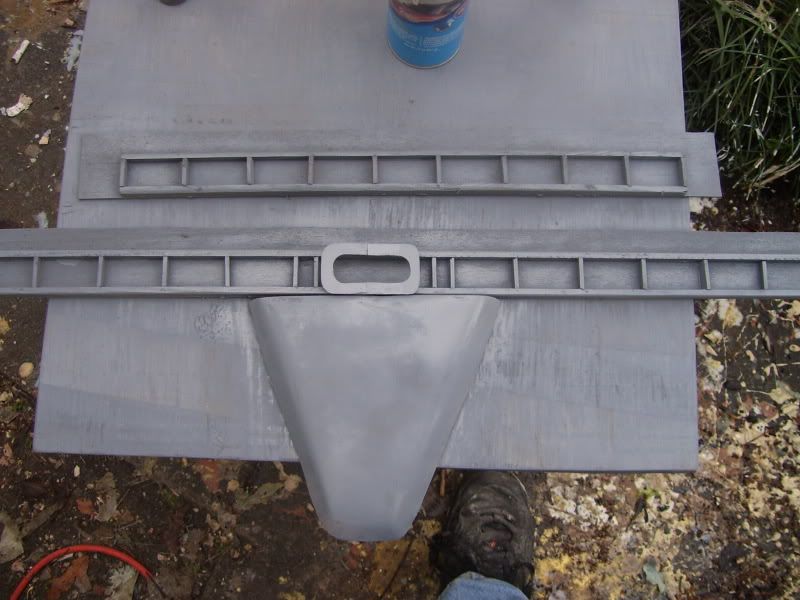
here is the belt,cod and belt buckle make up. i plan to make the belt out of rubber. the cod and buckle will be made of abs.
i left a flap at the top of the belt so you can glue the belt flap to the inside of the cummerbund. i will leave a flap at the top of the cod piece so the belt,cod and cummerbund are all connected so they don't shift around when you wear the costume.
004-31.jpg


here are the shins cut in half for the vactable. they are almost done just got to do some fine tuning to the centers of the shins and fill some small spots.
005-23.jpg
 
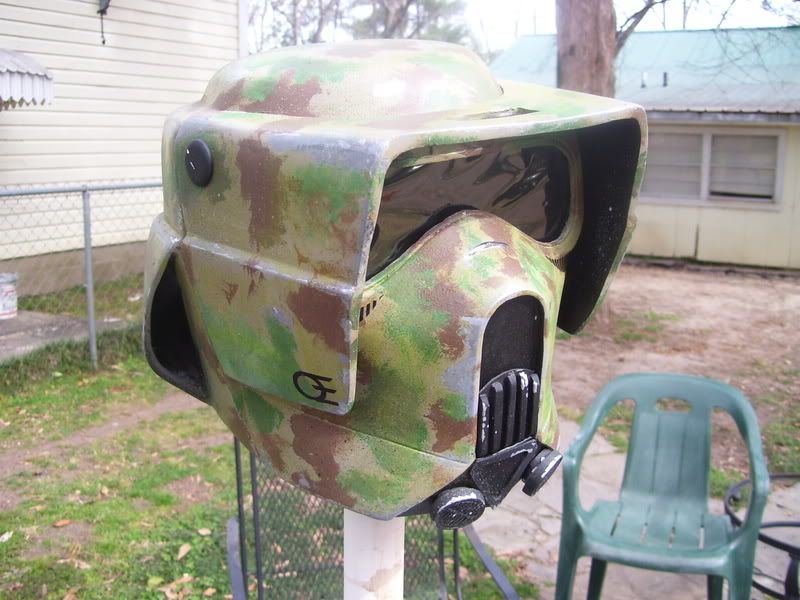
well here is a new helmet i just painted with the correct lense.
013-5.jpg

014-1.jpg

021-2.jpg

022-2.jpg


on the build front, still working on my vactable and hope to be able to pull all the armor out of hips or abs. i am leaning towards hips.

i casted the back plate without a tank and just the tank so it would be 2 pieces to form it should easy to put the tank and plate together for anyone who has built a clone.
 
well here's another update on the build. i am almost done , i hope to pull the prototype in the next couple of weeks.

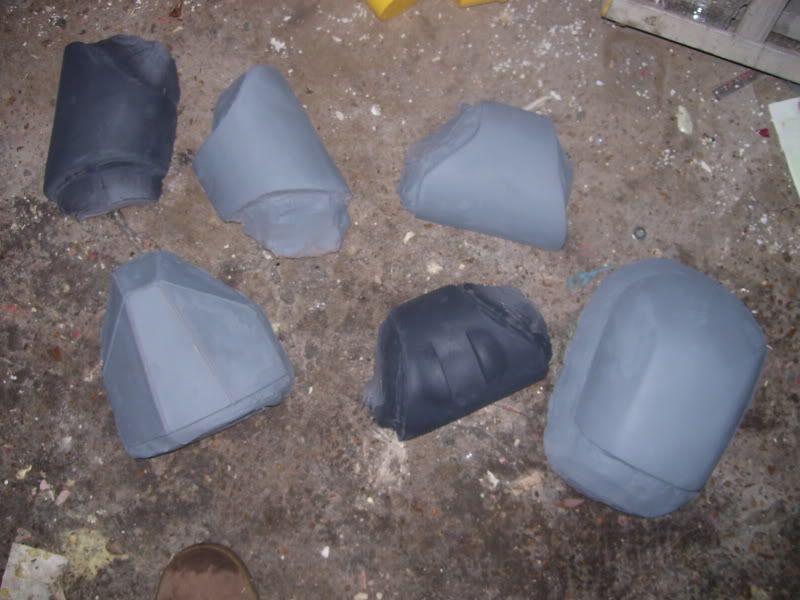
here is the shoulder, bicep knee pieces.
001-27.jpg

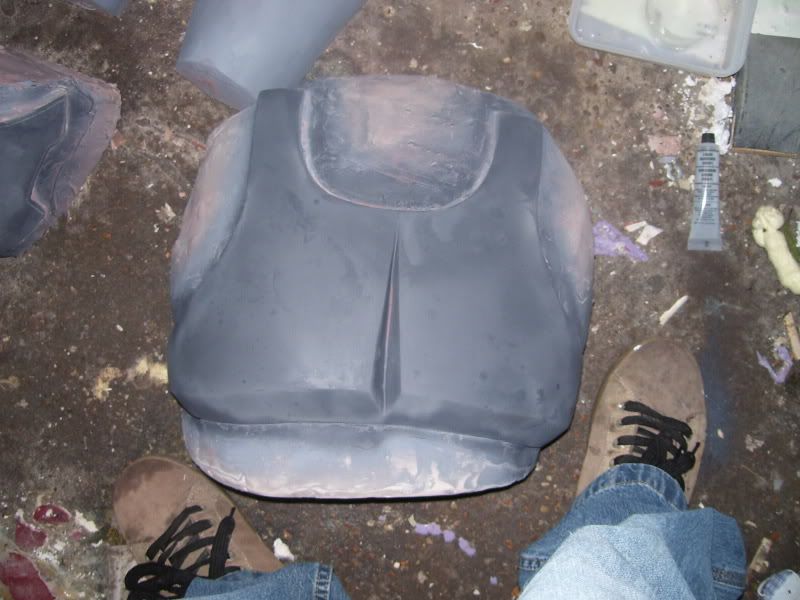
here is the chest
003-36.jpg

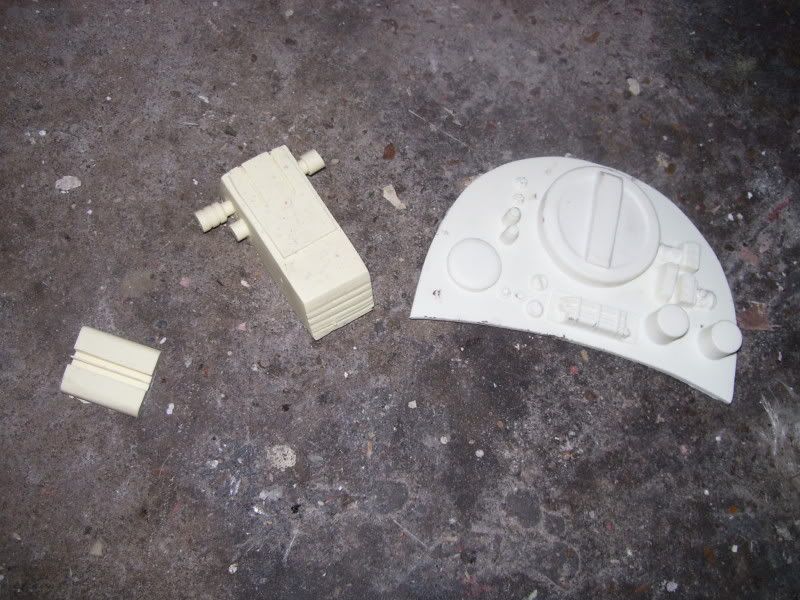
here is the back plate and tank. the plan is to cut out the tank grove i left in the back plate then take the tank and slide the tank through the plate. then glue and bondo it together and sand. i am also teying to get it where you just set the tank greeb in the pocket i am sculpting into the top of the tank.
005-28.jpg

004-38.jpg

here is the belt,cod and forearm piece, the belt is almost ready to mold so hang in there, lonescout! they are coming!
007-20.jpg

here is the shin and boot armor.
002-37.jpg

014-2.jpg

bicep and tank greebs.
008-12.jpg

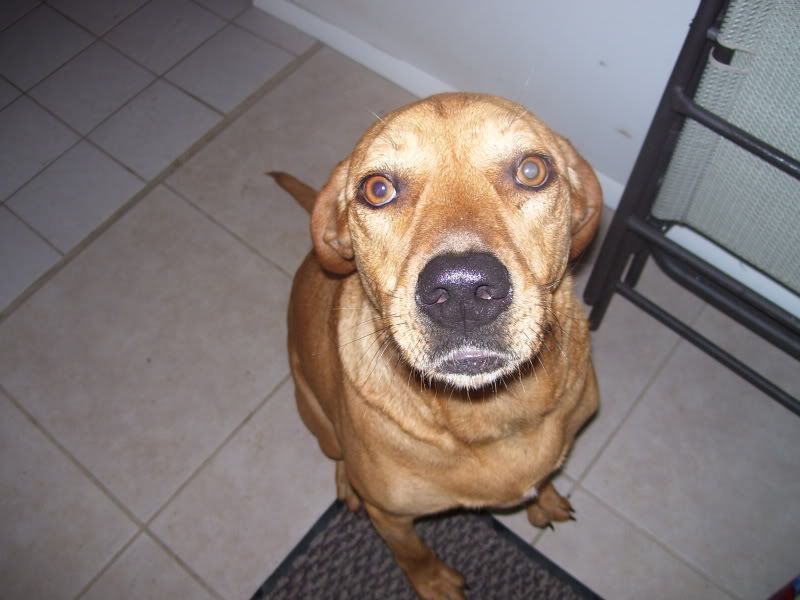
and last but not least, the art director and ceo of mrbungle tech.....
coa-coa the wonder mutt!
013-6.jpg
 
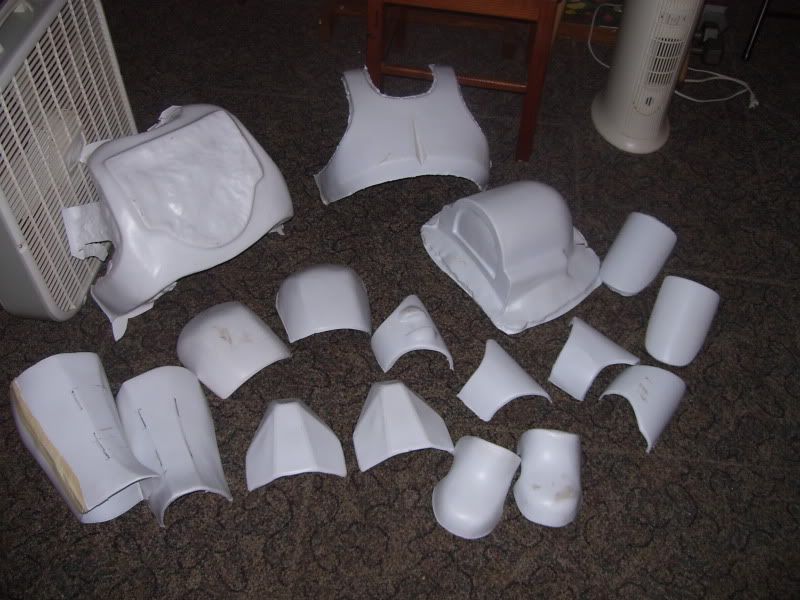
here is the pic of the first full kit pulled. i have to fine tune the chest and back plate so i get pulls that go all the way to the platen. a little more work and should get cleaner pulls. some of the pieces are rough trimmed and some are not. i am using .125 hips and i am going to use .090 for the final pulls.
002-47.jpg
 
here is the mock up of the armor on. fits pretty good. putting the tank through the backplate is the most tricky part of this kit. t6he armor is just taped together. ignore the pistol sticking out of my paints..........S&W 40 cal.
048.jpg

050.jpg

051.jpg

052.jpg

043.jpg

045.jpg
 
Back
Top