Mass Effect 2 Blood Dragon Build

Tyr

Member
I started this at the end of March but never got around to starting a thread here on the RPF.

The goal:
Standingfront-1.png


The Build:
I did a quick unfold of my helmet model and assembled it with Pepakura.
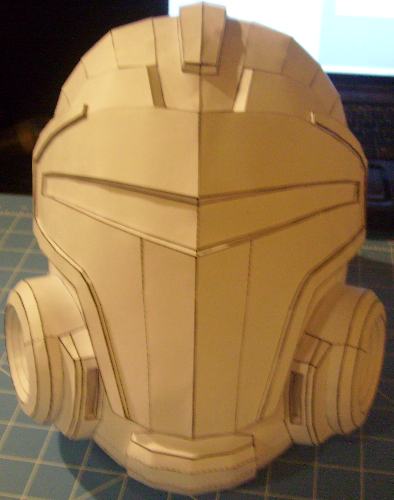
PepFront.png


Then I hardened the outside with fiberglass resin(blue food coloring to ensure total coverage).
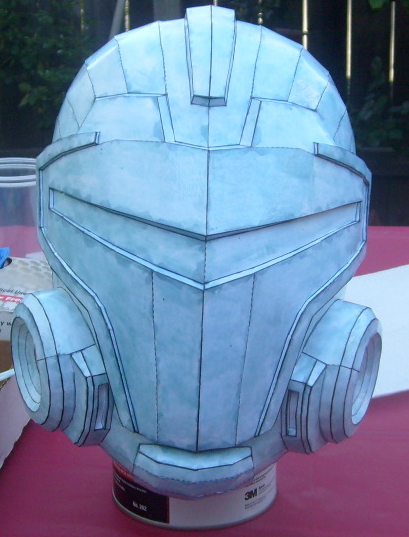
Resin.png


Next I applied a couple layers of resin/Bondo mix inside for reinforcement(blue food coloring to differentiate from next layer).
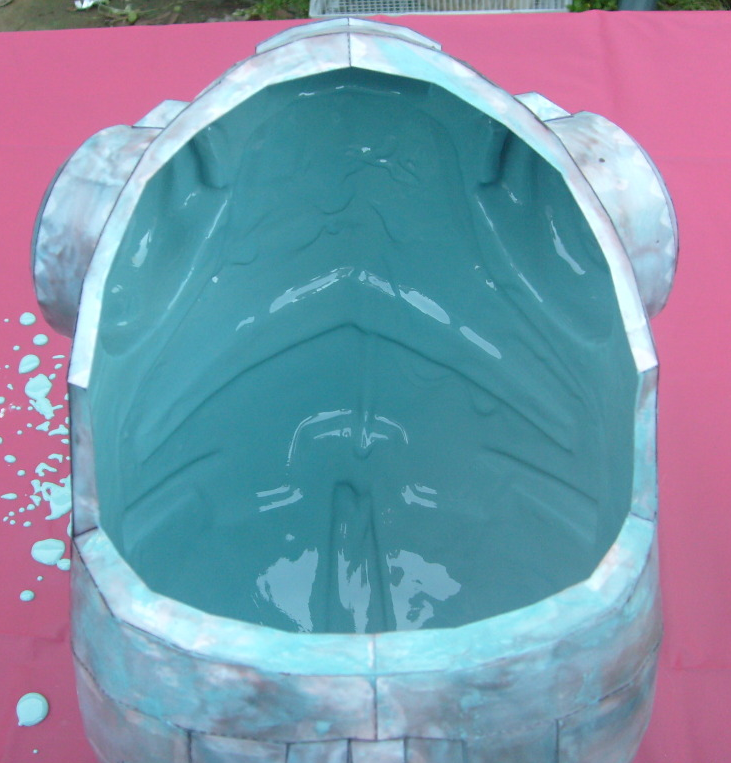
Rondo.png


I then cleaned up the seams with a Dremel and added a quit spray of Primer.
Front.png


I then sanded it down with some 150 grit paper to isolate the low spots.
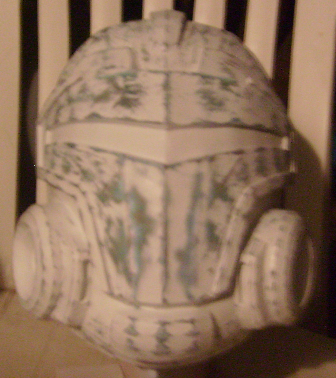
Front-1.png


I applied the first layer of Bondo and began smoothing the outside yesterday but wasn't able to finish because it got too cold for me to be working on the porch.
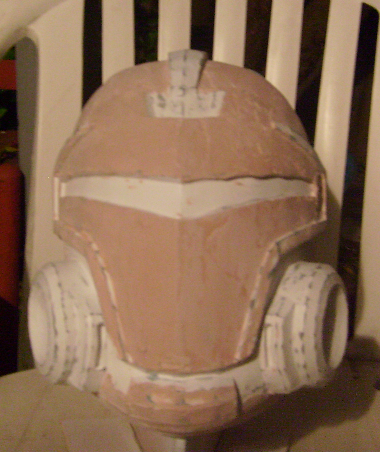
BondoFront-1.png


I will continue to sand and work on the next layer of Bondo later today.

My Eva foam tiles for the rest of the build should be here within a few days so I will begin creating those parts as well.

I will update as the build continues.
 
Last edited:
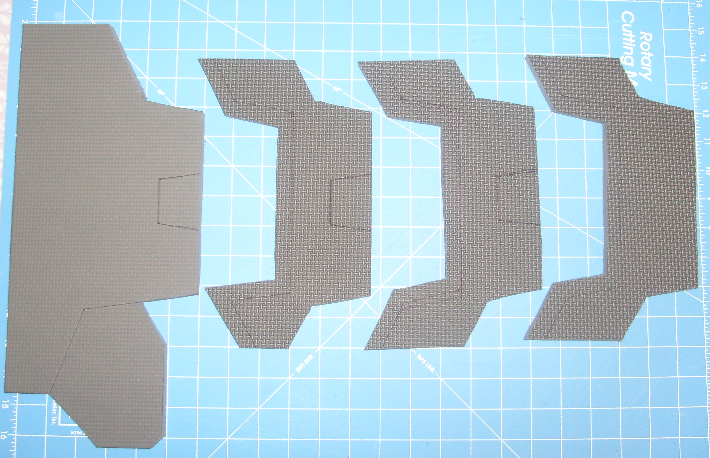
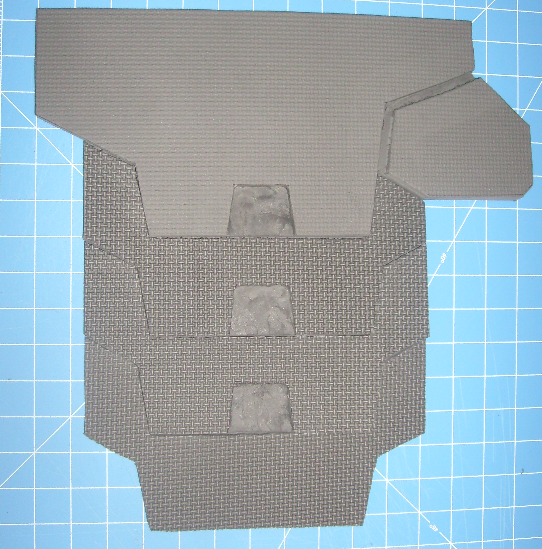
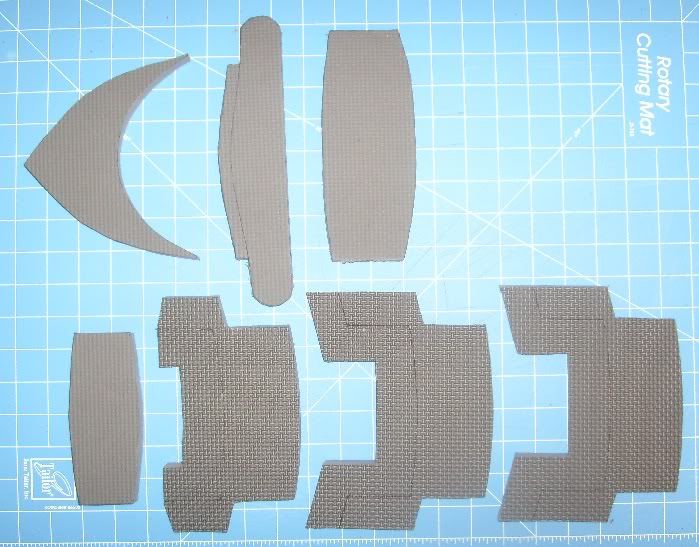
Didn't get any work done on the helmet today but I got both thighs mostly done as my EVA foam came in today.

The Dremel accessory I used for routing is designed for cutting holes in drywall and has a built in depth gauge:
Router.png


Before routing with Dremel:
Prerouted.png


After routing:
Routed.png


Roughly assembled:
Assembled.png


I will use a heat gun to soften them and then shape them to the desired curve by hand.

The top image is of the right thigh while the other two are of the left(I forgot to take pictures prior to routing).
All exposed routed areas will have a piece of black 3mm craft foam to smooth them and provide the final color.
I'm somewhat bothered by the "smooth" side being lightly textured, I will experiment on scrap pieces to devise a means of solving this.
 
Looks good so far.

I like how you explain the build and give pictures of each step. Also, good idea with the food color in the rondo mix. I'd never thought of that.
 
Looks good so far.

I like how you explain the build and give pictures of each step. Also, good idea with the food color in the rondo mix. I'd never thought of that.

Thanks for the kind words.
I have threads on separate forums so the step by step process is more or less to teach others some tips and tricks that I use. That and seeing as how the use of EVA foam is new to me(the thighs being my first pieces ever) I'd like to have record of what I did and didn't do for any future builds using the stuff.
The food coloring is just something I've always done when using resin or Bondo even on cars and boats. I find it to be a small trick that simplifies things immensely.
 
Neat Dremel accessory. I like your progress so far and the design concept. Keep up the good work!
 
Neat Dremel accessory. I like your progress so far and the design concept. Keep up the good work!

Thanks, it actually came with a Dremel accessory kit produced by Ace Hardware that I purchased a few years ago when I up graded to a new Dremel. This is the first time I've actually used it and not for its intended purpose but it worked out great.

I do not believe the Ace version is manufactured any longer but this is the Dremel brand version:
http://www.dremel.com/en-us/AttachmentsAndAccessories/Pages/AttachmentsDetail.aspx?pid=565

It's roughly $16 at Home Depot.
 
Last edited:
Looks good so far. Can't wait to see more.

And see more you will:

Got the biceps and shoulders ready for heat gun today.

Before routing:
prerout.jpg


Routed:
Routed-1.jpg


Roughly assembled:
assembled-1.jpg


I will do the heat gun work on the parts I have so far tomorrow and hopefully make the cod though I'm trying to figure out the best way to hide the belt clasp behind it.
 
Cool build, playing through Dragon Age 2 right now actually. What tool did you use to initially cut out your foam pieces?
 
Cool build, playing through Dragon Age 2 right now actually. What tool did you use to initially cut out your foam pieces?

I used an X-Acto knife with the standard #11 blade.
It doesn't make for the nicest looking edges but go slow and it will work.
I also have a small sharpening stone for the blades since the EVA likes to dull them rather quickly, it saves me from needing to constantly change out blades/buy more.
 
Got the Biceps and Shoulders shaped and the strapping completed.

Front:
5616129820_1f3cf39aca.jpg

I'm going to do some experiments on scrap parts later to see if I can't get the seams to blend better.
Strapping:
5616129978_59a2b91dc1.jpg

It's 2 pieces of elastic that hold the pieces securely in place over my Bicep.
The shoulder is attached with two Chicago screws so that it has wiggle room.

I also got the Cod and Thighs shaped but I think my cat stole the belt I will be using so I will have to upload pics when I find it.
 
Last edited:
Severely irritated at Photobucket after more than 24 hours of maintenance so I will now be using Flickr.
Got the Forearms mostly finished today.

Forearm components:
5615537259_6374dc7e55.jpg

Outer:
5616118770_014776bb5f.jpg

Inner:
5615537767_52d535bb16.jpg

The tape is only there while the glue on the strapping cures.
It has one piece of elastic near the elbow and a piece of elastic with a bit of Velcro near the wrist.

Elbow pieces:
5615538041_57037bf628.jpg

Elbow front:
5615538145_be3305607d.jpg

Elbow side:
5615538273_a620344bd8.jpg

I will be adding on the various raised details on the elbow using 3mm craft foam.
The elbow will also attach with Chicago screws and a small piece of Velcro to have game accurate screw heads and simple functionality.
 
I've run into a bit of a snag with the shins and boots.
I have my 3D renders to base the templates off of but I don't have any reference images of them to know if I should use the textured or smooth side for each piece.
I don't own the game myself but if anyone could take a few screen shots of the lower legs for me it would be greatly appreciated.
 
Fantastic :) This is my favourite armour from the game, and it looks especially fantastic for women ;) And practical for women too ;)
 
man this is looking sweet! i've beaten both origins and da2 and i'm working on my second go through of da2 right. can't wait to see this finished!!!
 
Got one of the shins done today.

I forgot to take a picture of the parts so here is the sheet after they have been removed:
5621477978_b1d03e29a4.jpg


Front:
5621478060_80151e9a03.jpg


Side:
5620889385_7c4c15e8e9.jpg


Instead of shaping my parts to get the pieces that frame the knee to the proper angle I used 3mm foam on the back of the edge of my 1/2 foam to give it the desired look:
5621478094_1dc5fdcccb.jpg


I will work on the other shin and the boots tomorrow.

I've decided to use silicone caulk to smooth out all of the seams and gaps and then I will give it a layer of spray can Plasti Dip prior to painting and EL wiring.
 
Sorry for the lack of updates over the weekend, I got sidetracked by another project(link in my signature).

I have the 2nd shin about 95% assembled but I need to buy some more superglue to finish it up.
Parts:
5638832841_6461323d7a.jpg

Sections:
5638832913_45a469a760.jpg

Both shins:
5638833021_54ae446649.jpg

The knee plate on the right isn't attached but it will be identical to the left when finished.
I also made a new belt out of 1 1/2 inch nylon webbing since I can't find the original:
5639408684_273d2dd244.jpg


I am out of my EVA foam tiles at the moment so expect the next update to be of work on the helmet and possible a small update on the thighs.
 
Back
Top