3d-builder
Sr Member
Hey guys i think this is a great little kit and I always have!
There are a lot of things I like about it and think it's worth
the time to make it just a bit more accurate. I made a video
but have some pics first sorry about that.
What I am thinking to do is and have done so far:
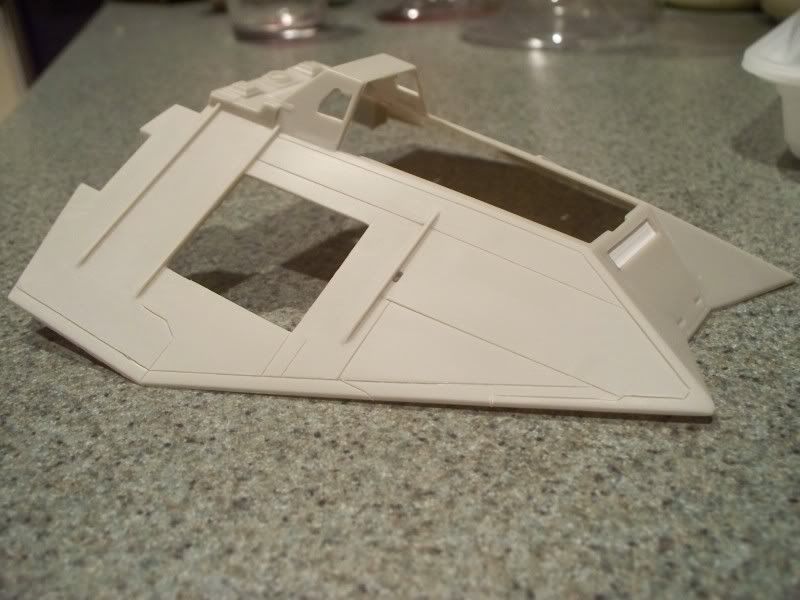
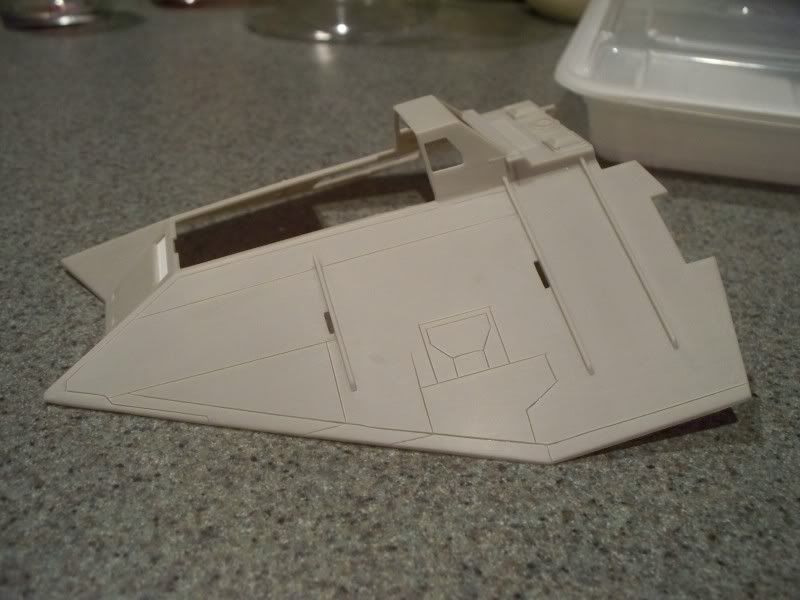
Sand all raised detail off the hulls including panel lines (DONE)
Sand all parts that have unnecessary details such as ribbing (In Process)
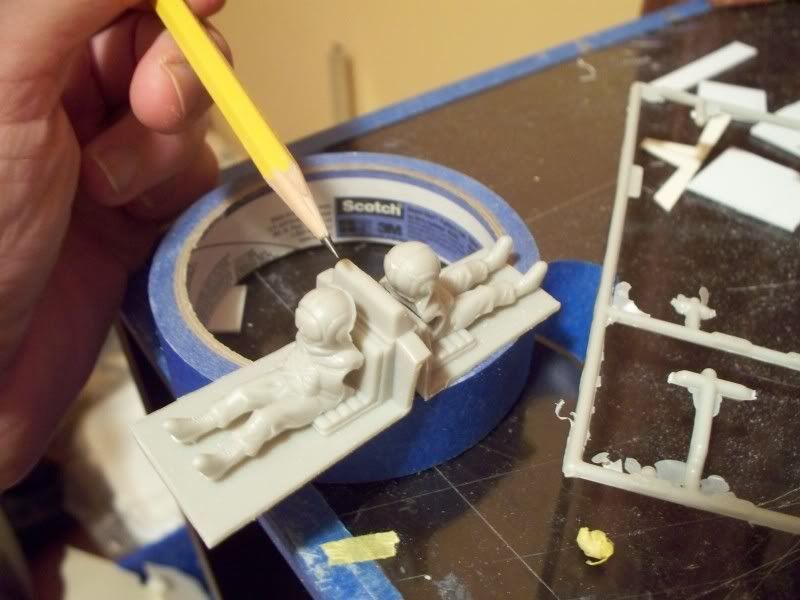
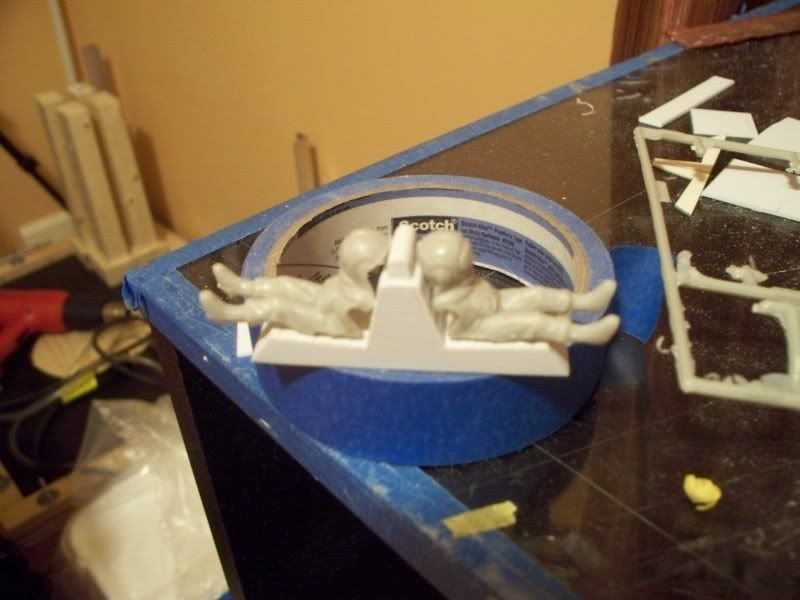
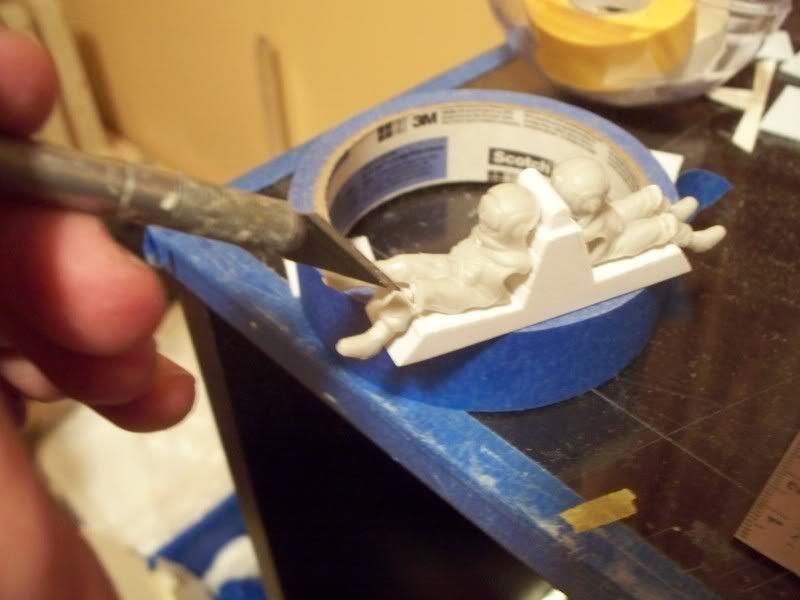
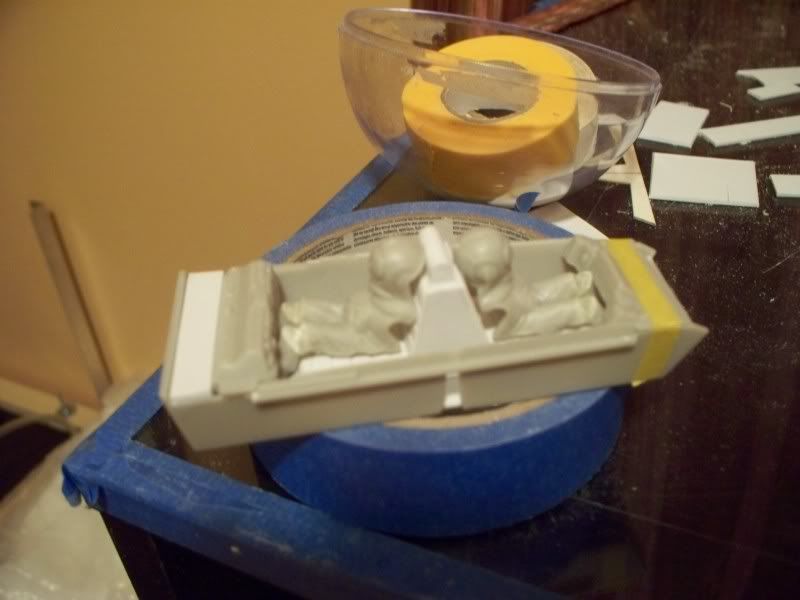
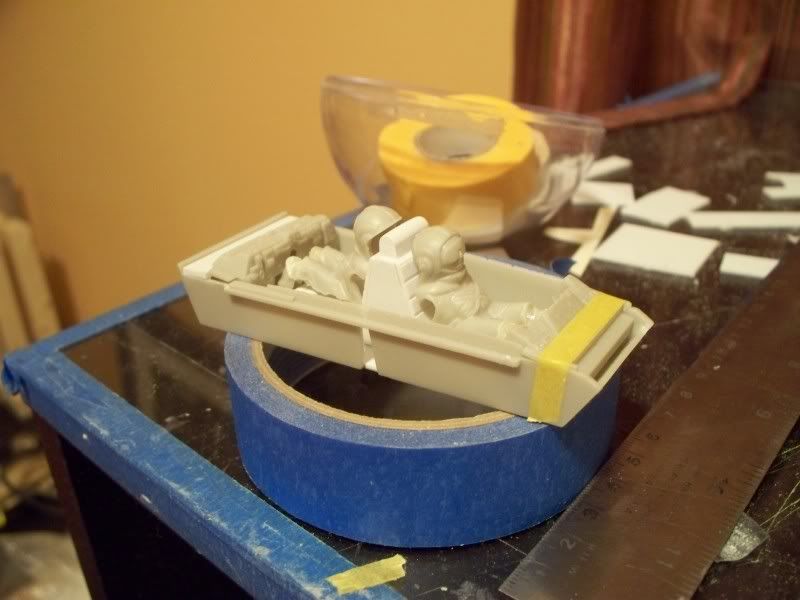
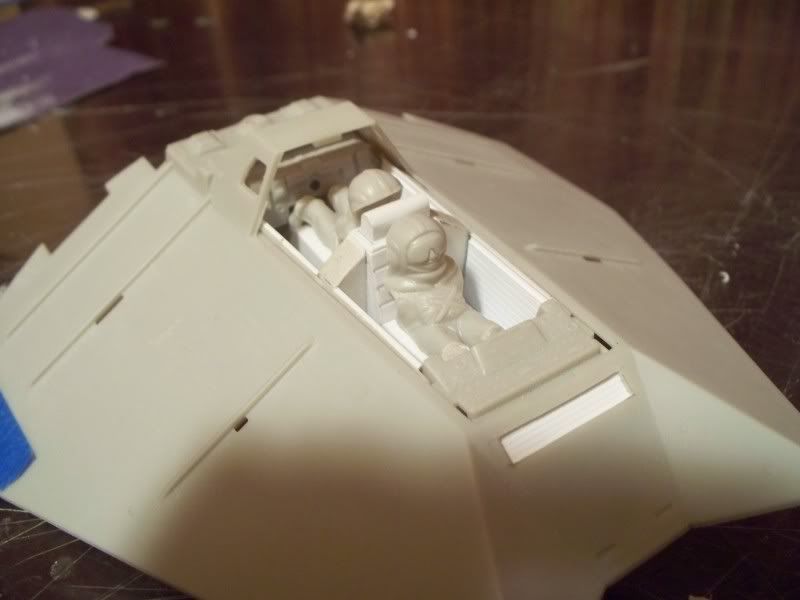
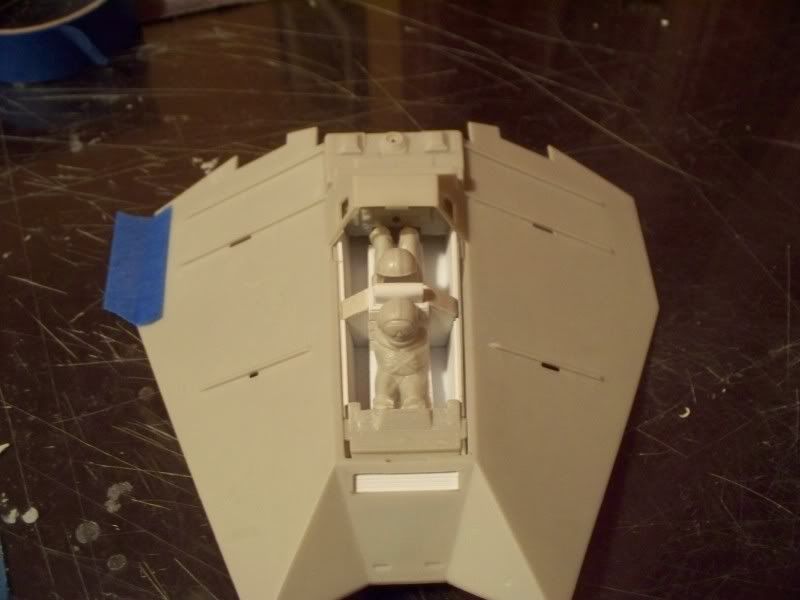
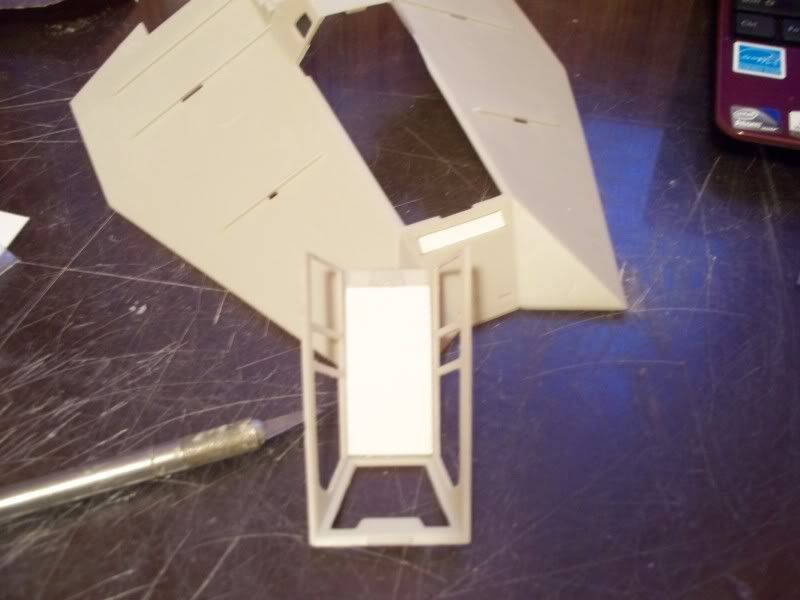
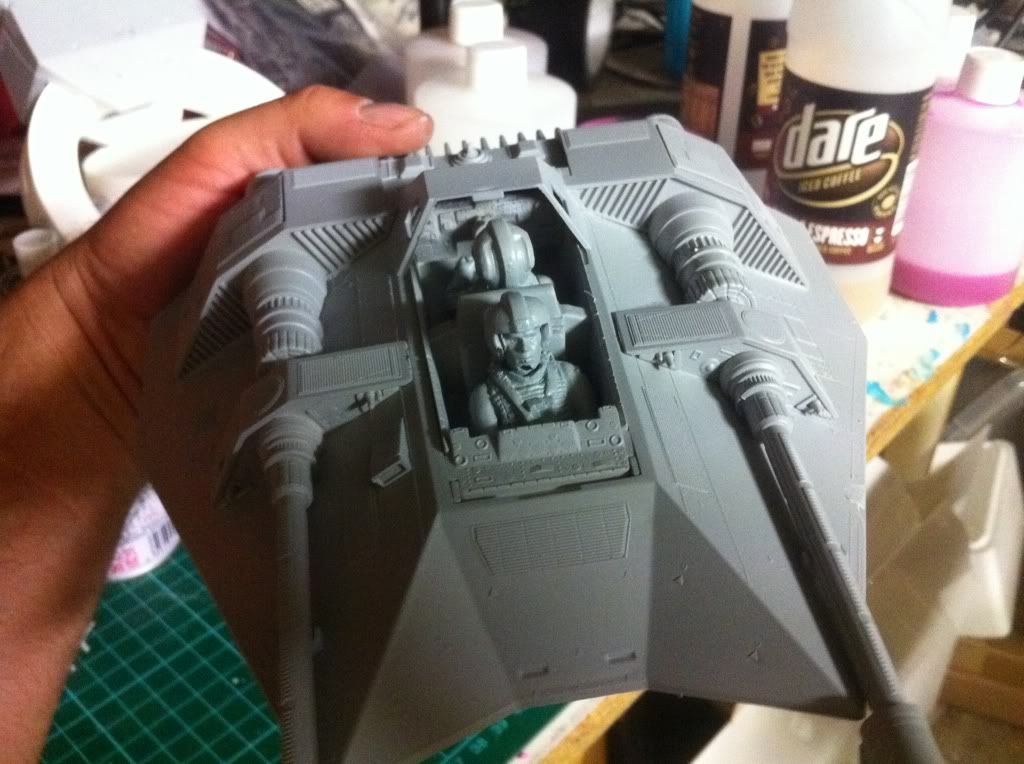
Build a new seating for the cockpit
Scribe panel lines
I am trying not to get to crazy with it.....but
lets see what happens, the list above could grow on
the fly! I wanted a build up that would allow for some scratch
building, but allow me to get into painting
relatively quickly and enjoy what the model kit
offers. LOL
Kind of a model to relax to between the escape pod and
A-wing figure I would let G catch up on his A-wing then I
would get back to it.......good enough excuse eh? Anyway
I love the speeder and hopefully you guys will like it and it
will kick start some more!
Ok first off i sanded all the raised panel lines off the hulls
top and bottom, same with the engine boxes front and rear,
and all the funky out of place raised detail and ribbing. As an example
if you know the kit the ribbing on the laser cannons comes to mind.
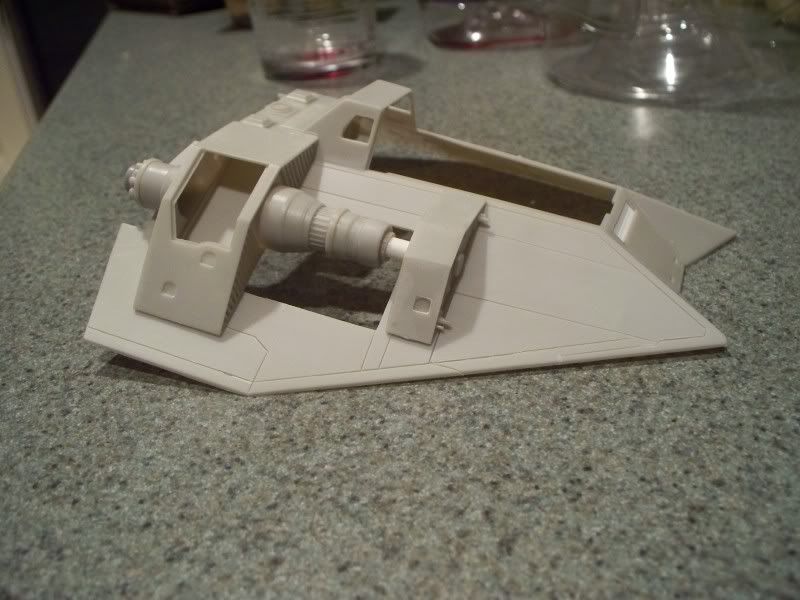
I think for a kit MPC did a great job the first stage coming out of
the big rear box, but the second stage not so good! So i did
some sanding of the ribbing and cut away a piece of it you will
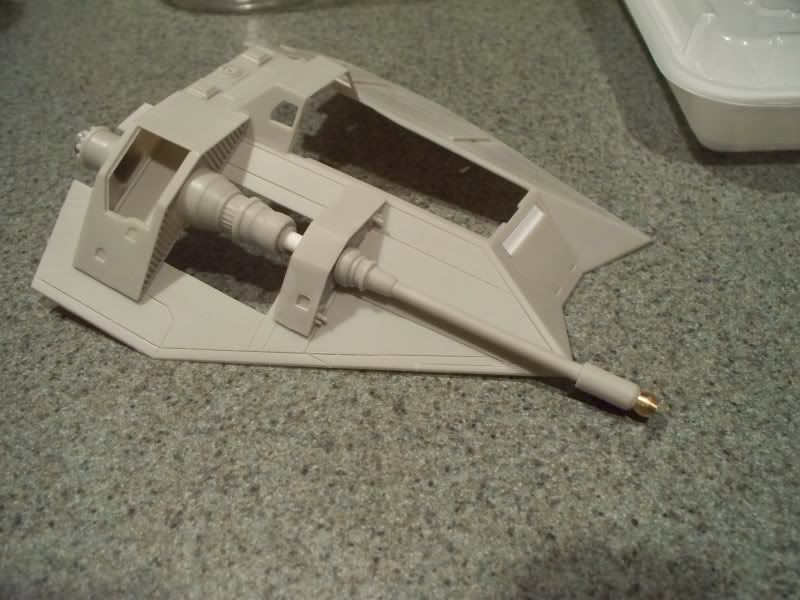
see in the pictures. The laser cannons were a quick fix which consisted
of sanding the raised ribbing on the surface and fitting to brass compression
fitting for the tips. The seam lines were bad at the tips and sanding only
proved to eat them up more and destroy the shape. I left some of the plastic
tip and fitted the compression fitting over the top so it fits
snug.
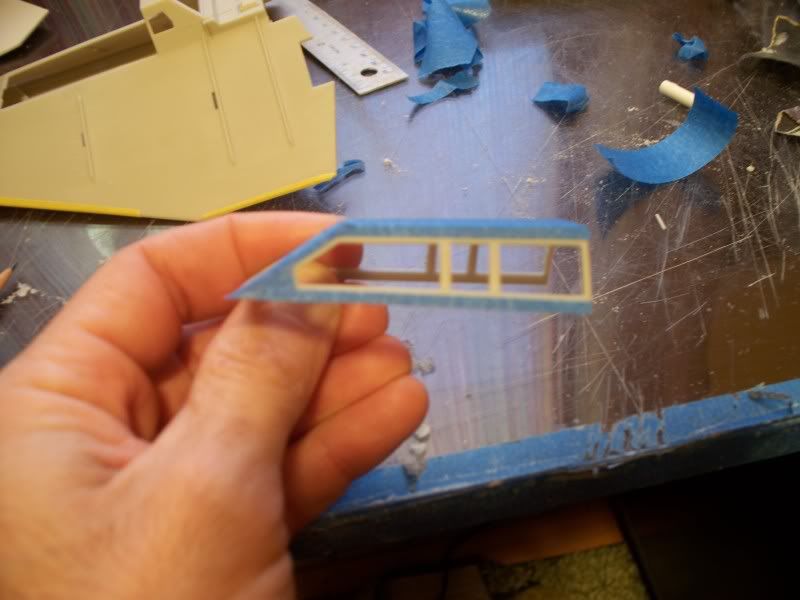
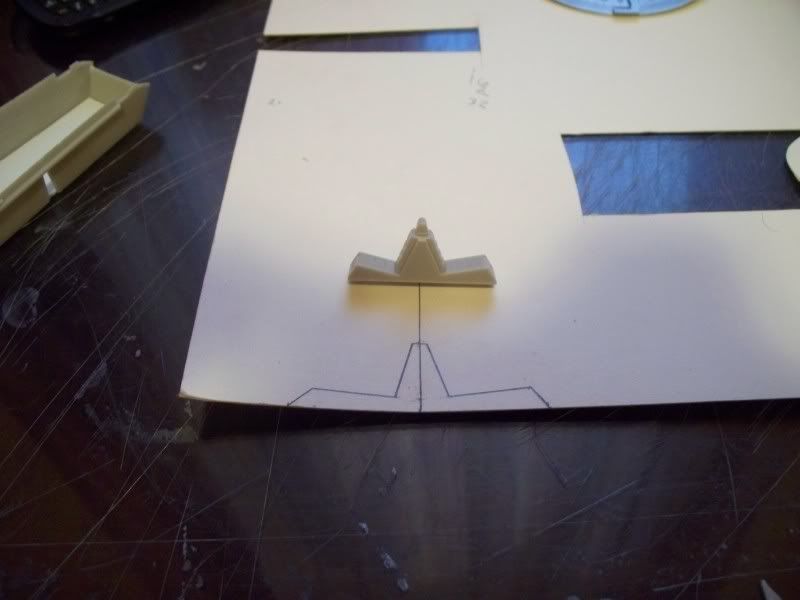
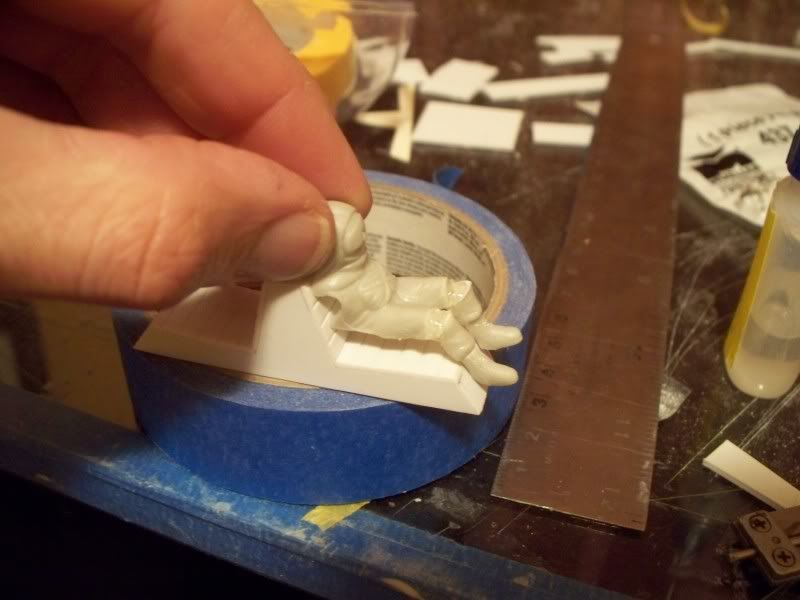
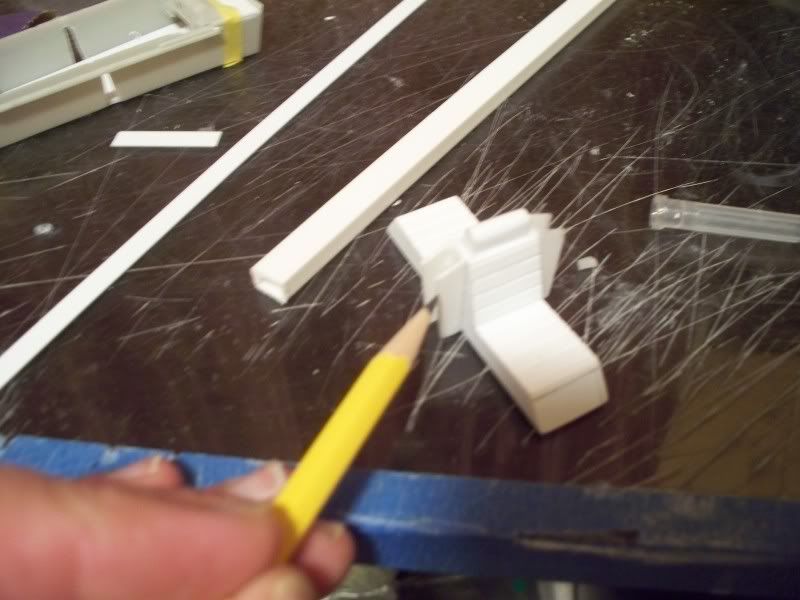
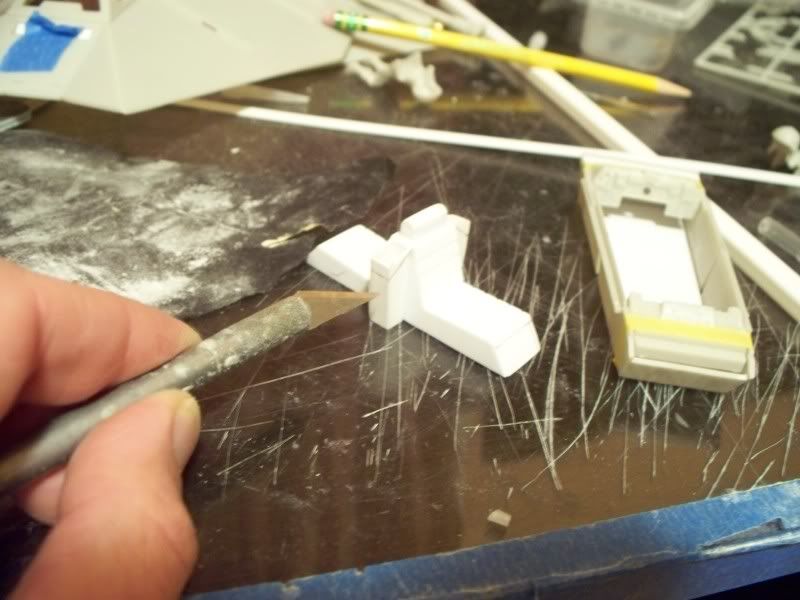
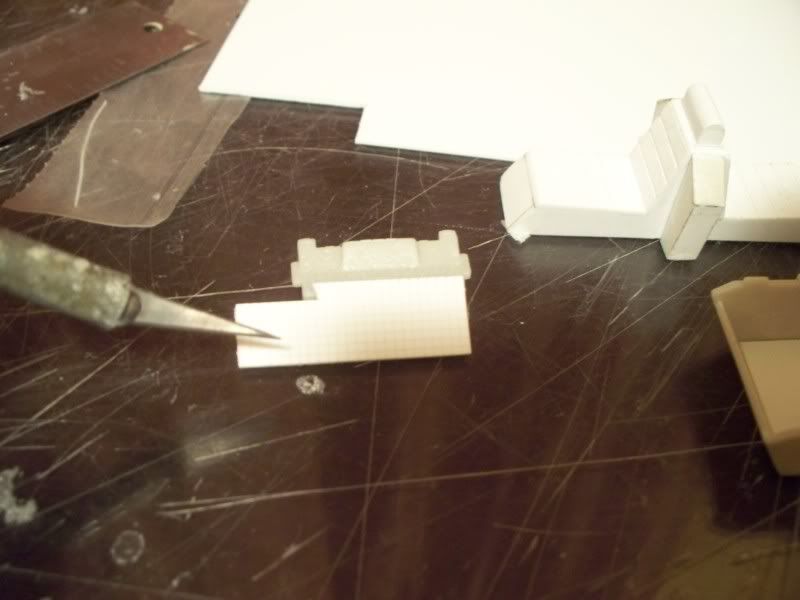
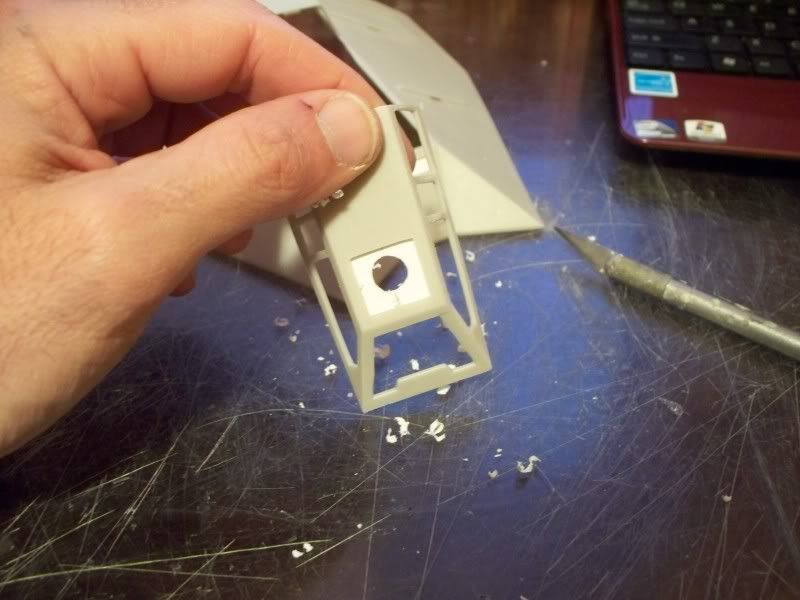
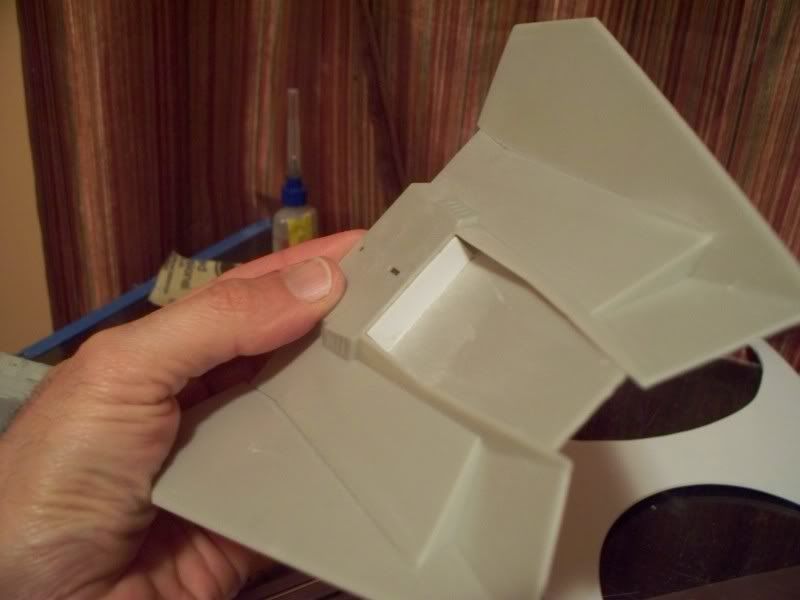
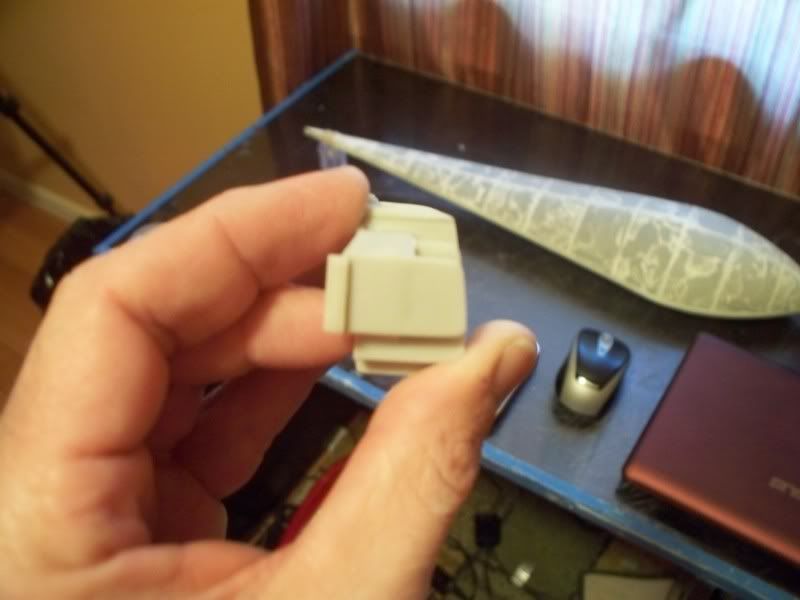
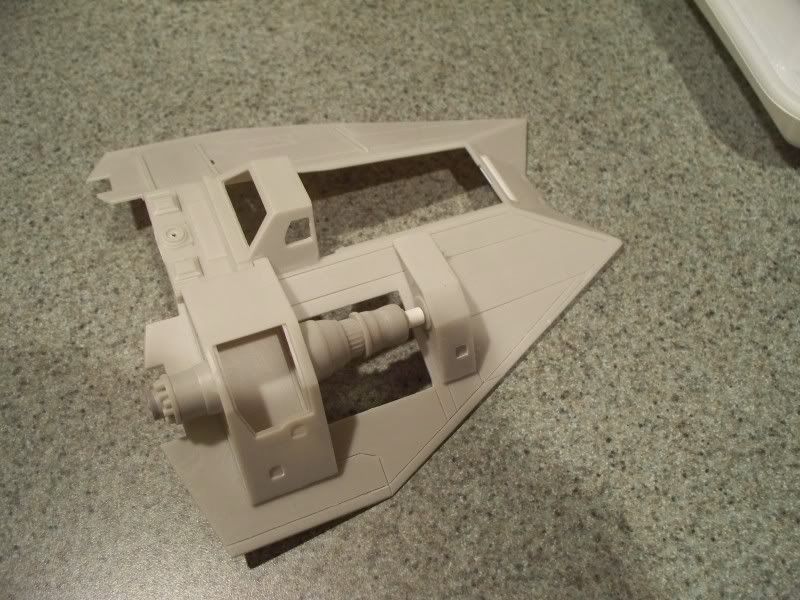
Ok in this picture you can see the original kit part in my hand
I sanded the ribbing off and cleaved off the funky end. You can see the finished
part on the model. Looking at the Studio scale model it looked to me that the diameter
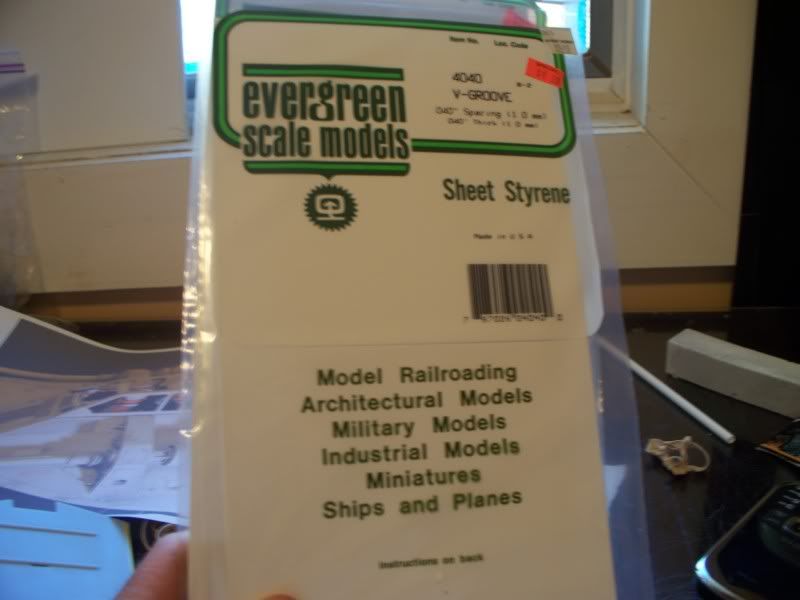
there was the same as the laser cannon in the front, so that's what i went for. I just
used some evergreen tube and fit it in after i opened up the front.
http://i8.photobucket.com/albums/a40/3dimensionalmanagement/MPC Snow Speeder Kit build up/007.jpg
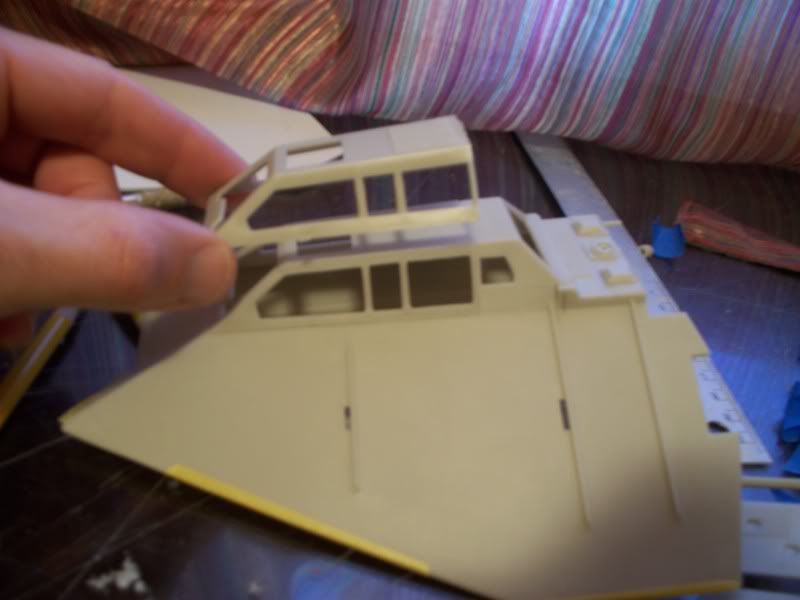
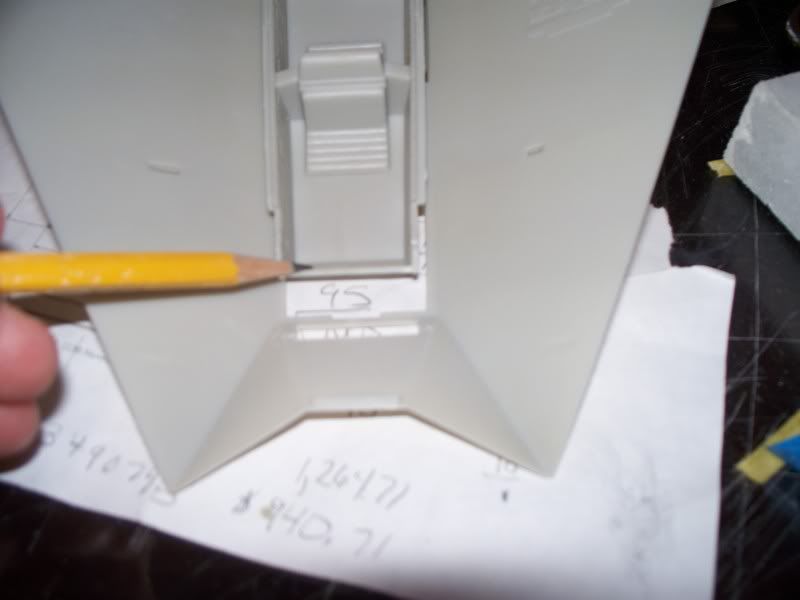
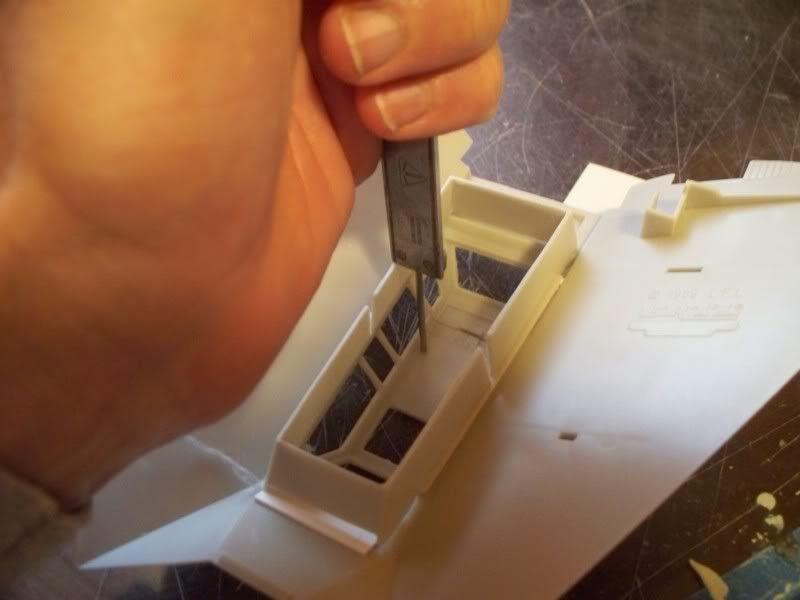
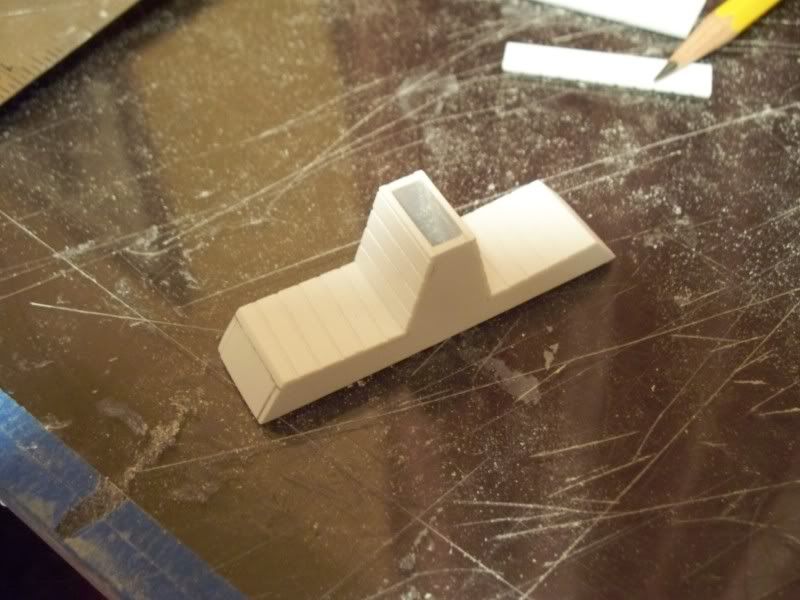
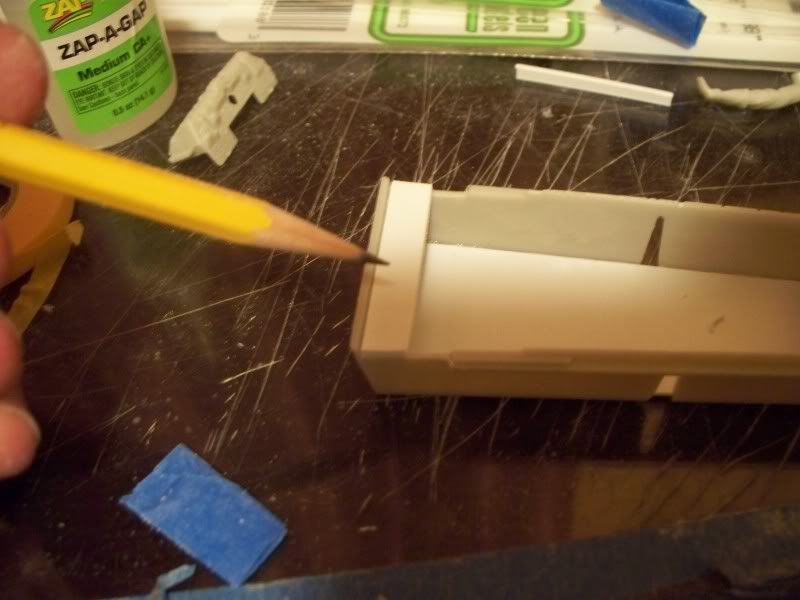
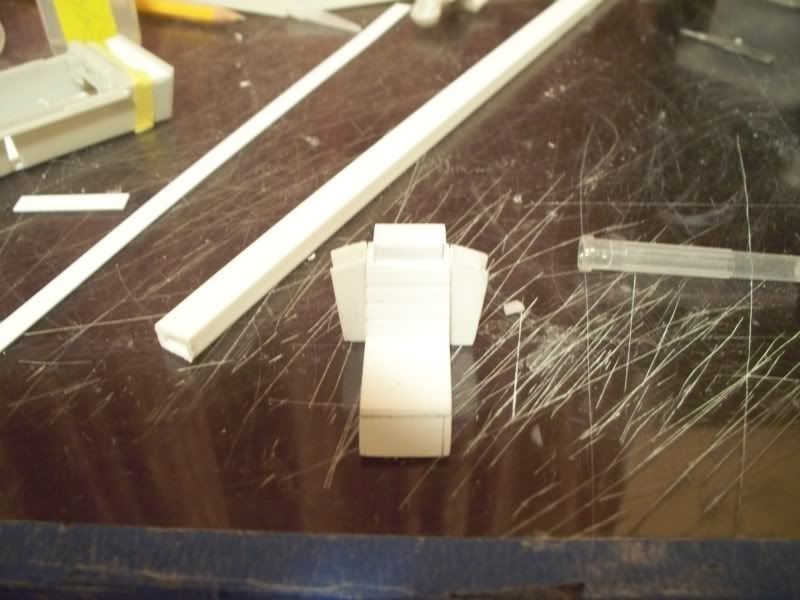
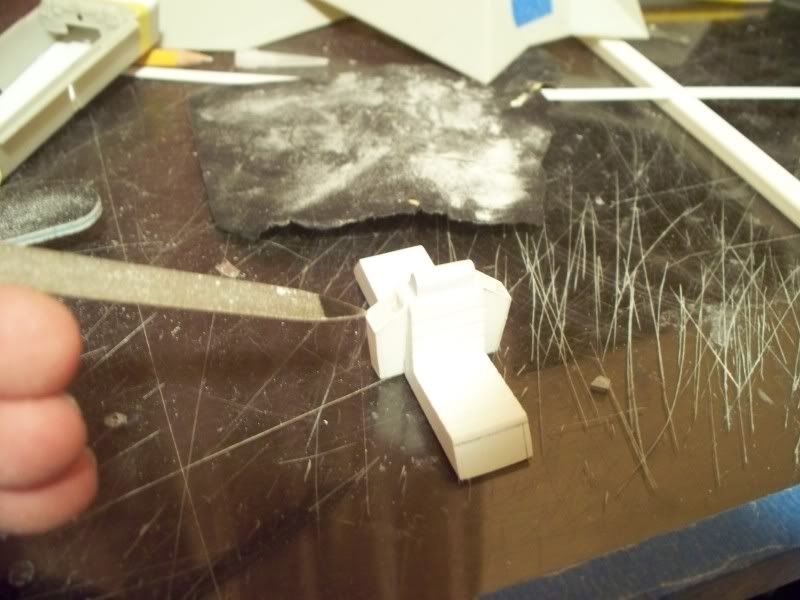
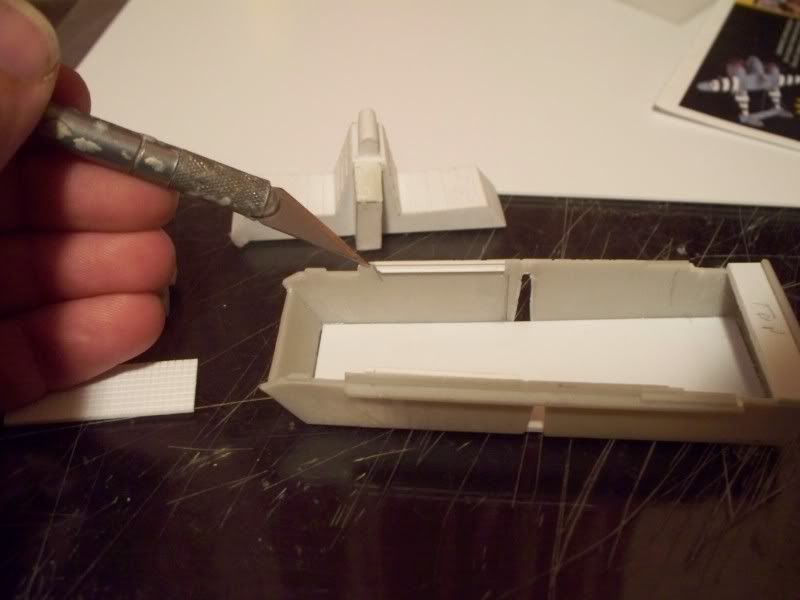
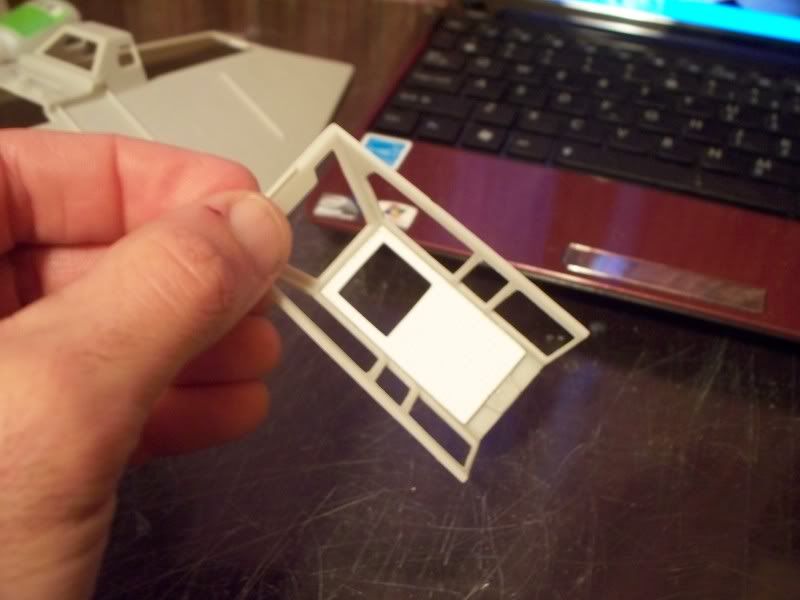
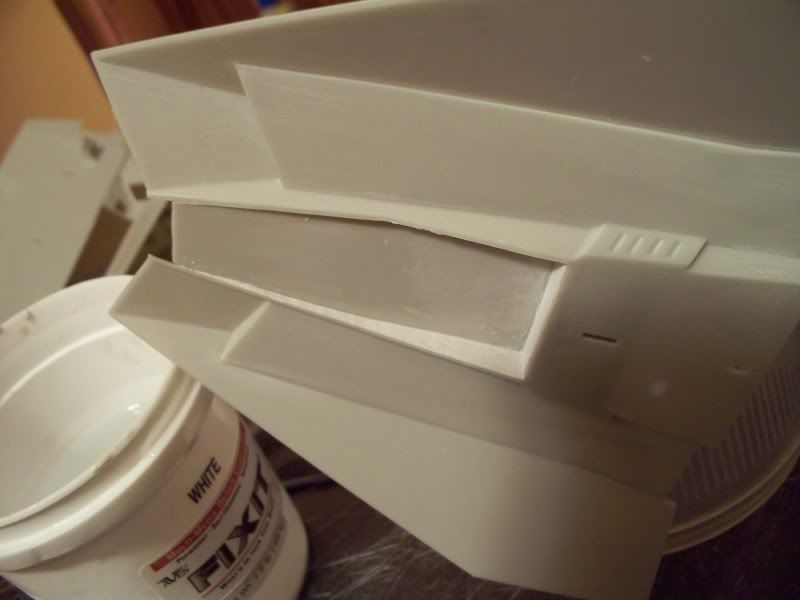
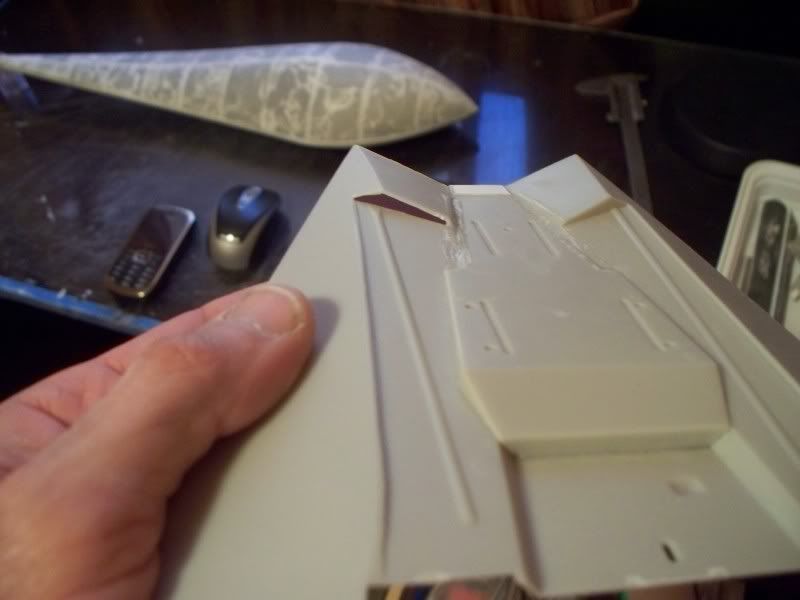
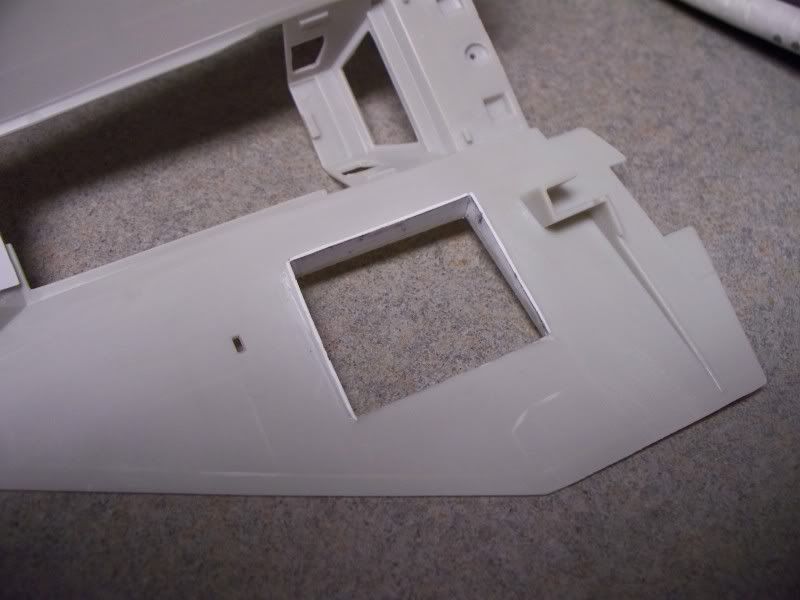
In this picture you can see i drilled through so i could run
the plastic tube through both parts. This allowed me to
set the rear box and the front box in place, then push
the tube until it hit the rear fascia of the front box. I dropped
a little solvent on it and locked it in place, the rest was trimmed
away in the big box because the housing for the rear break has
to be fitted latter.
http://i8.photobucket.com/albums/a40/3dimensionalmanagement/MPC Snow Speeder Kit build up/002.jpg
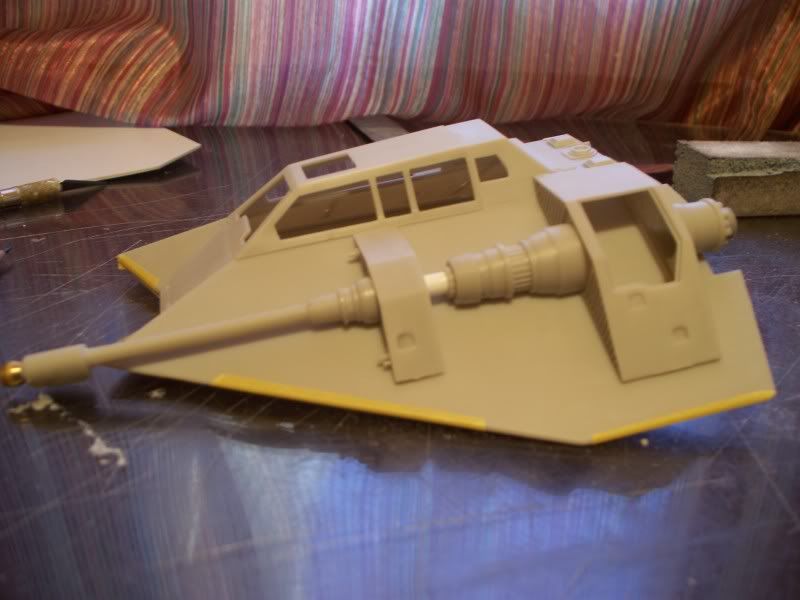
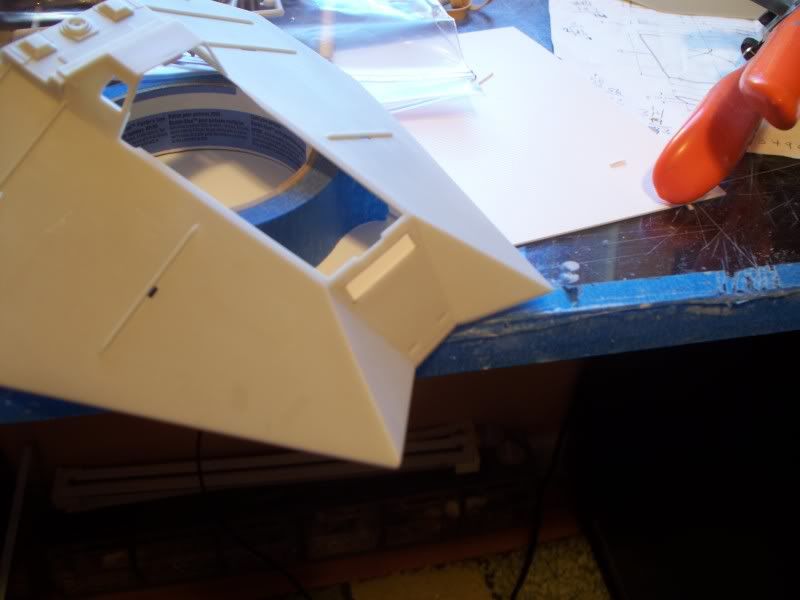
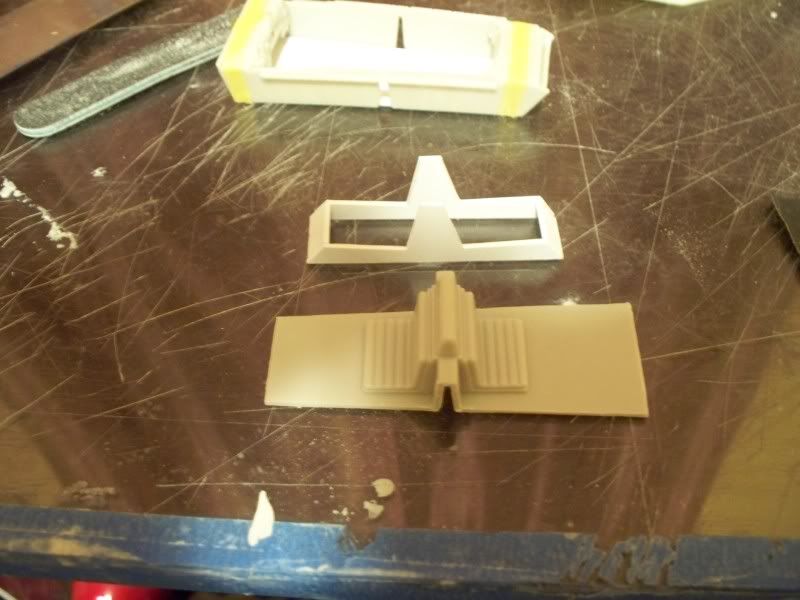
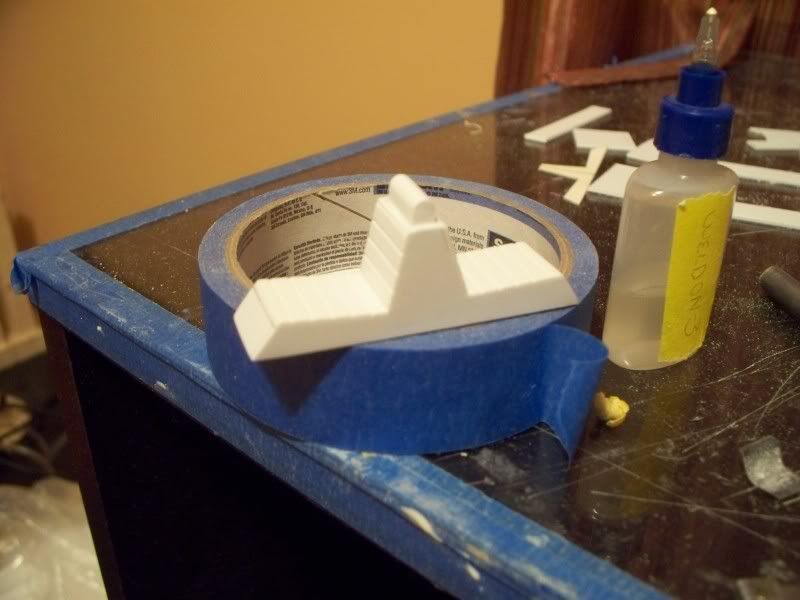
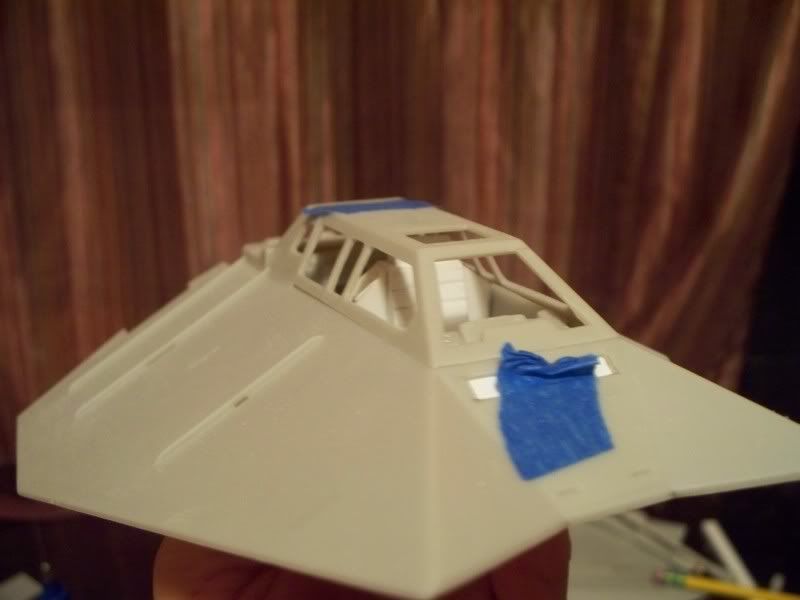
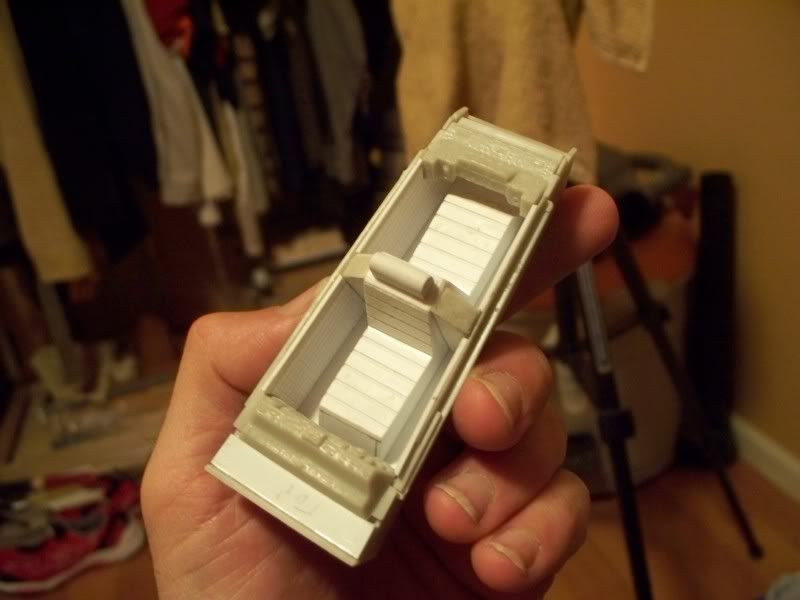
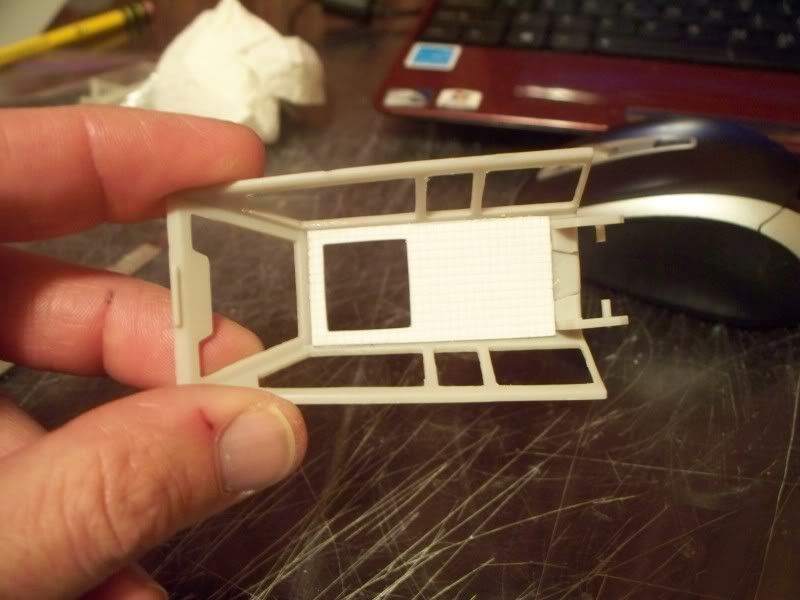
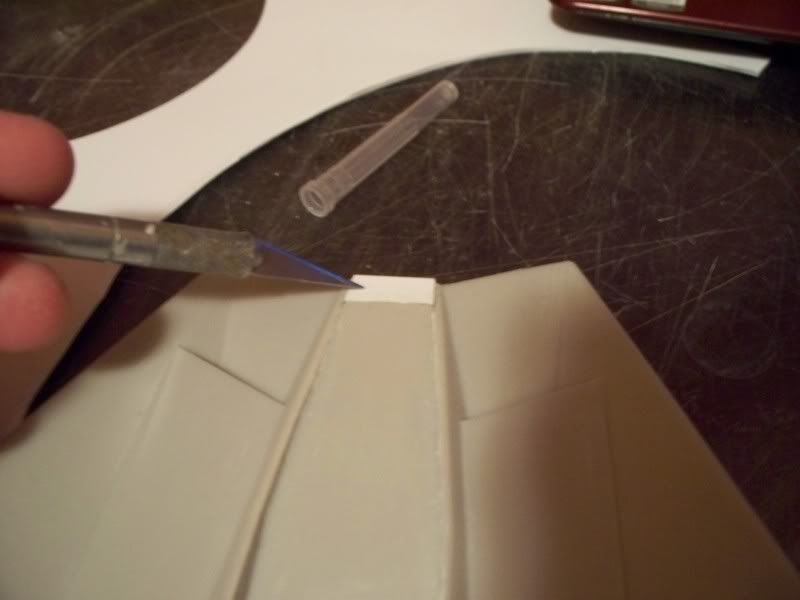
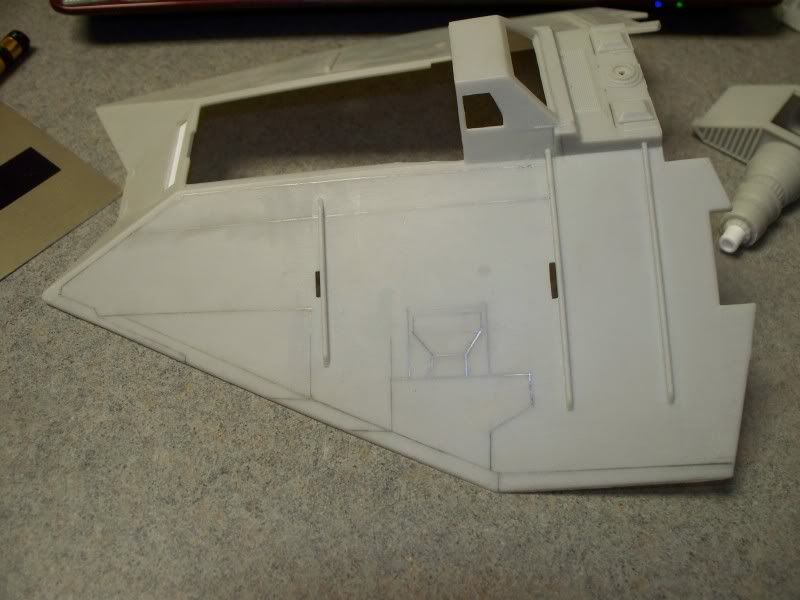
One done....
http://i8.photobucket.com/albums/a40/3dimensionalmanagement/MPC Snow Speeder Kit build up/005.jpg
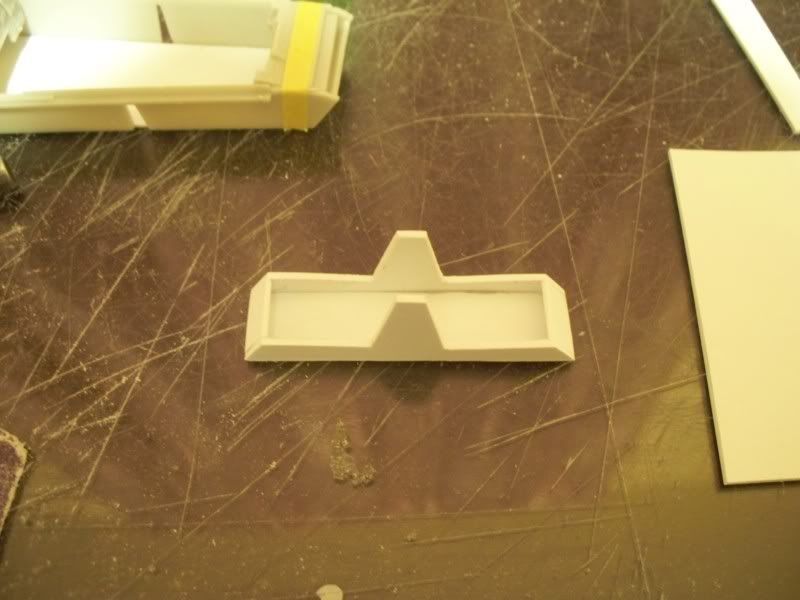
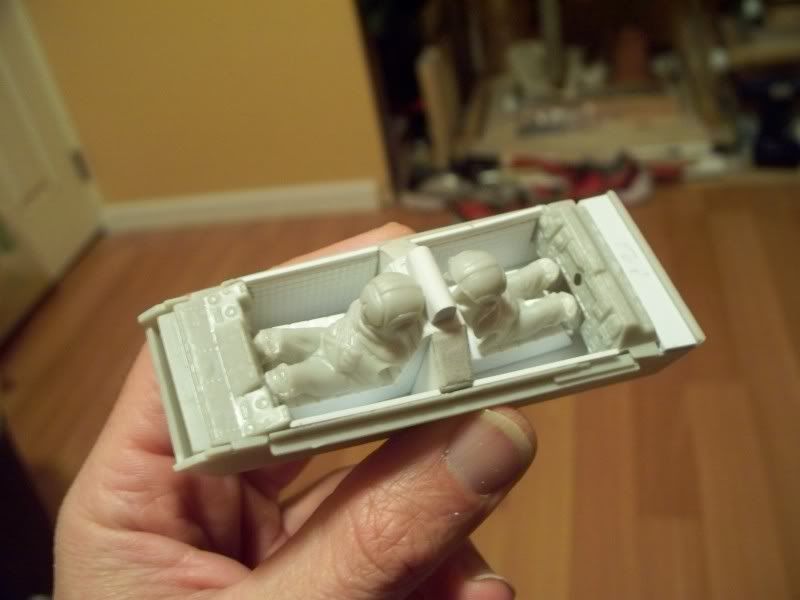
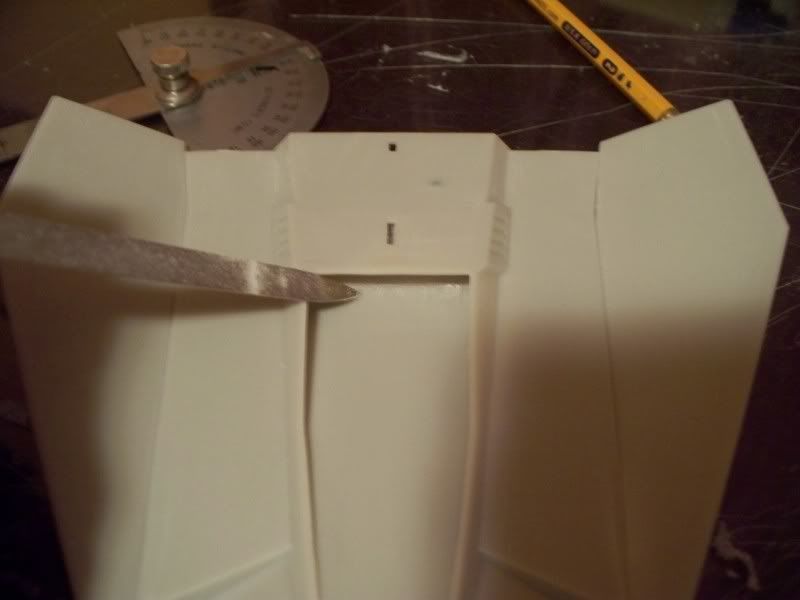
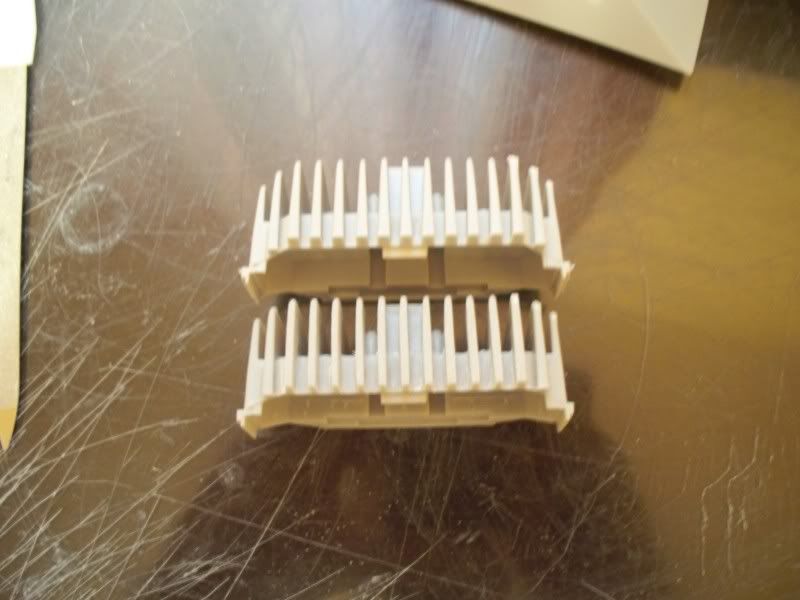
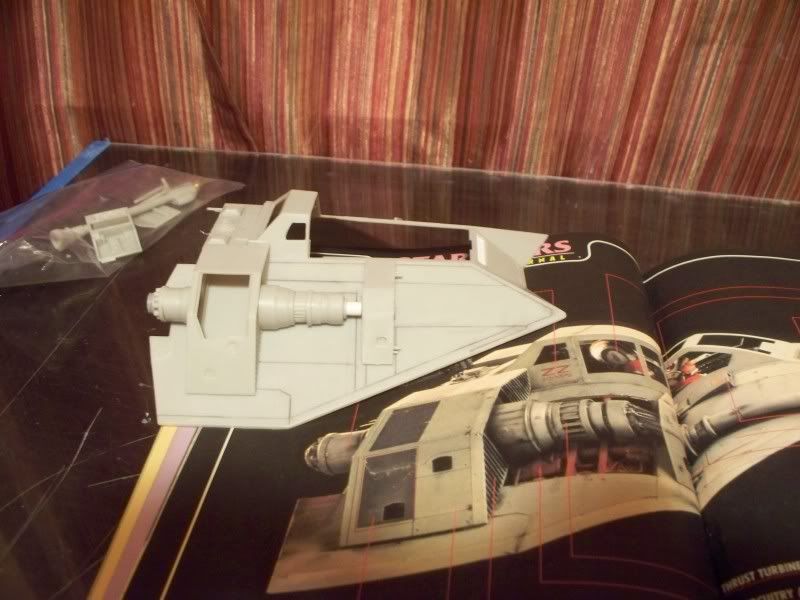
Both done...
http://i8.photobucket.com/albums/a40/3dimensionalmanagement/MPC Snow Speeder Kit build up/008.jpg
There are a lot of things I like about it and think it's worth
the time to make it just a bit more accurate. I made a video
but have some pics first sorry about that.
What I am thinking to do is and have done so far:
Sand all raised detail off the hulls including panel lines (DONE)
Sand all parts that have unnecessary details such as ribbing (In Process)
Build a new seating for the cockpit
Scribe panel lines
I am trying not to get to crazy with it.....but
lets see what happens, the list above could grow on
the fly! I wanted a build up that would allow for some scratch
building, but allow me to get into painting
relatively quickly and enjoy what the model kit
offers. LOL
Kind of a model to relax to between the escape pod and
A-wing figure I would let G catch up on his A-wing then I
would get back to it.......good enough excuse eh? Anyway
I love the speeder and hopefully you guys will like it and it
will kick start some more!
Ok first off i sanded all the raised panel lines off the hulls
top and bottom, same with the engine boxes front and rear,
and all the funky out of place raised detail and ribbing. As an example
if you know the kit the ribbing on the laser cannons comes to mind.
I think for a kit MPC did a great job the first stage coming out of
the big rear box, but the second stage not so good! So i did
some sanding of the ribbing and cut away a piece of it you will
see in the pictures. The laser cannons were a quick fix which consisted
of sanding the raised ribbing on the surface and fitting to brass compression
fitting for the tips. The seam lines were bad at the tips and sanding only
proved to eat them up more and destroy the shape. I left some of the plastic
tip and fitted the compression fitting over the top so it fits
snug.
Ok in this picture you can see the original kit part in my hand
I sanded the ribbing off and cleaved off the funky end. You can see the finished
part on the model. Looking at the Studio scale model it looked to me that the diameter
there was the same as the laser cannon in the front, so that's what i went for. I just
used some evergreen tube and fit it in after i opened up the front.
http://i8.photobucket.com/albums/a40/3dimensionalmanagement/MPC Snow Speeder Kit build up/007.jpg
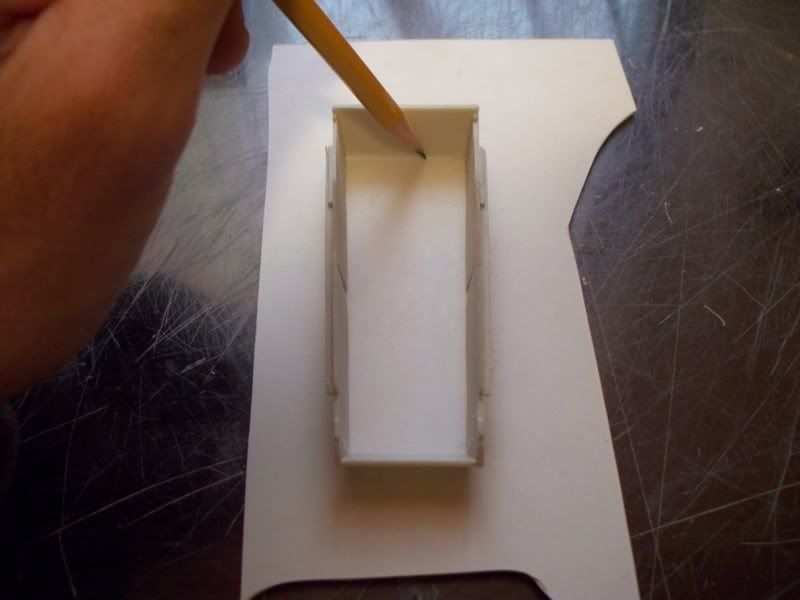
In this picture you can see i drilled through so i could run
the plastic tube through both parts. This allowed me to
set the rear box and the front box in place, then push
the tube until it hit the rear fascia of the front box. I dropped
a little solvent on it and locked it in place, the rest was trimmed
away in the big box because the housing for the rear break has
to be fitted latter.
http://i8.photobucket.com/albums/a40/3dimensionalmanagement/MPC Snow Speeder Kit build up/002.jpg
One done....
http://i8.photobucket.com/albums/a40/3dimensionalmanagement/MPC Snow Speeder Kit build up/005.jpg
Both done...
http://i8.photobucket.com/albums/a40/3dimensionalmanagement/MPC Snow Speeder Kit build up/008.jpg