Jester5891
New Member
First off hello to everyone this is my first post and project on these forums (I just found out that I was on the imposter site when I posted this the first time, but that's old news to most of you I'm sure). I have some experience with replica prop building from building a Ghostbusters Proton pack, which was very complicated and time consuming but also very fun. However I decided I needed a new project that was not so intense. So I decided on Majora's Mask. It would be somewhat of a challenge since I have not really worked with clay like is before, but I will be in familiar territory with the mold. Looking through the forums I found some mention of the mask but I did not see any build theads. So maybe this will be a bit unique.
Anyway on to the build. The first thing I did was to make a template so that I had a perfectly simetrical outline to build the base shape of the mask which is a big heart. By the way I used plastalina clay (I think thats how its spelled I'm not at home as I write this so I can't check). Would there have been a better clay to use?

Here it is all smoothed out and ready to start the detailing.

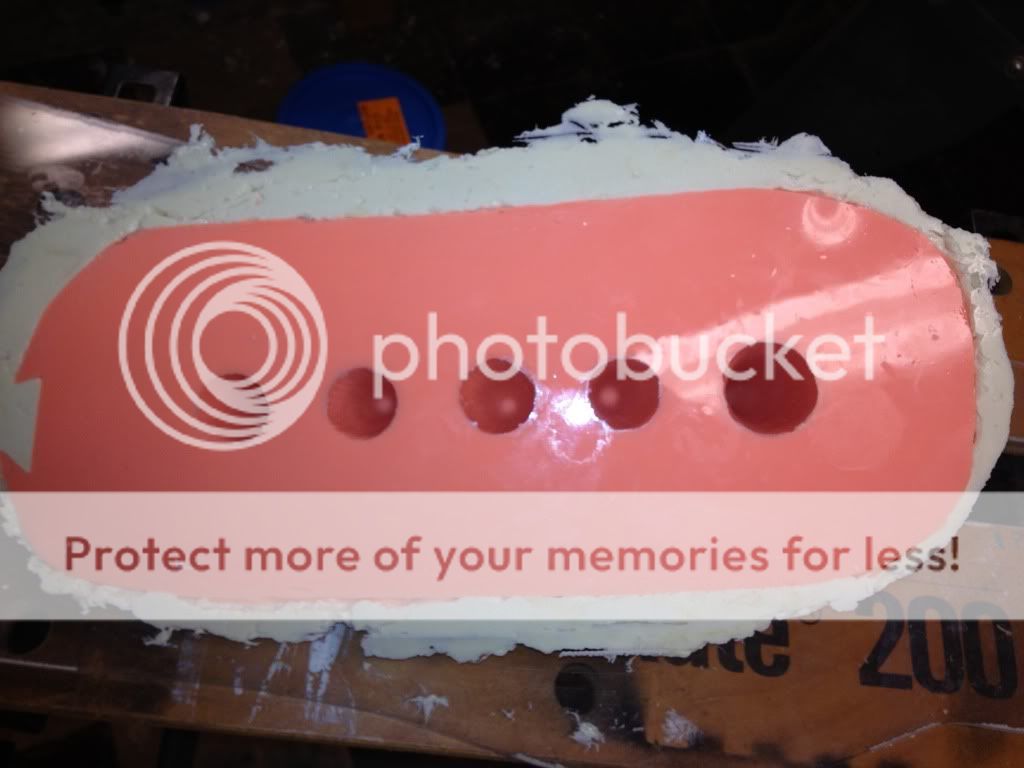
This is my first attempt at the eye detailing. They ended up being to close together. But I reused some techniques I learned from this. I found a coaster that had just about the perfect diameter for the eyes and I used that to press a perfect circle into the clay and mark where the eyes will go.

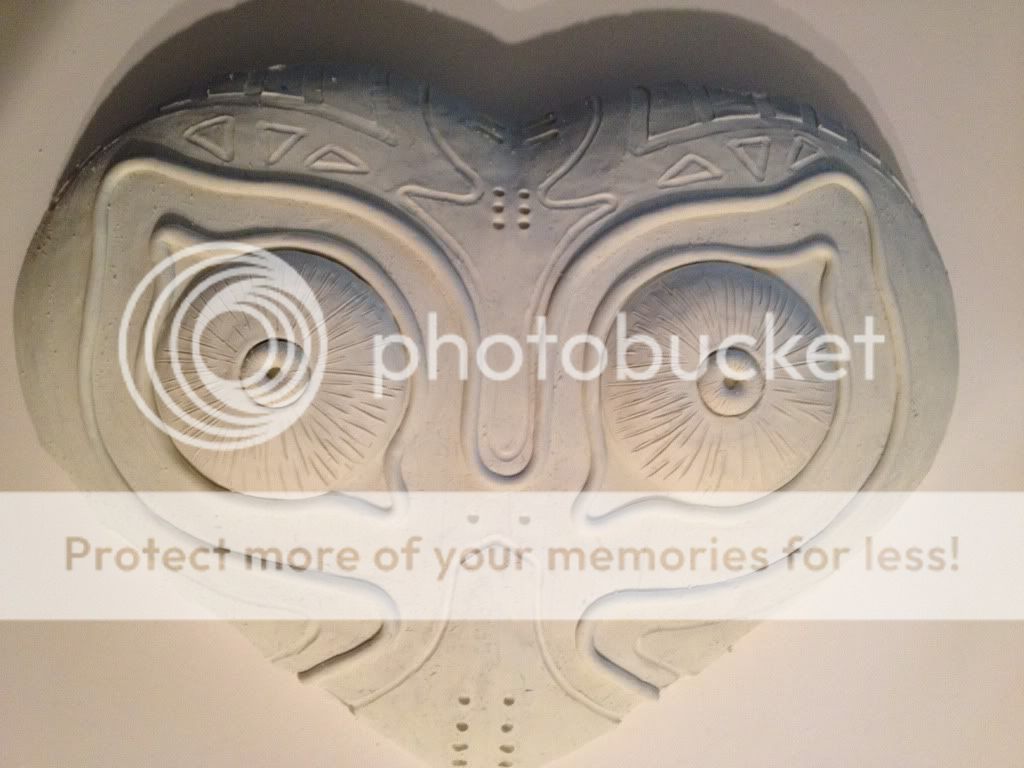
Here is the start of the second attempt. I was having a very hard time hand scribing in the detail lines that wrap around the eyes by hand. So I found that if I used a wire I could press it into the clay where I wanted the line to go and even get a kind of preview of the line before I pressed it into the clay. I could then go over it again with one of the many clay working tools (that I don't know if have specific names) I got for this and make the line deeper.


The eyes really make this thing creepy.

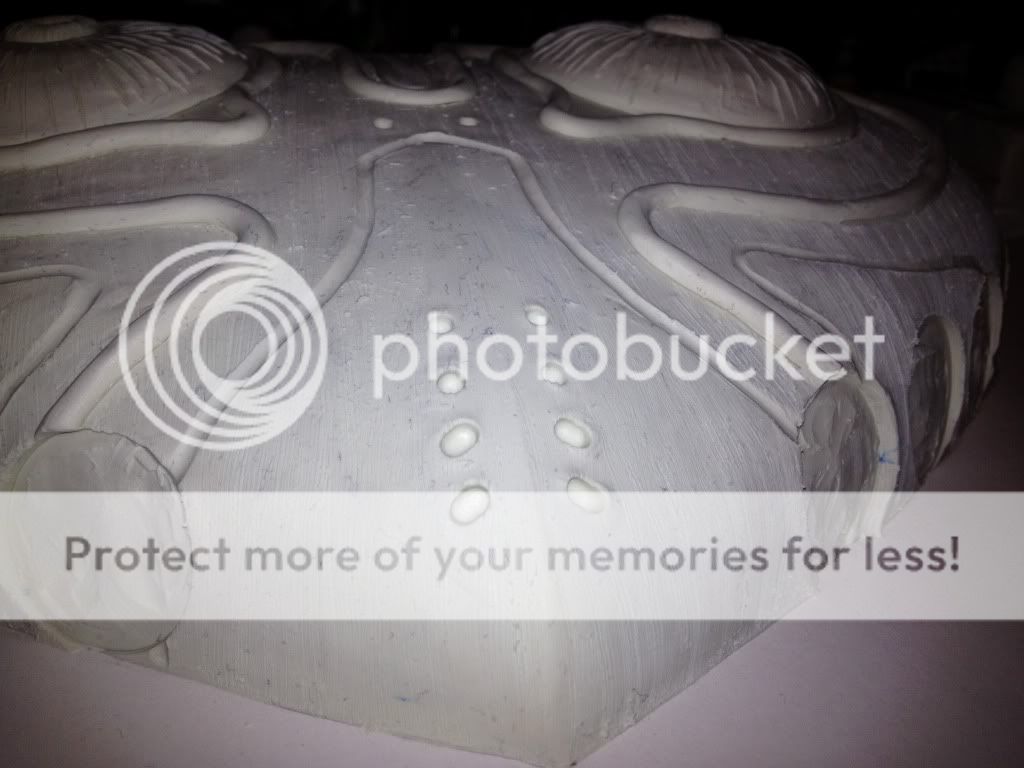
This is how it looks now all the details are in and I have the horns or spikes done. I didn't think I needed to do more horns than this since I'm making a mold and I can just cast them twice. Do any of you veterans think I need to do all the horns? I made the bases all uniform to the bottom of the PVC pipe I used to roll out the clay and then pressed that into the bottom of the mask where the horns will go so there is a recess where I can glue the cast horns into the finished piece. I think that will actually look cooler and more like its a wood mask with horns attached rather than a single carved piece.


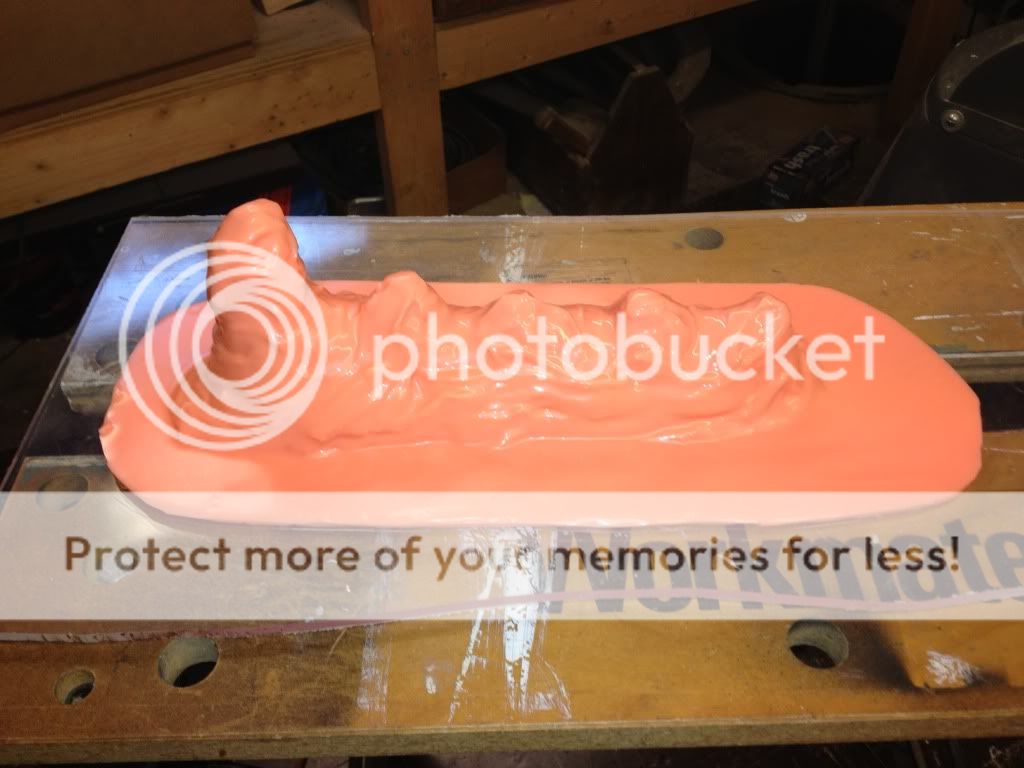
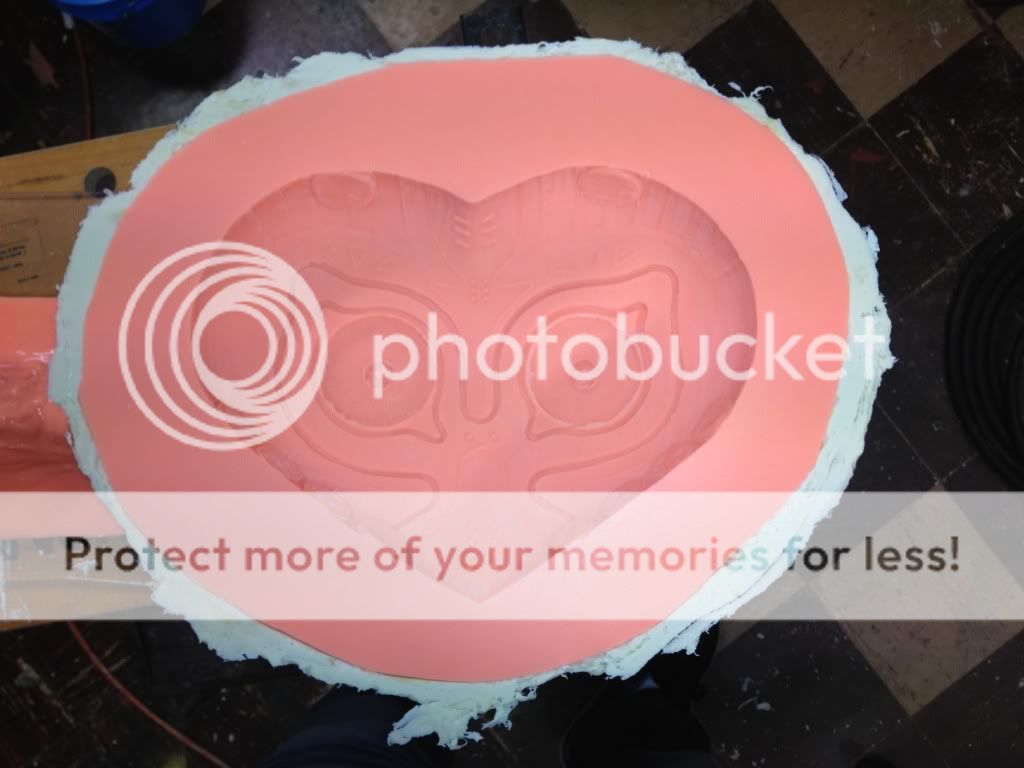
So that's what I have so far. I will be using silicone to make the mold since that's what I've done before and I do have some undercuts with the horn recesses and I think silicone will be the easiest to demold. I'm interested to read if any of you have any suggestions, and comments.
Anyway on to the build. The first thing I did was to make a template so that I had a perfectly simetrical outline to build the base shape of the mask which is a big heart. By the way I used plastalina clay (I think thats how its spelled I'm not at home as I write this so I can't check). Would there have been a better clay to use?
Here it is all smoothed out and ready to start the detailing.
This is my first attempt at the eye detailing. They ended up being to close together. But I reused some techniques I learned from this. I found a coaster that had just about the perfect diameter for the eyes and I used that to press a perfect circle into the clay and mark where the eyes will go.
Here is the start of the second attempt. I was having a very hard time hand scribing in the detail lines that wrap around the eyes by hand. So I found that if I used a wire I could press it into the clay where I wanted the line to go and even get a kind of preview of the line before I pressed it into the clay. I could then go over it again with one of the many clay working tools (that I don't know if have specific names) I got for this and make the line deeper.
The eyes really make this thing creepy.
This is how it looks now all the details are in and I have the horns or spikes done. I didn't think I needed to do more horns than this since I'm making a mold and I can just cast them twice. Do any of you veterans think I need to do all the horns? I made the bases all uniform to the bottom of the PVC pipe I used to roll out the clay and then pressed that into the bottom of the mask where the horns will go so there is a recess where I can glue the cast horns into the finished piece. I think that will actually look cooler and more like its a wood mask with horns attached rather than a single carved piece.
So that's what I have so far. I will be using silicone to make the mold since that's what I've done before and I do have some undercuts with the horn recesses and I think silicone will be the easiest to demold. I'm interested to read if any of you have any suggestions, and comments.
") thumbsup:thumbsup
thumbsup:thumbsup