Finally decided to crack open the calculator and get the bubble strip out. There is no comparison between the real deal and a repro. The bubbles are crystal clear and not as squashed together.
First, I unscrewed the back over and removed the main assembly from the case. The clear strip is held in place by plastic pins that are melted into the circuit board. I took a small needle file and popped it off by sticking the tip between the plastic and board.
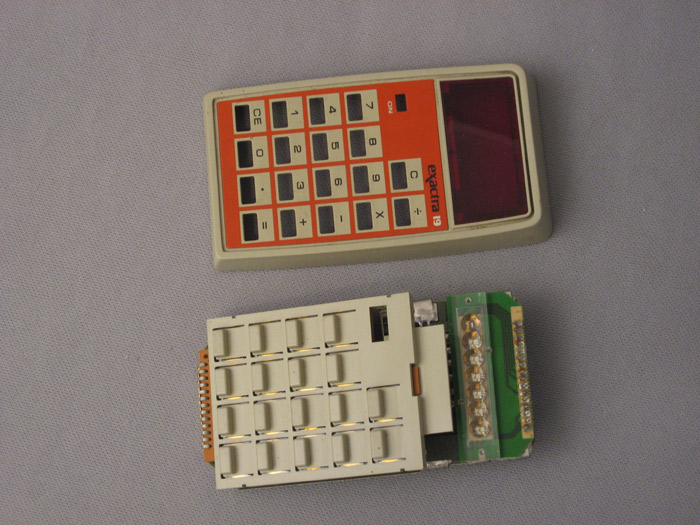
Here you can see the pins and how the bubbles are in a recessed area.
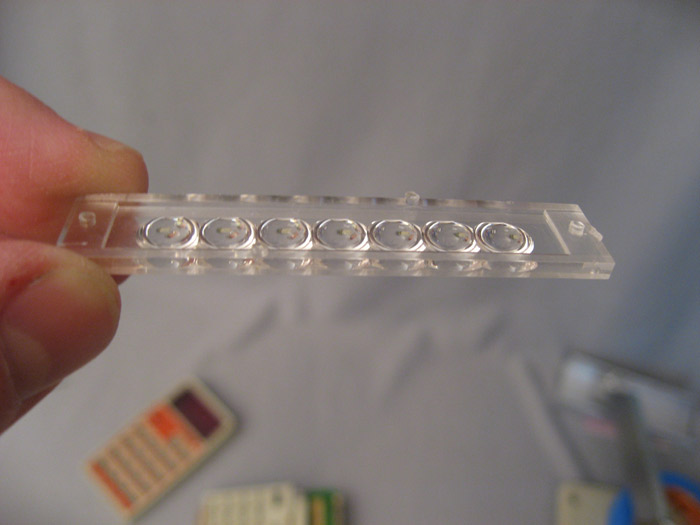
I masked off the bubble area and cut the pins off with an exacto knife.
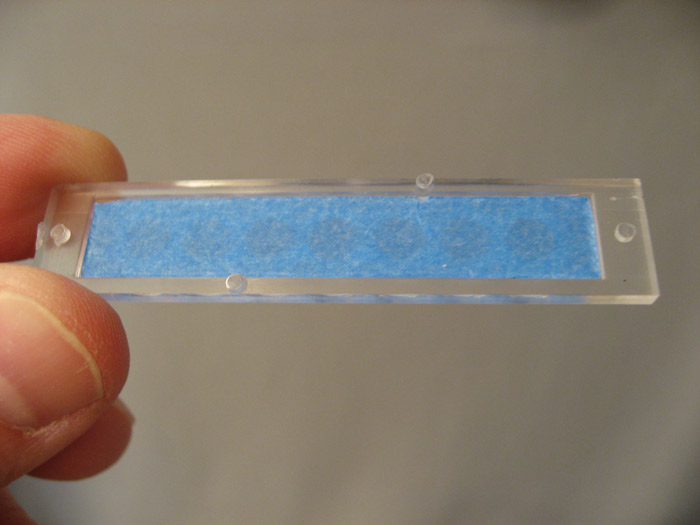
Compared to an already finished one, you can see that the recessed area is the exact length the strip needs to be.
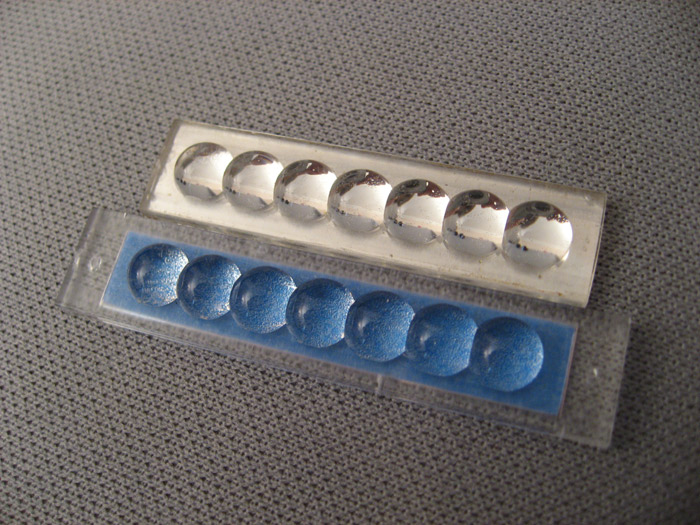
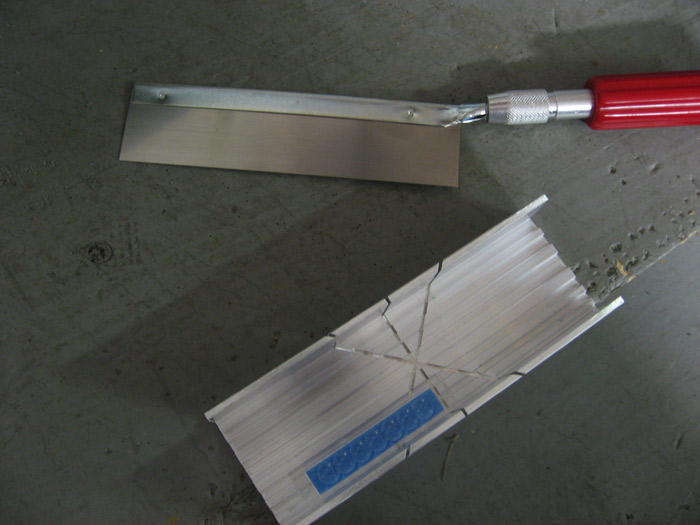
I put the strip in a mitre box and carefully sawed the ends off.
Now it is personal preference. Leave the strip tall or sand it down. I wanted mine to fit in the clamp better, so I sanded the bottom down. To do this, I started with 100 grit sandpaper wrapped around a block of wood. I then slid the strip back and forth to sand it down. I made sure to flip it every now and then to get an even sanding. I then worked my way up to finer and finer grains of sandpaper. Once sanding was finished, I completed it with some Novus scratch remover and polish.
First, I unscrewed the back over and removed the main assembly from the case. The clear strip is held in place by plastic pins that are melted into the circuit board. I took a small needle file and popped it off by sticking the tip between the plastic and board.

Here you can see the pins and how the bubbles are in a recessed area.

I masked off the bubble area and cut the pins off with an exacto knife.

Compared to an already finished one, you can see that the recessed area is the exact length the strip needs to be.

I put the strip in a mitre box and carefully sawed the ends off.

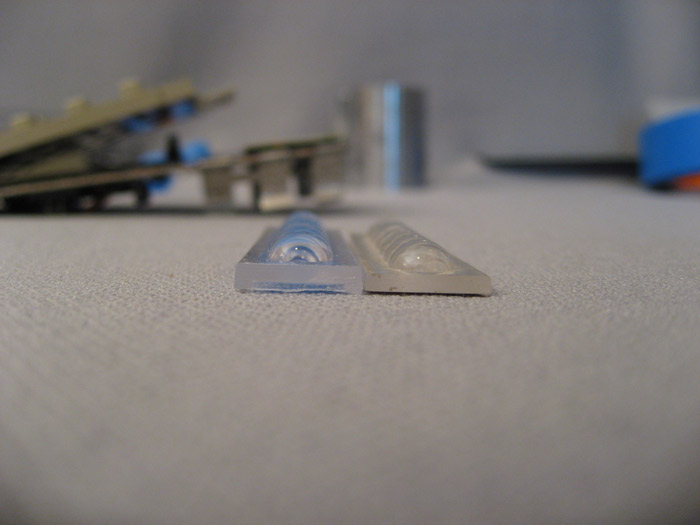
Now it is personal preference. Leave the strip tall or sand it down. I wanted mine to fit in the clamp better, so I sanded the bottom down. To do this, I started with 100 grit sandpaper wrapped around a block of wood. I then slid the strip back and forth to sand it down. I made sure to flip it every now and then to get an even sanding. I then worked my way up to finer and finer grains of sandpaper. Once sanding was finished, I completed it with some Novus scratch remover and polish.

Last edited:
