JWKruser
Active Member
Hey all!
This whole costume making/cosplay thing is pretty addictive! I finished my first costume (Dead Space) a little while ago and learned so much. I shared my progress here on and this community was so awesome and full of encouragement. The positive feedback received from you all encouraged me throughout the process.
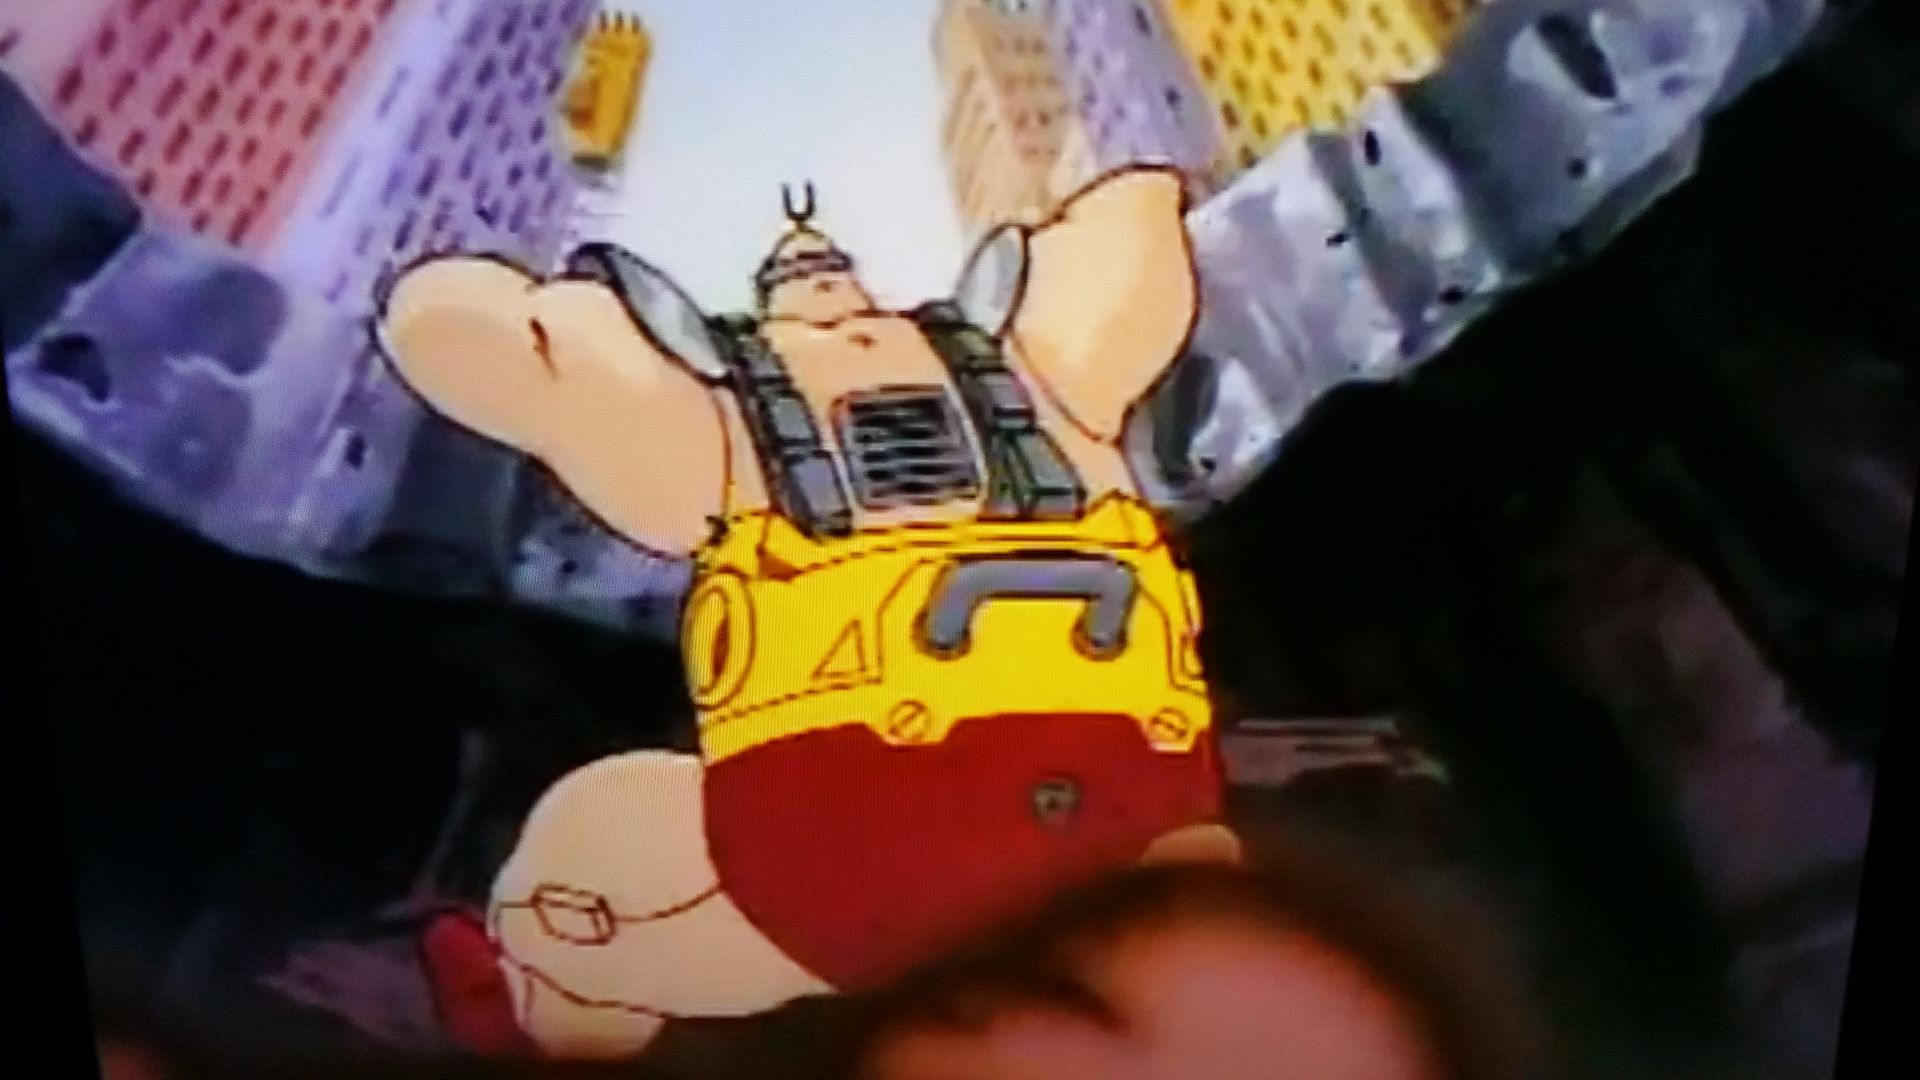
Now that its done, I'm sitting here chomping at the bit to do another one. So, I started a new build. Over the last two days I've spent 22 hours in the garage working on my very own Krang Android suit from my childhood favorite cartoon. TMNT!

So,here come a ton ofpictures.

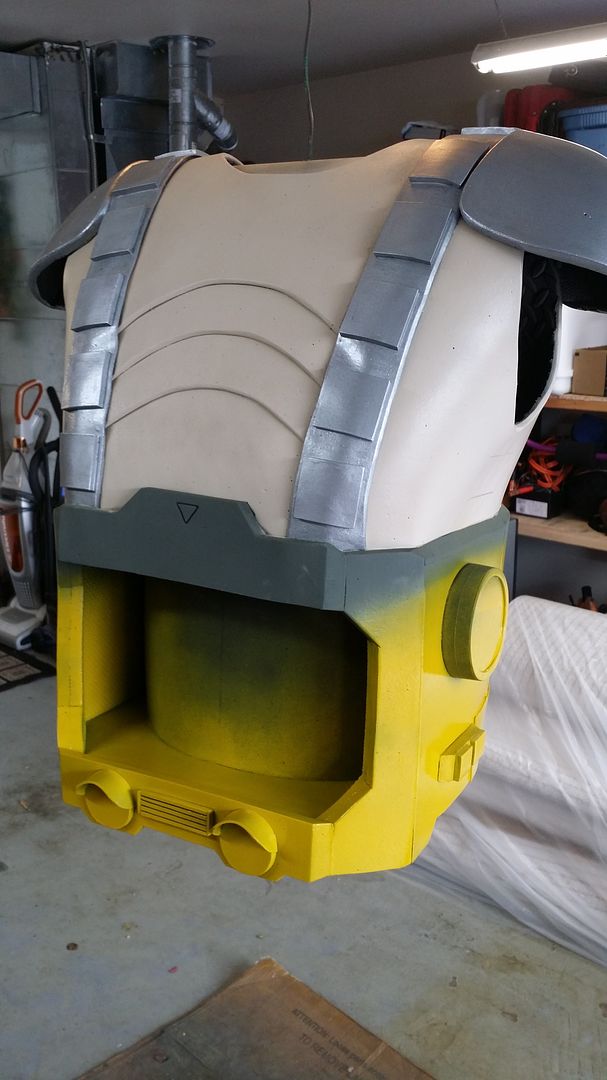
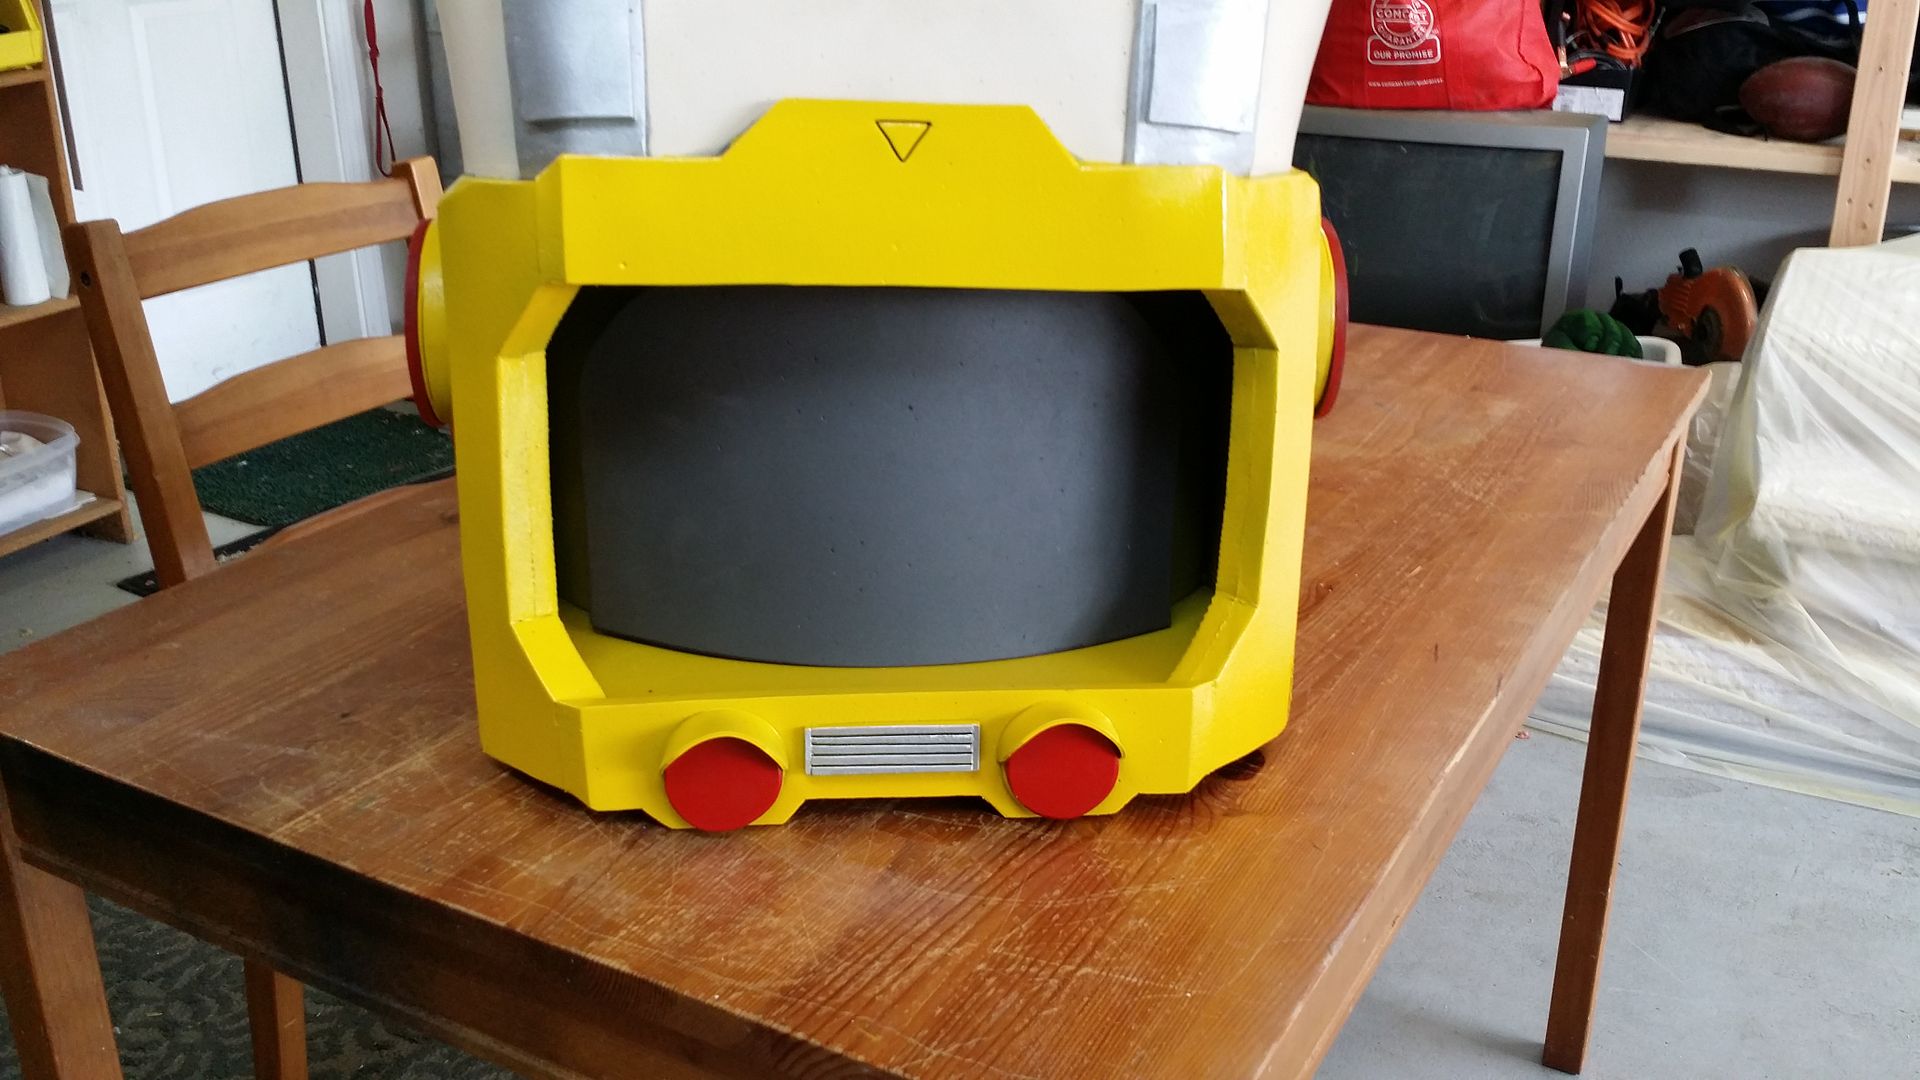
Starting with a thin diamond backed foam floor mat, I made a tube to fit around my stomach and began building around that to make Krang's chamber.


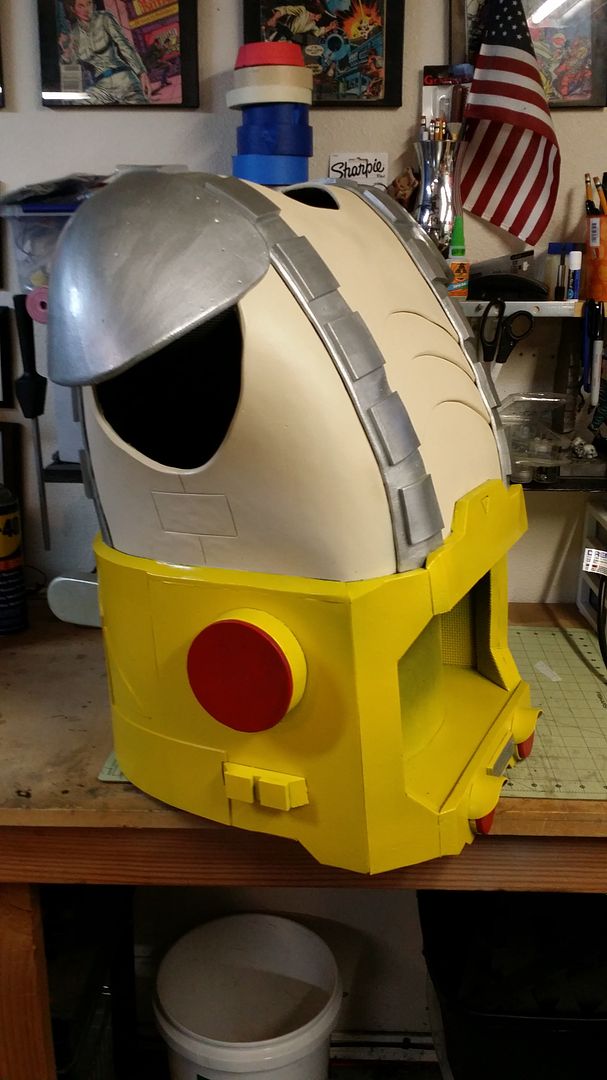
Piece by piece, the "chamber" began to take shape.

I was careful to leave at least 3/4 of an inch excess at the top of the chamber so that I would have enough surface area to glue the torso directly to the chamber.

Once the "chamber" was blocked out, I roughed out suspender's length and started on the shoulders.

I have never made shoulders before. So after watching a video from Evil Ted Smith. I drew out a pattern I thought would work and went to town. Once they were done they had a cool shape, but never really did look like I wanted them to. I figured I would shape them once I had more overall to look at and make my decision then.


I temporarily pinned them to the suspenders to get an idea. Still didn't like them.

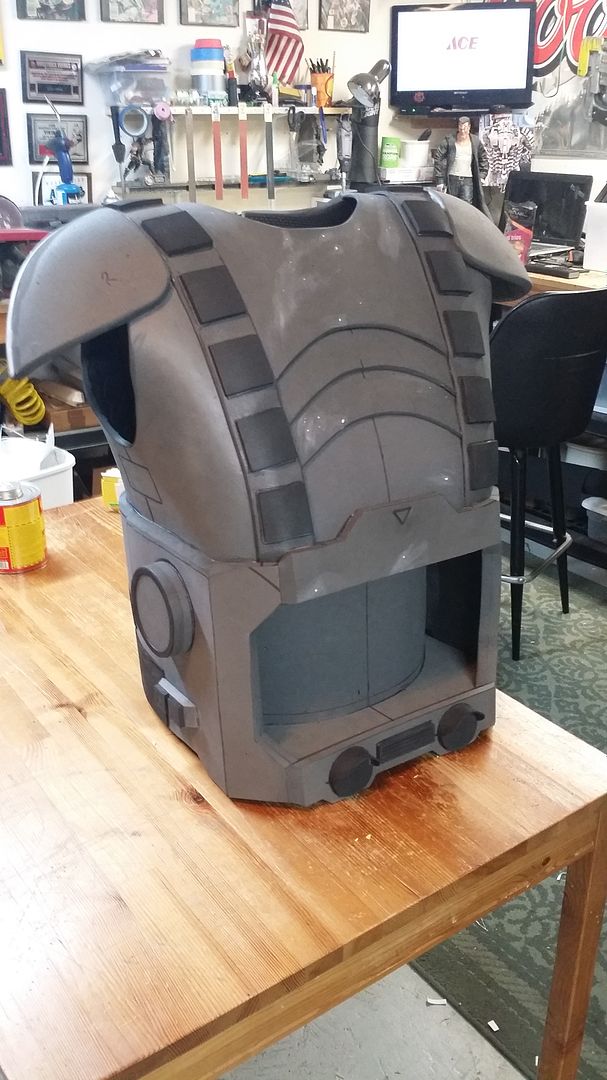
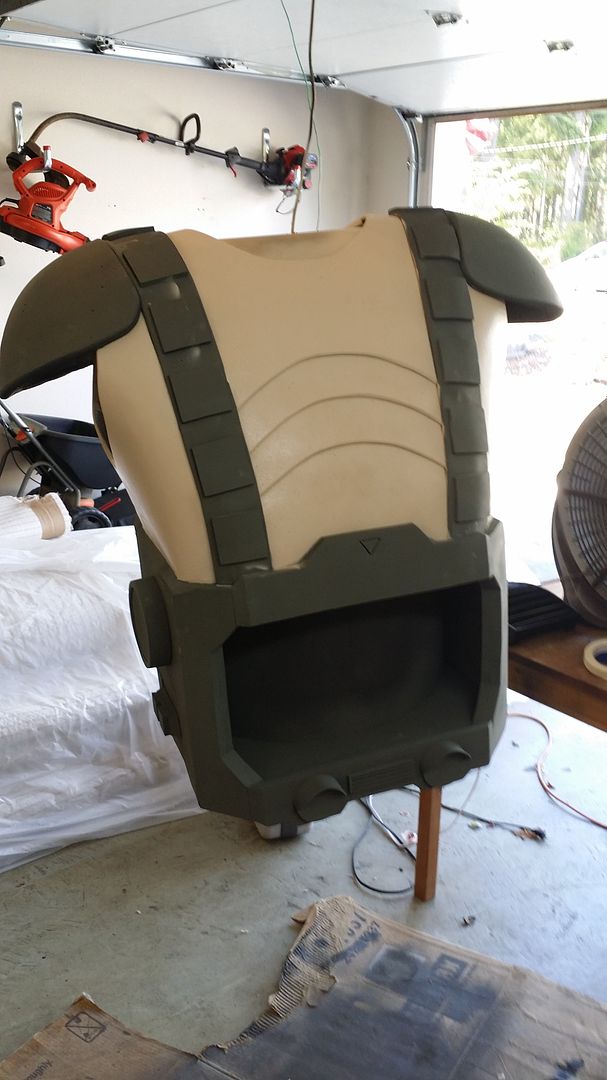
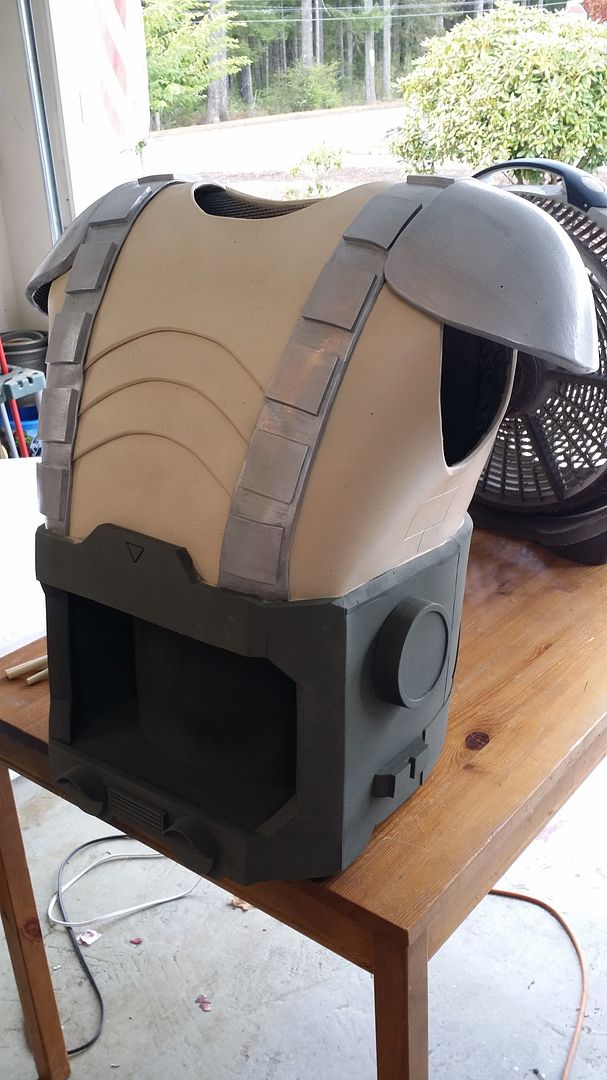
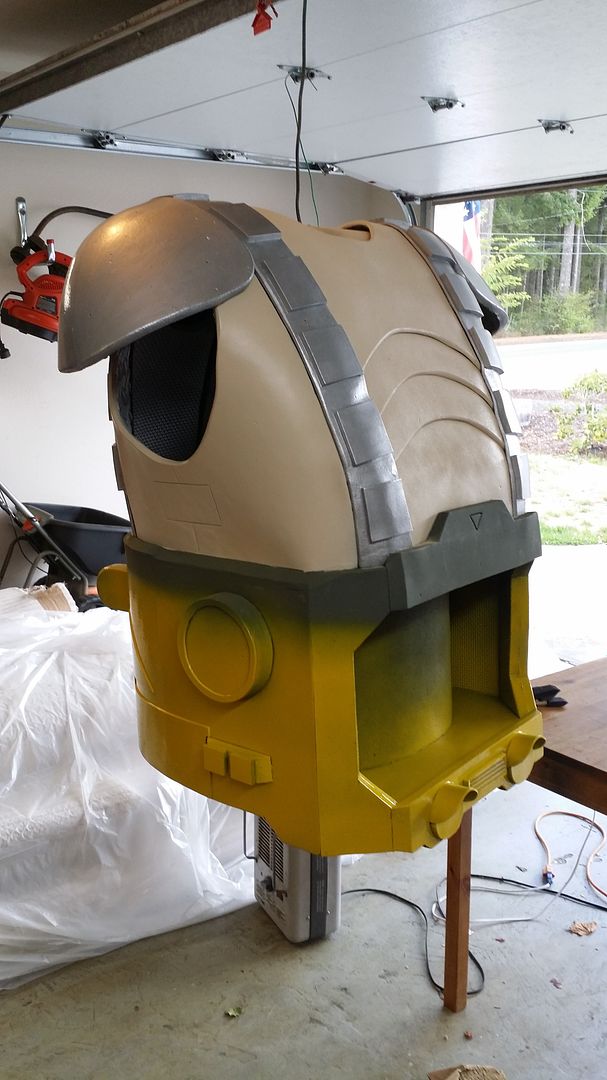
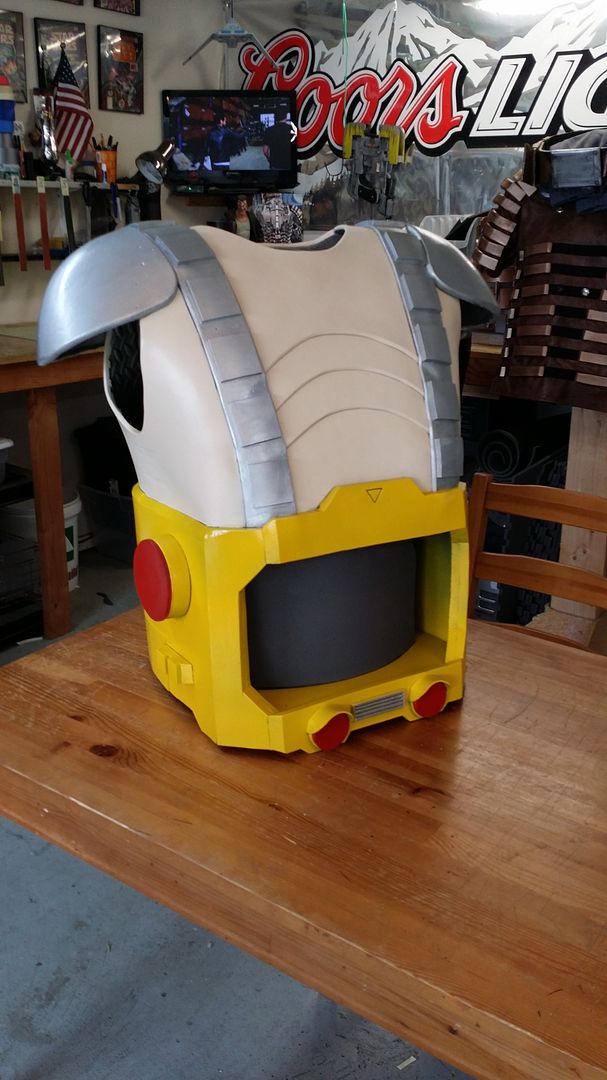
I moved on to the stomach and chest. Using the thin diamond back foam floor mat I made 4 pieces and layered them to give the chest those distinctive lines.


Attached suspenders and mocked it into place on the chamber to get ready for glue.

Still hating the shoulders...

Using large poster board card stock style paper I roughed out the sides between suspenders with arm holes. I tried to keep that wide shoulder, triangular upper body shape.


TEST FIT!!! Fits like a glove! still hate the shoulders....

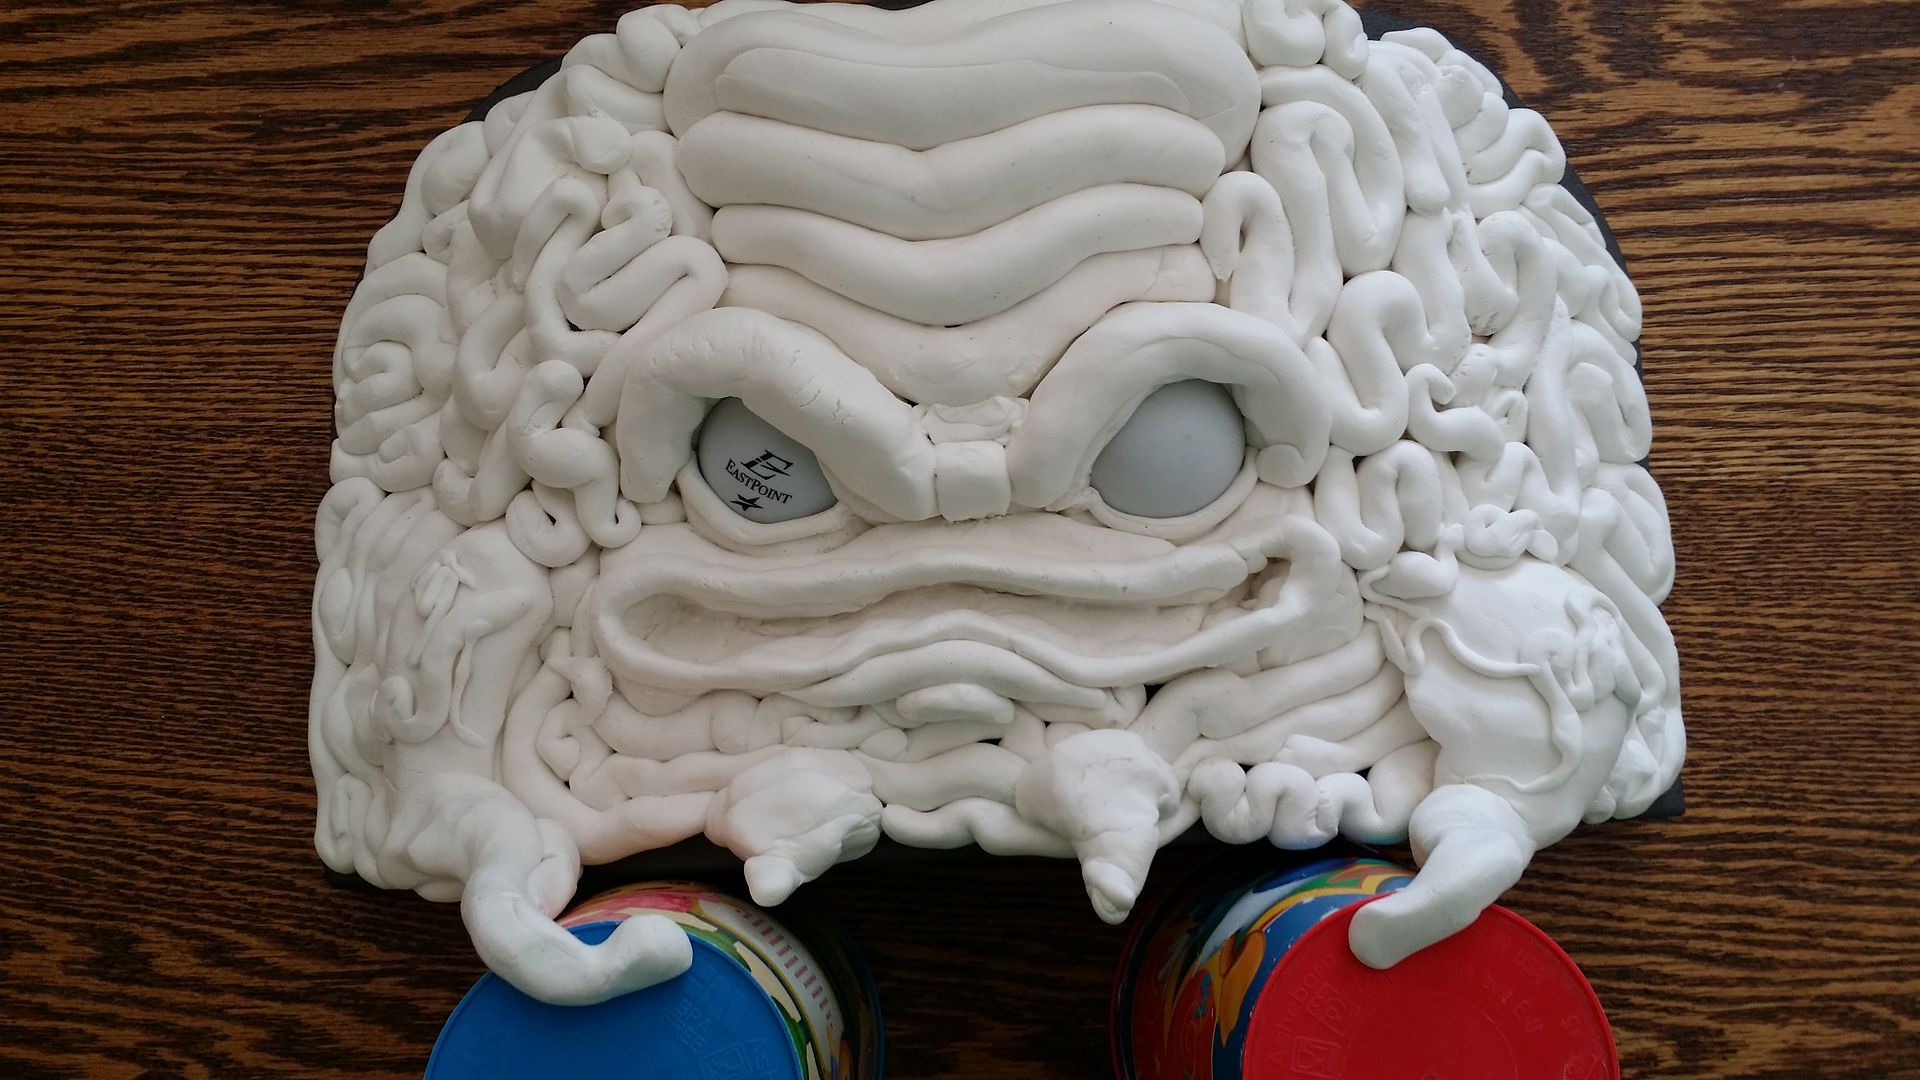
Time to start detailing out little odds and ends.


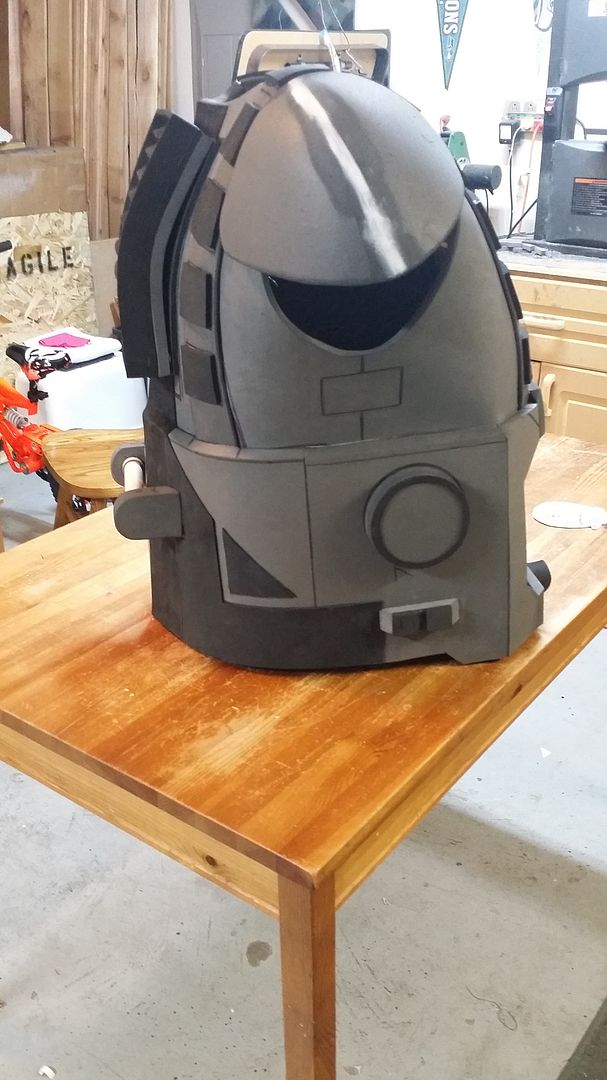
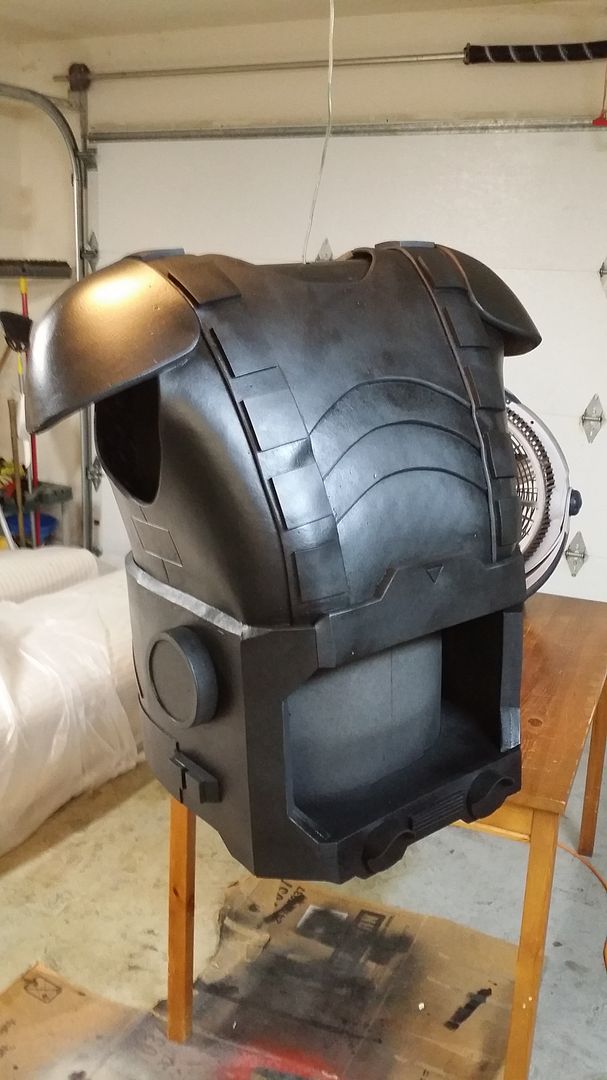
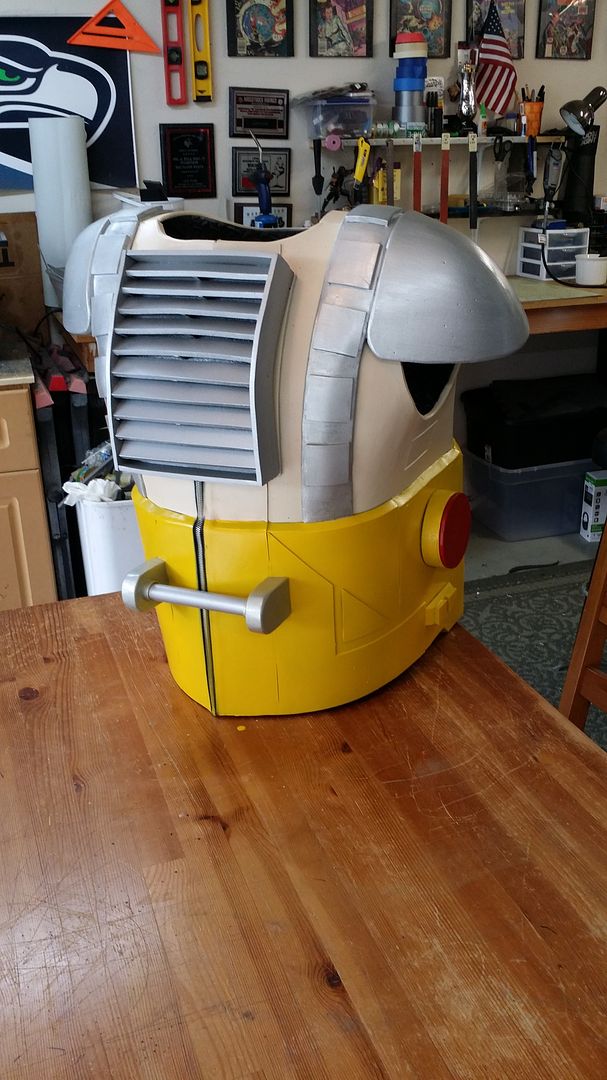
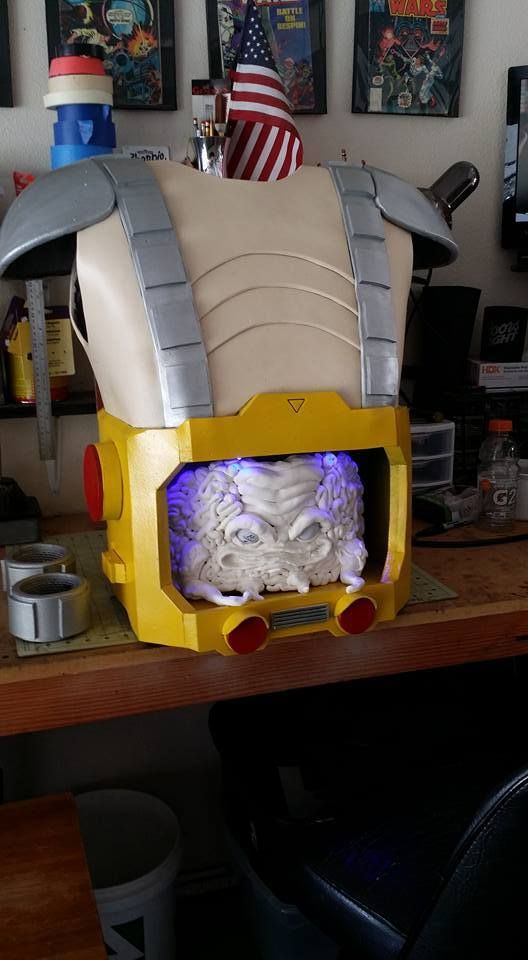
And then I finally cut the shoulders to an acceptable shape. Finally, I like them. Had to do another test fit. Much happier with them now.


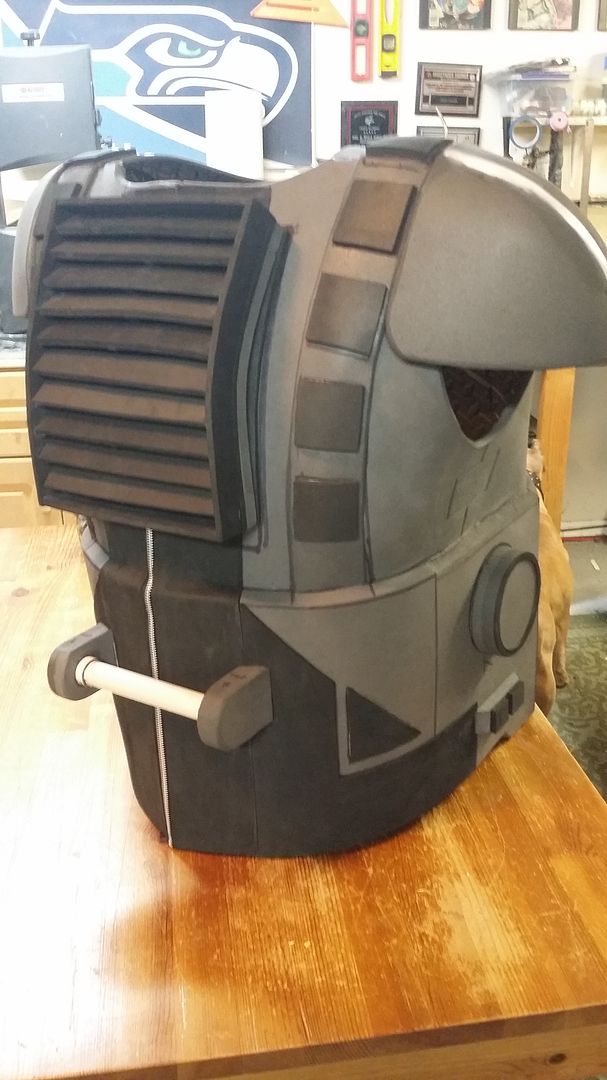
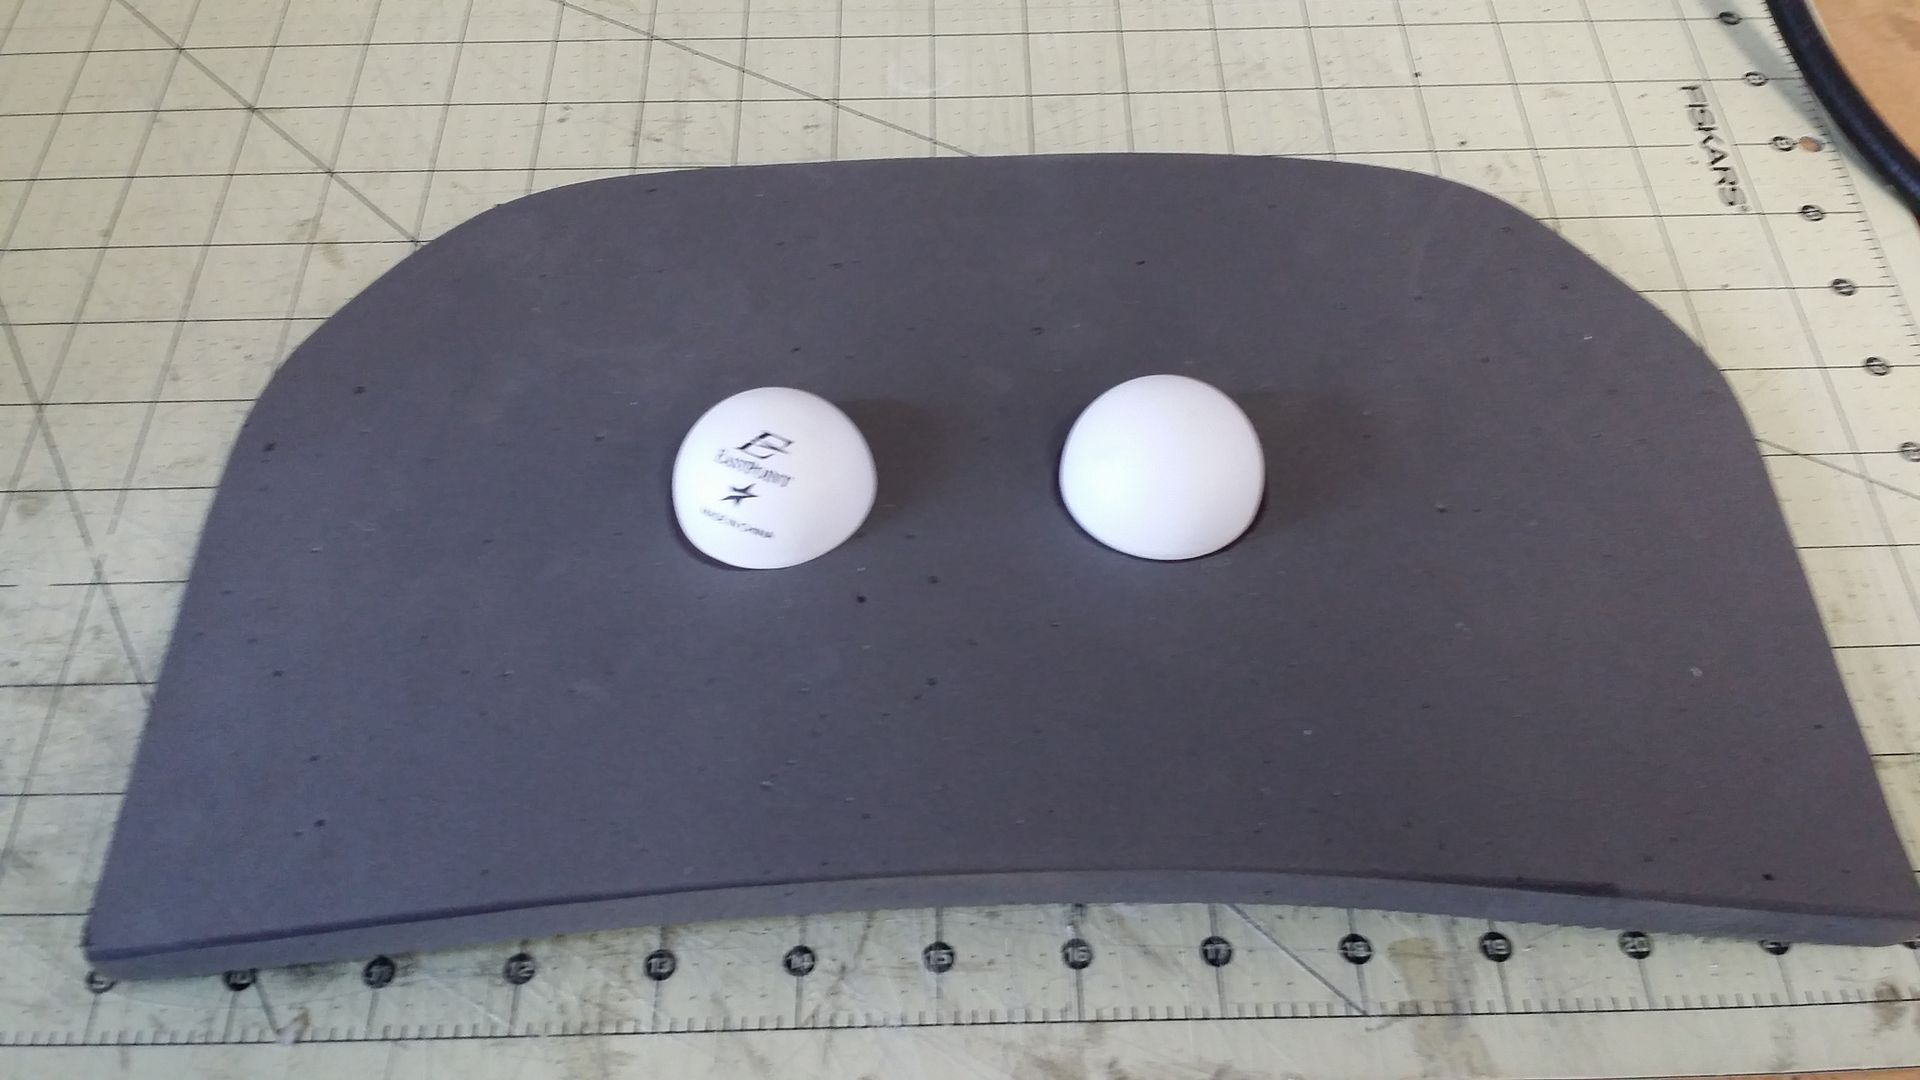
For the back, I decided to use a heavy duty zipper. Using Barge cement, I glued the zipper to two separate 3 inch strips of super thin craft foam.


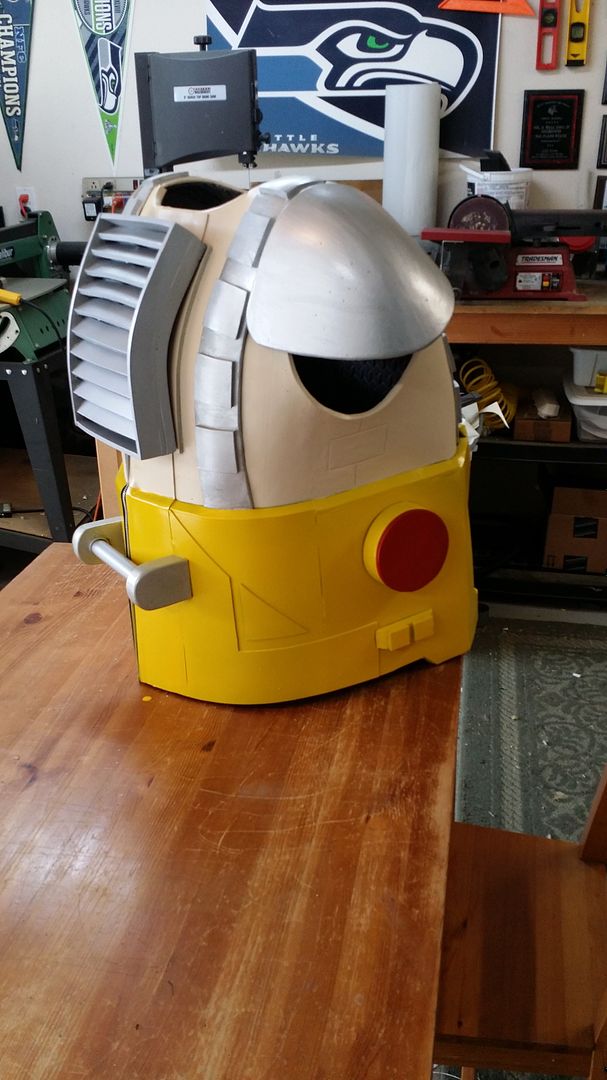
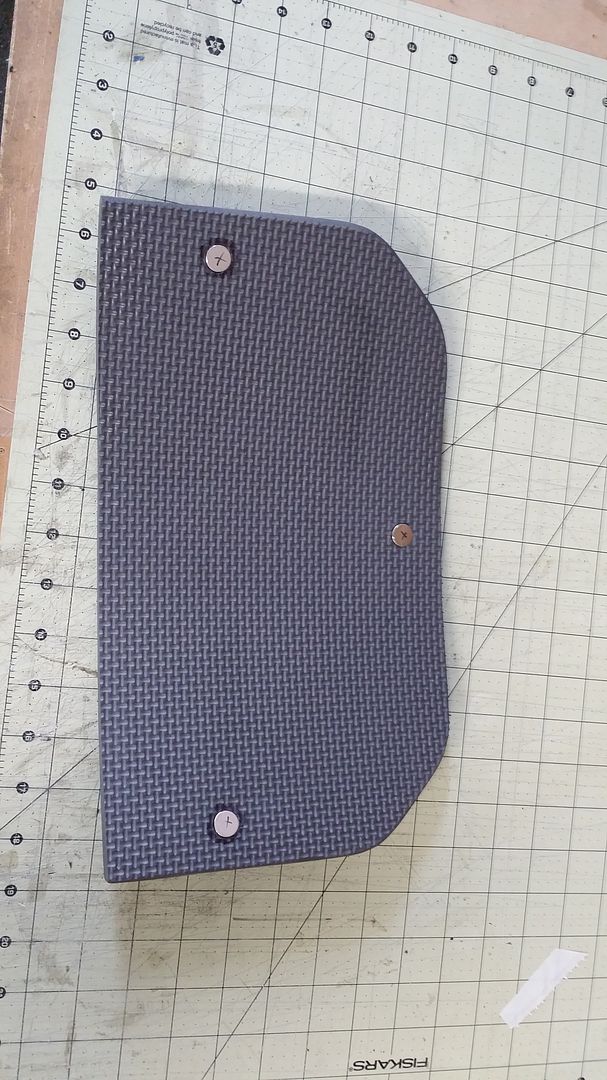
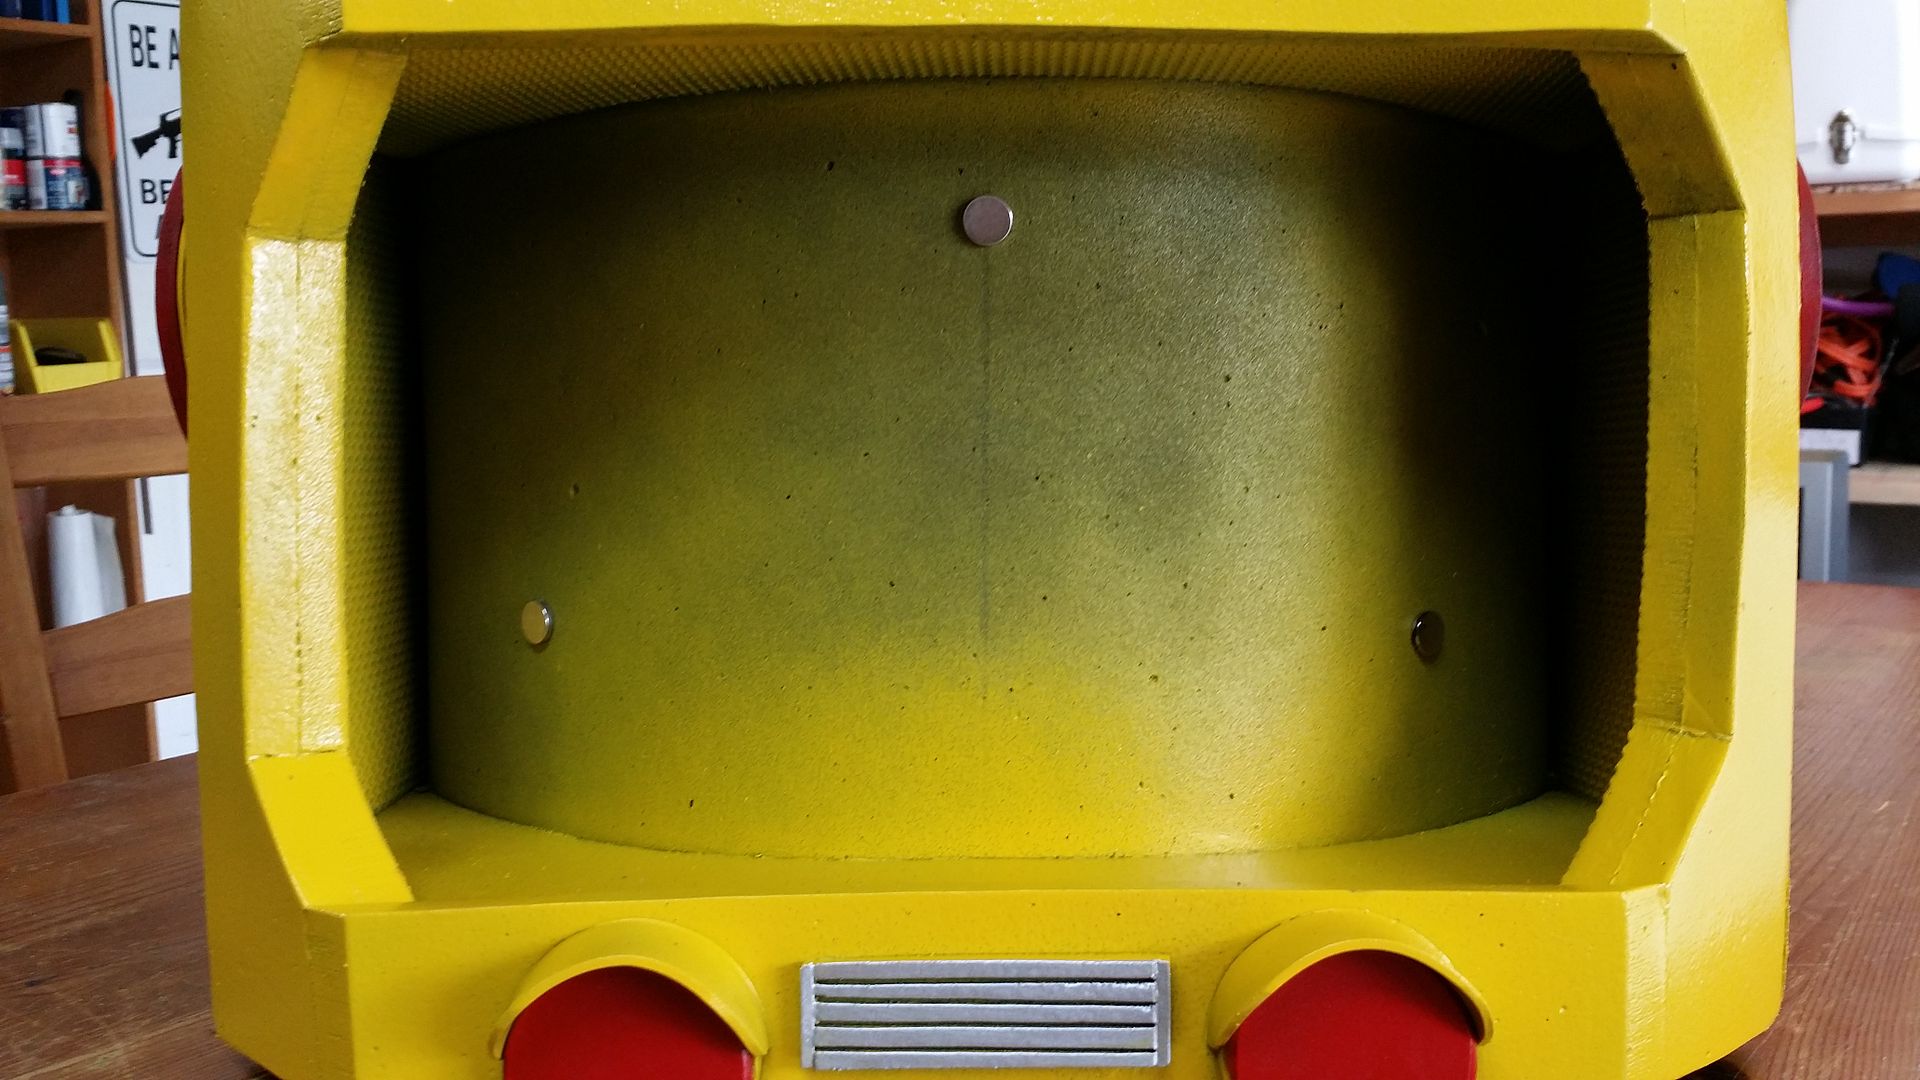
Now, to kind of hide the zipper, I made a large vent like structure that will cover it. The vent is held in place by magnets.


That's it for this weekend. Until next weekend!


This whole costume making/cosplay thing is pretty addictive! I finished my first costume (Dead Space) a little while ago and learned so much. I shared my progress here on and this community was so awesome and full of encouragement. The positive feedback received from you all encouraged me throughout the process.
Now that its done, I'm sitting here chomping at the bit to do another one. So, I started a new build. Over the last two days I've spent 22 hours in the garage working on my very own Krang Android suit from my childhood favorite cartoon. TMNT!
So,here come a ton ofpictures.
Starting with a thin diamond backed foam floor mat, I made a tube to fit around my stomach and began building around that to make Krang's chamber.
Piece by piece, the "chamber" began to take shape.
I was careful to leave at least 3/4 of an inch excess at the top of the chamber so that I would have enough surface area to glue the torso directly to the chamber.
Once the "chamber" was blocked out, I roughed out suspender's length and started on the shoulders.
I have never made shoulders before. So after watching a video from Evil Ted Smith. I drew out a pattern I thought would work and went to town. Once they were done they had a cool shape, but never really did look like I wanted them to. I figured I would shape them once I had more overall to look at and make my decision then.
I temporarily pinned them to the suspenders to get an idea. Still didn't like them.
I moved on to the stomach and chest. Using the thin diamond back foam floor mat I made 4 pieces and layered them to give the chest those distinctive lines.
Attached suspenders and mocked it into place on the chamber to get ready for glue.
Still hating the shoulders...
Using large poster board card stock style paper I roughed out the sides between suspenders with arm holes. I tried to keep that wide shoulder, triangular upper body shape.
TEST FIT!!! Fits like a glove! still hate the shoulders....
Time to start detailing out little odds and ends.
And then I finally cut the shoulders to an acceptable shape. Finally, I like them.
For the back, I decided to use a heavy duty zipper. Using Barge cement, I glued the zipper to two separate 3 inch strips of super thin craft foam.
Now, to kind of hide the zipper, I made a large vent like structure that will cover it. The vent is held in place by magnets.
That's it for this weekend. Until next weekend!
Last edited by a moderator:

