Gibbtall
Well-Known Member
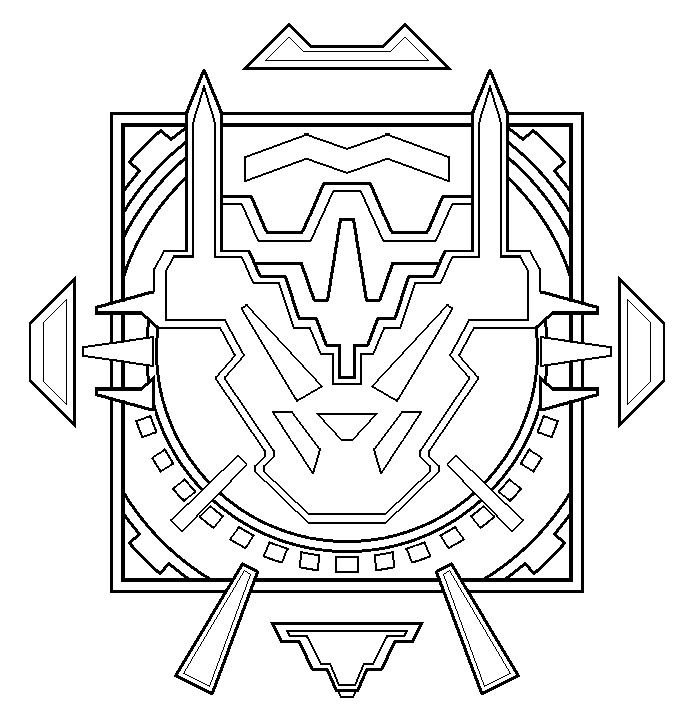
So I know some people have worked on this project before and I may never get this off the drawing board, but I was hoping to get some tips on this project.
So here are some of the ones that have inspired me.
Jedi Holocron - YouTube
Holocron release.wmv - YouTube
Inner Cube | Flickr - Photo Sharing!
My original plan was to use Shapeways.com to 3D print out a cube with a design already carved into the inside faces and fill it with some electronics including a BlinkM from thingm :: an electronic product studio: BlinkM and hopefully a flash drive at some point.
My problem is that although I love Shapeways' idea of bringing 3D printing to the masses, it's kind of gouging on the prices. In order to get the Frosted Detail material, which I think would give the best result of smoothness and translucency, would cost anywhere from $200 to $500 for a 7cmx7cmx7cm cube depending on the wall thickness. I would prefer to try and keep the 3D printing bellow $50, which would let me spend another $50ish on electronics. I know guy at Genesis Custom Sabers sold his for $200 and I can't see anyone wanting to spend much more then that without getting a huge amount of storage space.
So I'm wondering if anyone would know of an alternative to Shapeways, maybe a member has their own 3D printer that is willing and capable to do a small run, or is there an alternative material that would still be easy to use and cost effective.