Jayne Cobb costume DIY (pic intensive)

FearTheMullet

New Member
Jayne Costume, pics and instructions.

I recently joined this website and thought I would share some things that might be helpful to other members here on their path to recreating a jayne costume from scratch.

I am planning on having this costume completed for holoween. I will give as much detail on what I do as I do it to make it easy to follow. Even with little to no experience, you should be able to follow through and make your own pieces. Dont be to worried with how it looks, unevenness and blemeshes give it character.

IMG_0895.jpg


Needed = All leather, thin from either old used cloths from a thrift store or from a leather store.
1: (A) 5"(wide)x12.5"(long)
1: (B) 5"x8.5
1: (C) 4"x4"

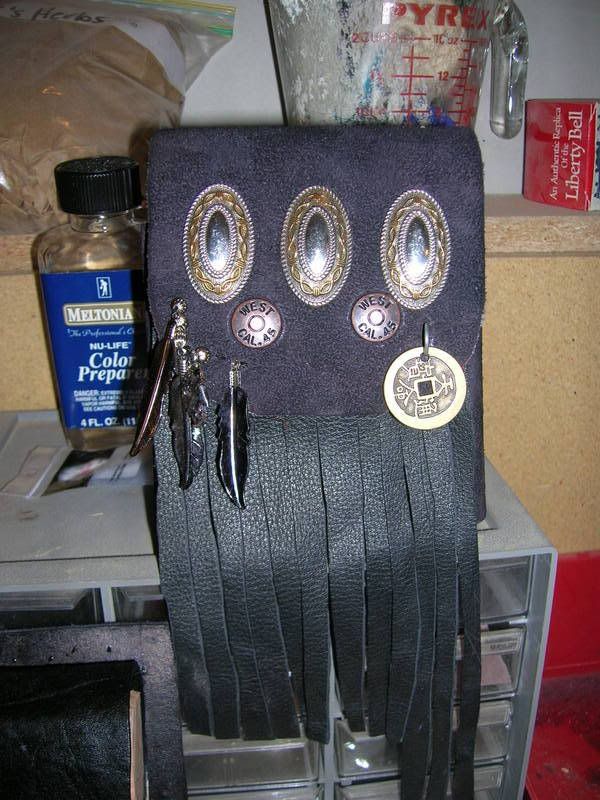
Instructions = First up, cut C into strips appx. 3/8" thick. Make them 3.5" long leaving .5" on top to be sewed. Put A onto B with C on the inside. Make sure that A and B are facing each other with the inside having the desired outside finish. Sew three sides together to make a pouch with the stitching on the outside. Turn the pouch inside out and their should be an excess 4” sticking out from the top and the fraying sticking out the bottom. Next sew misc. jewel bits on the front. I went with some Chinese lettering and western symbols found at a local Ben Franklins. I put a simple fastener on in the middle and sewed a circular bit to the front to hide the fastener. Next just sew two strips of leather to the back to hold it to a belt.

IMG_0906.jpg


IMG_0896.jpg
 
Stone Holder

DSCN0687.jpg


Needed = Single piece of leather, thick (cow, preferably from the underbelly region 2/16” thick, 8/10 oz)
1: (A) 4”x10”x15”
1: (B) 4”x3”
8: Washers
4: ¾” bolts with smooth backs
4: hex nuts

4”
IMG_0909.jpg

10”
IMG_0910.jpg

15”
IMG_0911.jpg


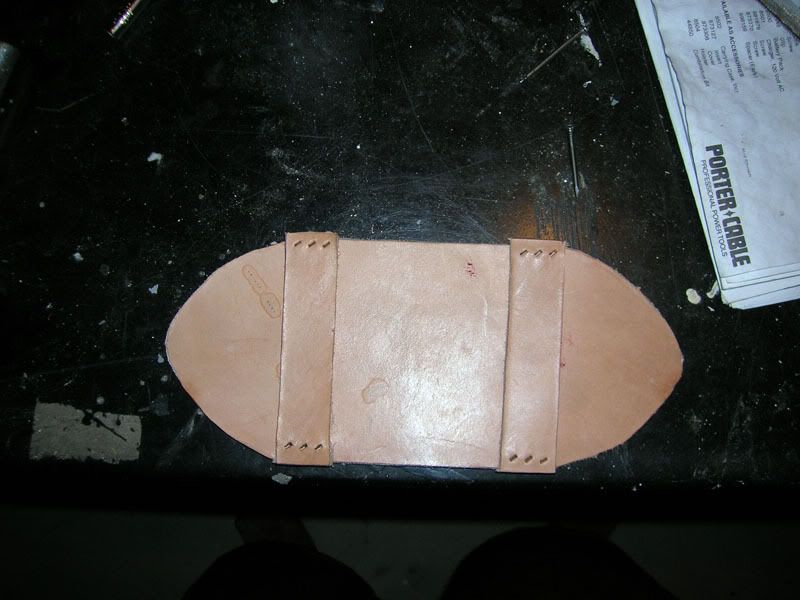
Instructions = Start by creasing the leather. Soak creasing areas with water before you start creasing, once dried, take material out of vise. This keeps the leather in the desired shape. Crease at points seen in the picture. Make sure that the leather is even before tightening the vise. Crease leaving a 1” area in the middle of two creases. Next you can do this a few different ways. The way I did it was use nuts and bolts to hold the pouch together along with the belt loop (unusual, but makes for easy assembly and dissasembly when working in tight spots). I used approx. ¾”long bolts and hex heads but really anything would work. Drill 4 congruent holes through the back of the pouch and through the two sides. Use the 4 holes as a template for the belt loop. Drill 4 holes into the belt loop (B) and put the 4 bolts into the holes. Now put two washers used as spaces on each of the bolts and attach the belt loop B to A through the holes. View image #1 #2 below to see details. Put it all together and attach the nuts to the heads through the leather on the inside of the pouch. See pic #3 (still have to dye) and #4. I put two western snaps on the front. Ideally this will hold a sort of wet sharpening stone for his massive knife. Just pic up some pewter bits of foo-fa-ra for the front and your set. I made the stripped leather front removable as well, incase it needs to be changed, which it will.

#1
IMG_0904.jpg


#2
IMG_0905.jpg


#3
IMG_0901.jpg


#4
IMG_0903.jpg


#5
jayneoutfitback.jpg


#6
IMG_0898.jpg
 
Knife sheath.
*EDIT* I really was not happy, so I uploaded a few pictures, and

IMG_0796.jpg


IMG_0797.jpg


IMG_0798.jpg


Changed from below, I went with a thinner leather for the inner sandwiched piece as it will give it a better friction hold to the blade, you can see the leather curve a bit adjusting to the thickness of the blade. I also doubled the number of stitches on the belt loop and used a much heavier gauge thread. I also used a 1/4 spacer for the stitching and used a lighter stain.

Needed:
A.2 pieces of 8-10oz leather shape of knife but approx 3/8" in larger than the knife
B. 1 piece of 4-6oz leather snaped the same size but with the knife size removed.
Plenty of waxed thread over 50lbs test
C. 1 piece 8-10oz leather 2.5"by 4" (belt loop)

Instructions =
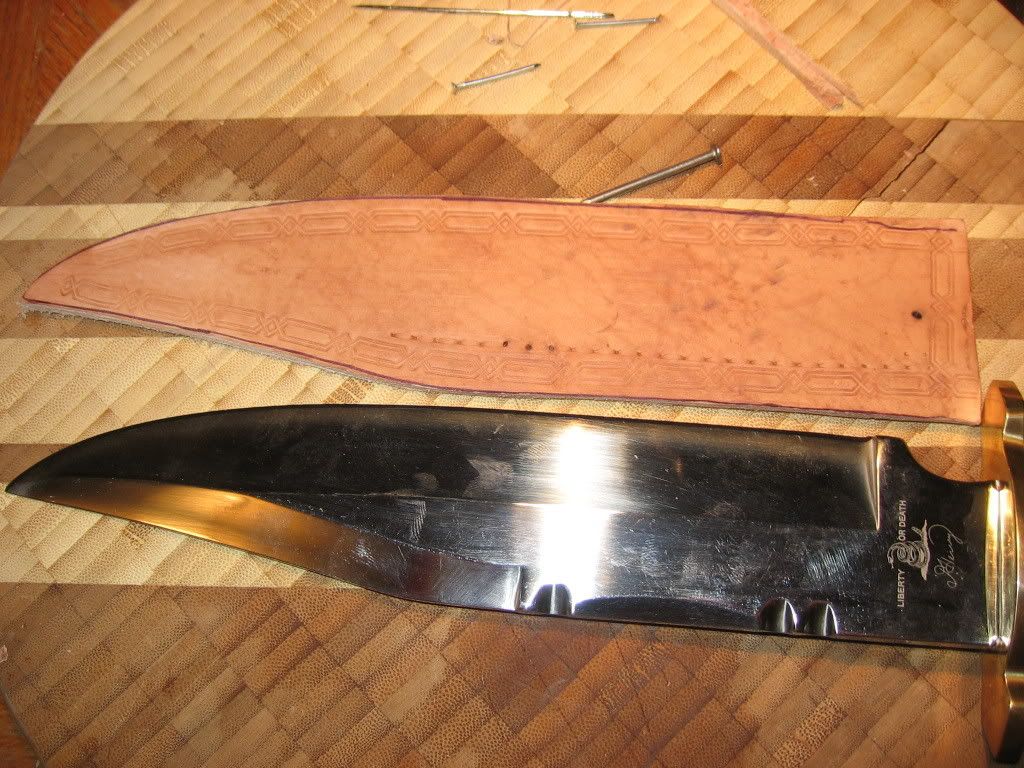
Step 1. First start with the knife and trace the dimentions on the back piece of leather. Use this like and extend it out by .5", this will be the size of the front and back. Cut 3 pieces out at the same size. The third trace and cut out the exact size of the knife from the oversized leather. This will be used as a mock knife when assembling the three pieces and stiching them together. I used this to test a few patterns for the final embossing. (see pic #1) After you have the hole thing assembled and stiched, you can begin the cosmetic stuff. Start by razoring the edges even from top layer to bottom on a side. Next wet the leather on the edge lightly. Run a smooth rounded metal object along the side pushing against the leather to get a nice and smooth surface. After all edges have been smooth prepare the top leather for embossing. I am yet waiting for a star stamp and will continue with instructions and dyeing afterwards.

Step 2. Trace around the leather with a 1/8" stick spacer. Put a few small nails into it to hold the general shape. (see pic #2)

Step 3. Belt loop. Use the C piece of leather and sew it to the back of the sheath. Do this before sewing the sides together. A few things to make sure of: the inside sheath is facing the correct direction, (see pics). It looks like the knife is on a tilt with the hilt forward of the blade. This can be accounted for by angling the belt loop slightly.

Step 4. Stiching. I found it easiest to use a small nail and pre-hole the leather after the spacer to make it easier for my needles (after I broke 3). Place the three pieces together sandwich style with the leather faces facing the correct direction. The stiching I used was pretty common and simple (see pic's). If anyone needs detailed instructions on how this is done, just leave a reply.

Step 5. Stamping. Look for a star and a flower stamp on any source for leather goods. Also some sort of embossing would work on the edges. Im going for the "looks good to me" approach and not going for authenticity. Stamp the flower in the corners and bottom and emboss along the connections. Make sure the leather is nice and wet first.

Step 6. Dyeing and coloring. There is a bit to much red in the dye I used so I will be going over it lightly with a light brown to try and bring out the natural colors before I do the weathering and sealing. Dye it lightly a good one over and then go into detailing. You can see the difference between a regular dye and detail in a few pictures. To give it a singular type of feel just rub a few areas longer with a q-tip. The red in the pictures is much stronger than in natural light. The camera accentuated it a little to much.


Step #1
Step3.jpg


Step4.jpg


Step1.jpg


Step #2
Step2.jpg


Step22.jpg


Step3.jpg


Step #3
Step5.jpg


Step #4
IMG_0947.jpg


Step6.jpg


Misc Pics.
http://i128.photobucket.com/albums/p197/Sledgehammer_Vet/Jayne Cobb/IMG_0949.jpg

Sewing Done.
IMG_0953.jpg


IMG_0971.jpg


IMG_0973.jpg
 
Last edited:
Mag Pouch

DSCN0686.jpg


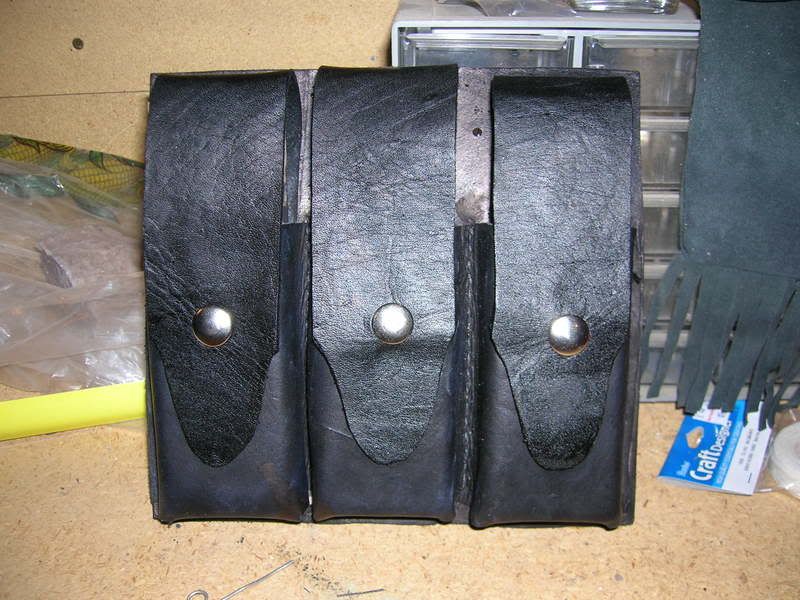
This is made out of two pieces of leather and a few belt buckles on the opposite side. Instructions will be put up later.


IMG_0955.jpg


IMG_0956.jpg


Dyeing.
IMG_0961.jpg


Complete Stich layout for back.
IMG_0962.jpg


Backpiece of leather to snap down in the front.
IMG_0963.jpg


First mag pouch
IMG_0964.jpg


First and second
IMG_0965.jpg
 
Last edited:
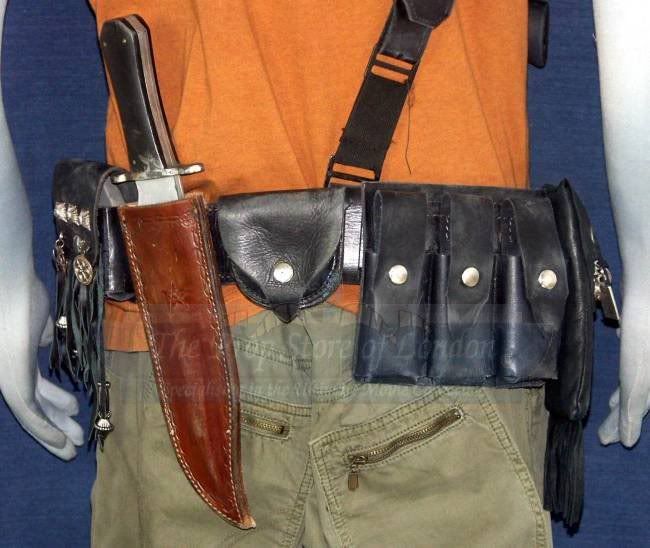
Jaynes Belt

jayneoutfitfront.jpg


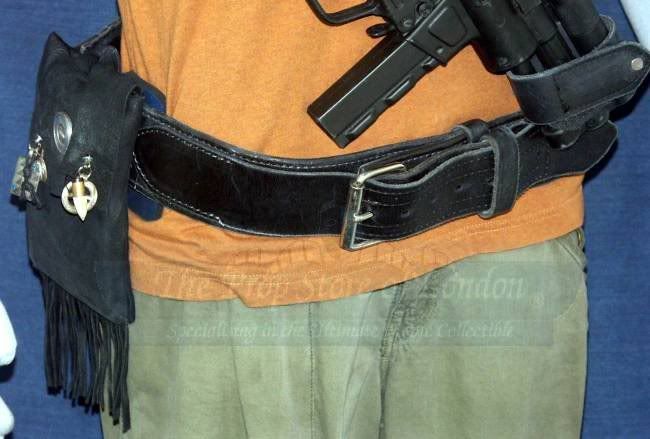
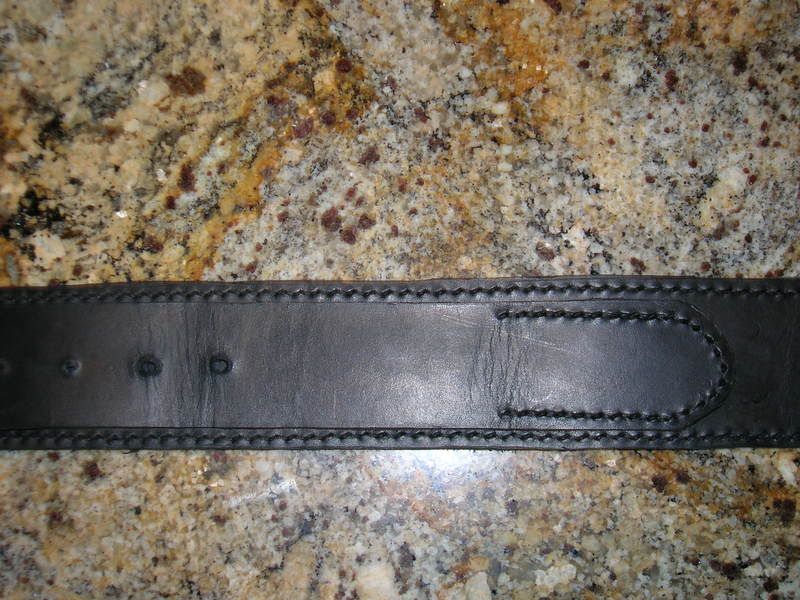
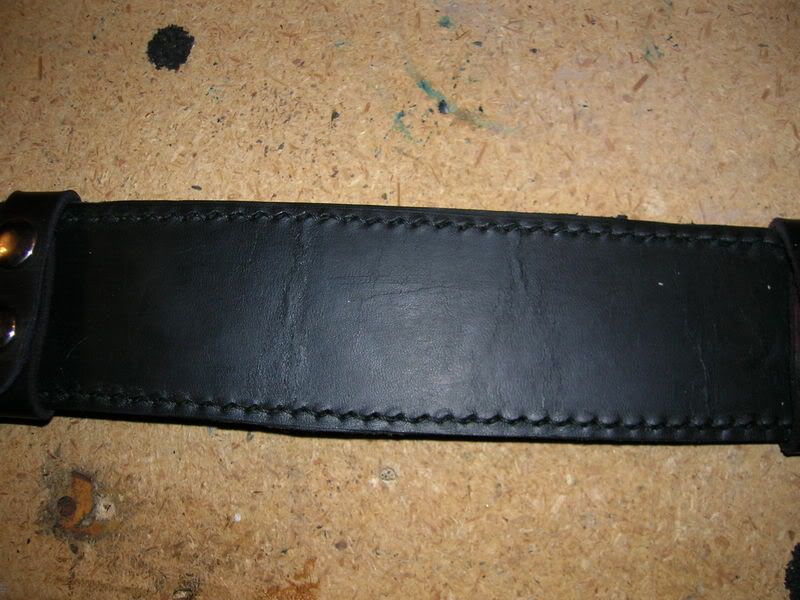
With the larger pieces I went with a much more specific type of leather. For the belt I wanted something that sort of shined while having a quality front and back which had some real heft to it.

Needed:
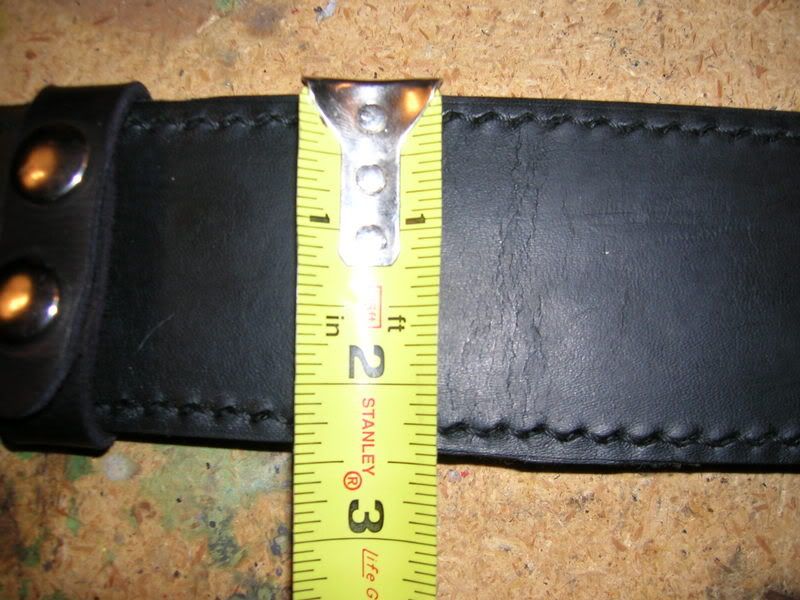
-60" x 2" 1/4 (I choose 3/8" cause im a big guy) I choose 15/16 oz harness belly leather. Harness leather has been infused with wax giving the surface a nice shine after a short rubbing. (I have a 36" belt size so you can just add or subtract to the total length based on your own belt size.)

-Waxed thread I started with white but I didnt have the right kind so I switched to black. (Movie version = white (Make sure its at least 35lbs breaking strength)

-Stiching awel

- 2.5" roller buckle


Instructions:
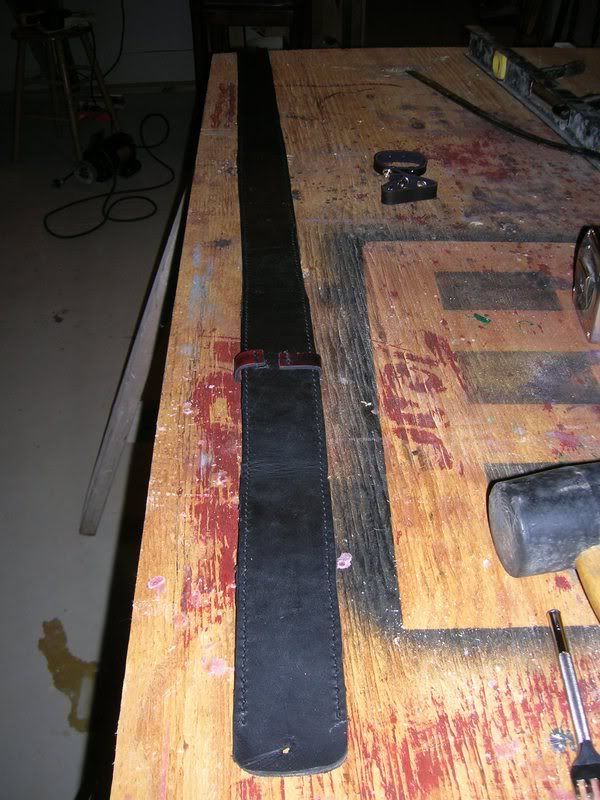
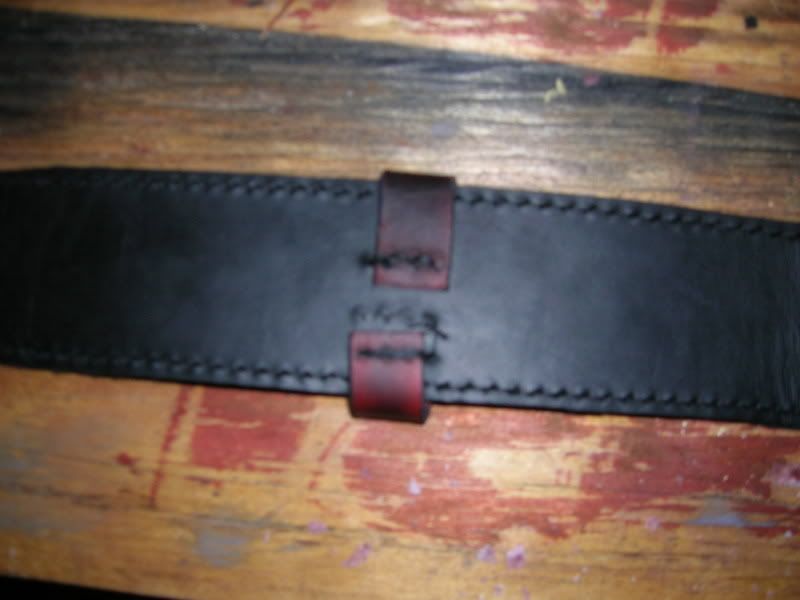
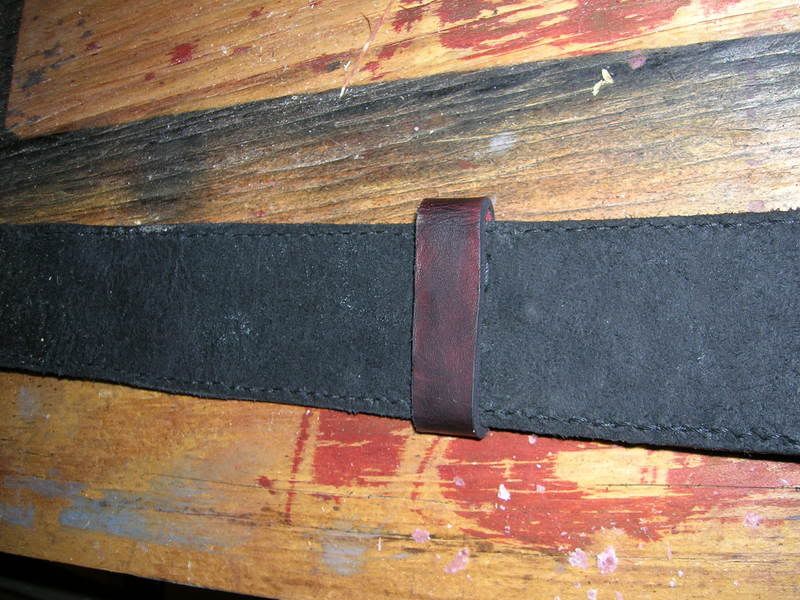
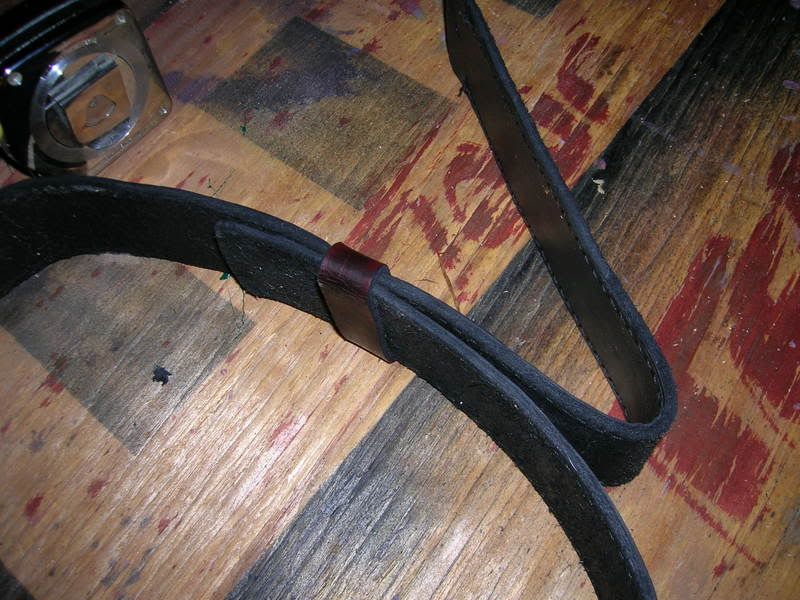
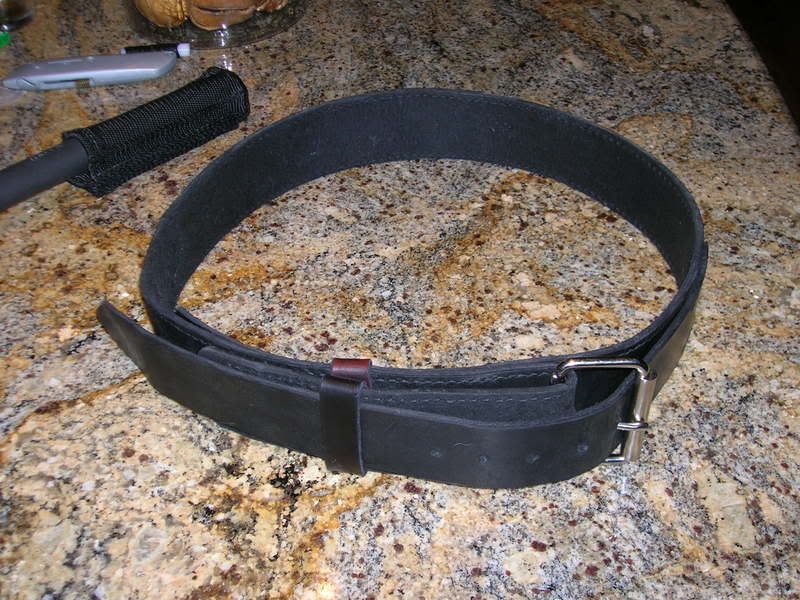
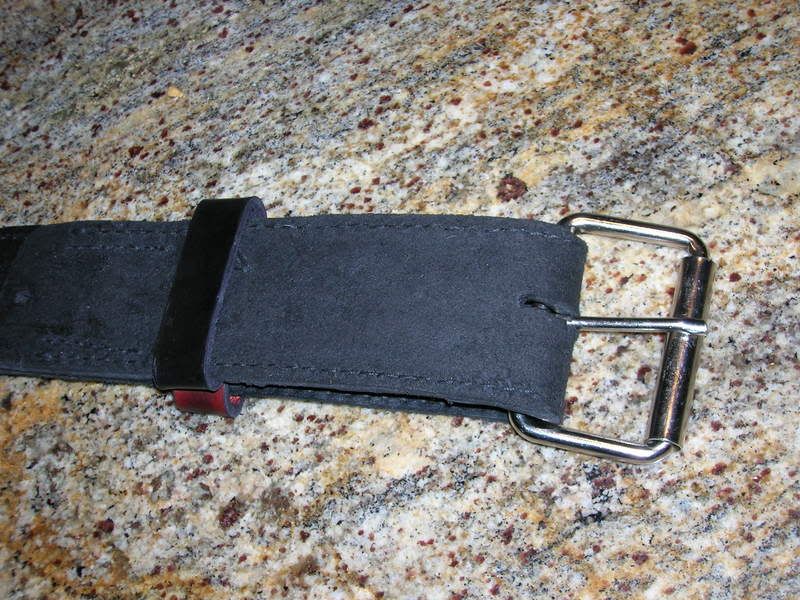
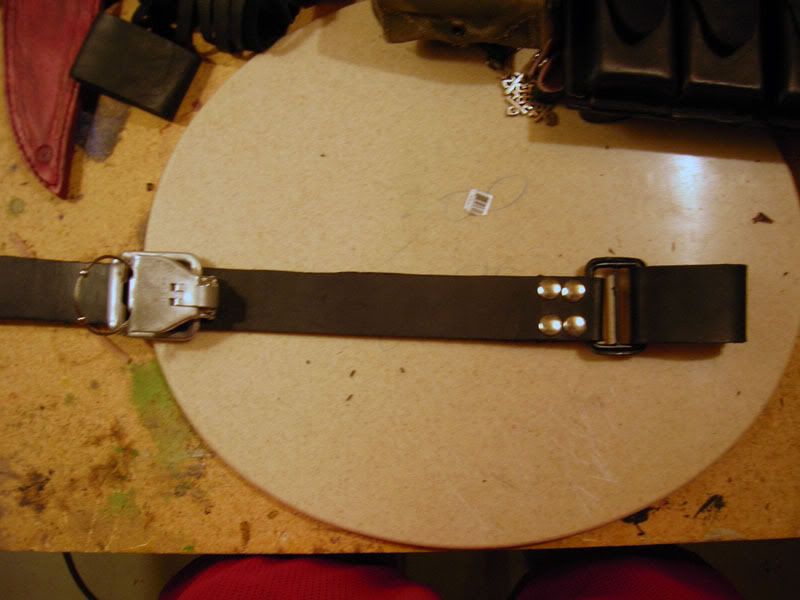
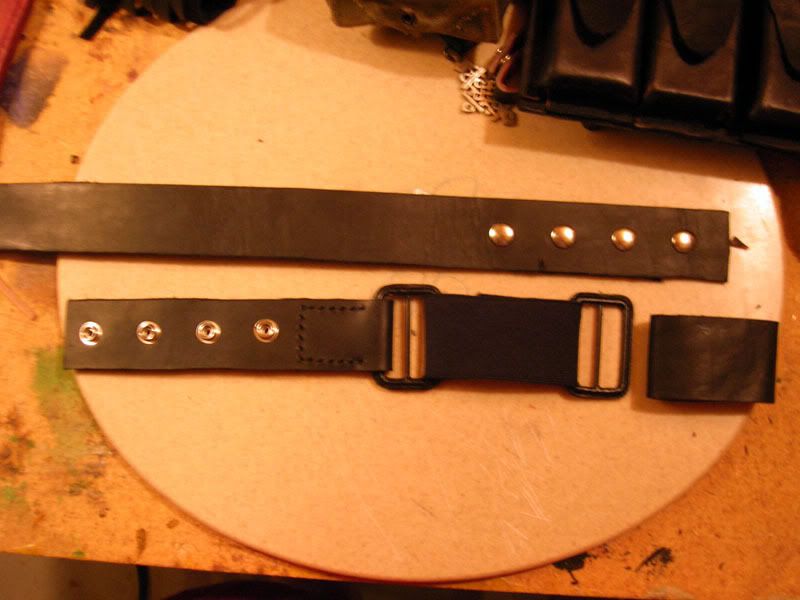
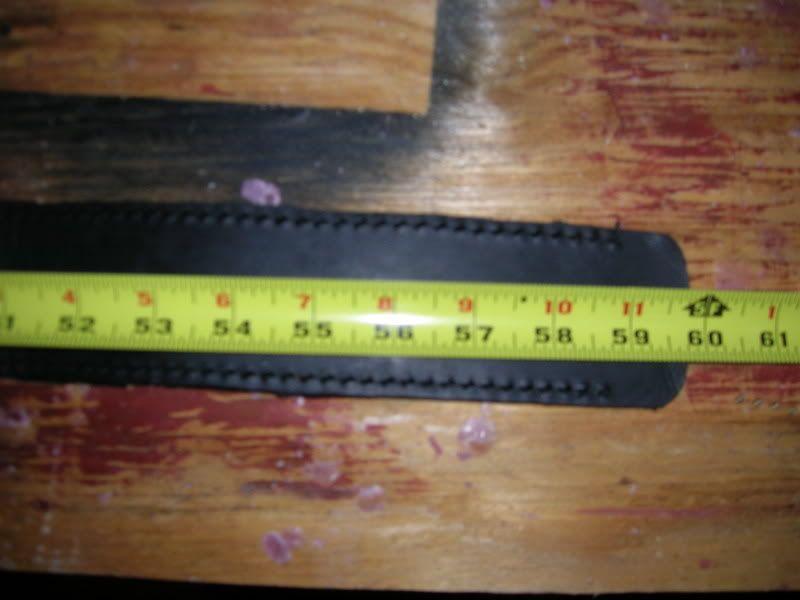
Start by cutting the leather to size mentioned see pics for exact measurements (#1). Secondly stich the length of the leather on either size about 1/4" away from the edge (#2). This will take awhile even with the awel. The stich chisel is a 1/8" spacing on a 45 degree angle. I choose the angle because it would show the stiching better. The picture from the prop store shows the leather going under the belt side into a belt loop. See #3 for this. Its about 13.5" from the left end. The left end appears to fold back to hold the roller buckle.

#1

DSCN0692.jpg

DSCN0693-1.jpg


#2
DSCN0691.jpg

DSCN0694.jpg


#3
DSCN0695.jpg

DSCN0696-1.jpg

DSCN0697.jpg


Finished =
DSCN0698.jpg


DSCN0699.jpg


DSCN0700.jpg
 
Bandoiler (reserved)

Pics only as of now, untill its finished.

Starting Jaynes shoulder sling protector.
DSCN1268.jpg


Front of bandoiler including connection to belt and harness holder for mp5k
DSCN1266.jpg


Back end bits to connect to the belt.
DSCN1265.jpg


MP5k and baondoiler test fit.
DSCN1267.jpg
 
Last edited:
MP5K (reserved)

pics only as of now, untill its finished.
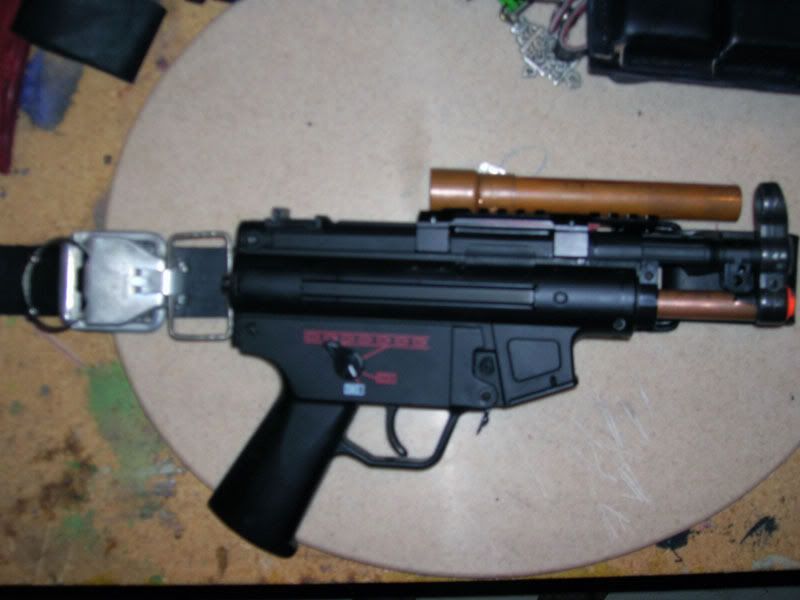
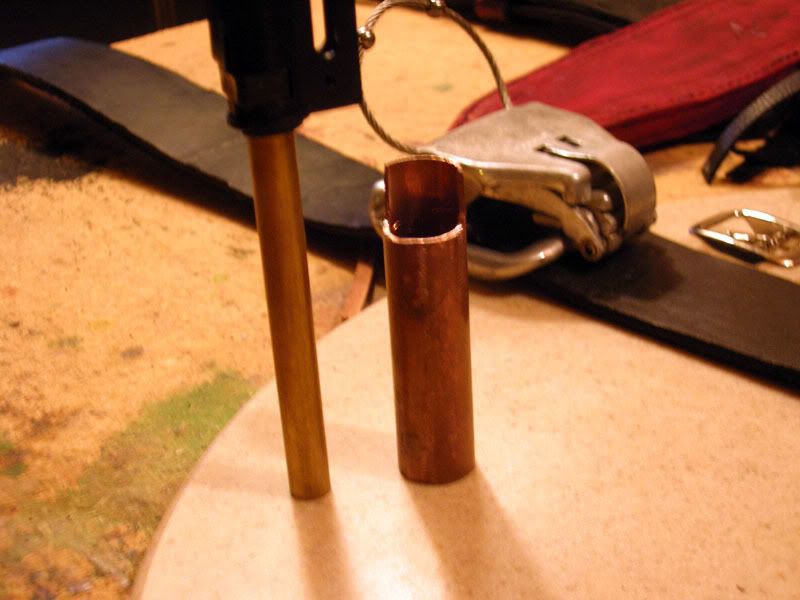
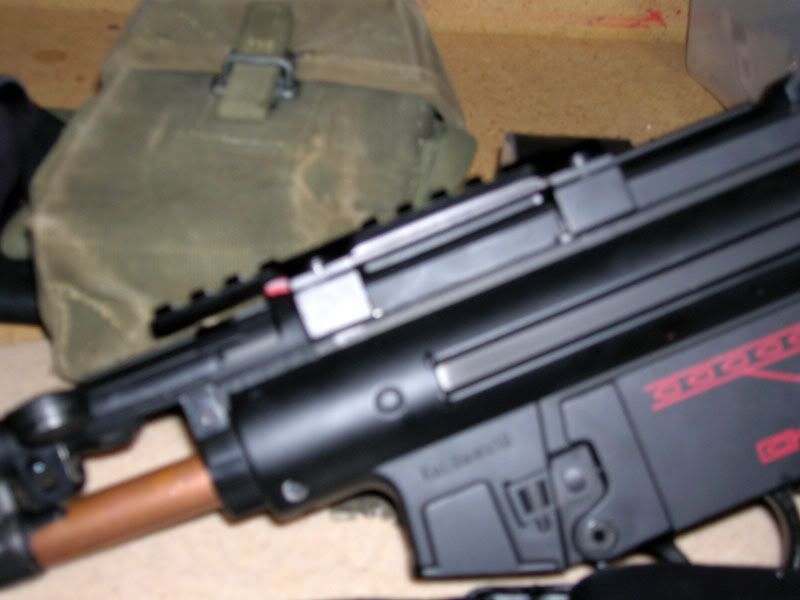
New barrel because the stock airsoft just looks puny.
DSCN1260.jpg


Comparison
DSCN1261.jpg


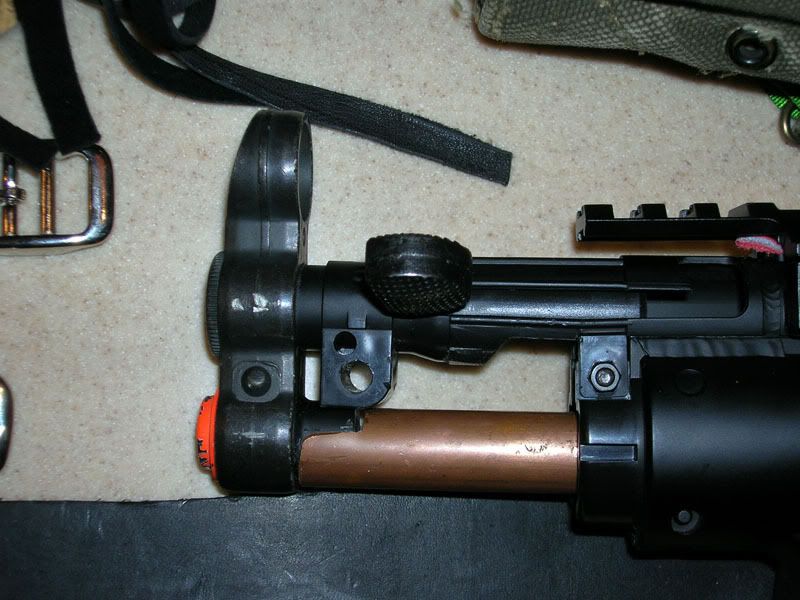
Installed.
DSCN1262.jpg


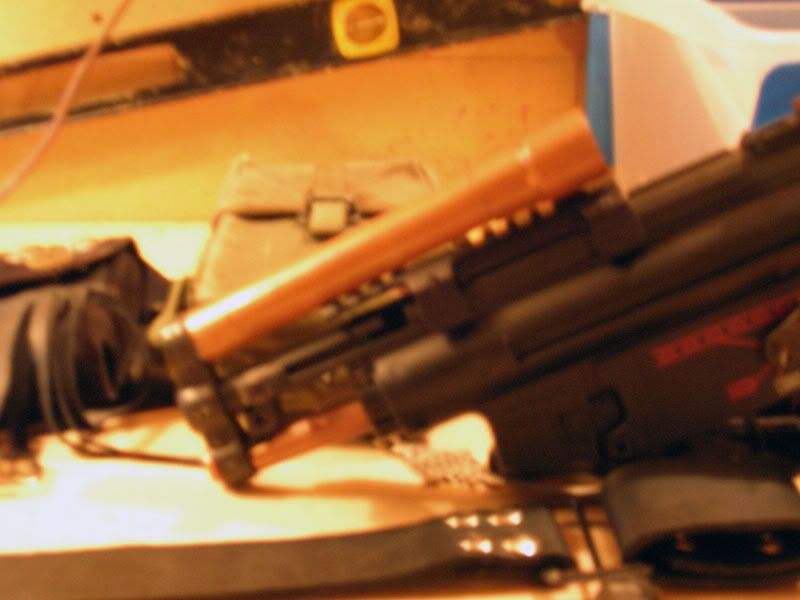
Picatinny weaver rail for mp5, ground down the raised plateau at the end. Seems like the real rails are not meant for the airsoft models. Doesnt fit quite right so I temporarlly put a thin strip of leather to keep pressure between the rail and the mp5k
DSCN1263.jpg


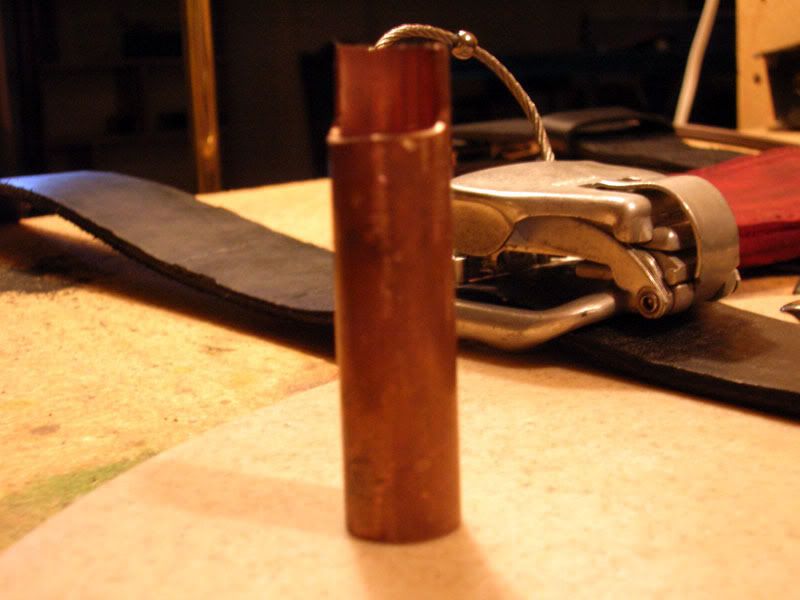
Preparing to install the scope, 3/4 copper tubing and a copper plumbing fixture at the end. Not sure yet how I will even it out.
DSCN1264.jpg
 
Last edited:
thanks for all the construction pics... here is how my mag pouch turned out

5866977900_e0a2825be7_z.jpg


and here are a few in progress pics

5866977632_338ba9db3d_z.jpg


5866423989_2f9048312c_z.jpg


5866976134_42844fd3f5_z.jpg


they didn't come out quite as nice as yours, but I think once I shine them up, they will be pretty good for a day's work.

thanks again for all of the effort to post your build pics!
 
Back
Top