JaxAndTheMoon
Sr Member
Hello again!
As I get better and better at doing prop replicas, I keep challenging myself with new lightsaber builds. My Graflex Collection (seen here) was a tedious collection of both vintage and replica flash guns, and then the planning and successful building of them. Then there was my Vader ESB, which was just a matter of collecting up a Heiland and some of Roy's parts (including his no longer sold shroud :cry) and put that together. It was simple and not 100% accurate, but fun! Then, collecting up some Obi Won kits from Roman, Dan's Luke V2 first run, a Sidious saber, a 3D printed Kylo Ren saber, and then my own design of the Arcann Saber from SWTOR. All of which were great, and sometimes annoying to build, but I learned things from all of them!
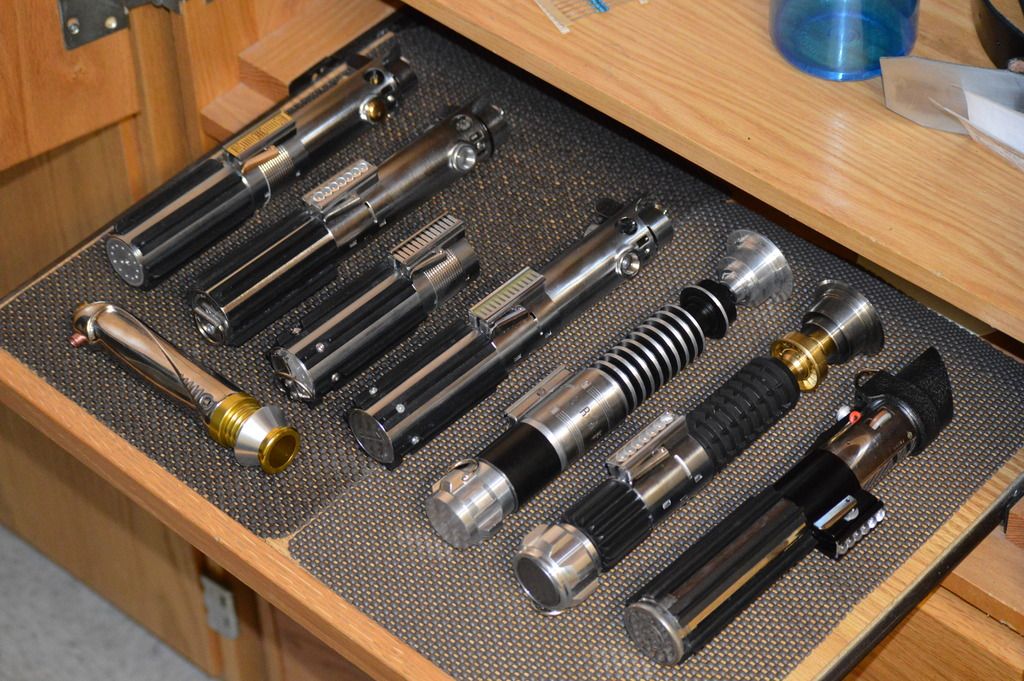
Ahhhh, my collection is finally starting to make some progress")
My attention was drawn to my ESB Vader, and I realized I wanted to do something new and fun with it. It wasn't 100% accurate: the wrong holes, the wrong flash connector, wrong length (it's about a half inch too short)... I was satisfied for a bit, but now I wanted to change it up. I didn't want to make it just static this time, though! I couldn't figure out what I wanted to do, until my buddy Schrodinger555 gave me a small test crystal chamber to do something with. At first I thought of using it in my Graflex, but I decided against it as I realized it would fit perfectly into a Vader build.
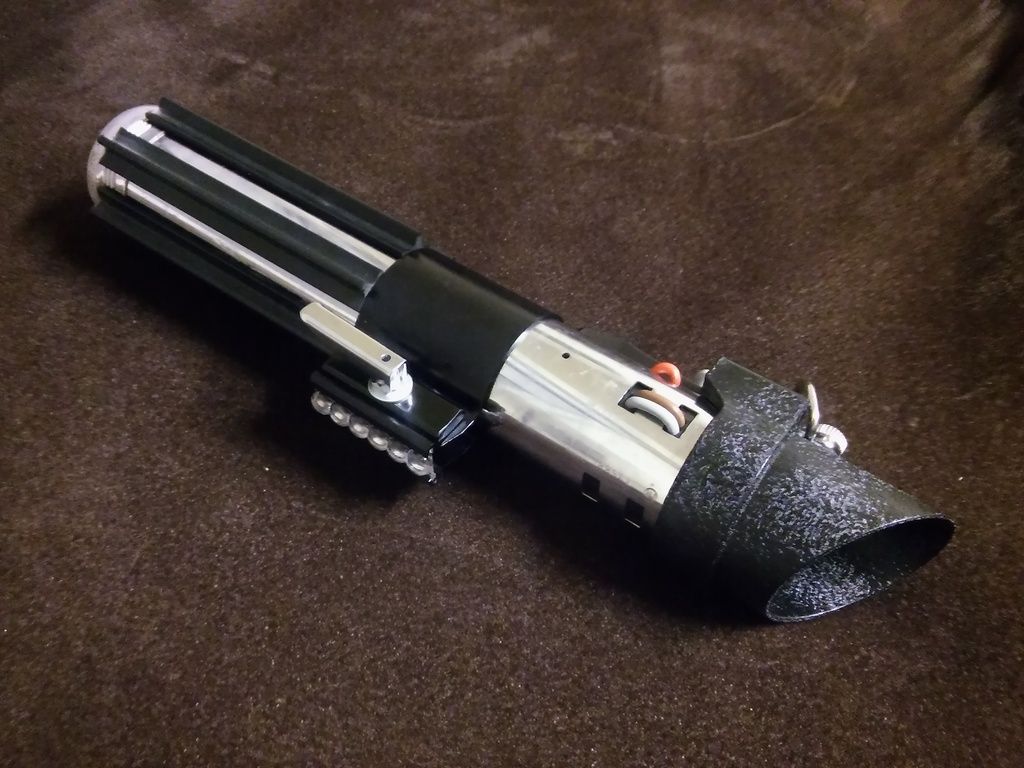

Like I said, not perfect!
To start off, I want to state that the inspiration is obvious here: Slothfurnace has amazing builds, but one thing I noticed was that his Vader reveal was never completed (at least as far as his site shows us). I loved the look of it, and I knew that I could do something similar. I didn't want to copy him by any means, but definitely do something with his unfinished ideas.
Keep in mind here, that I am no machinist or expert craftsman. My skills are more of the artistic side; the designs and concepts and sketches. I have no access to any equipment other than my dremel and some hand files. Everything I do I have to come up with ways to compensate for my lack of equipment, either by out sourcing or other means. This won't be extremely sophisticated, as I won't be adding any sound, only light.
I started by drawing up some simple ideas with my Wacom tablet.
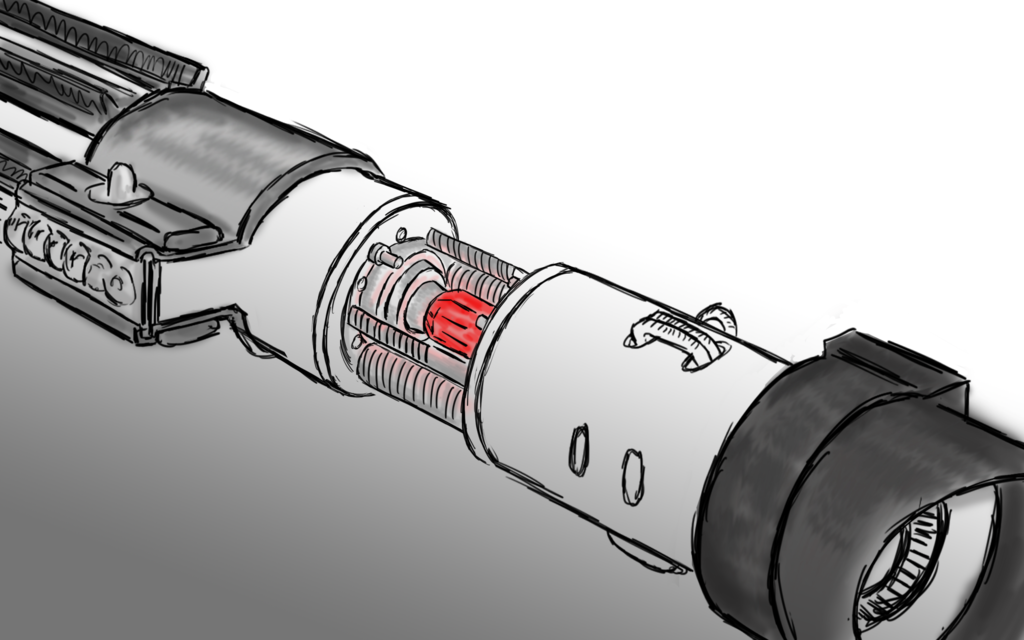
Rough, but I understand what it's going to look like! Plus, I can visualize my ideas in my head pretty well, so I know what I want and how I want it.
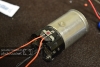
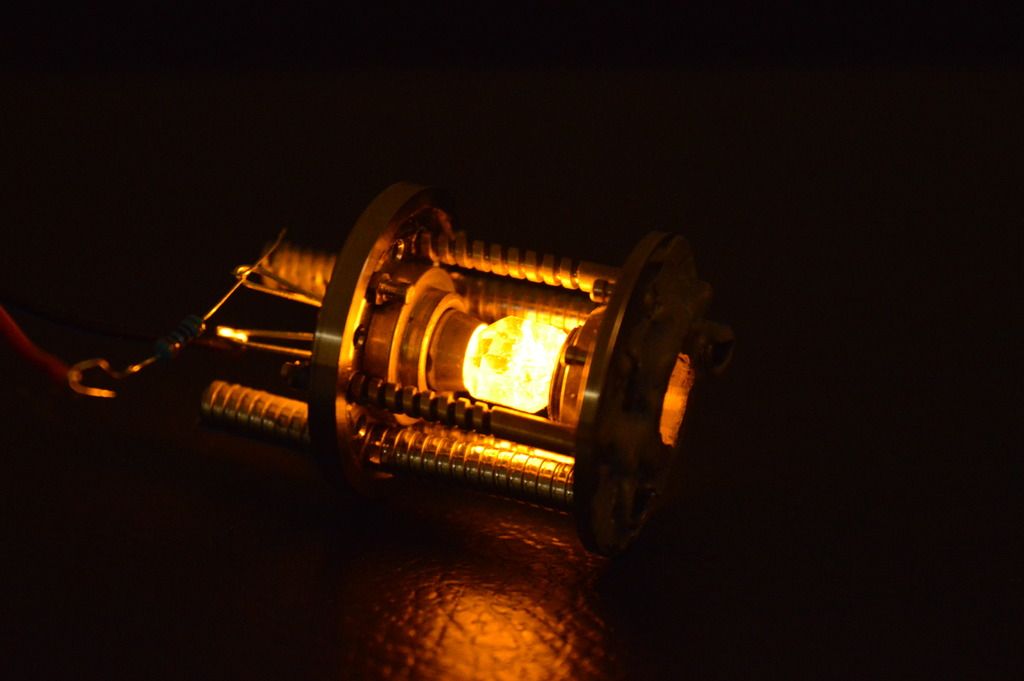
The chamber I had here was lying around with some yellow LED's, so I threw them in there to test it out.
And here it is with red once the LED's came in
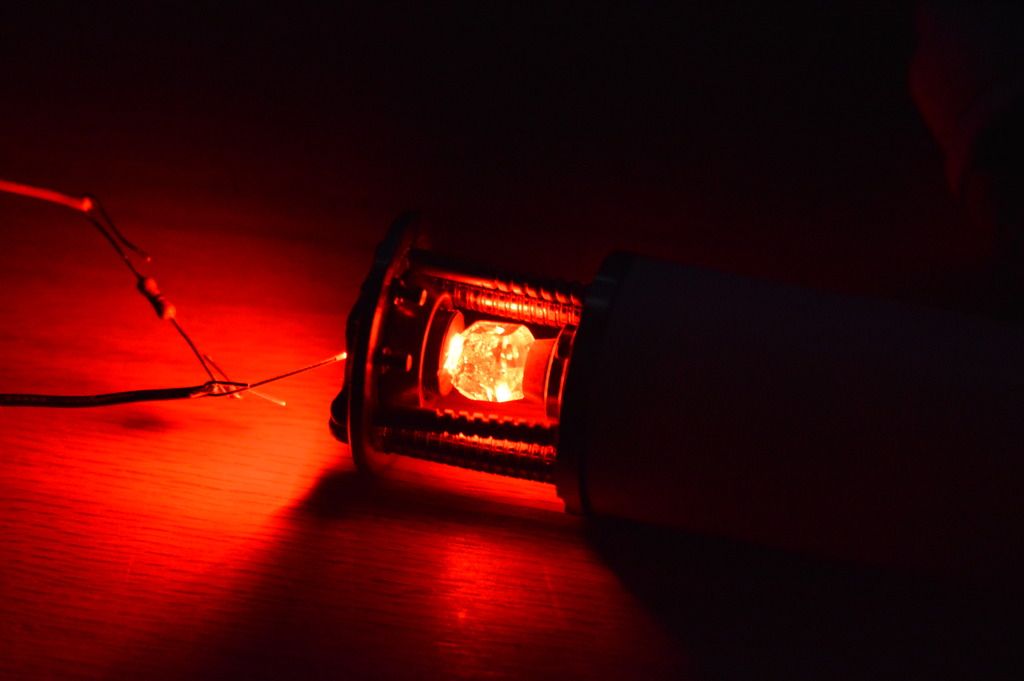
Looks pretty cool! It's not completely straight, so I did a little straightening and such later on.
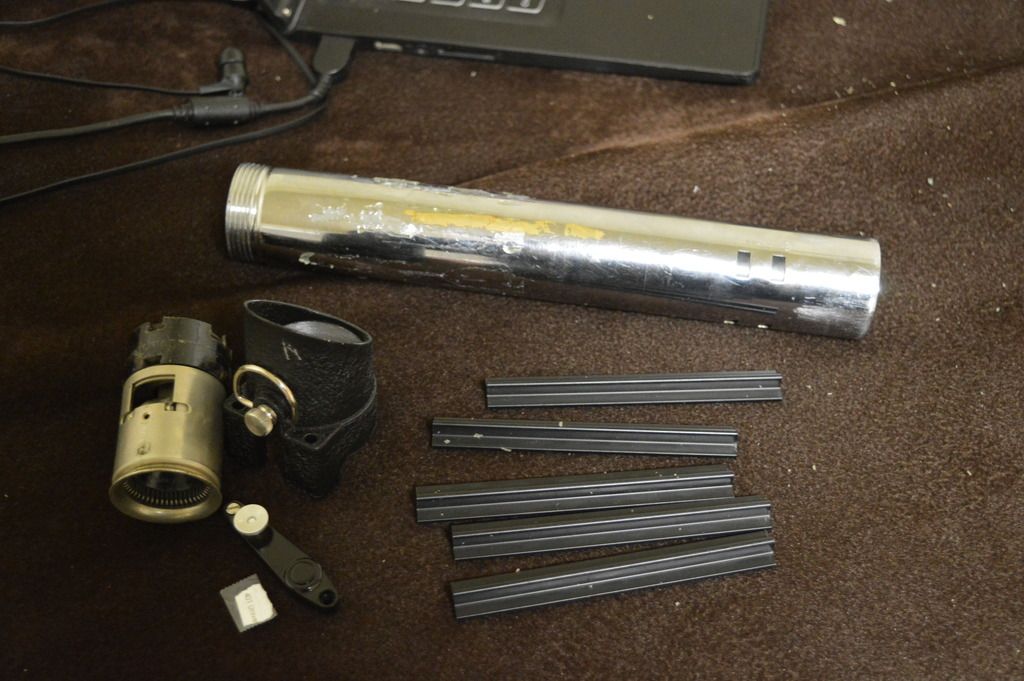
Here's where we get to some fun times! I disassembled my old ESB, and was able to salvage all of the parts. Thank goodness, because I really didn't want to have to order new T-track.
I took all of the parts and cleaned them up a bit. I then prepped the new Heiland that I acquired from Veektohr, (my other two cell I got from SethS, which is a different project). Then I proceeded to do the craziest thing, a page pulled straight from Slothfurnace: I taped it off and cut it in half.
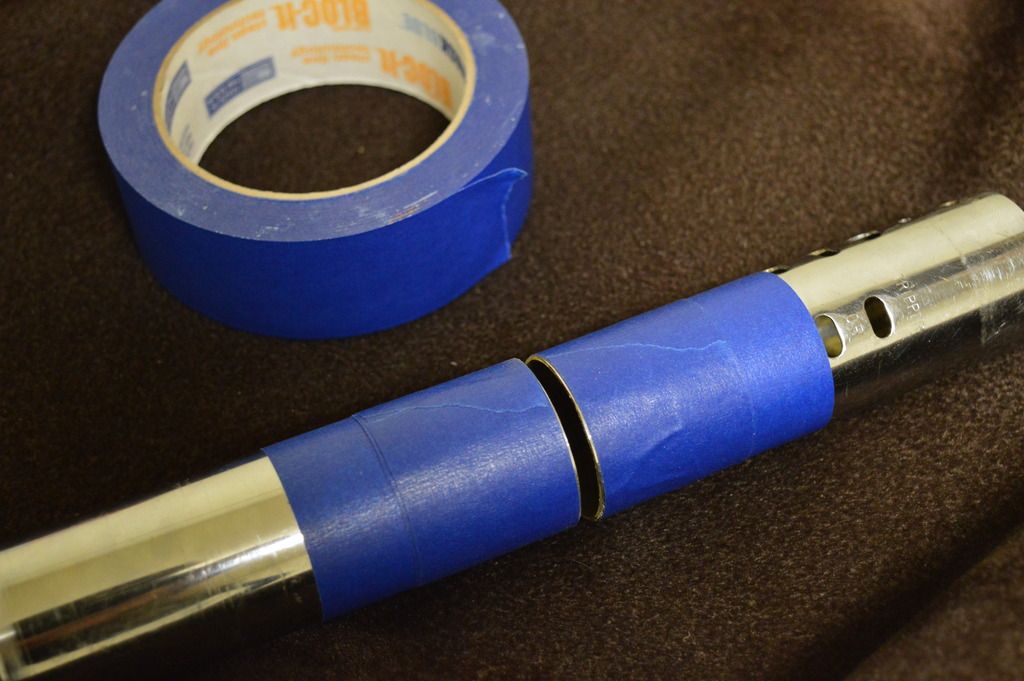
I used a dremel to do it, and then hand filed the fresh cut edges down to a nice even end. Then I took some PVC piping I had lying around and mocked up a quick concept of how it'll fit together.
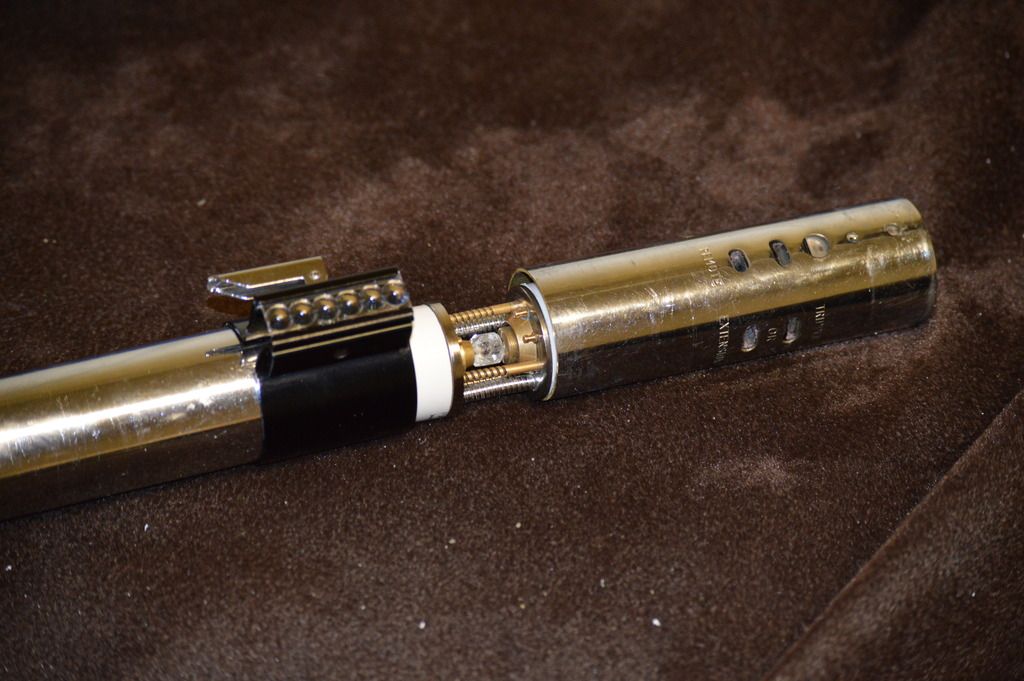
Not bad! I really like where it's going!
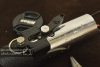
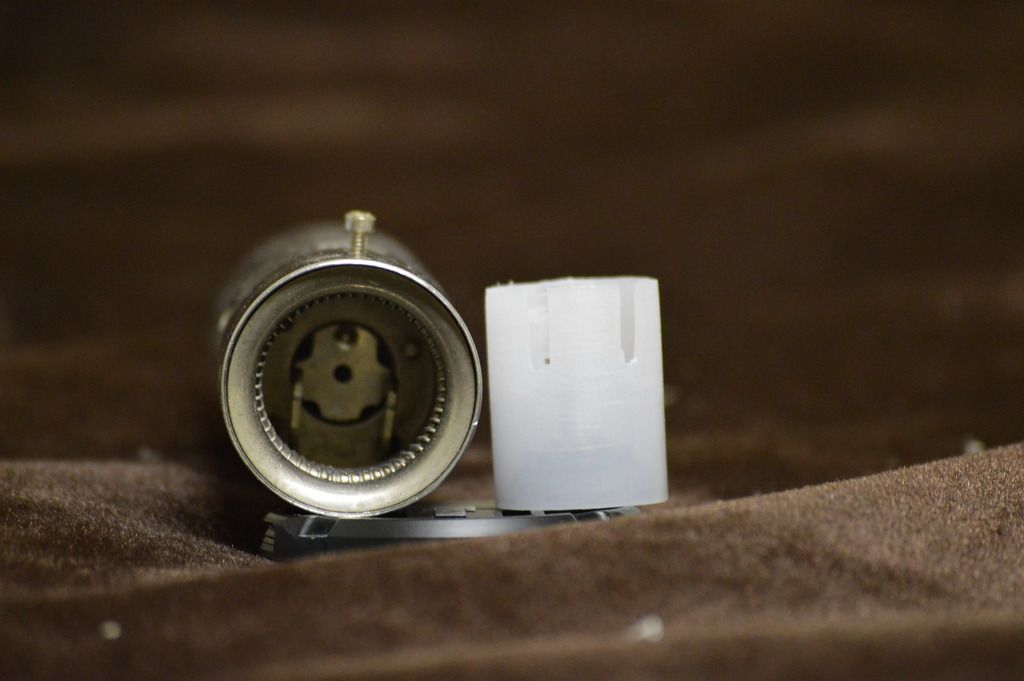
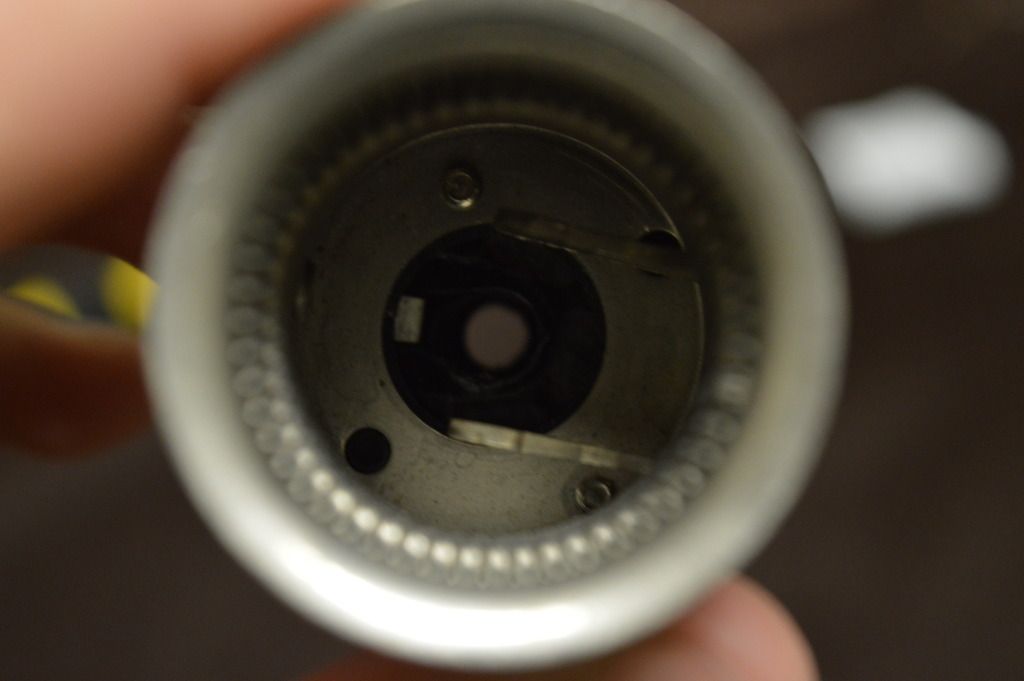
Next thing, I got that flash connector out of the tube. I got it apart and started looking at it to try and see what I can do with it.
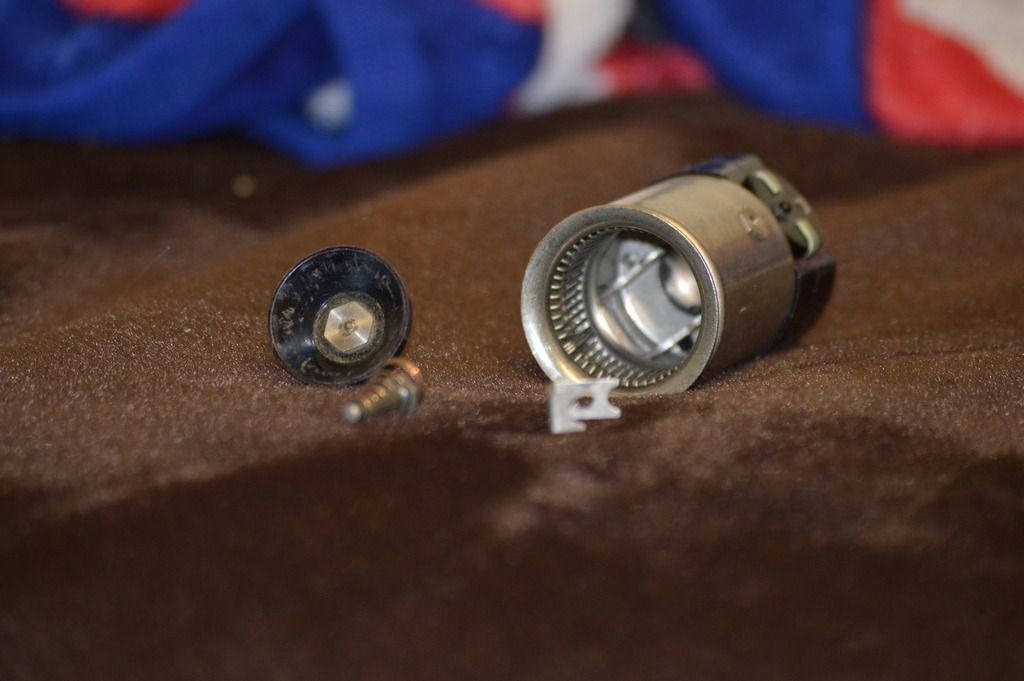
I wanted to do a blade plug design, and the connector fits a 1 inch blade perfectly (and I really mean perfectly). I had 2 inches of trans white tubing left over from when I cut my blade down a few inches a month or so ago. The connector has the tapped hole for where you attach the flash connector switch thingy, and the screw acts perfectly for a blade retention screw as well! Not only that, there are two prongs that stick out in there, and they also keep the blade steady once it's secure.
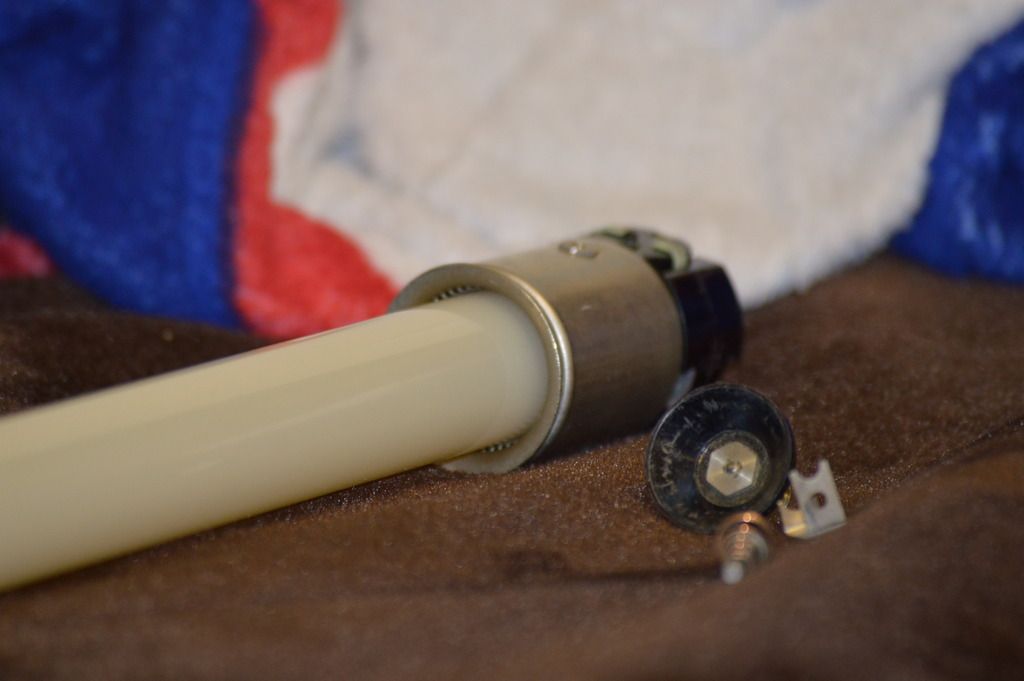
Like I said, it fits perfectly.
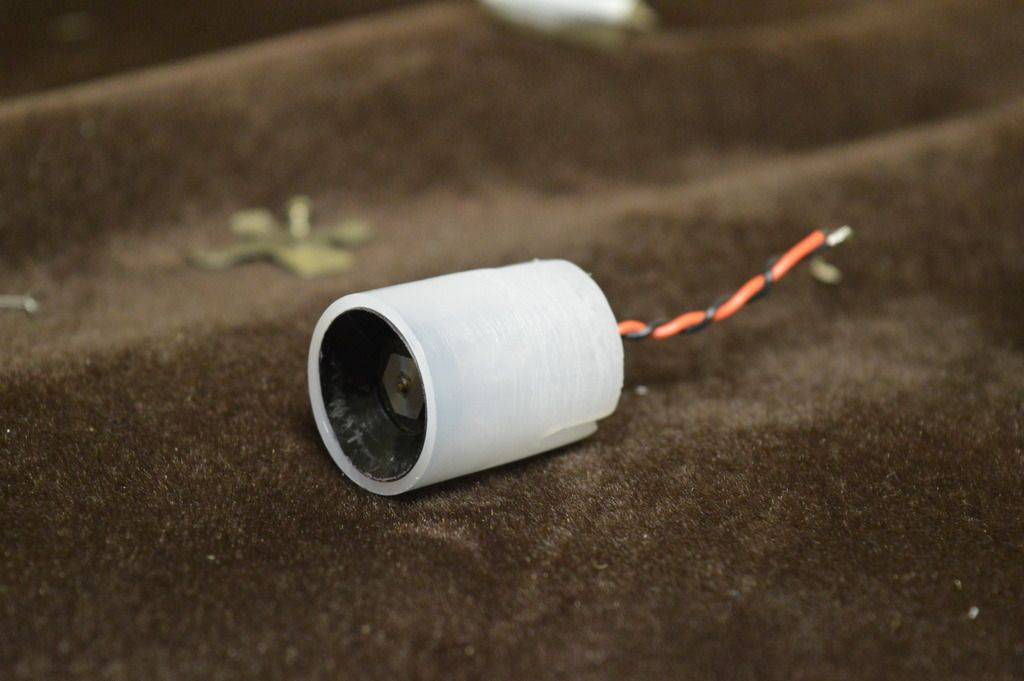
I trimmed down the flash connector inner piece with some hand sanding, and it fit snug into the tubing. Then I proceeded to cut slots into it and sand the outer area down a bit.

Taking 4 red LEDs, I made a little carousel to light the plug. Looks pretty sketchy, I know, but it holds really well! Then I assembled it all and braided the wires.
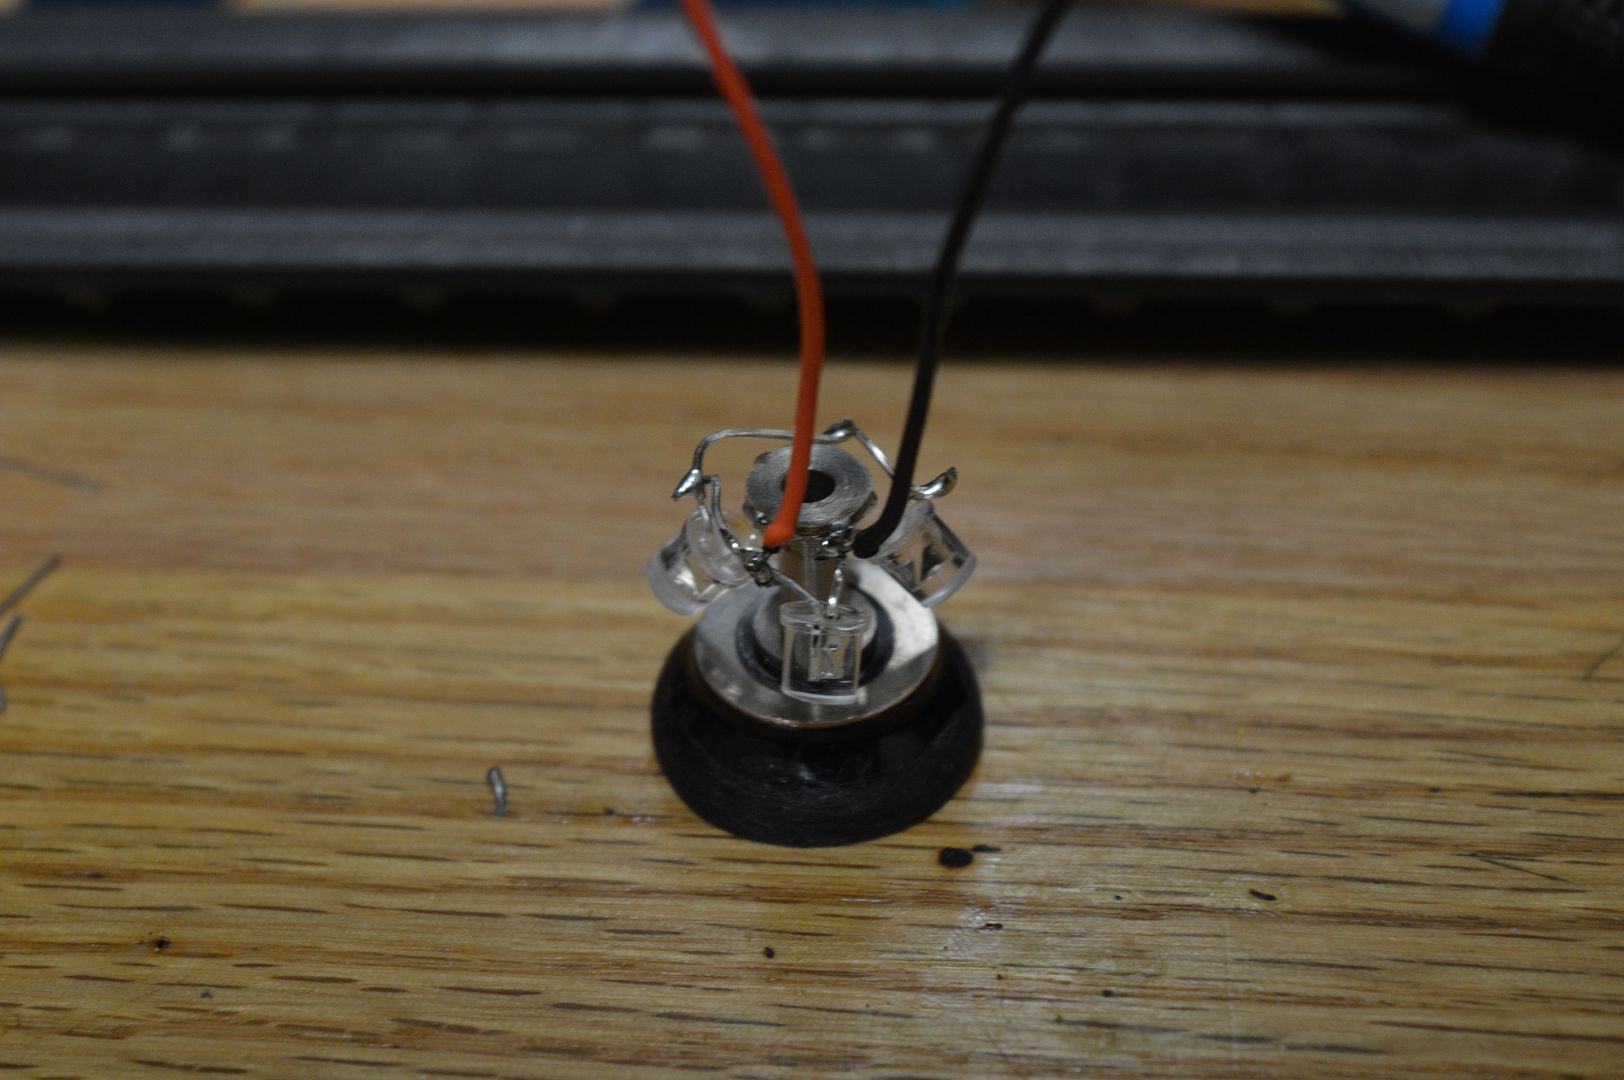
Then I drilled a hole through the center of the connector to allow wires to run through.
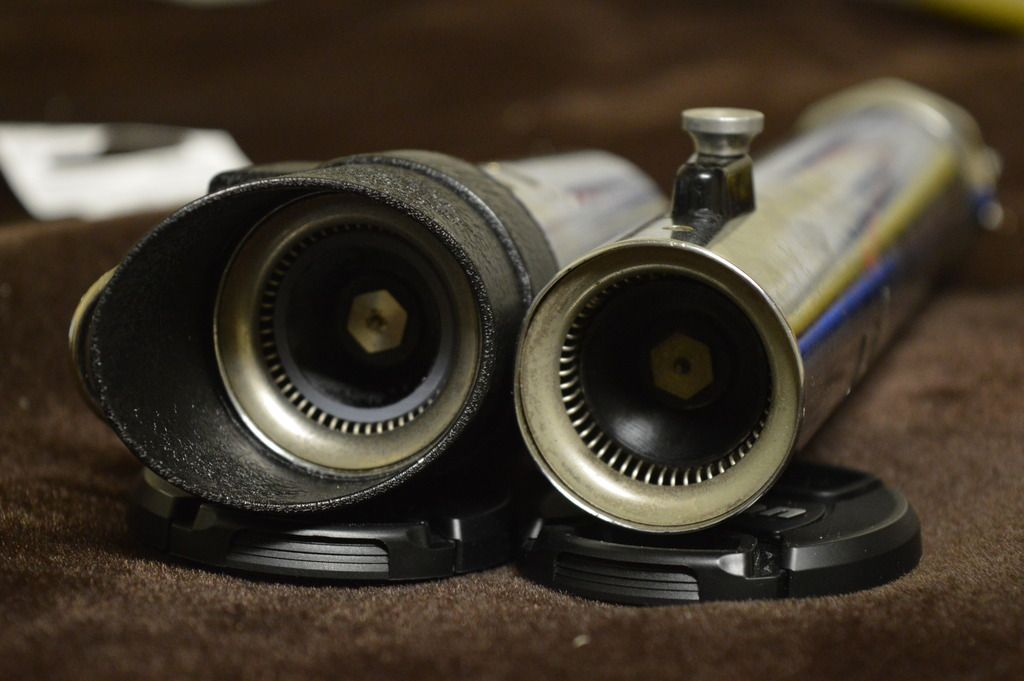
That was it! Here's a side by side of the before and after.
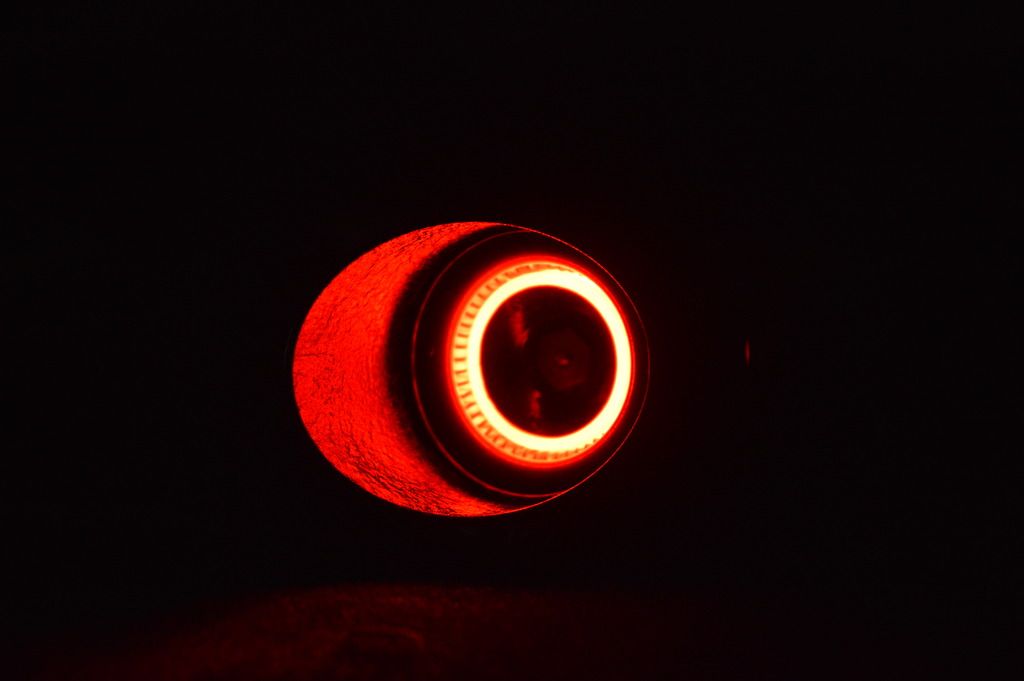
Last, but not least, the final look all lit up!
I won't lie, it feels really good to make progress on this project. I'm very excited to see this baby come to life, even though it may take some time. We'll see what the future holds!
Thanks guys!
As I get better and better at doing prop replicas, I keep challenging myself with new lightsaber builds. My Graflex Collection (seen here) was a tedious collection of both vintage and replica flash guns, and then the planning and successful building of them. Then there was my Vader ESB, which was just a matter of collecting up a Heiland and some of Roy's parts (including his no longer sold shroud :cry) and put that together. It was simple and not 100% accurate, but fun! Then, collecting up some Obi Won kits from Roman, Dan's Luke V2 first run, a Sidious saber, a 3D printed Kylo Ren saber, and then my own design of the Arcann Saber from SWTOR. All of which were great, and sometimes annoying to build, but I learned things from all of them!

Ahhhh, my collection is finally starting to make some progress
My attention was drawn to my ESB Vader, and I realized I wanted to do something new and fun with it. It wasn't 100% accurate: the wrong holes, the wrong flash connector, wrong length (it's about a half inch too short)... I was satisfied for a bit, but now I wanted to change it up. I didn't want to make it just static this time, though! I couldn't figure out what I wanted to do, until my buddy Schrodinger555 gave me a small test crystal chamber to do something with. At first I thought of using it in my Graflex, but I decided against it as I realized it would fit perfectly into a Vader build.


Like I said, not perfect!
To start off, I want to state that the inspiration is obvious here: Slothfurnace has amazing builds, but one thing I noticed was that his Vader reveal was never completed (at least as far as his site shows us). I loved the look of it, and I knew that I could do something similar. I didn't want to copy him by any means, but definitely do something with his unfinished ideas.
Keep in mind here, that I am no machinist or expert craftsman. My skills are more of the artistic side; the designs and concepts and sketches. I have no access to any equipment other than my dremel and some hand files. Everything I do I have to come up with ways to compensate for my lack of equipment, either by out sourcing or other means. This won't be extremely sophisticated, as I won't be adding any sound, only light.
I started by drawing up some simple ideas with my Wacom tablet.

Rough, but I understand what it's going to look like! Plus, I can visualize my ideas in my head pretty well, so I know what I want and how I want it.
The chamber I had here was lying around with some yellow LED's, so I threw them in there to test it out.

And here it is with red once the LED's came in

Looks pretty cool! It's not completely straight, so I did a little straightening and such later on.
Here's where we get to some fun times! I disassembled my old ESB, and was able to salvage all of the parts. Thank goodness, because I really didn't want to have to order new T-track.

I took all of the parts and cleaned them up a bit. I then prepped the new Heiland that I acquired from Veektohr, (my other two cell I got from SethS, which is a different project). Then I proceeded to do the craziest thing, a page pulled straight from Slothfurnace: I taped it off and cut it in half.

I used a dremel to do it, and then hand filed the fresh cut edges down to a nice even end. Then I took some PVC piping I had lying around and mocked up a quick concept of how it'll fit together.

Not bad! I really like where it's going!
Next thing, I got that flash connector out of the tube. I got it apart and started looking at it to try and see what I can do with it.

I wanted to do a blade plug design, and the connector fits a 1 inch blade perfectly (and I really mean perfectly). I had 2 inches of trans white tubing left over from when I cut my blade down a few inches a month or so ago. The connector has the tapped hole for where you attach the flash connector switch thingy, and the screw acts perfectly for a blade retention screw as well! Not only that, there are two prongs that stick out in there, and they also keep the blade steady once it's secure.

Like I said, it fits perfectly.
I trimmed down the flash connector inner piece with some hand sanding, and it fit snug into the tubing. Then I proceeded to cut slots into it and sand the outer area down a bit.


Taking 4 red LEDs, I made a little carousel to light the plug. Looks pretty sketchy, I know, but it holds really well! Then I assembled it all and braided the wires.


Then I drilled a hole through the center of the connector to allow wires to run through.

That was it! Here's a side by side of the before and after.

Last, but not least, the final look all lit up!

I won't lie, it feels really good to make progress on this project. I'm very excited to see this baby come to life, even though it may take some time. We'll see what the future holds!
Thanks guys!