7sinzz
Well-Known Member
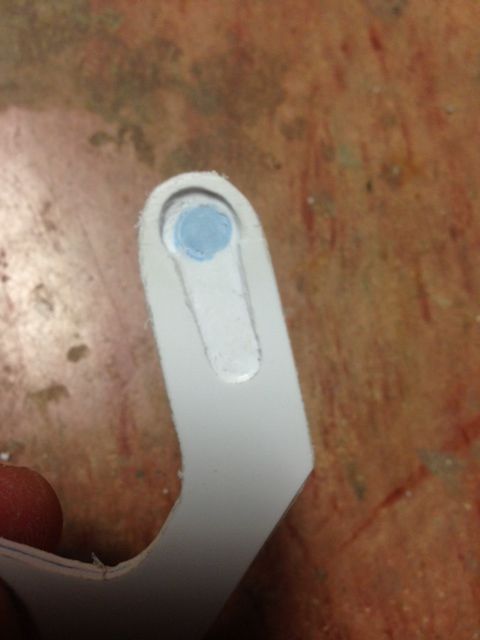
Modify the servo arms, convert them to a hinge
Care to elaborate on this please
")
Modify the servo arms, convert them to a hinge
When i get home i make a diagram of how i picture itCare to elaborate on this please
Please do a google search for xrobots plastic coating foam method. It's VERY VERY nacky but the results are amazing. This was my most recent build using this method. It's not perfect but it's a hell of a lot quicker than pepping and body filling. This suit is just foam and smooth-on 65d and it is SOLID!
View attachment 219301
http://img.tapatalk.com/d/13/08/13/7aba5uny.jpg

1.) I would skip the breadboard stage.. it will help you understand.. and possibly avoid mistakes until you are comfortable with what you are working with.
2.) I dont see any mention of the battery pack/type you are using
3.) I dont see any mention f voltage regulators..etc.
4.) I dont see any mention of transistor to swtich/control that many leds (unless you a planning on using 3-6 pins just for the eyes?)
my suggestion is follow mine or members wiring diagram and code...
Hey guys, im just about ready to program my helmet and get this all started.... one problem, i have no idea where to even begin!!!!!! i currently have 2 Hi-tec hs-85bb servo motors a switch and an arduino micro and 6 L.E.D.'s . my question is, can i skip the whole breadboard stage and if so maybe somebody can tell me what to begin with here for the love of ****** in heaven!?!?!?!?! any help is much appreciated
Care to elaborate on this please
Still looking for any insight on this. Thanks! =)
Ergh! One of my servos has died!
Proof alone in the accuracy of: "if you buy cheap, you buy twice"
Anyone care to suggest some decent quality servos around £10-£20? UK preferred.
Hitec HS-56HB Micro Servo
Nice one Mockle. Anything with metal gears within this price range? I'd be inclined to assume Hitec stuff is good quality then?
I think xI97 meant "I WOULDN'T skip the bread board stage". This is important for making sure all your components work and you have everything set up correctly. If you solder all the parts together to find that you missed a step or something is wrong, then unsoldering will be a pain in the ballbag!
The easiest method of starting out is by simply using the guide in the very first post. Step by step this gives you pretty much everything to start out. I'm not really sure how this could be made any easier without someone coming round and doing it for you bud.
try a large 'decrease' in the servo range..
3 degrees isnt much..
considering most of these hobby servos only have 'around' 150-160 degrees of movement
try very SMALL.. movement.. and only de/increment by 10's until you are comfortable with the range *(and no sound/buzz)
then the other way...
try 30 & 150 for your range seem what happens..
You have to do this
http://i135.photobucket.com/albums/...2e4051e6bf4cb79e997187ed49062_zps4269f5f2.jpg
And attach the servo arm in there