Iron Man MK II Flight Stabilizer and Arc Reactor

Kevin Gossett

Master Member
RPF PREMIUM MEMBER
So I just stumbled across this site not too long ago, and I have been blown away by the amount of talent and dedication everyone here has!

I have not done anything as remotely awesome as what some of you have done, but I wanted to show off what I have done.

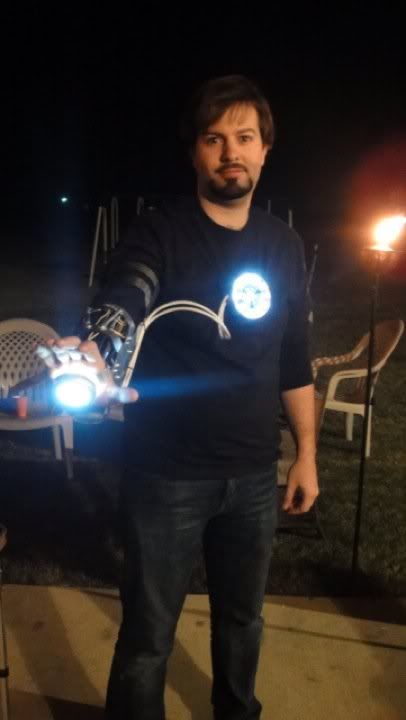
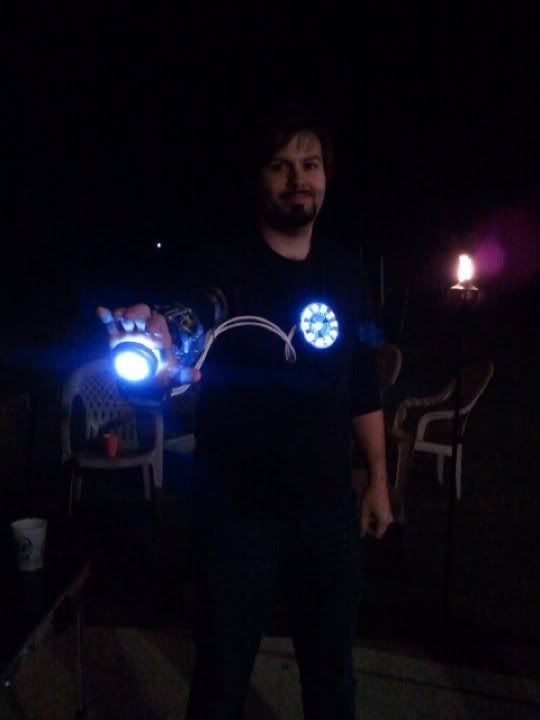
For Halloween last year, I wanted to be Tony Stark in his early stages of his Iron Man development. I drew my inspiration from this scene:

Iron-Man2.jpg


And I used this video as a rough guide.

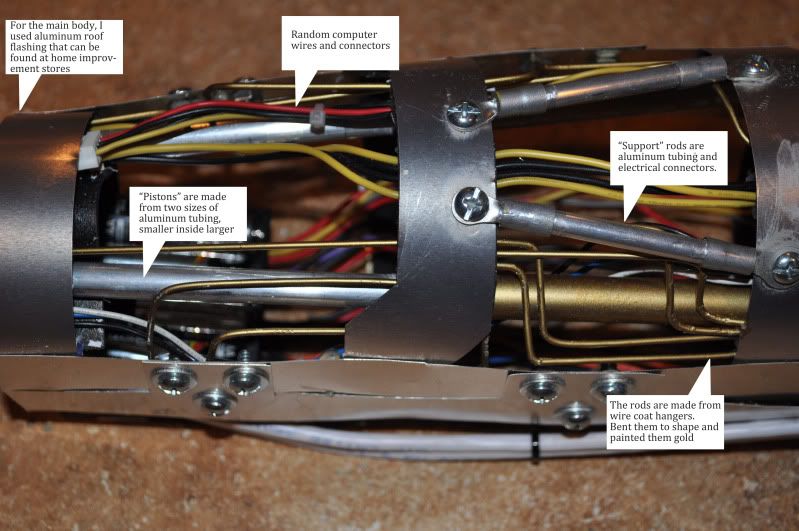
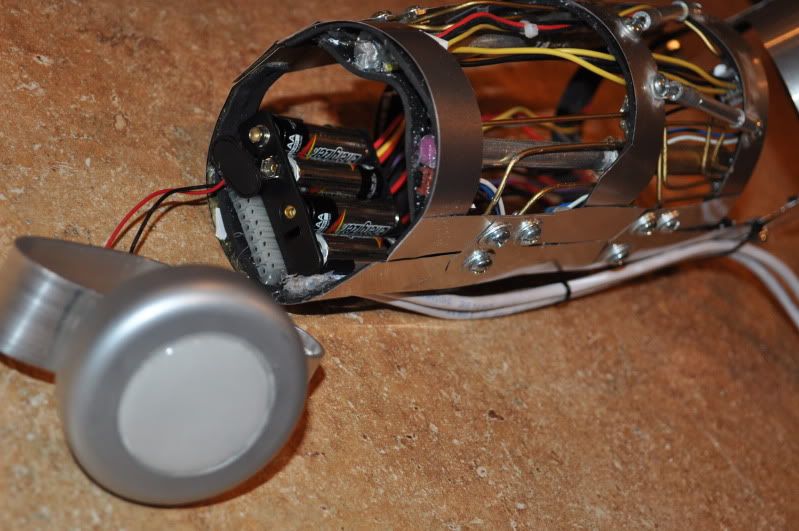
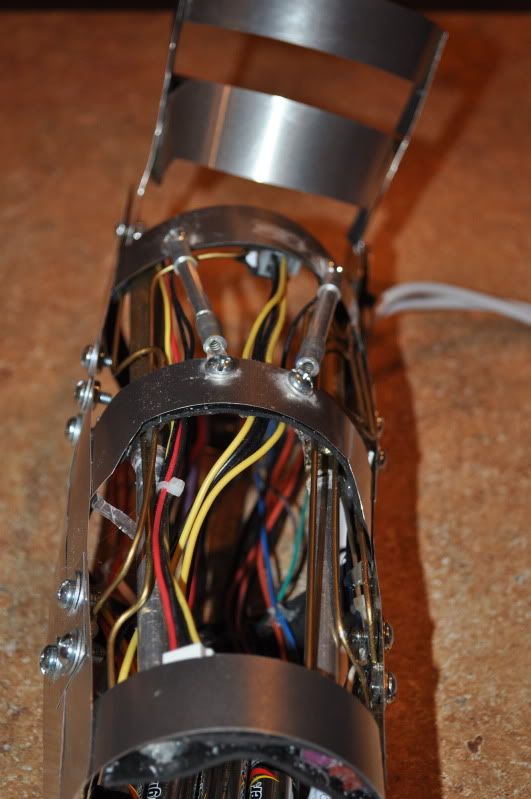
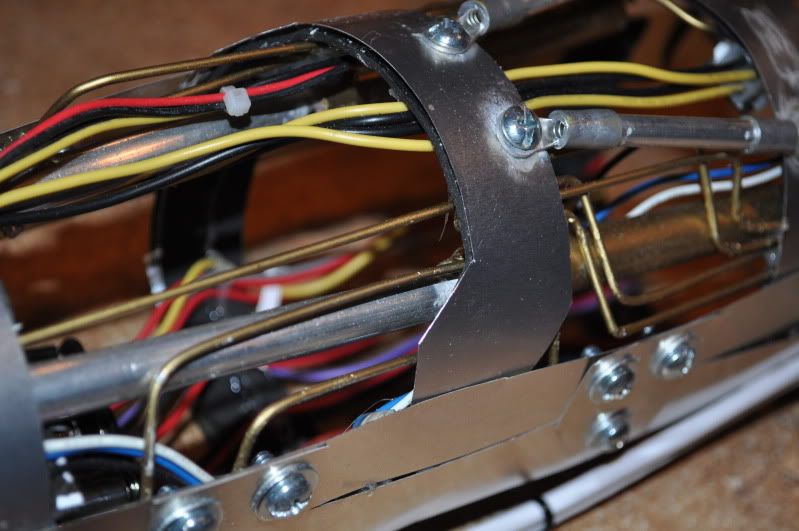
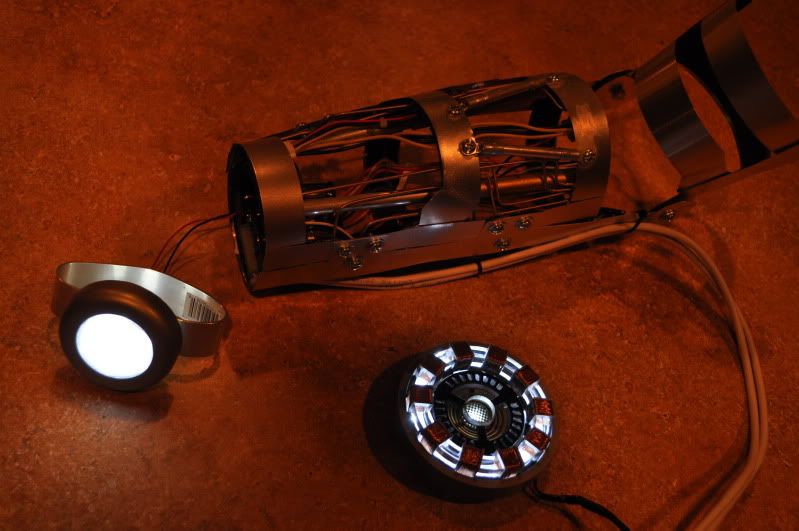
For the reactor, I purchased a resin-cast kit from this gentleman in San Antonio. It was a raw kit, so I had to clean it up a little, paint, wire up the LEDs, etc.

Sadly I didn't take pics during the build, but here is the finished product!
 
Last edited:
Hope you guys enjoy! If anyone has any questions on materials I will gladly answer! Whenever I become a "regular" member, I might put the arm piece in the junkyard, but the reactor stays with me :)
 
Thanks guys! I was really pleased with the results. I do wish I had the foresight to take pictures during my build. I know better now!
 
Very nice and tidy job, what kind of weight is it?... I will have a few questions once i finish my magneto build:)

Also welcome to RPF, try not to spend to many hrs wandering thru member projects:D
 
Looks really good. There's SO many little things (I say little, not in effort, physical size) I want - the arm stripped down and a development boot to name a few.

This looks great. If I wanted a display case one I'd want to go screen accurate (like that's gonna be possible on my budget) though. Awesome stuff.
 
Very nice and tidy job, what kind of weight is it?... I will have a few questions once i finish my magneto build:)

Also welcome to RPF, try not to spend to many hrs wandering thru member projects:D

It's actually very light. I used aluminum roof flashing (sold in rolls at home improvement stores) for the main structure. Drew out each piece, cut them out with tin snips, and used super glue gel to assemble. I first did the upper half, then the bottom half, then connected the two. All of the other components are actually simple solutions... When I get some time I will try to make a parts list
 
great work..could you make a parts list of what you used to make it.. i love it.. and how long does your batteries last while on?
 
Awesome job! This is actually what I was planning to do for Halloween this year, except I'm planning on doing both arms along with the boots. Hopefully I'll be able to find all the parts I need...
 
Sweet cant wait id love to do this on days I don't want to wear the whole suit =) I love how clean the metal looks and just the rods an supports in the right places
 
Ok, here goes:

Breakdown.jpg


As the picture states, I used aluminum roof flashing for the main structure. I first tried a thin aluminum bar, but it was too difficult to work with getting the right shape. The flashing is super easy! I drew out each piece on the flashing and cut out with tin snips. Everything got superglued together, but it wasn't strong enough on its own to keep its shape. I took a wire coat hanger and cut pieces to the proper lengths and bent them to fit the shape I needed for the structure, creating a "skeleton" of sorts for flashing. The wire was hot glued to each piece of aluminum, and then I used craft foam with adhesive backing to line the entire thing so the wire and sharp corners wouldn't bother me while wearing.

You'll notice the top half and bottom half are separate pieces. This made the construction much easier. Once each half was completed, I simply drilled holes in each side to connect them using more aluminum.

I used wire coat hangers again for the gold tubing that runs throughout. I just simply cut pieces to different lengths and bent them to the shapes I needed, then gave them a quick spray of gold.

The pistons are built using two diameters of aluminum tubing, so that the smaller fits inside the larger. Glued them up, painted the larger size gold, and glued them into the top structure.

The "support" rods on top are made of more aluminum tubing, small enough to fit inside the electrical terminal caps. Glued those together, then painted them to get a consistent finish. For the screws, I used a Dremel with a cutting blade to remove the heads, and glued them in place.

Added in the random computer wires, and the battery pack for the palm repulsor. For that, I used a cheap tap light, but only for the metal body and clear lens. I wired my own LEDs inside, and added a couple layers of coffee filter to help diffuse the light. Mounted it on a piece of aluminum that I was originally using for the main structure, that I bent to the proper shape to fit over my palm.

So there you have it! Total cost of materials will vary, but I estimated mine to be around $40. Couldn't tell you how much time I put into it, since I worked on it a little here and there over a several week span
 
That's awesome that you put my video to good use. For a second i thought that was the arm i made! You did an amazing job congrats! Right now im working on a new arc reactor design thats easy to put together but still look like the real prop then im going to make a tutorial for everyone, unfortunately the arm was to complicated to list out. Again great job try using white El wire to run to the arc reactor looks like power being transferred to the arm.
 
Last edited:
This thread is more than 8 years old.

Your message may be considered spam for the following reasons:

  1. This thread hasn't been active in some time. A new post in this thread might not contribute constructively to this discussion after so long.
If you wish to reply despite these issues, check the box below before replying.
Be aware that malicious compliance may result in more severe penalties.
Back
Top