UnofficialVoice
New Member
I wanted to share this with you guys, I have used this site for so much reference material and research that I wanted to show you all what I made as a result.
So I used the Pep files by Zabona that I found on here (did I spell that name correctly?) to put together the hand and finger pieces. The fore arm and chest pieces I built form scratch.
I did something a little different with this pep build since the parts were so small... I used a heavier card stock that I had to cut down to printable size then did 2 or 3 layers of paper using wood glue. By the time I did the final layers of paper on top and used the wood glue to fill in and smooth out the surfaces, I actually had very little sanding to do and did not need to use any filler at all. About 4 or 5 layers of fiberglass resin and it was good to go (sanding between layers here)
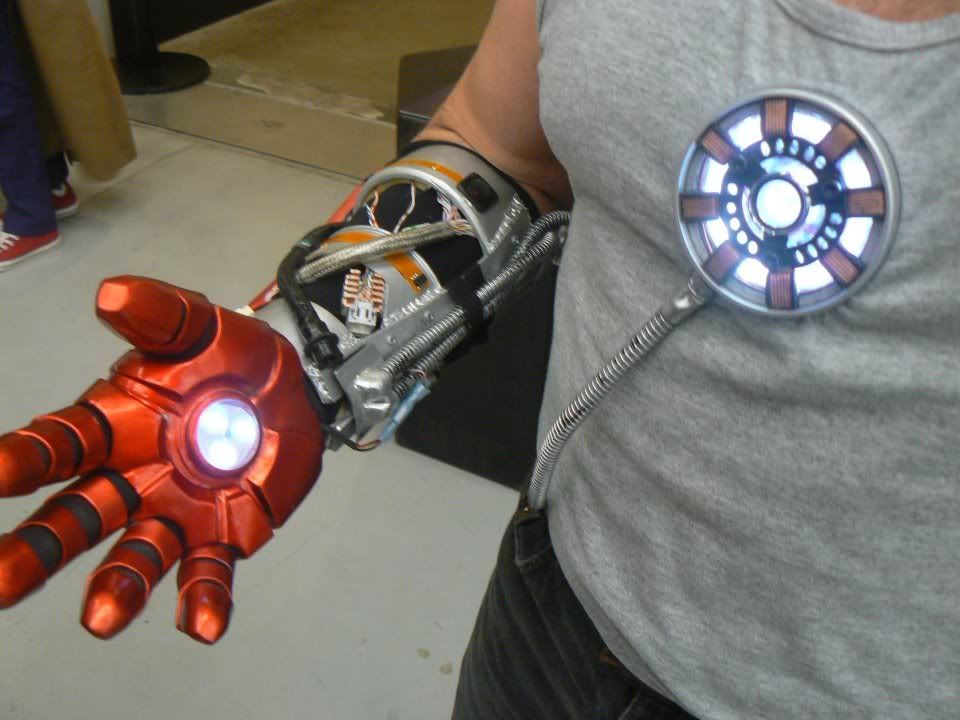
The first pic shows the whole contraption with the chest piece and fore arm along with the glove (still need to figure out what to do between the joints...)
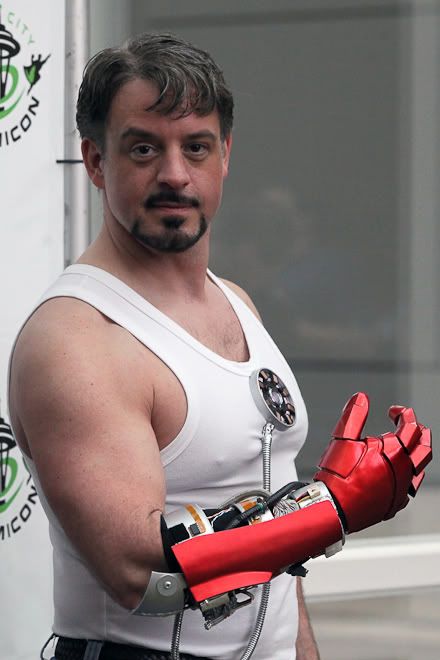
The next image I snagged from the local news, it gives a better idea of the whole look for this costume.
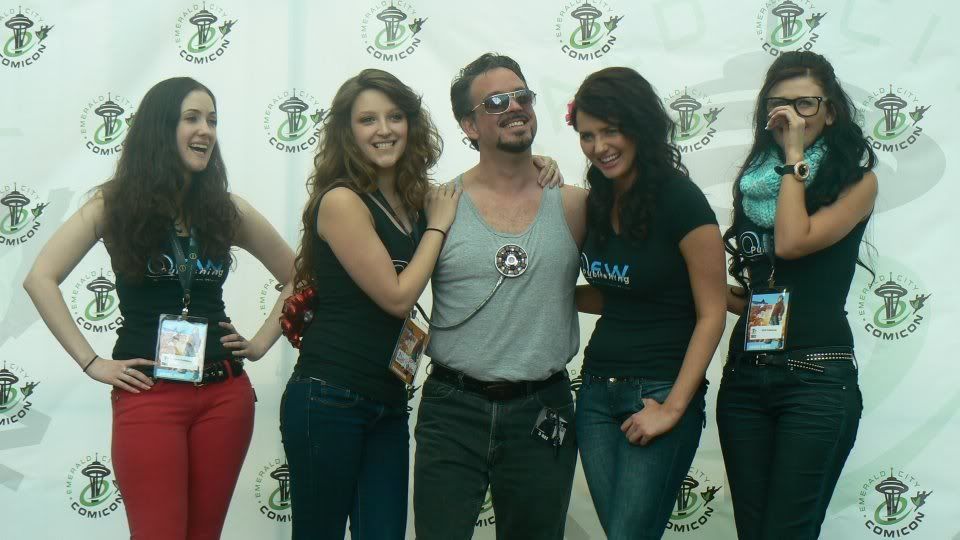
I had to add this pic because it was what I felt was the best part of the event...
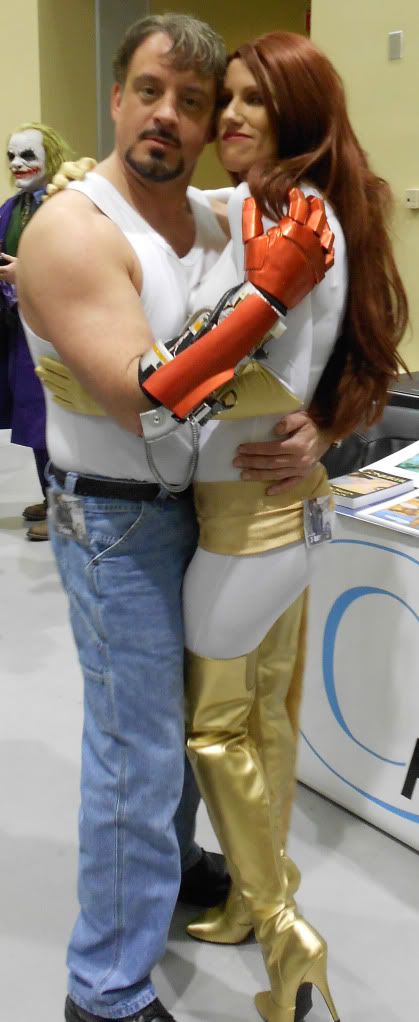
And of course, you cannot have a complete Tony Stark costume without some arm candy. I got to spend all weekend with the lovely ladies of QEW Publishing (who sponsored our charity event at the Con this year)
I totally failed to take any pics of the build process - unfortunately I was so short on time that I just wanted to get it done...
Let me know what you think!
~UnofficialVoice
So I used the Pep files by Zabona that I found on here (did I spell that name correctly?) to put together the hand and finger pieces. The fore arm and chest pieces I built form scratch.
I did something a little different with this pep build since the parts were so small... I used a heavier card stock that I had to cut down to printable size then did 2 or 3 layers of paper using wood glue. By the time I did the final layers of paper on top and used the wood glue to fill in and smooth out the surfaces, I actually had very little sanding to do and did not need to use any filler at all. About 4 or 5 layers of fiberglass resin and it was good to go (sanding between layers here)
The first pic shows the whole contraption with the chest piece and fore arm along with the glove (still need to figure out what to do between the joints...)
The next image I snagged from the local news, it gives a better idea of the whole look for this costume.
I had to add this pic because it was what I felt was the best part of the event...
And of course, you cannot have a complete Tony Stark costume without some arm candy. I got to spend all weekend with the lovely ladies of QEW Publishing (who sponsored our charity event at the Con this year)
I totally failed to take any pics of the build process - unfortunately I was so short on time that I just wanted to get it done...
Let me know what you think!
~UnofficialVoice