AxiomUltra
Active Member
This is my first costume/prop project attempt, as well as my first thread on the RPF  I would like to thank the RPF and 405th for the inspiration and knowledge to help me with this build!
I decided early last year to try and build a suit of armor for this year's Dragon*Con. It began as a challenge issued by one of my friends. He really liked the look of the Orbital Drop Shock Troopers (ODST) from the game Halo 3, and thought it would be a fun project to do.

Not knowing very much about the character design myself I began doing research and learning about the universe of Halo. I soon found myself gathering reference pictures and modeling like crazy!
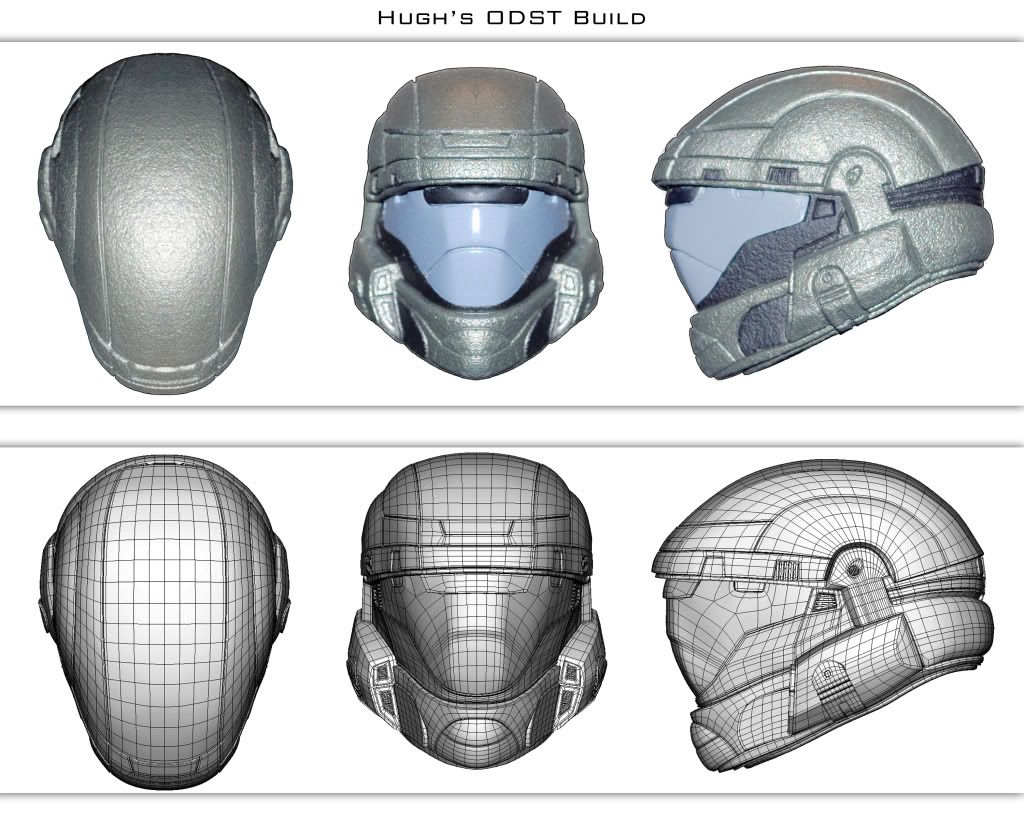
I took most of my reference images for modeling from the Mcfarlane designs released for the game. Though not the best accuracy-wise, they gave me a good start!
I decided early last year to try and build a suit of armor for this year's Dragon*Con. It began as a challenge issued by one of my friends. He really liked the look of the Orbital Drop Shock Troopers (ODST) from the game Halo 3, and thought it would be a fun project to do.

Not knowing very much about the character design myself I began doing research and learning about the universe of Halo. I soon found myself gathering reference pictures and modeling like crazy!

I took most of my reference images for modeling from the Mcfarlane designs released for the game. Though not the best accuracy-wise, they gave me a good start!
I had never worked with pepakura before when I started this project. I have to say I wasn't impressed with the method when I first read about it. It seemed very difficult to achieve an accurate prop. And most 3D files were simple "bubbles" that needed extra support and tended to warp easily.
I began to model the ODST helmet in separate parts, each a solid block in hopes of one day building using a 3D printer.
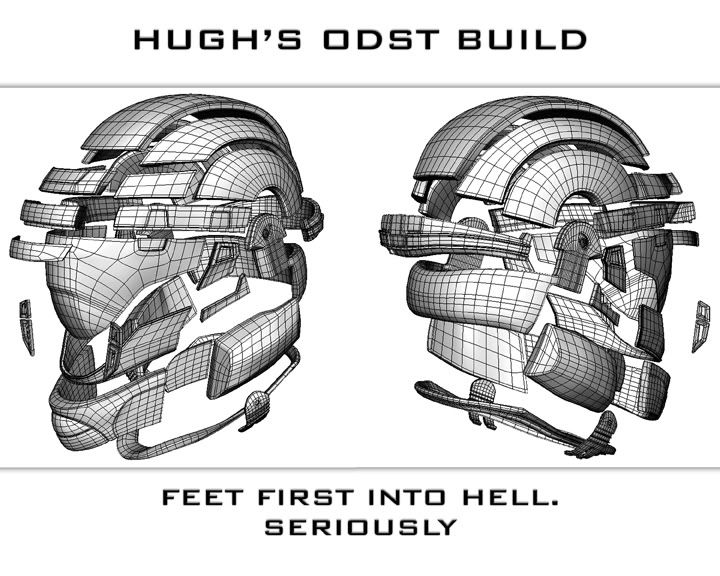
Original helmet exploded view
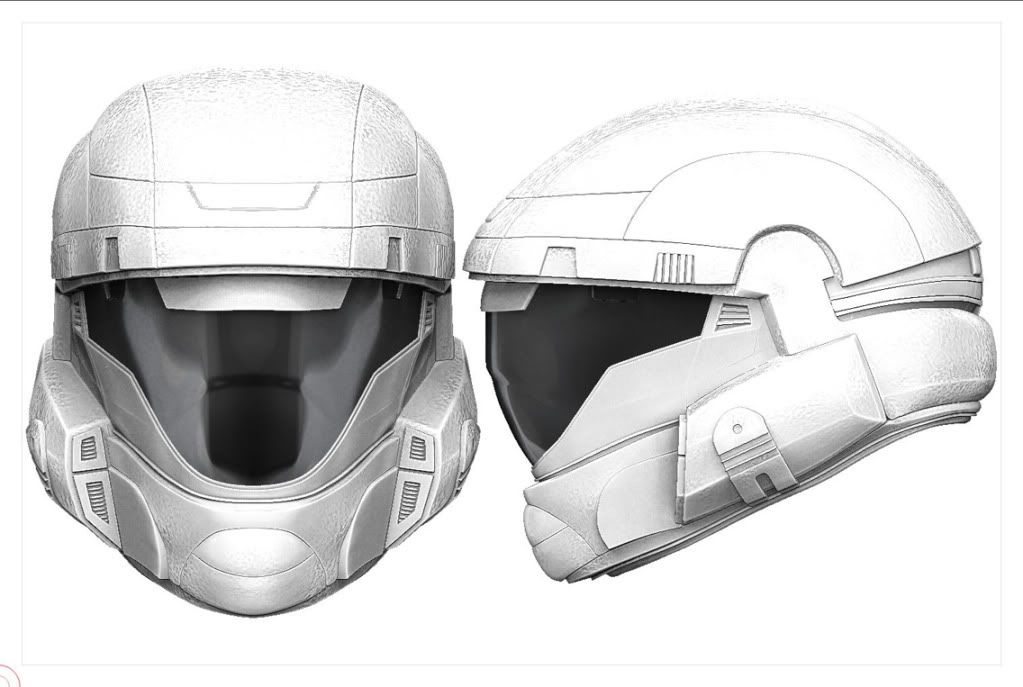
Experimenting with ZBrush texturing
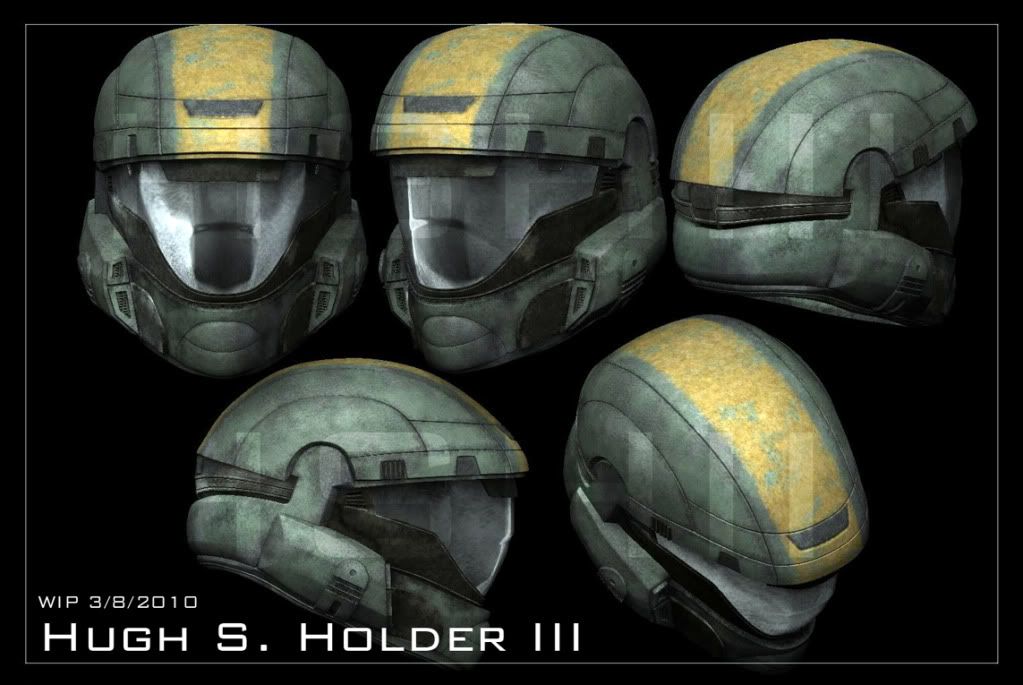
Playing with poly paint :wacko horrible way to texture by the way.
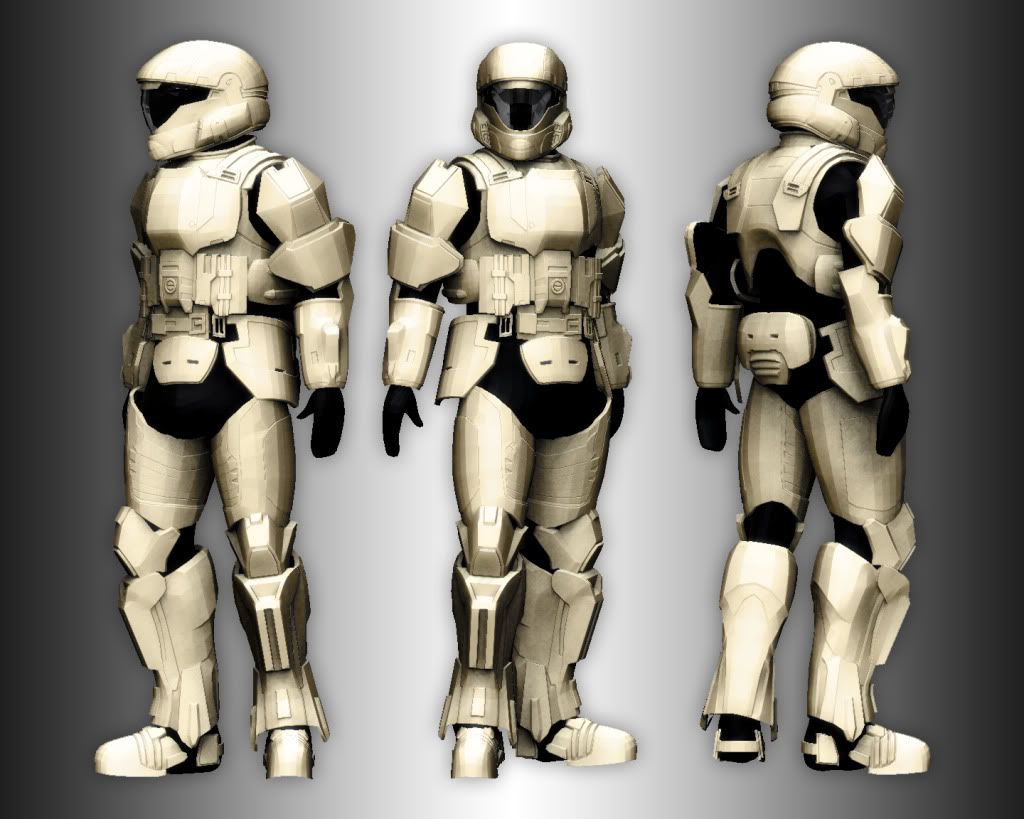
Finished modeling all armor parts! Modeling and scaling done in Maya. I created a 3D mesh of myself using proportions gathered with calipers and sized the armor to the 3D mannequin. Final render done with ZBrush.
I began to model the ODST helmet in separate parts, each a solid block in hopes of one day building using a 3D printer.

Original helmet exploded view

Experimenting with ZBrush texturing

Playing with poly paint :wacko horrible way to texture by the way.

Finished modeling all armor parts! Modeling and scaling done in Maya. I created a 3D mesh of myself using proportions gathered with calipers and sized the armor to the 3D mannequin. Final render done with ZBrush.
After doing a lot of research I decided that having the parts machined for me would not be cost effective. And since this was my first prop project I didn't feel the need to invest in a ton of money So building it by hand would have do for the time being.
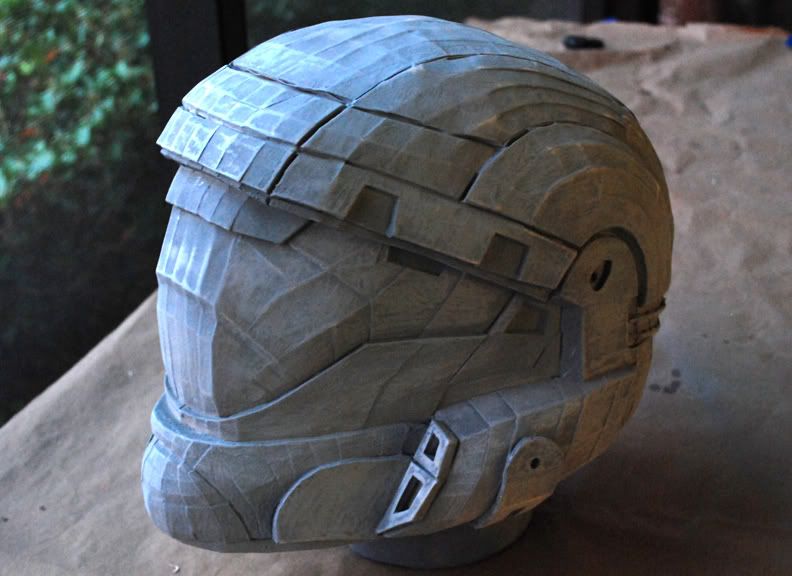
ODST Helmet V1 First pep/prop ever!
Luckily for me, breaking the model up into pieces actually allowed for a different type of modular pep file. Each block is glued to it's neighbor on the inside of the part. These glued inner edges add support and increase the overall strength of the paper prop. I used butterfly clips to hold the parts together in sections before I remove them one at a time while gluing.

Modular Pepping allowed me to build complex shapes using less bondo to smooth out.
I wasn't too thrilled with the first helmet I had done. Unfortunately, I didn't come to this realization until after I had invested time and money into casting it. I spent too much time worrying about deadlines and rushed into casting before I was ready. Also, I had never worked with casting materials before. :unsure
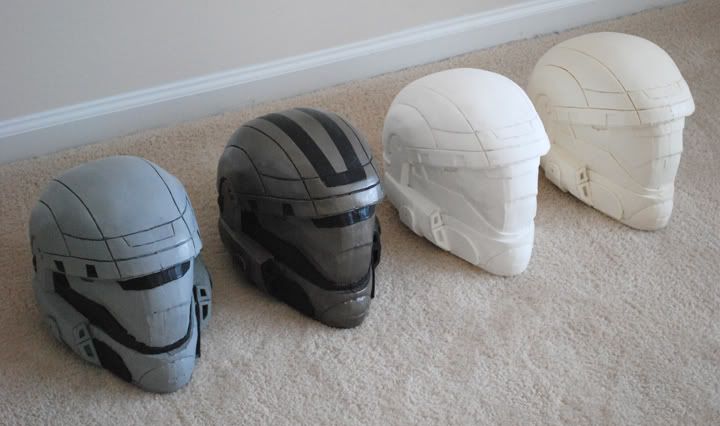
First helmet casts. While they looked pretty good I wasn't happy with the fold lines that needed to be sanded out. The helmet was also not tapered quite enough and lacked the tear-drop shape I was looking for in the game model.

First helmet casts. While they looked pretty good I wasn't happy with the fold lines that needed to be sanded out. The helmet was also not tapered quite enough and lacked the tear-drop shape I was looking for in the game model.
My second attempt at the ODST helmet came accidentally around Thanksgiving last year. I was showing my brother the different modeling methods when working with props/animation/and engineering. I cleaned up the original 3D model and re-unfolded it. I decided to show him how to build a couple parts and ended up finishing the entire dome area in a couple hours. By the end of the next day I had made the entire helmet!
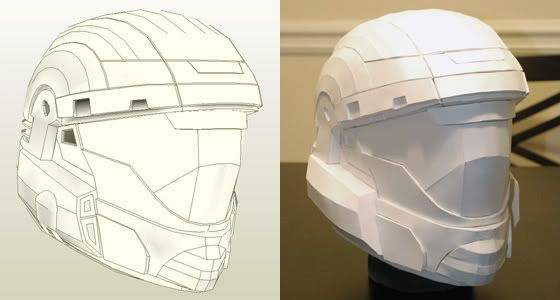
It took me FIVE WEEKS to build it the first time...
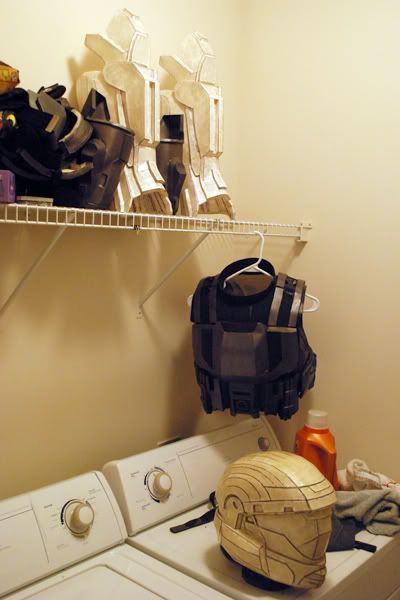
Armory...
I started looking at my 3D models and tried to make them work more efficiently in the real world. The less unnecessary folds in the file meant less time using clay or body filler to smooth the part out. Certain areas of the helmet were left out to be build separately. Both because it simplified the casting and pepping process.
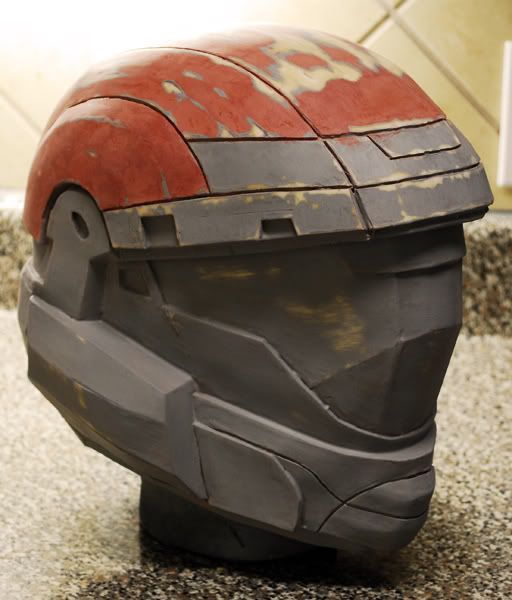
V2 Helmet

It took me FIVE WEEKS to build it the first time...
I'm certainly no pro at this stuff. It's been a really SLOW project. I took a new job and had to relocate which put this project on hold a couple months. But I made time for it when I could.

Armory...
I started looking at my 3D models and tried to make them work more efficiently in the real world. The less unnecessary folds in the file meant less time using clay or body filler to smooth the part out. Certain areas of the helmet were left out to be build separately. Both because it simplified the casting and pepping process.

V2 Helmet
Every now and then I'd go back and create an add-on or two 
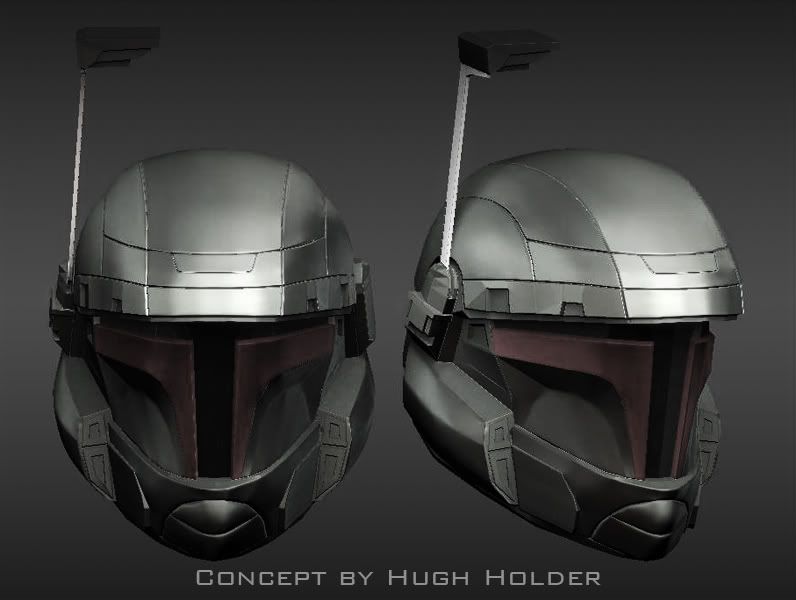

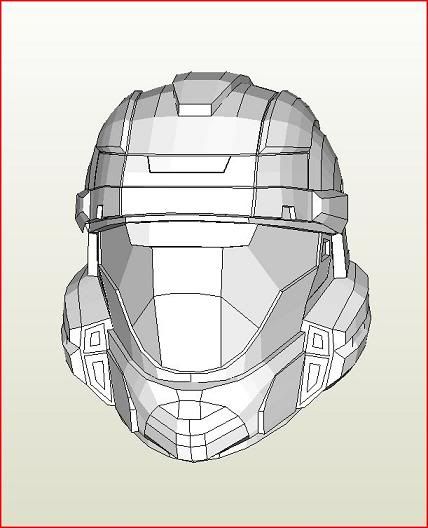
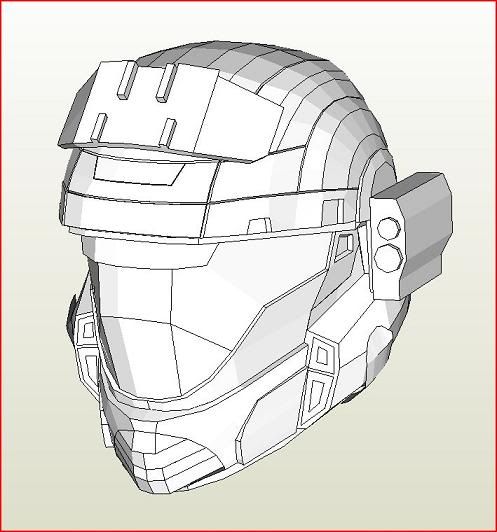


Finally I had a finished buck for casting, again.

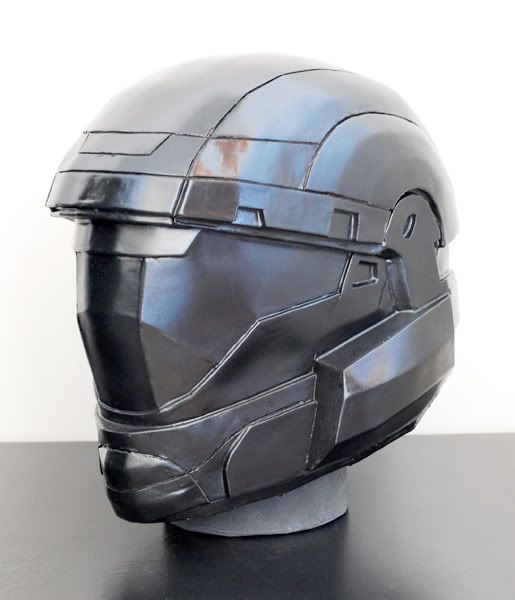


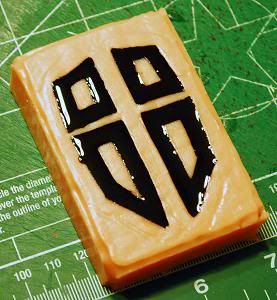
Parts like the side vents were built and cast separately for a cleaner finish.

I know I'm probably going to get a lot of criticism for going with a two part mold over a glove mold. But I did this for a few reasons. One of them being that I wasn't satisfied with my first and wanted to improve on my technique. The other was that I was minimizing wasted silicone while laying the part down and building the silicone layers one at a time.
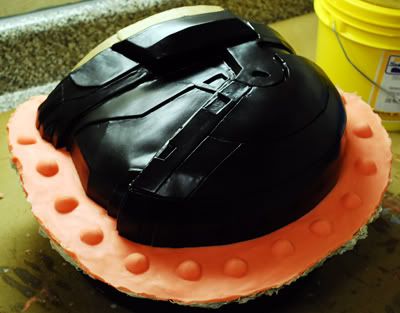
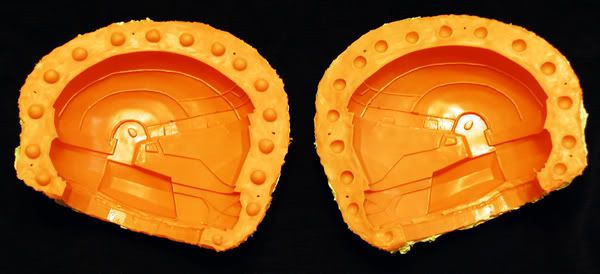


Seam lines were always a concern, but I thought if I did it correctly then they wouldn't be an issue.
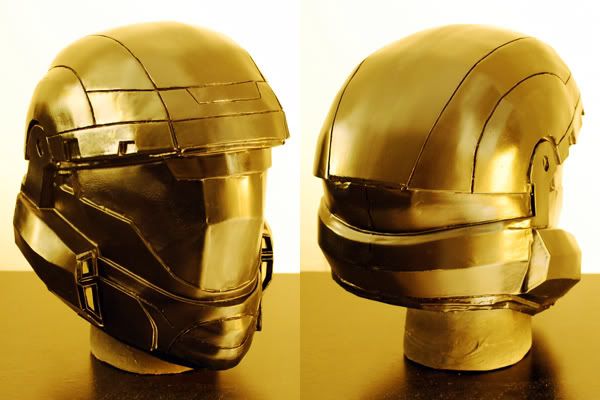
And they weren't. Casted from Smooth On ONYX.

And they weren't. Casted from Smooth On ONYX.
After some work I figured out a way to get a great looking visor. There is a tutorial on how I did this on the 405th. Fist painted prop...
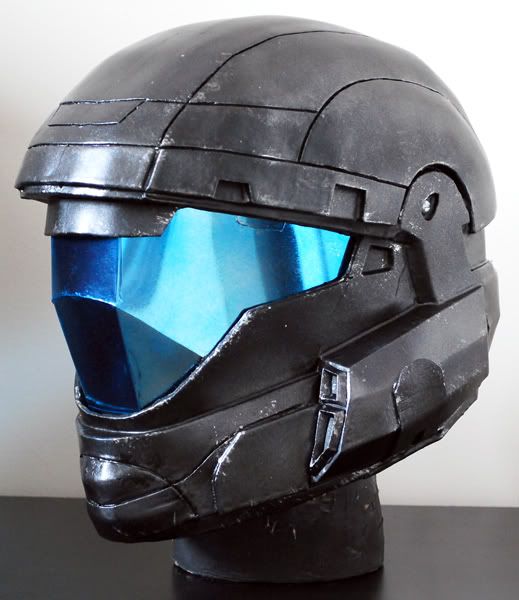
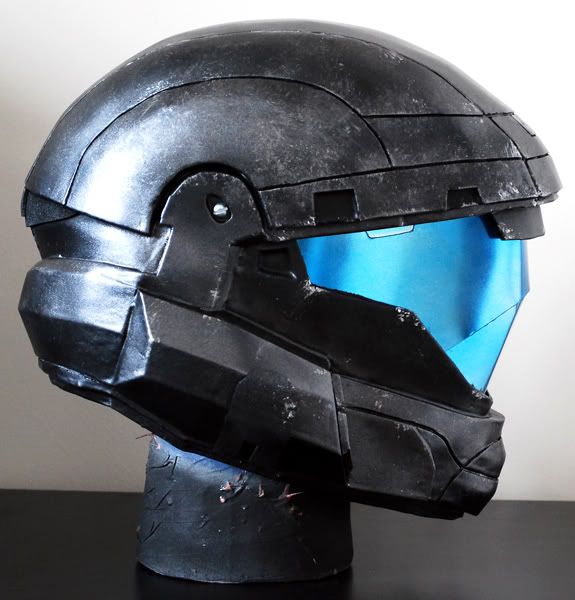
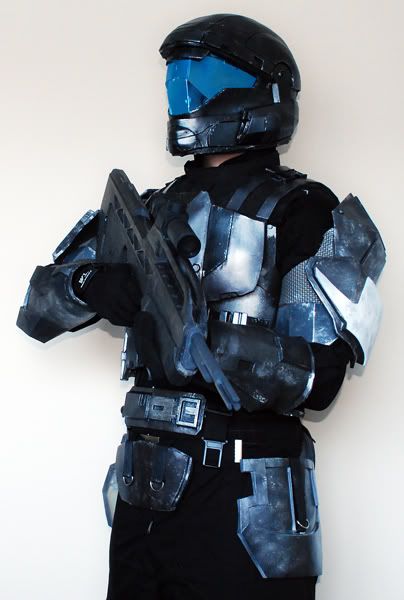
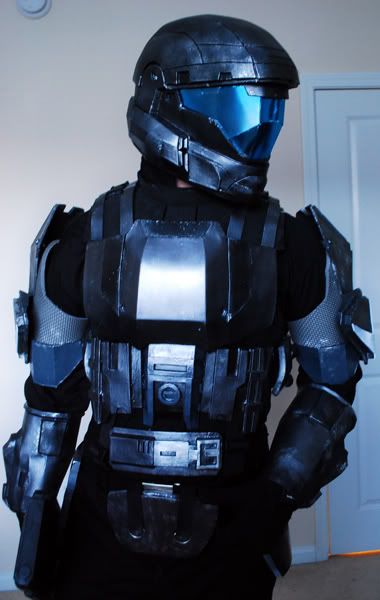
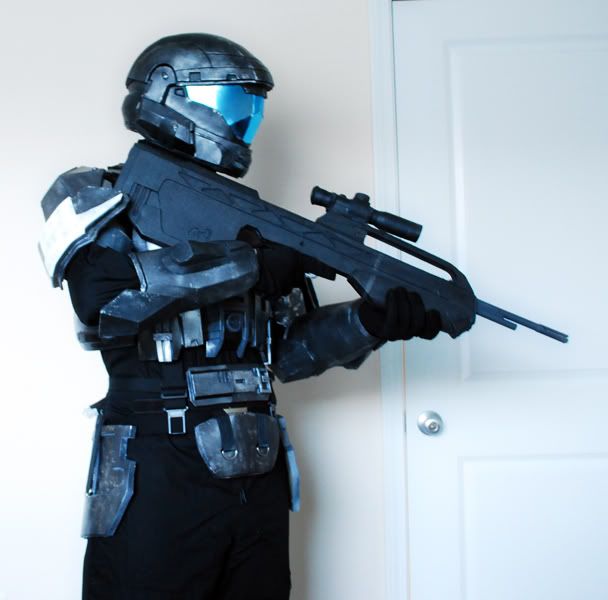
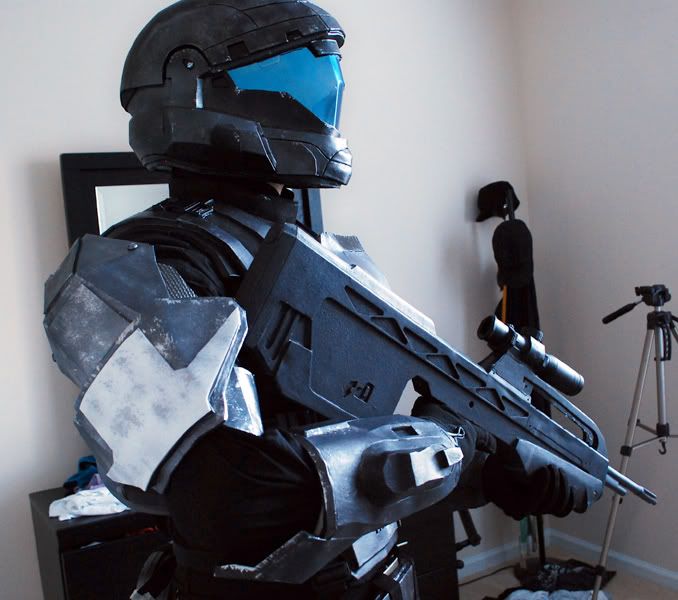


So I've completed a little over half of the armor as of now. Still moving along, slowly. Hopefully I'll have it ready for this summer.
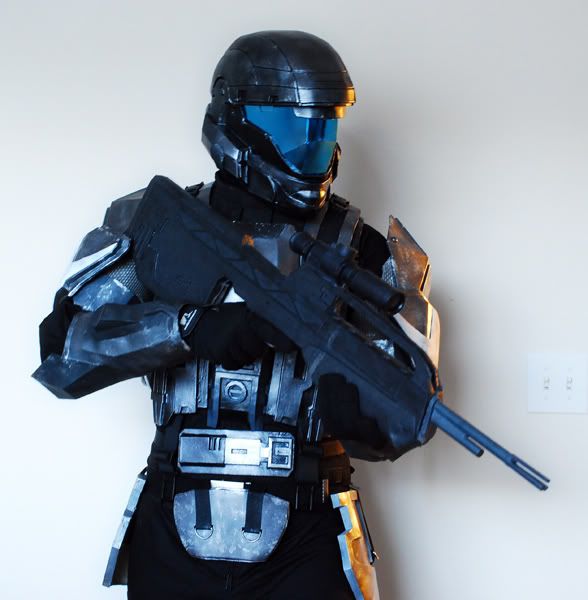
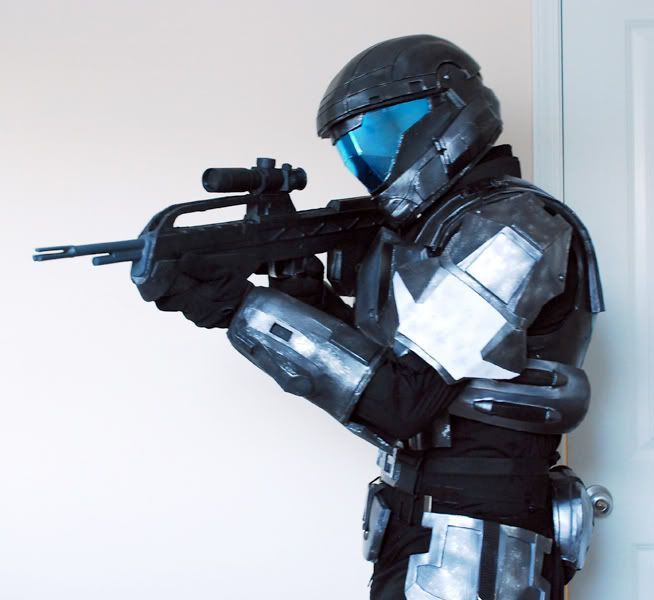
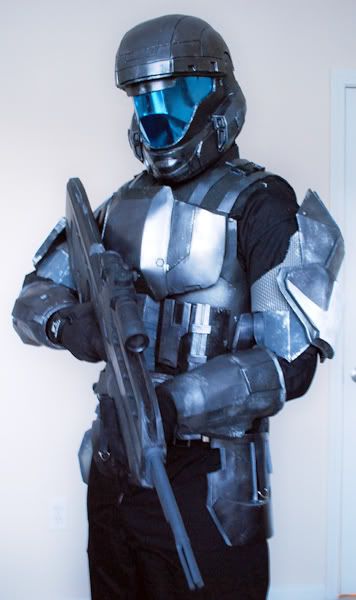


Thanks again everyone!
