Help Identifying Molds - Firefly?

philippes

Sr Member
RPF PREMIUM MEMBER
Guys,

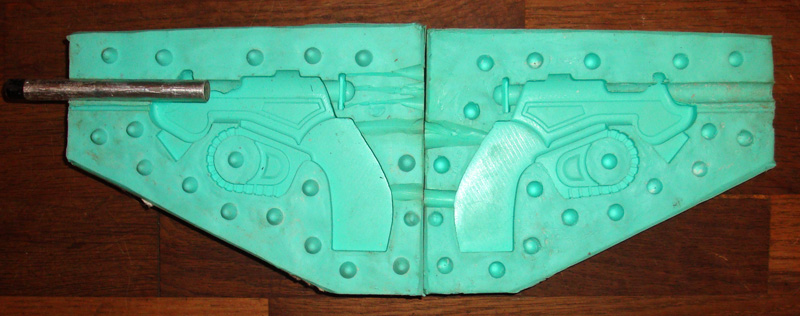
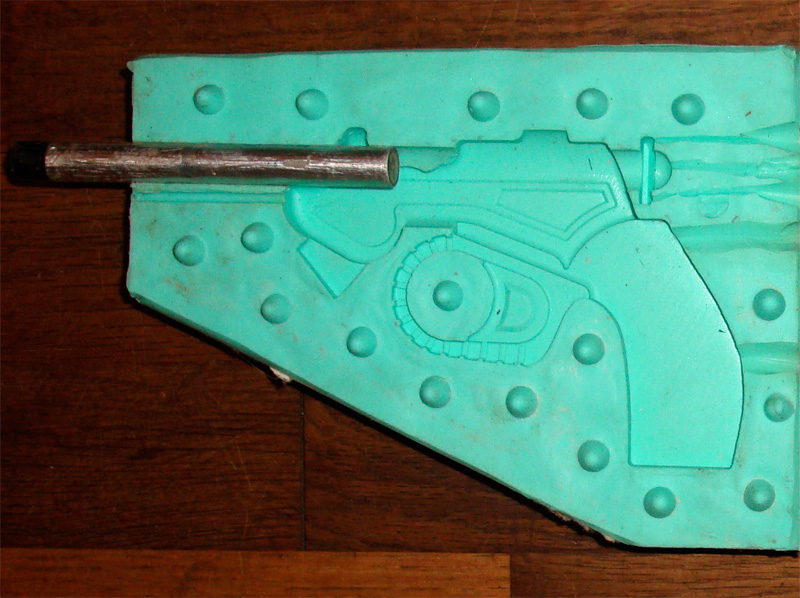
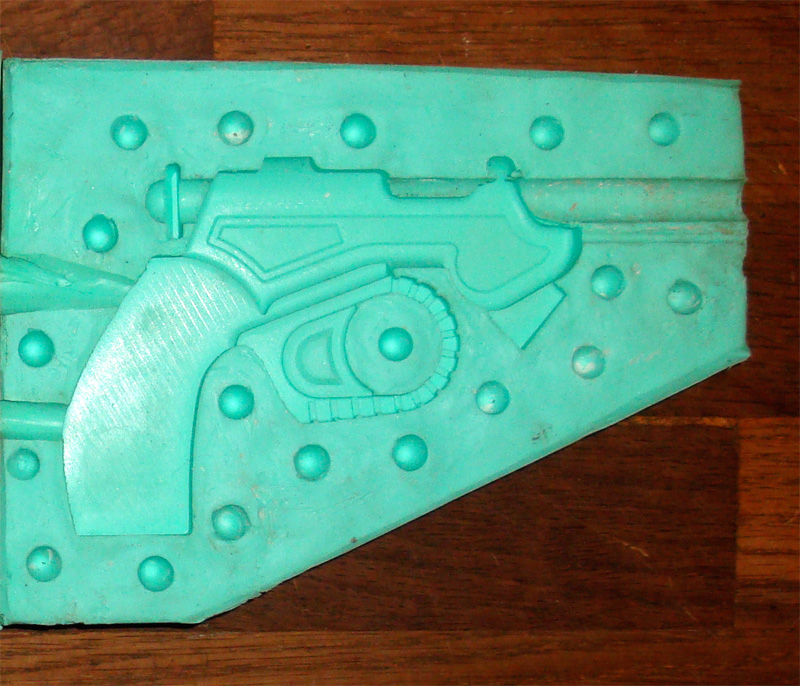
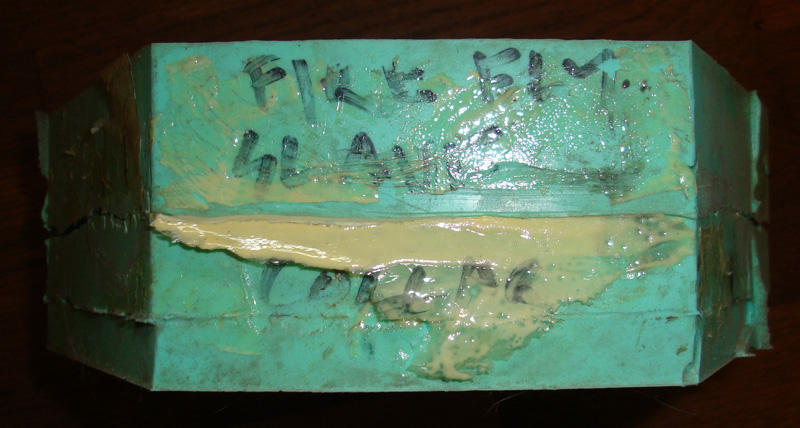
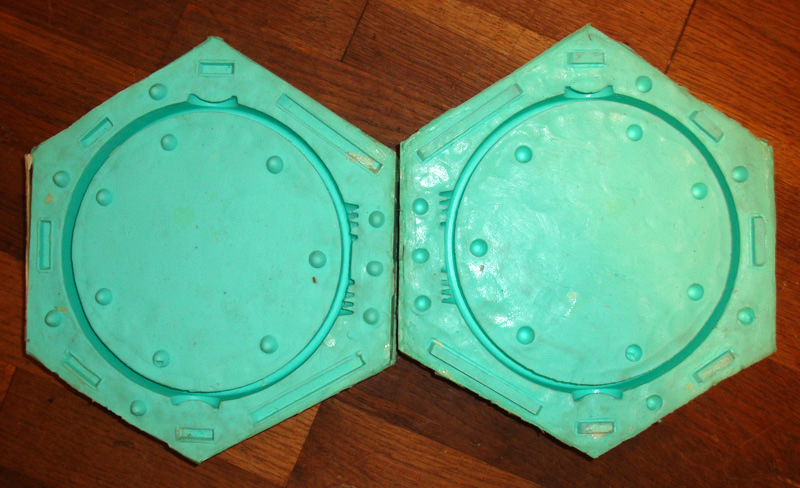
I need help identifying these molds. Ostensibly, they're both from Firefly, but I don't remember seeing these props anywhere. The pistol looks similar to the Jubal Early piece, but it's not. And I thought the slave collar might be from the Niska episode, but I think I’m confusing it with the torture device. Any ideas?

afx_mold_01.jpg


afx_mold_02.jpg


afx_mold_03.jpg


afx_mold_04.jpg


afx_mold_05.jpg

Phil
 
Agree with Yellowjacket on the 1st one. That knurled trigger guard appearance is a dead giveaway.

No idea what the circular 2nd mold is for.. Not much to go on there.
 
Just from watching the show, isn't that the collar Mal and Wash were wearing when they got strapped in and tortured in "War Stories"?

I don't know, it's been a while.
 
Just curious, where do you pour the resin in the collar mold? I don't see any openings in it...
That's a really good question.

Based on the flash still on the outside of the mold, I can only image that they poured resin in both halves, let is set a little, and then slapped both halves together.

It goes to show that even the professionals do funny things.

Phil
 
I loved the episode "War Stories". My girlfriend and I just finished watching all of Firefly. What great pieces Phil.

Gregg
 
That's a really good question.

Based on the flash still on the outside of the mold, I can only image that they poured resin in both halves, let is set a little, and then slapped both halves together.

It goes to show that even the professionals do funny things.

Phil
Never done molding myself, but that sounds really awkward. What if they used some kind of foam and closed the mold before it expanded? Seems easier to picture than juggling half-set resin.
 
Never done molding myself, but that sounds really awkward. What if they used some kind of foam and closed the mold before it expanded? Seems easier to picture than juggling half-set resin.

I think so to. Also from a non-molder, but that would make sense, especially if it were to be worn, it would be much more comfortable. I saw a BITY mold video where they molded and cast a sledge hammer out of foam that would work well with this, I assume...
 
I WILL be getting these molds pretty shortly. Once I've assessed what's involved, I'll post something in the Junkyard.

Tentatively, I plan to pull several first-generation castings and offer them for sale. If those do well, I'll mold the earliest successful castings and offer the resulting castings for sale as long as there's interest.

For those who are curious about the collar mold, this is how I would do it. I've done a lot of molding and casting over the years:

1. Use Smooth-On Smooth-Cast 305 (great for multi-pour casting)
2. Pour both molds as high as possible in each mold half and allow them both to cure to solid white (about 10 to 20 minutes)
3. On one mold half, pour an overflow layer of resin making sure it doesn't dribble over the edges too badly
4. Place the other mold half on top of the overflow half, causing resin to ooze out of the sides a little
5. Allow everything to cure

When the mold halves are pulled apart, there’ll be a thin layer of flash on the inside and outside of the collar, but it'll be fairly easy to remove.

Viola!

Phil
 
For those who are curious about the collar mold, this is how I would do it. I've done a lot of molding and casting over the years:

1. Use Smooth-On Smooth-Cast 305 (great for multi-pour casting)
2. Pour both molds as high as possible in each mold half and allow them both to cure to solid white (about 10 to 20 minutes)
3. On one mold half, pour an overflow layer of resin making sure it doesn't dribble over the edges too badly
4. Place the other mold half on top of the overflow half, causing resin to ooze out of the sides a little
5. Allow everything to cure

When the mold halves are pulled apart, there’ll be a thin layer of flash on the inside and outside of the collar, but it'll be fairly easy to remove.

Just out of curiosity, since I came here with more of an art background instead of a prop background, but...

What is the reason for eliminating the pour hole in the first place? If it's to cut down on cleaning up the final piece, I would think a single plug of material from a pour hole is a lot faster cleanup and easier to hide from the camera on the finished piece than a ridge around both the inner and outer "equator" so to speak.

Sorry if it's a stupid question, I'm just trying to understand the reasoning.
I have absolutely no idea why it was done this way. I didn't create the original molds. If it had been me, I would probably have done things differently.

Phil
 
Fair enough... I just thought maybe there was some tv industry reason I wasn't aware of or something.

ETA: Oh and congrats on the awesome acquisition. :D
 
Last edited:
This thread is more than 12 years old.

Your message may be considered spam for the following reasons:

  1. This thread hasn't been active in some time. A new post in this thread might not contribute constructively to this discussion after so long.
If you wish to reply despite these issues, check the box below before replying.
Be aware that malicious compliance may result in more severe penalties.
Back
Top