Haystack Hair's MPC Falcon Upgrade Kit Thread

Rear starboard side wall almost done

10603568_1476120542668319_588609874880681597_n.jpg


Sorry for the poor lighting in all of these WIP photos, my room is not great for photography
 
Last edited by a moderator:
Take a peek at top part. Now look for the little vent boxes in the bottom right hand corner. Is it just me or are those the same vents on the front of R2-D2?

Yep. MPC had already made kits of R2 and 3PO as well as the X-Wing and Vader TIE, and parts of those kits were scattered all over the Falcon.
 
Sorry guys, no list as yet. I'm taking this at my own pace, don't want to be tied down with half promises and obligations.

However, rear port and starboard sidewalls are complete! Tomorrow I'll start work on the forward curved sidewalls and the jawbox interior wall. I need to also head down to Rodger's to turn the docking rings and then vac form them.

tumblr_ndltqlZ8Th1sf4tb1o2_1280.jpg


tumblr_ndltqlZ8Th1sf4tb1o3_1280.jpg


tumblr_ndltqlZ8Th1sf4tb1o4_1280.jpg


tumblr_ndltqlZ8Th1sf4tb1o1_1280.jpg


tumblr_ndltqlZ8Th1sf4tb1o3_1280.jpg


tumblr_ndltqlZ8Th1sf4tb1o4_1280.jpg


tumblr_ndltqlZ8Th1sf4tb1o1_1280.jpg


tumblr_ndltqlZ8Th1sf4tb1o2_1280.jpg


tumblr_ndltqlZ8Th1sf4tb1o2_1280.jpg
 
Last edited by a moderator:
All the 'greebly' sidewalls are complete. I next need to make the panels that sit on the inner wedge between the docking rings and the outer rim, i also need to turn a vac-form buck to create the two new docking rings. They're going to be a nightmare to make good-looking AND mold-able, but I guess that's a hurdle I'll take when I get to it!

tumblr_ndnvs1iuPP1sf4tb1o2_1280.jpg


tumblr_ndnvs1iuPP1sf4tb1o1_1280.jpg


You might notice in this picture that I've added a 2mm lip either side of each curved wall. This was due to a miscalculation on my part.....although the hull and mandible sidewalls should indeed appear the same height (12mm, I've concluded) due to the recessed nature of the curved walls, they need to be taller. I'm trying to make this as easy as possible for modellers installing this kit

tumblr_ndnvs1iuPP1sf4tb1o4_1280.jpg


tumblr_ndnvs1iuPP1sf4tb1o3_1280.jpg
 
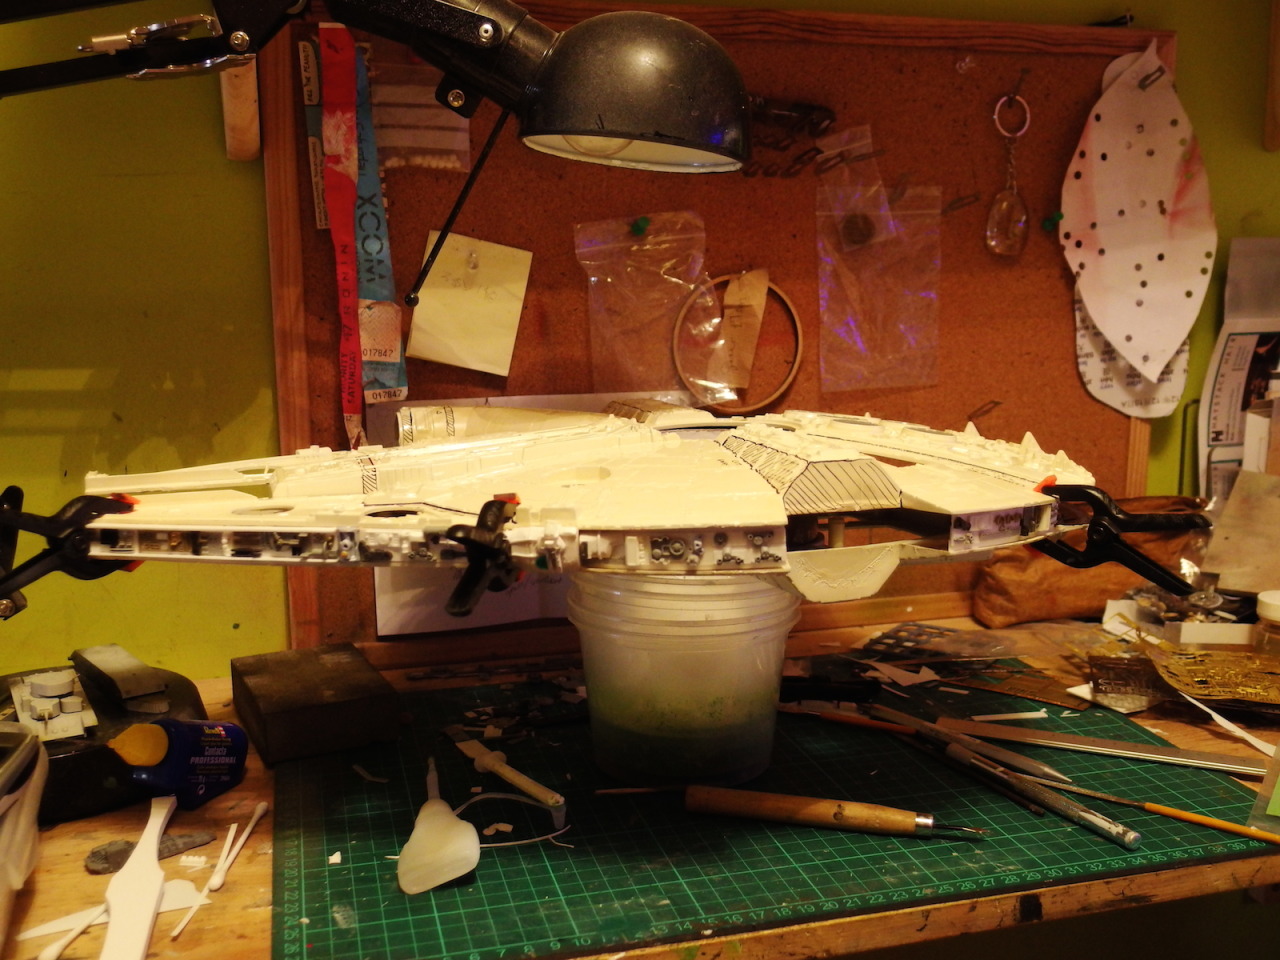
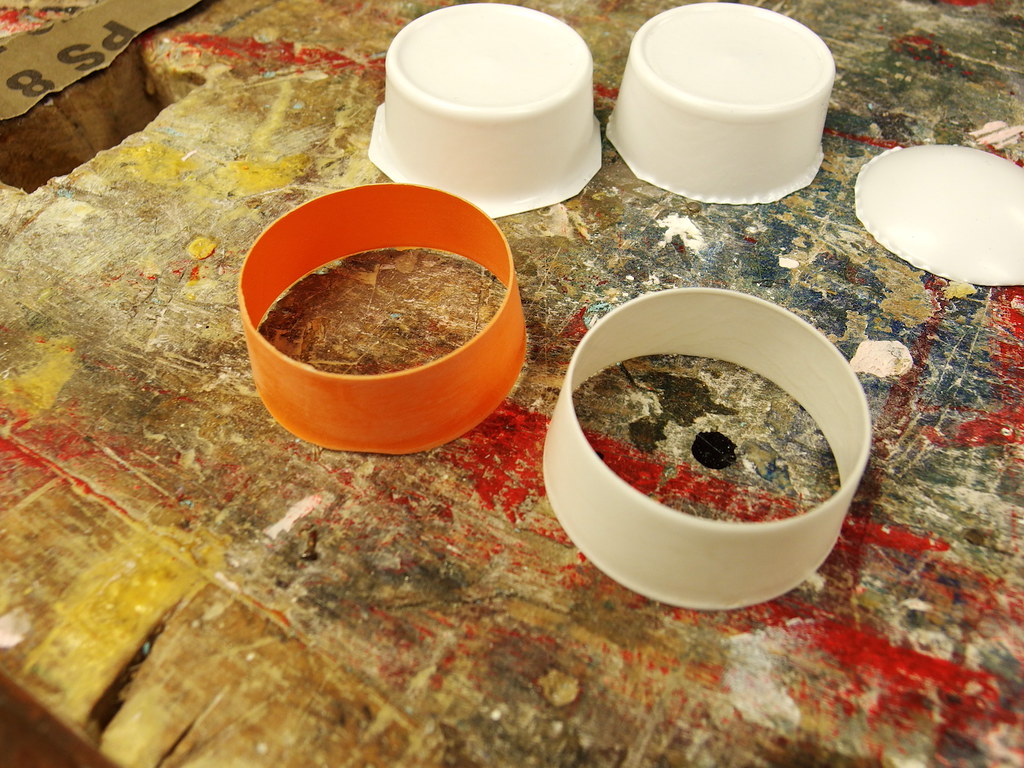
Today's work on the MPC Falcon upgrade kit, John very koindly made two vacuum forming bucks on his lathe yesterday and today we were pretty busy making a lot of vac pulls in different thicknesses. I also engineered the docking ring to be as easily mouldable and as easy to assemble as possible once it's in kit form......now I just need to mould and cast 20 of them!!

We started with a 1mm and 0.5mm set of pulls so I could emulate the lip and panelling

15637391590_8654824658_b.jpg


15637391320_e523603a84_b.jpg


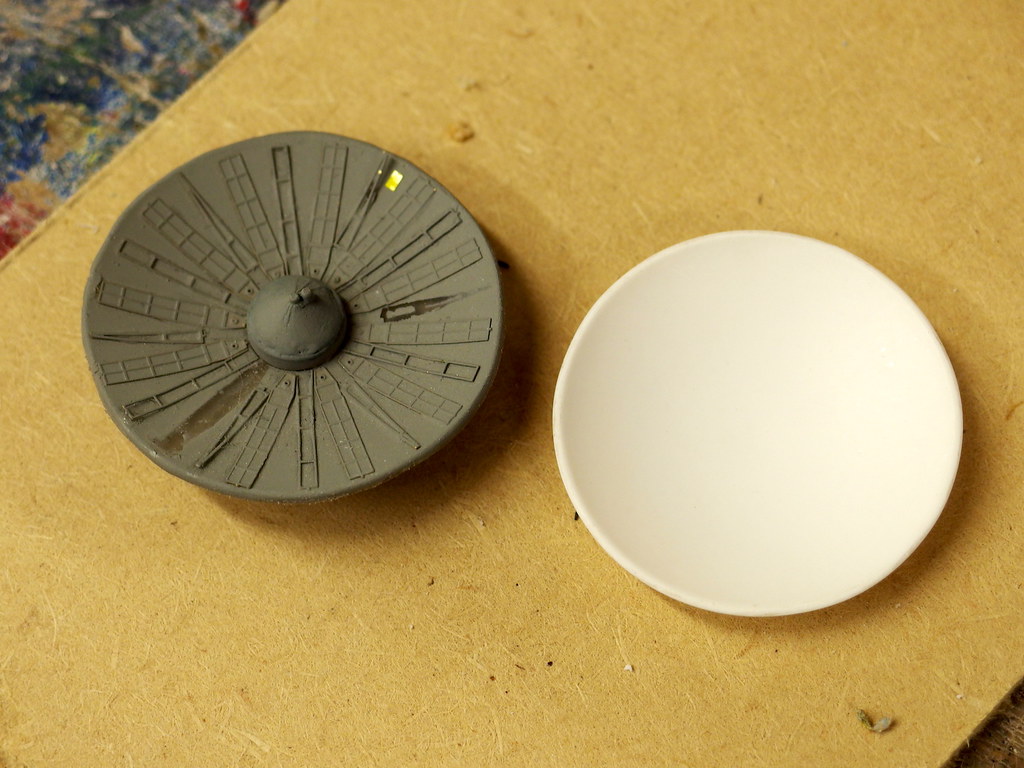
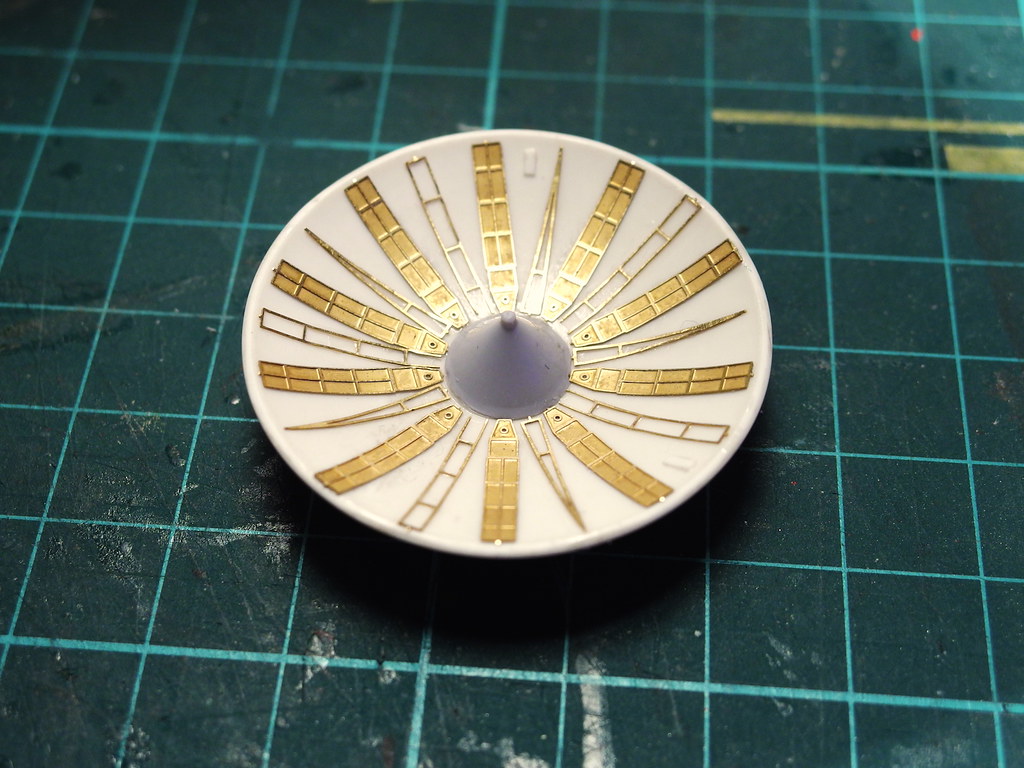
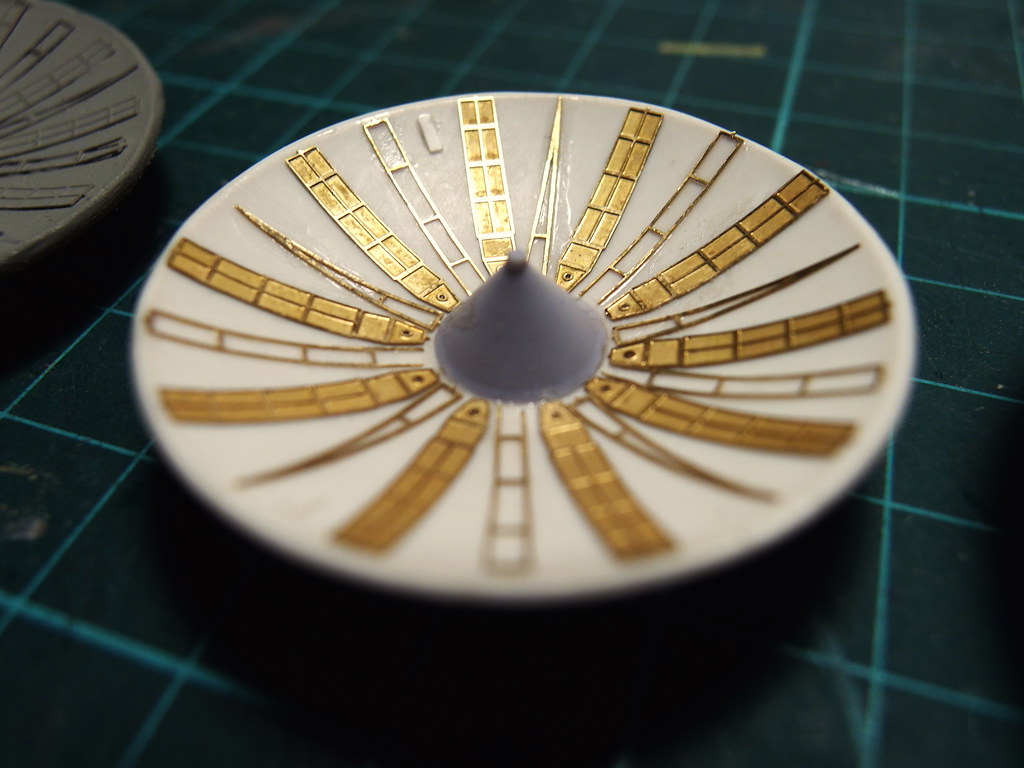
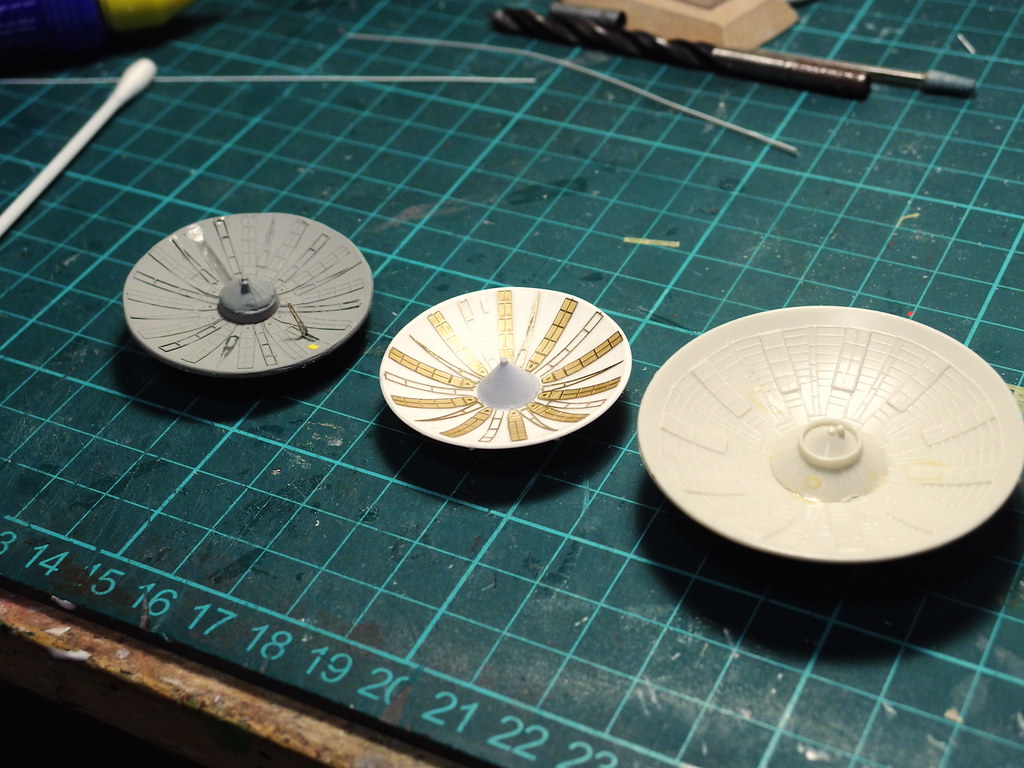
John also made a buck for a better radar dish, he finished this pull off with wet and dry abrasive paper and he really has done a superb job!! He's so skilled I'm lucky to have a friend like him. I'll use a part from the Airfix 1/144 space shuttle to make the center cone, and I'll use the remnants of my V1 photoetch kit to do the ANH style details before I mould it.

Yes you heard me, I'm doing 1/72 radar dish casts

15822241675_a5773b02ea_b.jpg


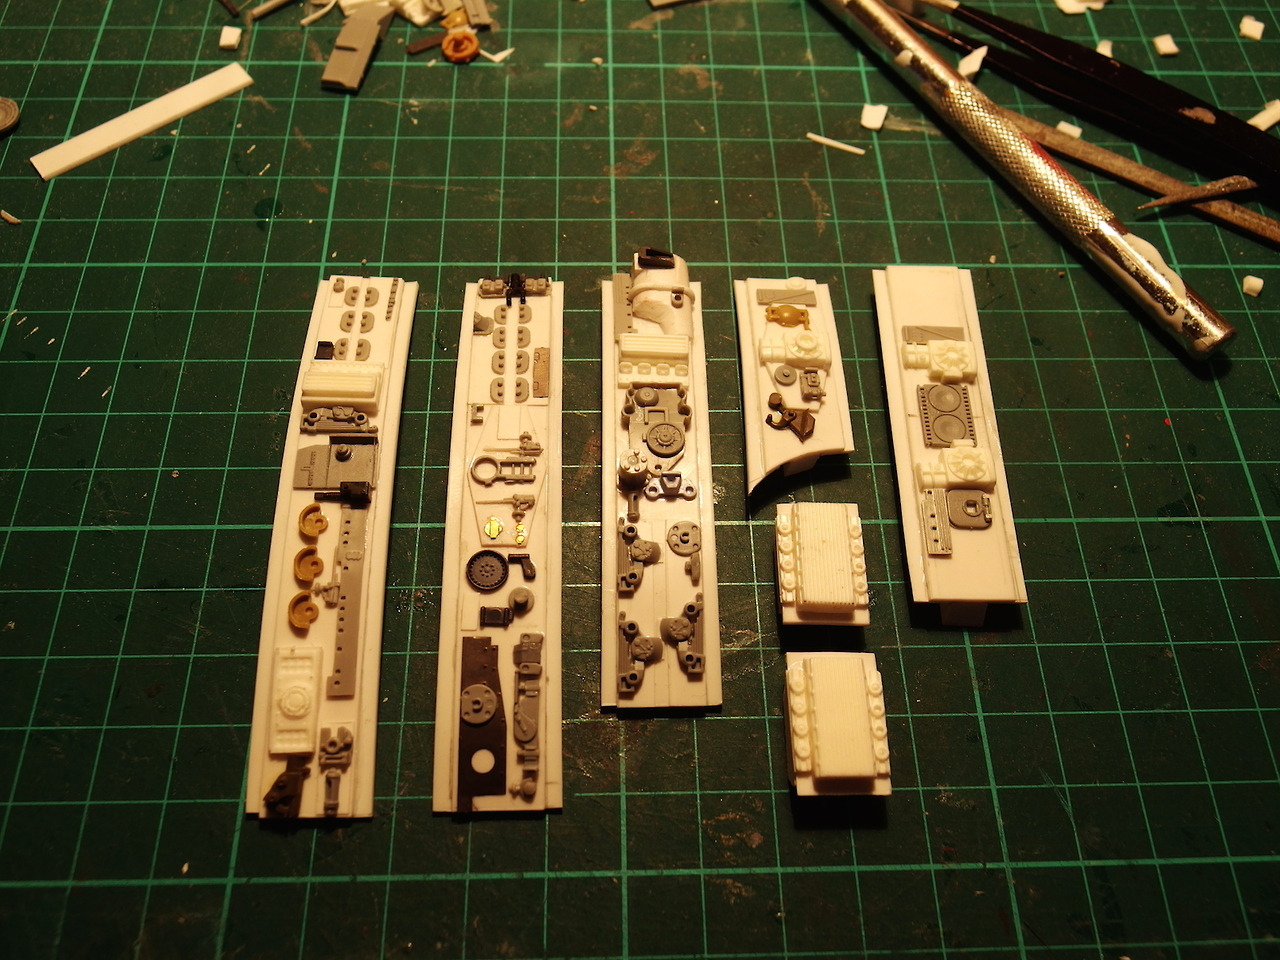
(The first version I made about a year ago is on the left)

I made another pull using 0.30mm styrene to do the final segmented panelling

15822241425_e50ccbb75a_b.jpg


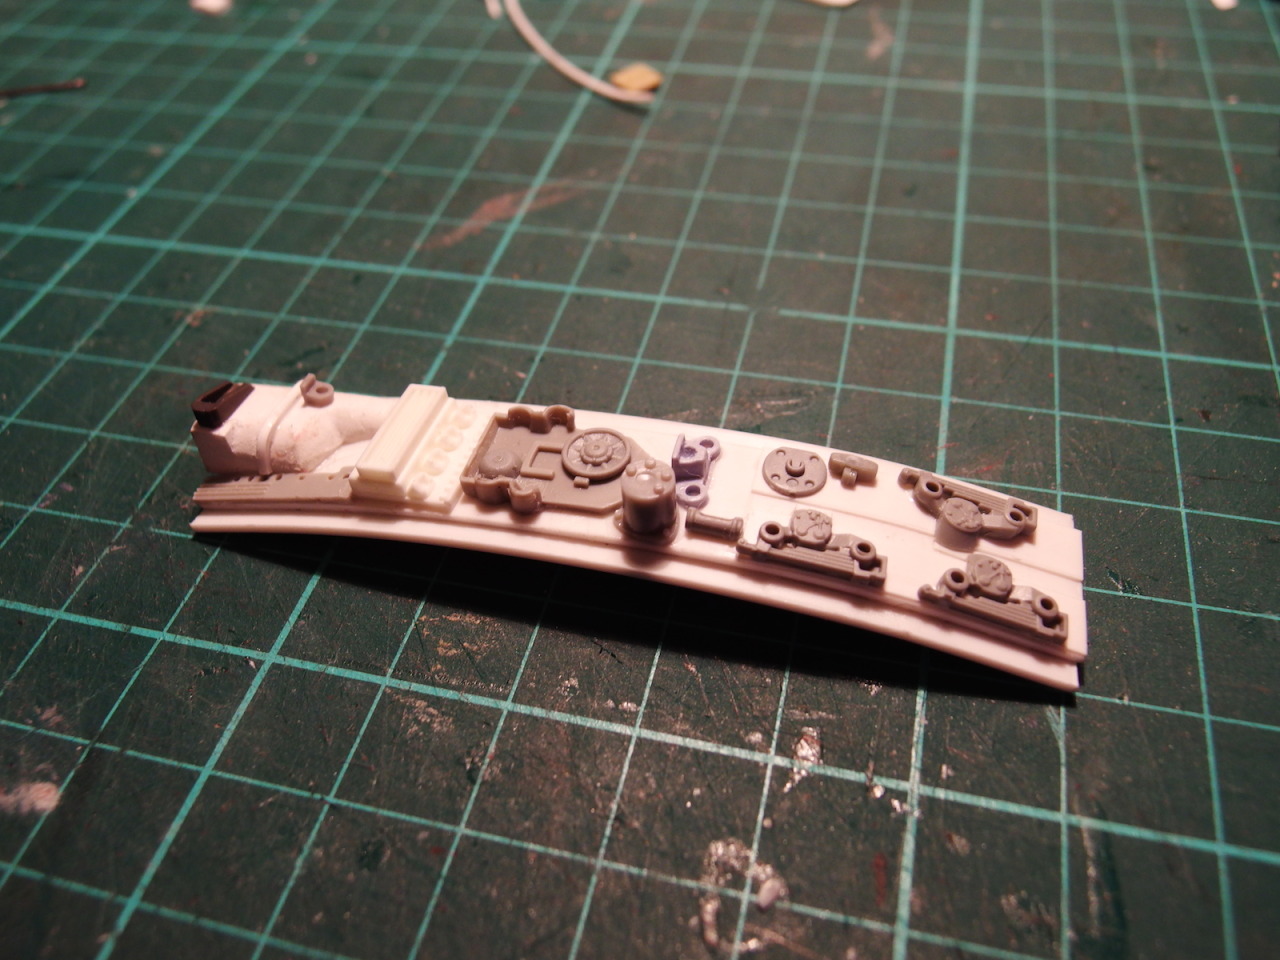
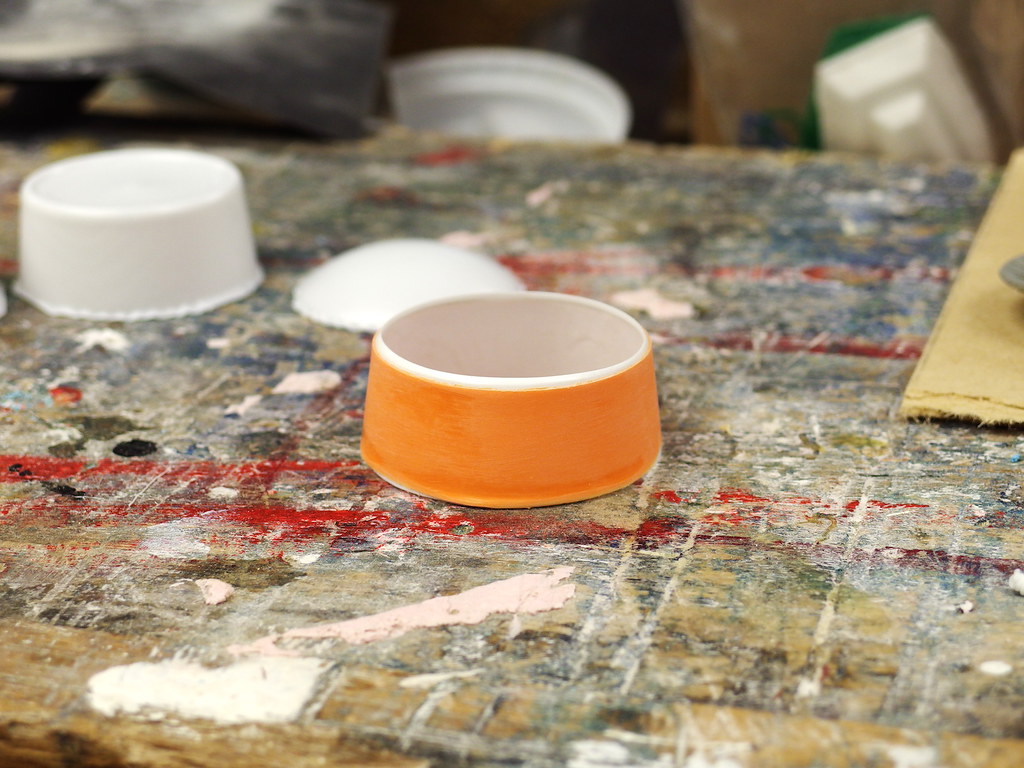
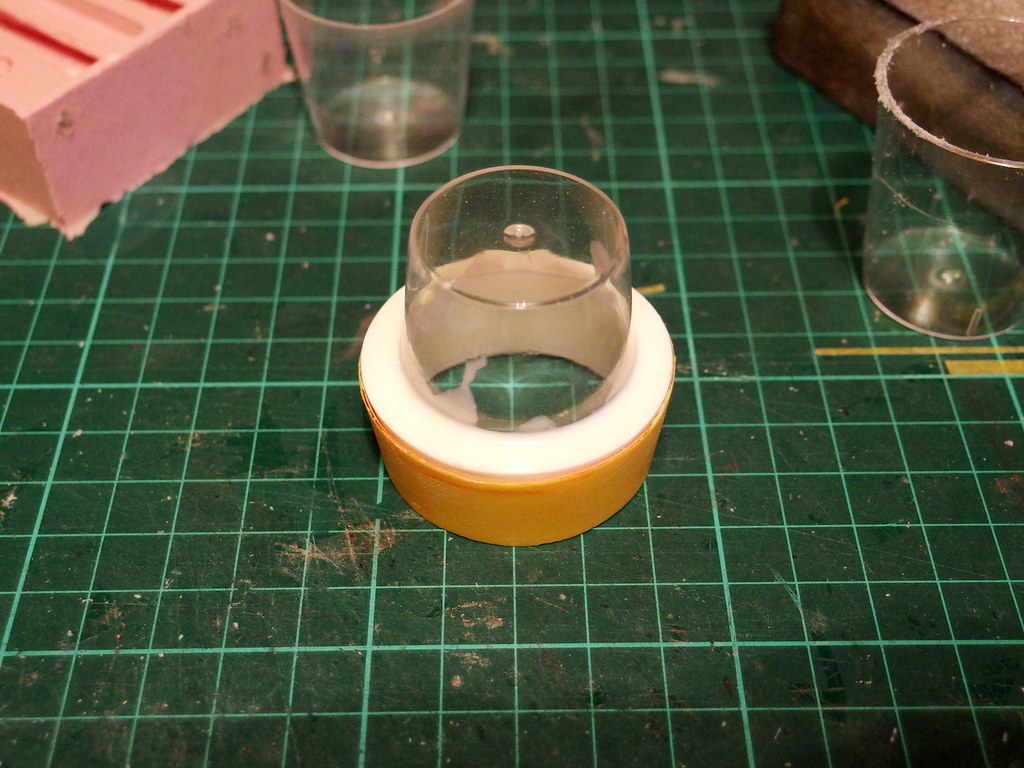
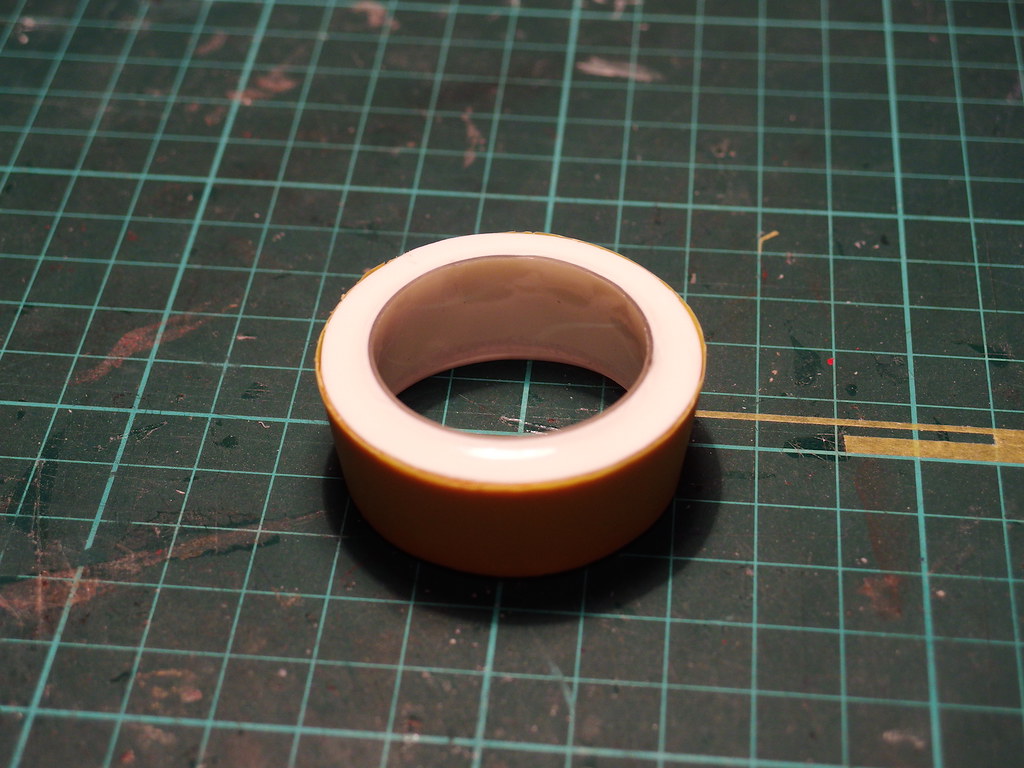
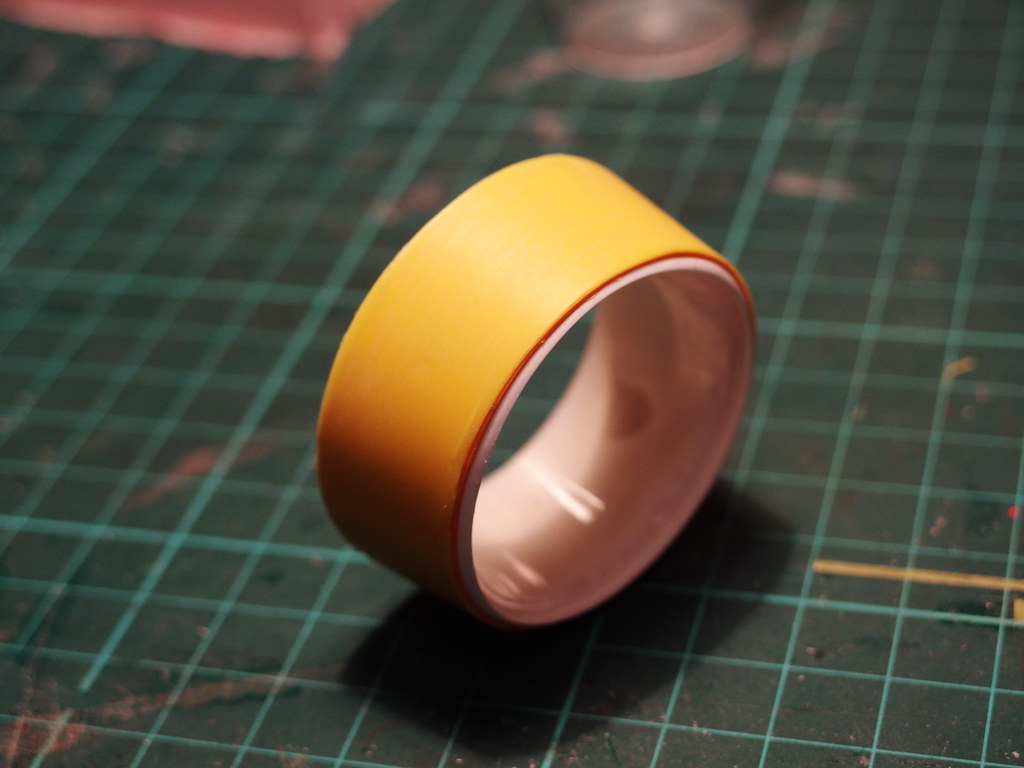
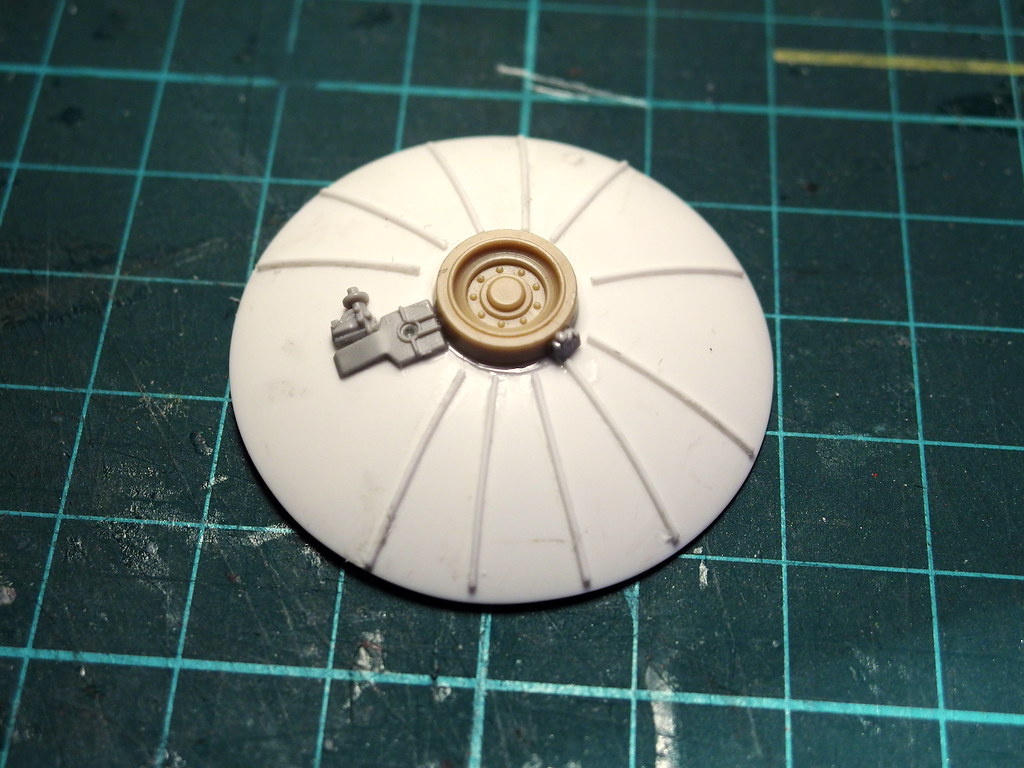
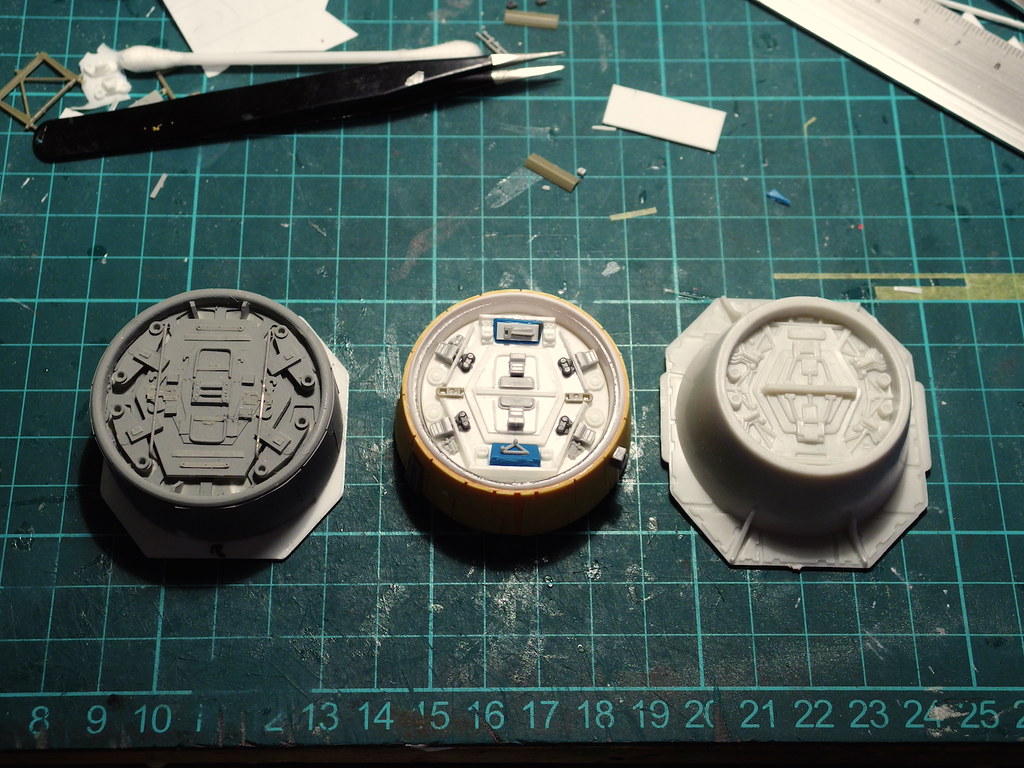
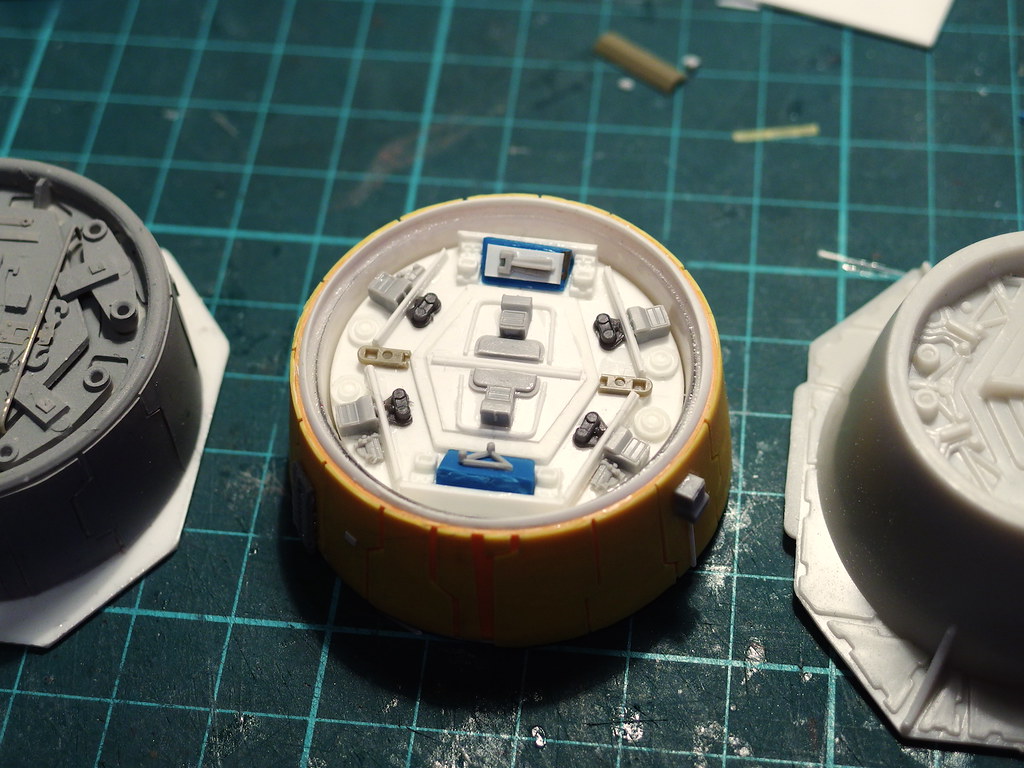
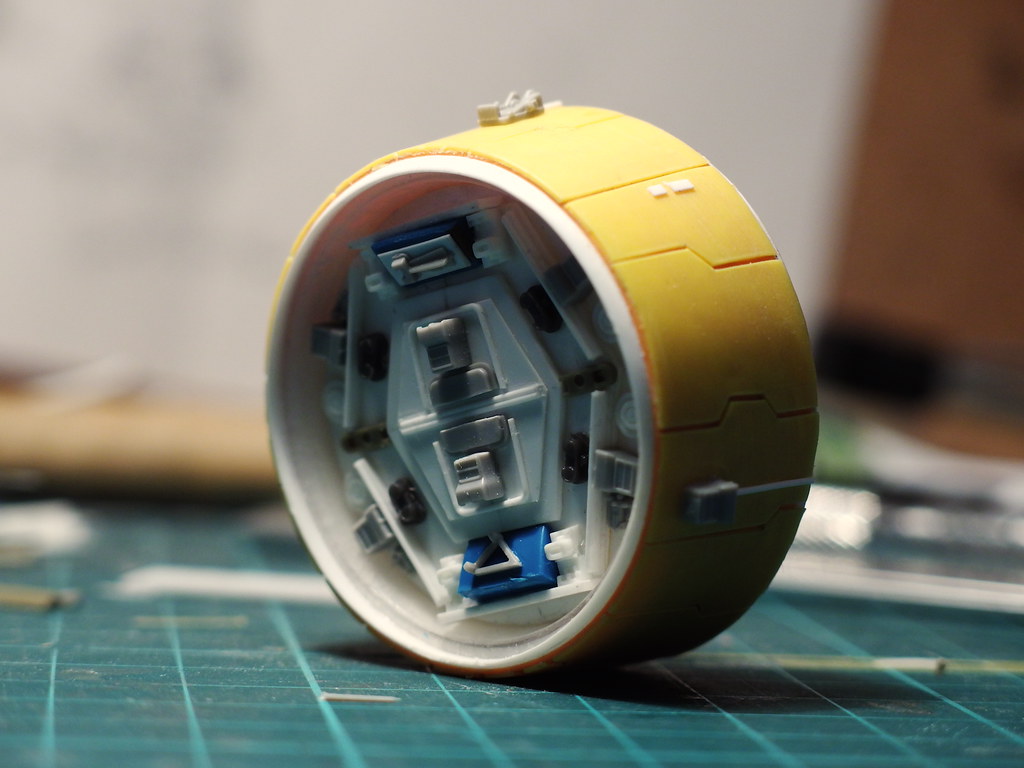
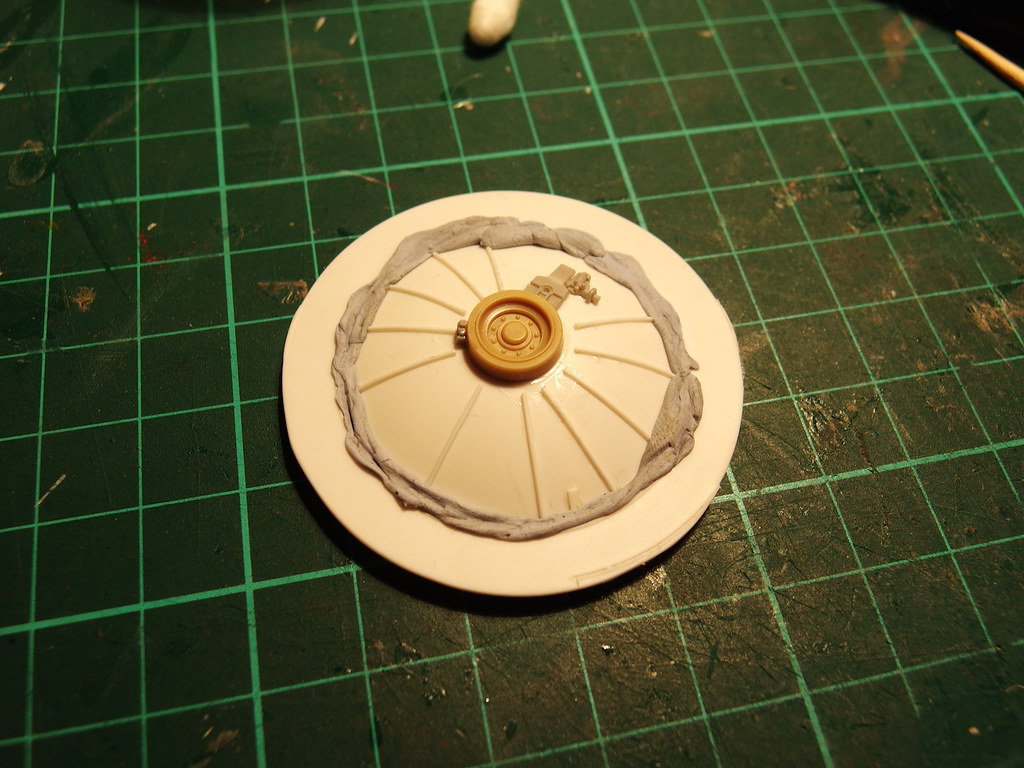
The next bit is kind of fiddly but mainly luck; I used a plastic shot glass turned upside down to make the inside of the docking ring.....I wanted to make all the parts for this kit in one part moulds because it's generally more reliable, so the profile of the docking ring is like a triangle now if you can see what I mean...Anyway I superglued the cup in and then filled the cavitiy with resin before cutting and sanding away the rest of the glass

15202813113_df64f5198b_b.jpg


15798577516_fd8b2816fa_b.jpg


15823794912_5b5ab362e3_b.jpg


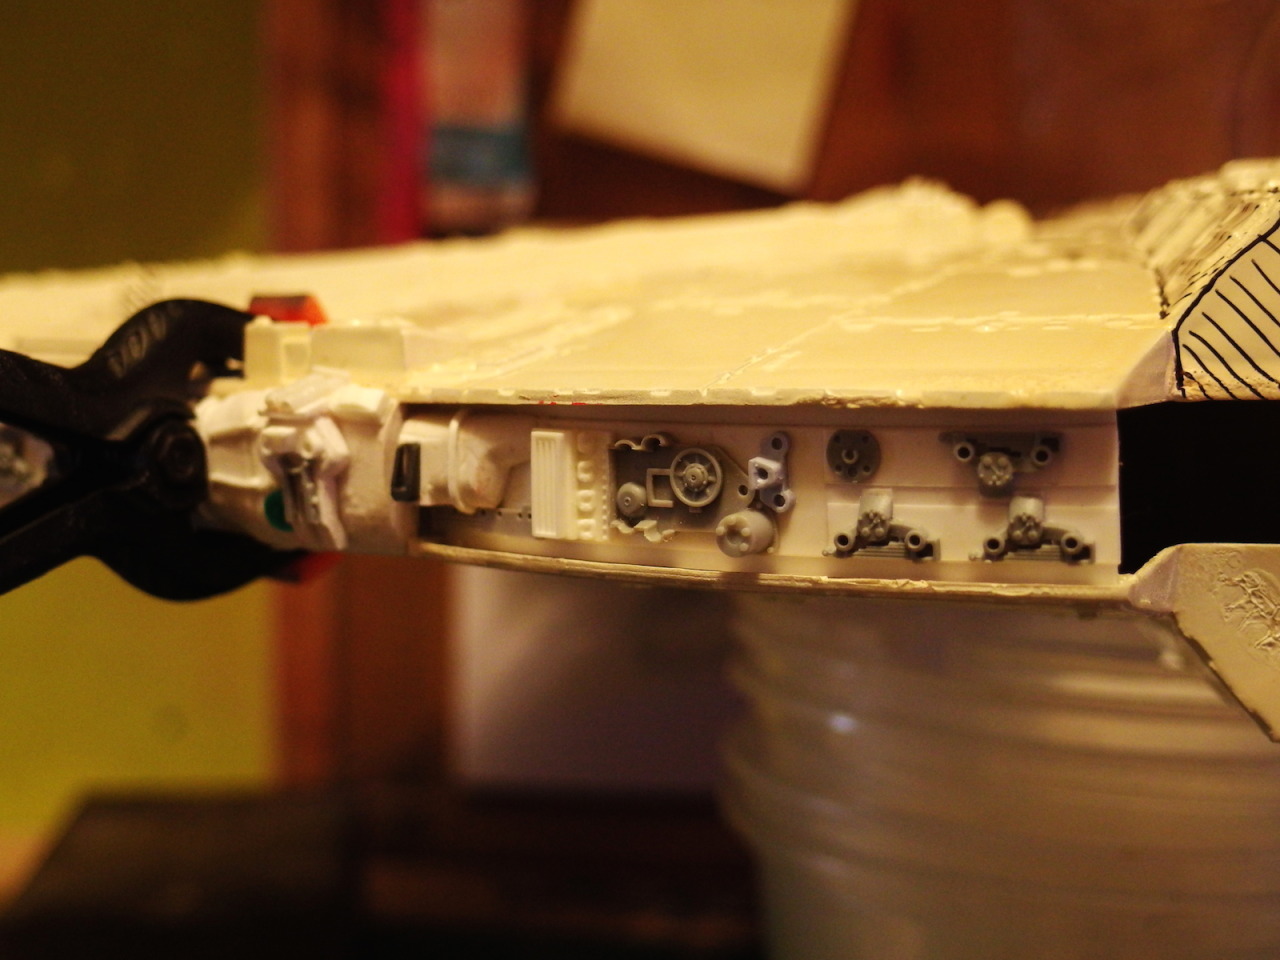
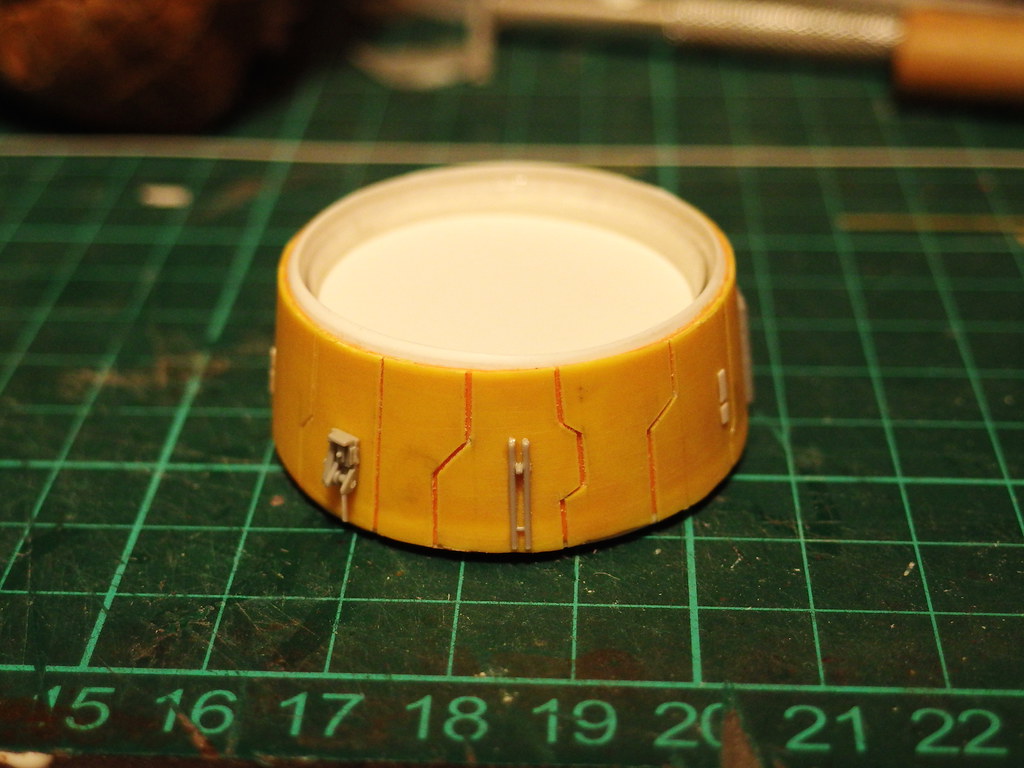
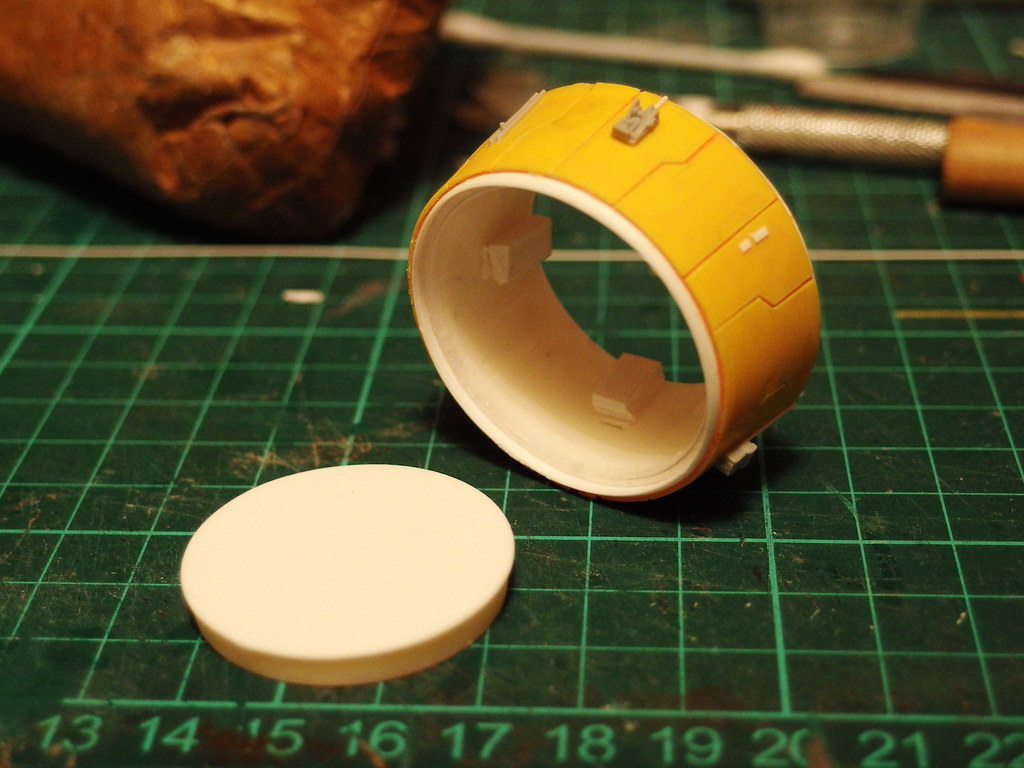
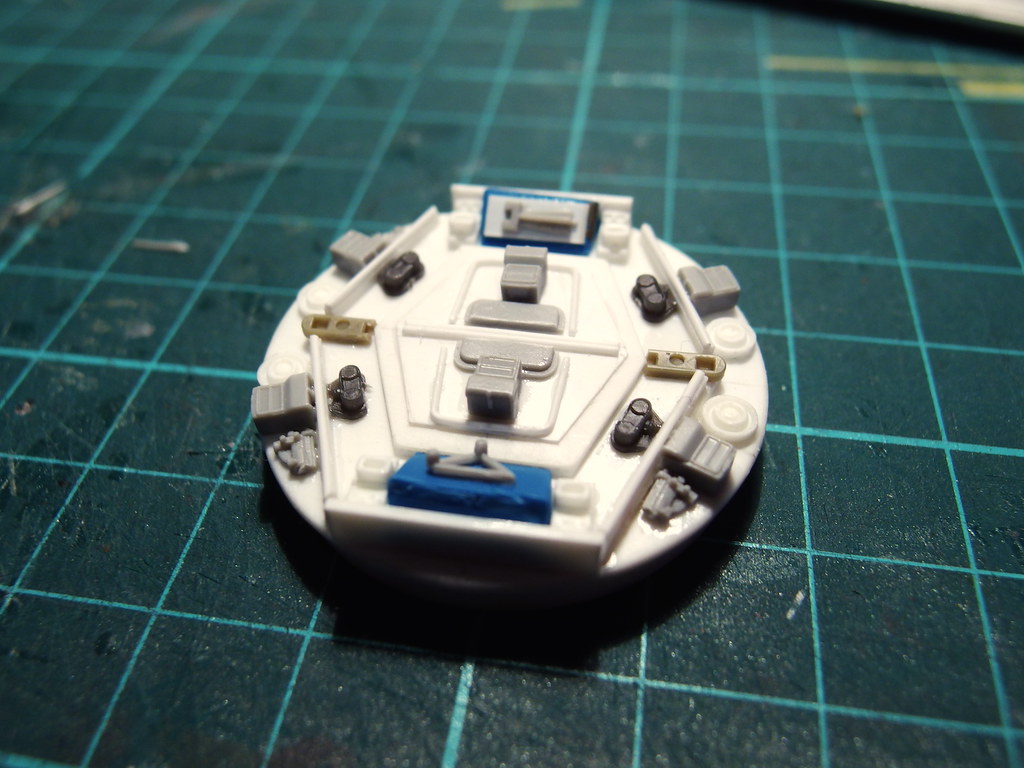
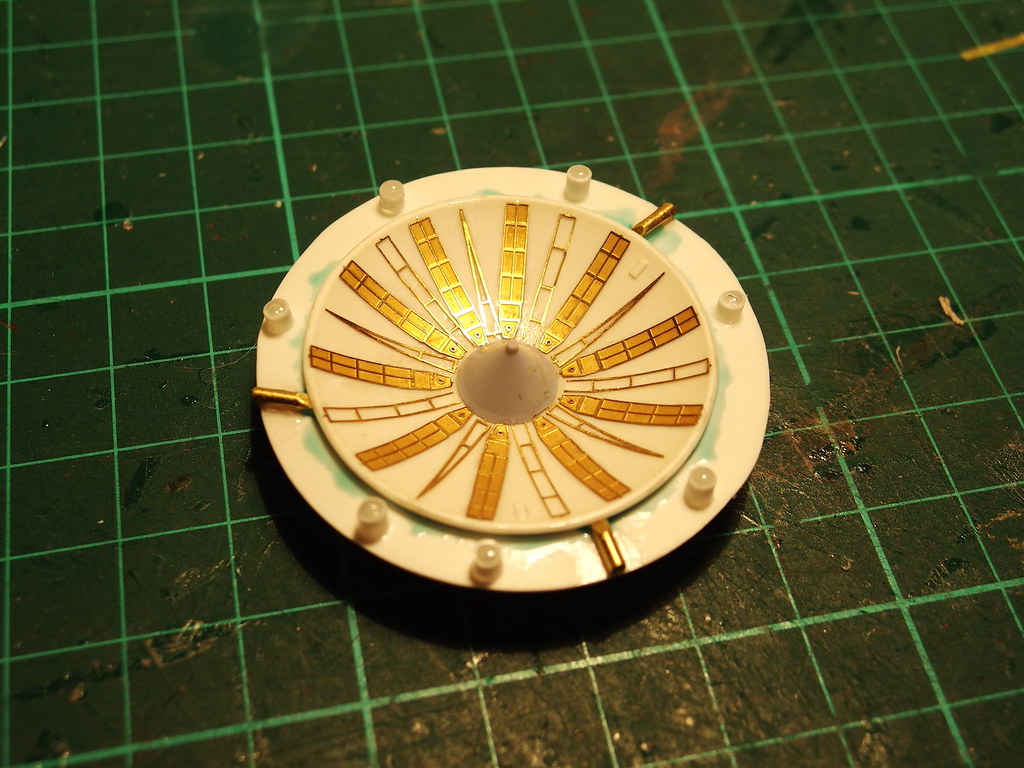
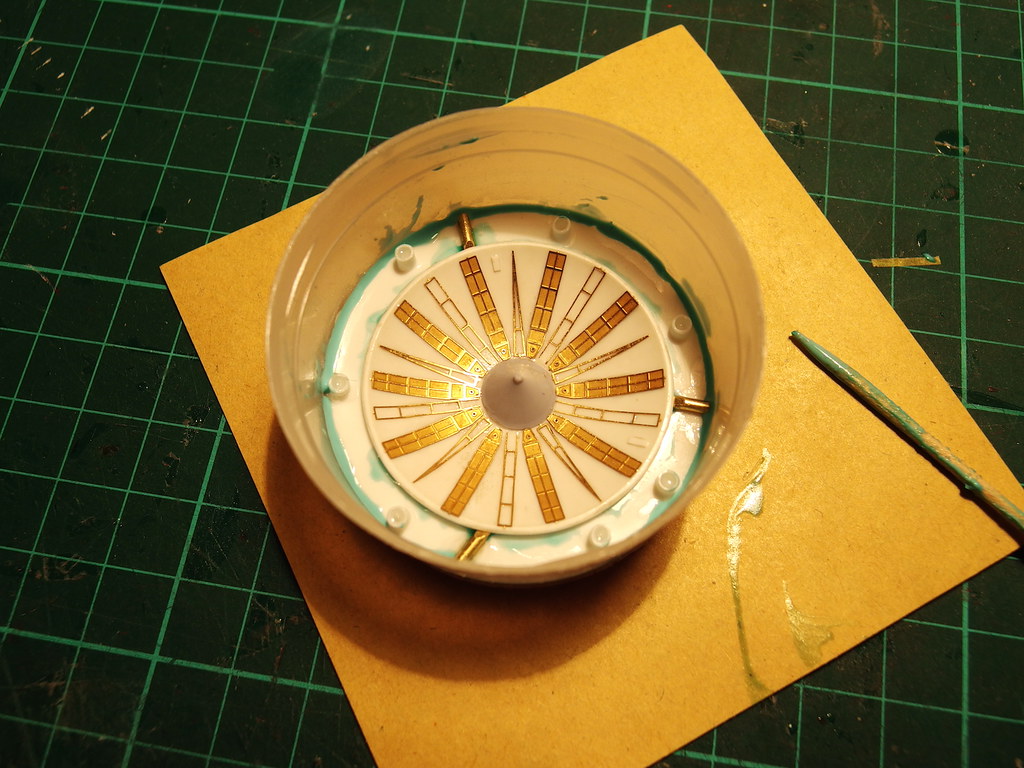
A fair amount of work later and I finished the panelling and details. Also, the detail plate is an insert which means that it's easy for me to cast and uses less resin than making the whole thing as one piece. Nice or what!!?

15637064417_b79afb9446_b.jpg


15637063917_0064f8f25e_b.jpg


I'll start detailing the insert plate tomorrow hopefully, might be a little tricky to make it mould friendly with all those pipes, but hey.....I do love a challenge ;)
 
Oh wow, ....lovely clean work HH

& great planning on how to duplicate

Docking rings look beautiful

J

Thanks J!! I don't think I have the guts to tackle making another one......I may just cast it twice per kit. I'll have to wait and see I guess, now that I know how to make them I guess making a second docking ring would be quicker than the first time over
 
I've only been hanging around in general modelling for a little while and am very very impressed to see that level of work HH, I like the 3D modelling side of things but these scratch build parts are where it's at, always have been. Bravo :)
 
I've only been hanging around in general modelling for a little while and am very very impressed to see that level of work HH, I like the 3D modelling side of things but these scratch build parts are where it's at, always have been. Bravo :)

Thanks Spacebob m'boy (please read in a Mr.Krabs voice)

Guess what I made this morning! I used the last of my V1 photoetch kit parts to put this one together, I'm taking extra care and precautions to ensure that it will be as mould friendly as possible. No nasty undercuts of loose photoetch

15210079363_6c1115ac21_b.jpg


15644087008_278e5e1d9b_b.jpg


15210079103_5f16c962fd_b.jpg


Here's my new radar dish in comparison to the MPC kit part (right) and my first iteration from last year (on the left). At the time I didn't give it much thought but now my knowledge has improved I realised that the plastic dish I had used on the first radar was actually PETG or polypropylene which is why the photoetch didn't stick very nicely and I couldn't sand the edges clean

15805867616_b79f249b21_b.jpg


Any advice on how to mould this though?? Obviously it will need to be a two part mould, but I've no experience in two part moulds. Would it be better with a thin cone shaped pour spout attached to the back of the dish? Or would a thin, trenchlike pour spout attached to the dish rim be better?
 
Today I built the docking ring insert piece....it's not entirely accurate to the 5 foot Falcon because I needed to make some compromises for it to be mould-friendly, so some pipework is missing but otherwise it's pretty close.


I also gave myself a bit of a headache working out how to mould the radar, I don't have any clay or plasticine and I'm impatient, so I made a styrene ring which fits into a cut-down spray can lid, then I sealed all the edges with masking fluid rather than glue (cos I need to get the dish out in tact so I can mould the other half)


I'll pour the rubber first thing tomorrow on both sets of things and hopefully everything will work out fine!

15834532321_166ee1a9cb_b.jpg


Here's the comparison between my attempt from last year (on the left, made with a lid) and also the standard MPC piece

15834532021_d2e9dbb3e7_b.jpg


15812753876_31732afb07_b.jpg


(note to self: this looks really cool and neato nice work will)

15836392145_fbf2590c11_b.jpg


I packed the back of the styrene ring with blu tack

15837956702_87c20e0b6f_b.jpg


Then I added vent tubes, location pins and used masking fluid to seal the undercut where the dish rests

15216972133_1087964c1e_b.jpg


Then I glued the disc into the hairspray lid and used masking fluid to seal the edge off again

15650963188_b6301ec73e_b.jpg
 
This thread is more than 6 years old.

Your message may be considered spam for the following reasons:

  1. This thread hasn't been active in some time. A new post in this thread might not contribute constructively to this discussion after so long.
If you wish to reply despite these issues, check the box below before replying.
Be aware that malicious compliance may result in more severe penalties.
Back
Top