Halliwax's first GRAFLEX build

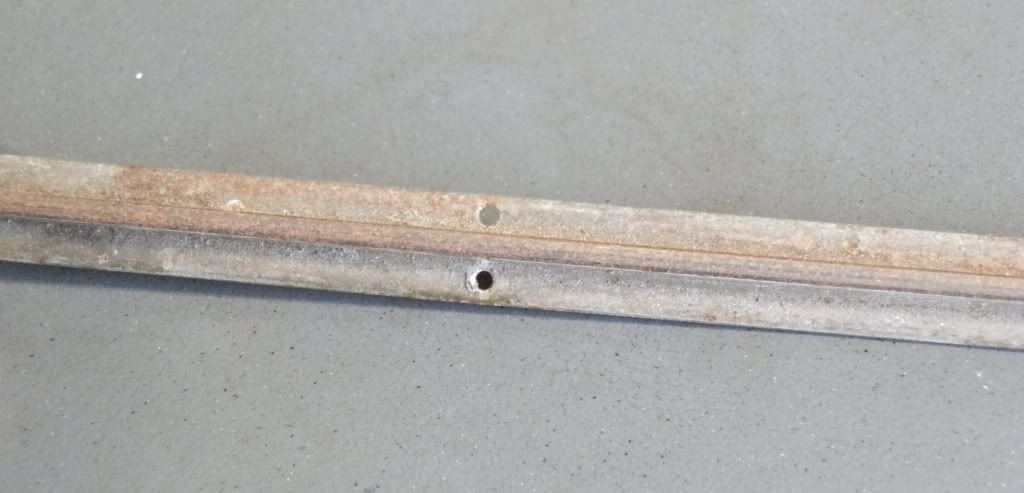
Fyi there were regularly spaced holes (21in. apart IIRC) in the screen used tracks, so we know these were tacked in place. There was a thread many moons ago that showed the tiny holes on the track of a stormtrooper blaster.

I'm sure someone will come up with the pic I'm referring to.
 
Fyi there were regularly spaced holes (21in. apart IIRC) in the screen used tracks, so we know these were tacked in place. There was a thread many moons ago that showed the tiny holes on the track of a stormtrooper blaster.

I'm sure someone will come up with the pic I'm referring to.

oh my god, this makes total sense, i bet it was window weather stripping!!
 
I remain positive it most likely still was plastic rails designed specifically for kitchen cabinet cupboards in the '70s ... you can imagine sliding doors over it ... can't you? :) I even got some of the same stuff in folded metal provided by pfillery from Australia from vintage cupboards that were taken out to renovate kitchens ... here's a picture before he cut them up into smaller pieces ... you can see the holes too :


Here is his finished lightsaber build with vintage folded metal T-tracks : http://www.therpf.com/showthread.php?t=144139&page=2

Chaim
 
I remain positive it most likely still was plastic rails designed specifically for kitchen cabinet cupboards in the '70s ... you can imagine sliding doors over it ... can't you? :) I even got some of the same stuff in folded metal provided by pfillery from Australia from vintage cupboards that were taken out to renovate kitchens ... here's a picture before he cut them up into smaller pieces ... you can see the holes too :

http://i833.photobucket.com/albums/zz258/Sym-Cha/track1.jpg

Here is his finished lightsaber build with vintage folded metal T-tracks : http://www.therpf.com/showthread.php?t=144139&page=2

Chaim

bingo!!
 
trying to attach my tracks this weekend. i just recently found a thread with someone giving great details about attaching them with super poxi. i cant seem to find it? anyone have any recommendations for epoxi thats friendly with roys plastic grips?
 
Mine are attached with Loc-Tite. I used their 5 minute epoxy. Do yourself a favor and like Roy said, mix it up on a piece of cardboard as opposed to direct injection with the syringe. I tried it that way the first time, trying to be all slick and quick, and my tracks popped right off.
 
I do it 1 or 2 grips at a time. Since epoxy is the best but it takes a long time to set...you'll have to hold them in place more or less. I also use loctite 5min, I mix nickel sized amounts at a time, so I don't waste a lot, and do a new batch per grip. This is all with the bottom half separate and standing on end, not lying down!
 
thanks guys I'm going to check my local stores for that same brand. I'm pretty sure I've heard of it before.

that was going to be my next question what do u use to apply it? I was thinking of getting a syringe and sucking up the mixed expoxi?

on other props I've just used q tips, popcicle sticks, and shish kebab sticks lol


Sent from my iPhone using Tapatalk
 
The little plastic stick it comes with, it is quite gummy. Make sure you haven't got too much or it will squidge out from under the t-track when you press it down! Do 2 at a time (opposite ends) and hold them till dry.
 
thanks guys I'm going to check my local stores for that same brand. I'm pretty sure I've heard of it before.

that was going to be my next question what do u use to apply it? I was thinking of getting a syringe and sucking up the mixed expoxi?

on other props I've just used q tips, popcicle sticks, and shish kebab sticks lol


Sent from my iPhone using Tapatalk

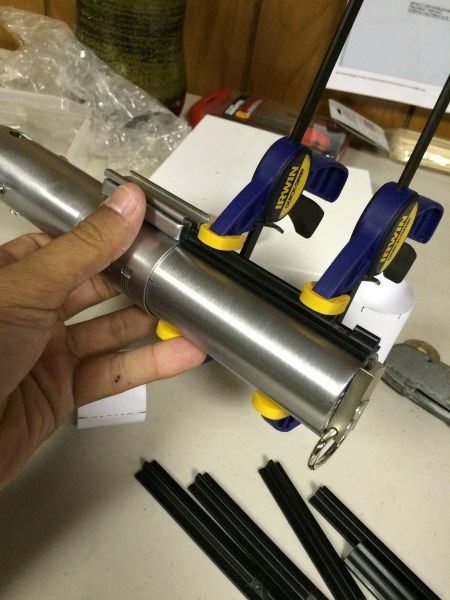
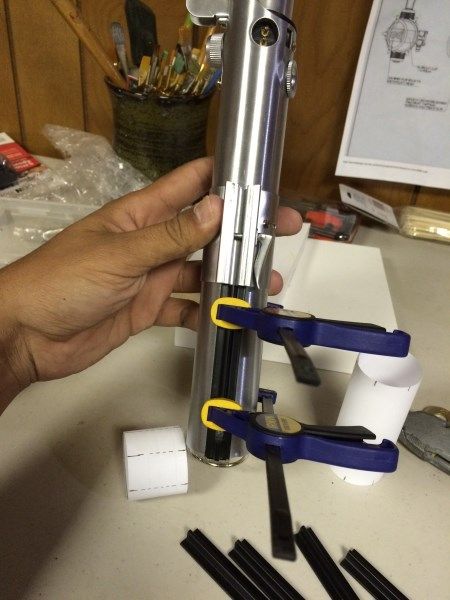
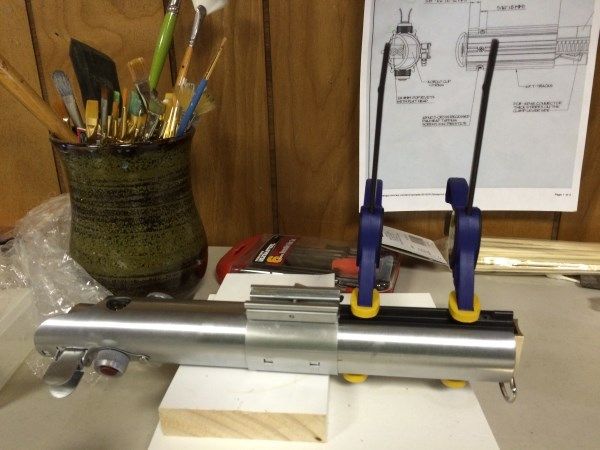
If you only want to tackle one at a time, a small carpenter's clamp or spring clamp from Lowe's also works great to secure it for as long as you want to walk away.
 
thanks guys I'm going to check my local stores for that same brand. I'm pretty sure I've heard of it before.

that was going to be my next question what do u use to apply it? I was thinking of getting a syringe and sucking up the mixed expoxi?

on other props I've just used q tips, popcicle sticks, and shish kebab sticks lol


Sent from my iPhone using Tapatalk
oh dude, loctite comes in a double barrel syringe! I just use a toothpick and some piece of scrap paper
 
guys my replies have been short because I'm on my phone. thanks for the advice!!

my plan was to attach 1 at a time, probably 1 a night and use my little Irwin rubber grip clamps to hold these suckers in place over night.

is the loctite clear?

thanks for sharing your thoughts and advice I greatly appreciate it!


Sent from my iPhone using Tapatalk
 
It will be touch dry after about 10-15 mins, so you might be able to get them all set before leaving the lot over night. Even if it comes in a syringe, shoot it out on a bit of card and mix together well and apply with a small stick or something similar. Better control that way. I also had an engineer's square upright next to my upright graflex tube so I made sure the grips were 90 degrees.

I printed off the template from partsofsw and cut the "inbetween space" and stuck it on after each grip, so I had a rough idea of where to plant each one as I went along.


Also when you come to drill the holes for the screws, go nice and easy. I broke 2 drill bits and ended up buying some fancy ones and it was much easier.

parts of Star Wars had a template for ESb?


Sent from my iPhone using Tapatalk
 
I just checked and Chris does have ESB plans for download. Check out the "downloads" page, up towards the top. Several file formats available.

Excellent build thread.

Ted.
 
I just checked and Chris does have ESB plans for download. Check out the "downloads" page, up towards the top. Several file formats available.

Excellent build thread.

Ted.


Thanks, I have printed out Roy's pictuRe of the ESB saber with all the measurements on it for reference. The picturE is alittle too small, I should have not attached the kobold so soon, that way I could have blow. Up Roy's picturE to the correct size and use that. I'm going to check partsofsw now, thank you
 
boy has it been a long time. i havent had as much free time as i have liked. we are experiencing some family issues, and a sick dog. we have 2 dogs, a beagle and old English bull dog. we adopted the beagle first and then got the bull dog, the beagle being so young at the time we believe thinks the bulldog ( a puppy at the time as well just a year younger then the beagle) thinks the bulldog is her baby. we can not separate them or the beagle goes ballistic, seizures, nose bleeds its scary... anyway why am i explaining this, because i have been on beagle sitting service the past couple of weeks while our bulldog goes under cancer treatments,,, it has not been easy dealing with this, and even harder with the beagle being upset... she will go crazy for hours until shes so exhausted she loses her voice, i will try and post the video later. ( video of my Ruby losing her voice https://youtu.be/A8ILldC5LKU ) anyway once she finally calms down ive tackled a few things, remember these pictures and events happened before i got many great advice from you guys so please dont think im ignoring your help

when Rubys finally exhausted i can start to work
ruby.jpg


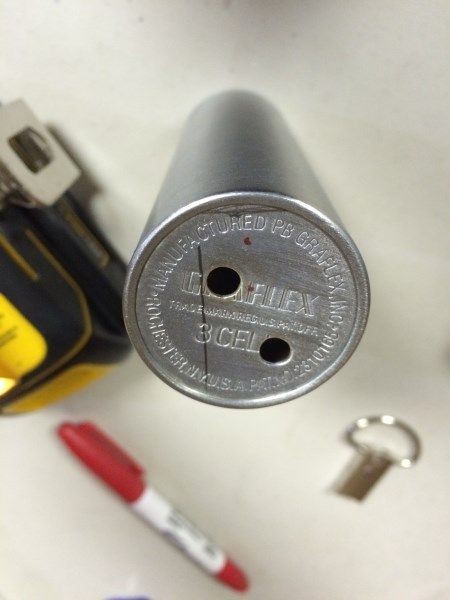
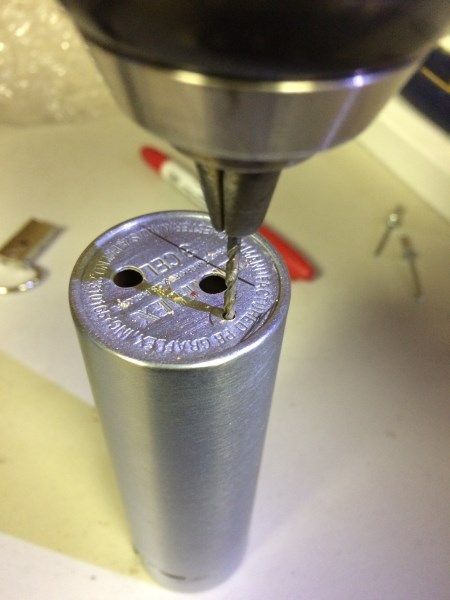
like ive stated before the LARBLE replica came with 2 holes already drilled, and the ebay auction that recently went online with no known name of the replica came with 2 holes as well along with the 3 piece buttons, so i looked into it and read a few threads where when they were sent to the machine shop the garflex template they used was already drilled with the holes so the machine shop thought they wanted the holes drilled. and were produced with these 2 holes

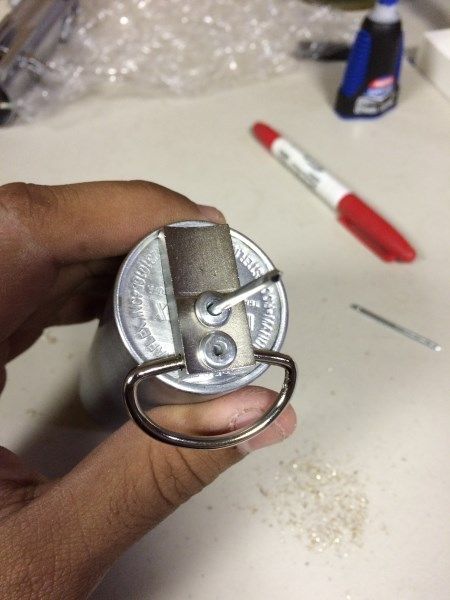
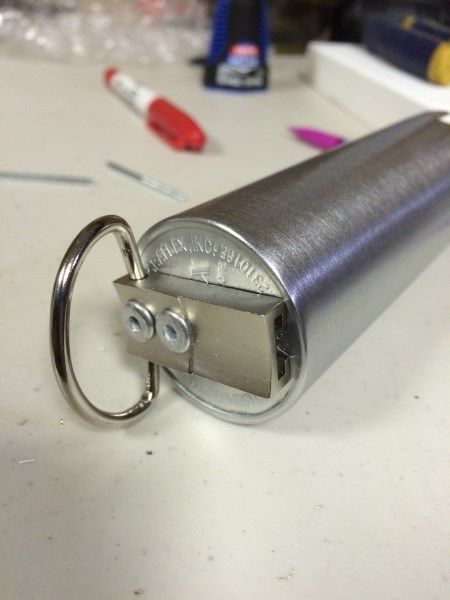
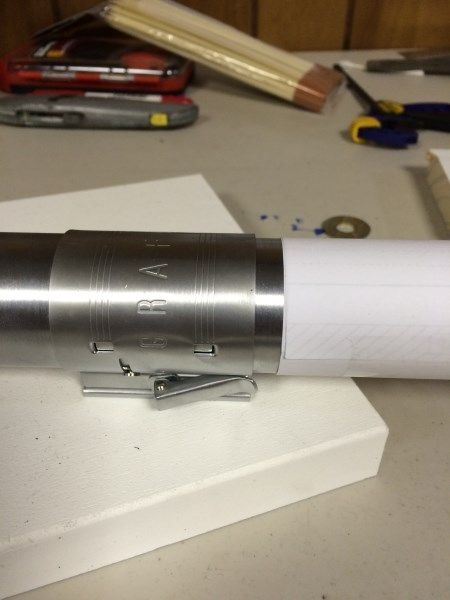
which can be tricky when attaching a kobold here is a example
kobold1.jpg


no turning back now, lets do this!
kobold2.jpg


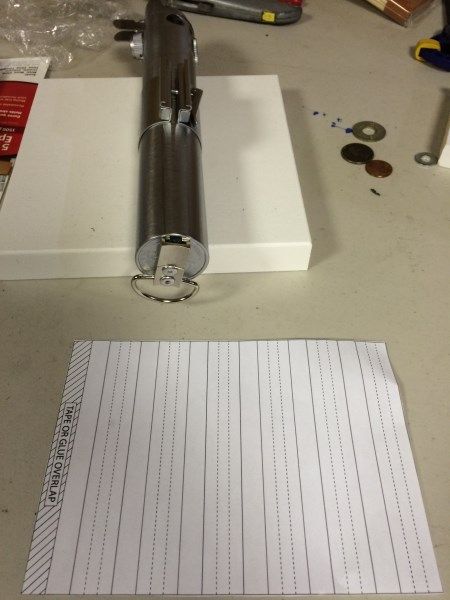
now for someone reading this thread and have NOT built a graflex saber before, DO NOT i repeat DO NOT attach the kobold now. I did not really thinking about the D ring getting in way of the paper template i will use later on in this thread... so i highly suggest waiting to attach the kobold last it will be much easier
kobold4.jpg


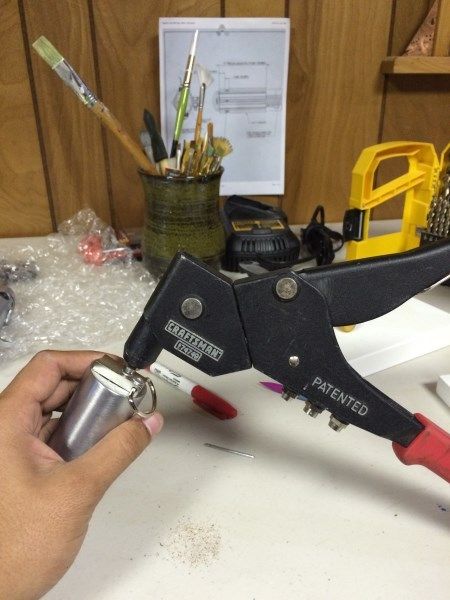
i bought this rivet gun for my father about 7 years ago.. he has 2 numatic ones in the shop to assemble all the sheet metal on the race cars, but sometimes you cant get those big bulky air guns in the tight spots, this rivet gun has a 180* turning radius, being a good son i bought it for him only for him to tell me it sucks! LOL so this is probably the first time its been used in 6-7 years...
kobold5.jpg


im so use to working with very small rivets on the cars, where no force is needed to pull the rivet i was actually surprised when i used small force and the rivet wouldnt move. applying some strength and that sucker riveted great, but it took me for surprise lol these rivets are beefy!!

kobold6.jpg


The button..
redbutton1.jpg


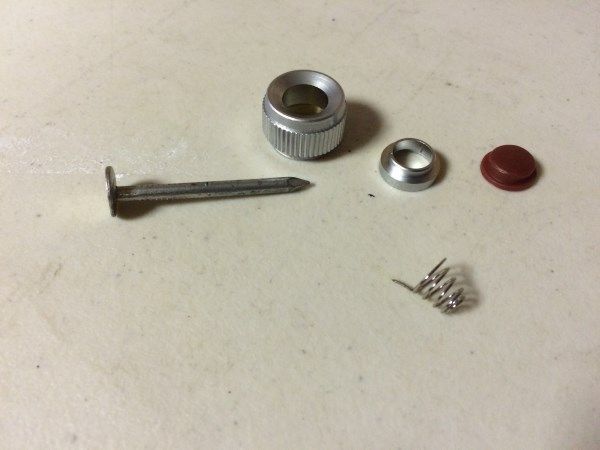
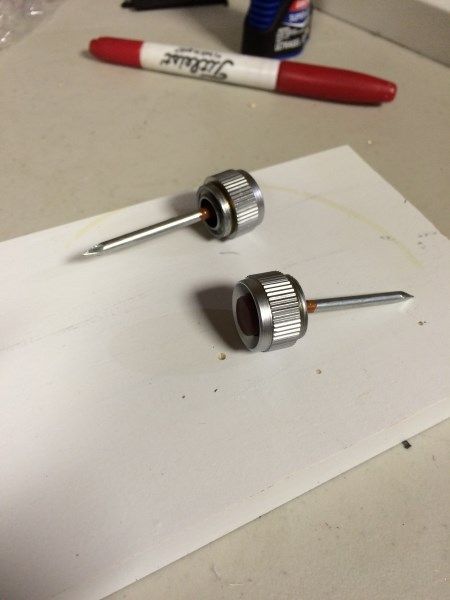
the buttun had me thinking for a few nights. you see the larbel red button came in 3 pieces, red button, knurled surround and internal keeper ring. though when put together it didnt function like a push button and there was no spring inside, along with that the internal keeper ring is held in place just by a tight tolerance. enough external force on the inside and it would pop out... so i had to super glue it together... a few days after i did this a friend on here suggested to use a keeper spring. i use them all the time and was really disappointing in myself that i didnt think of that! it was a brilliant idea, but unfortunately i already glued these suckers together... so for future readers DONT glue them together, get a very small keeper spring!
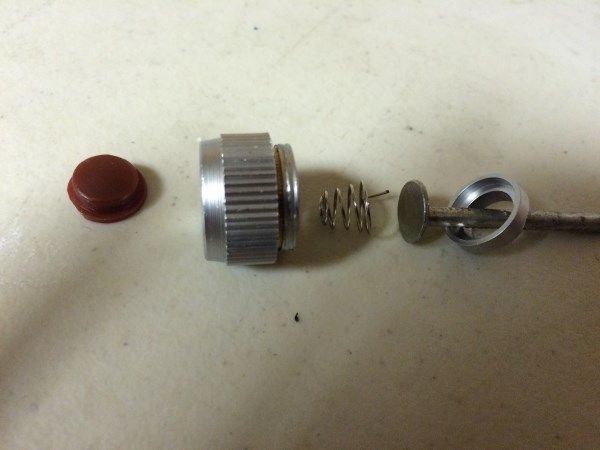
redbutton2.jpg


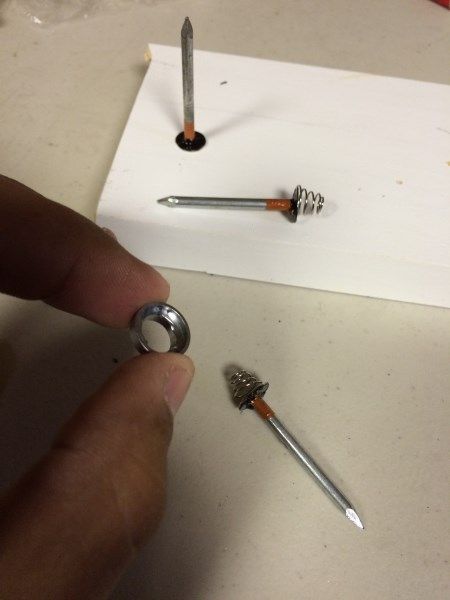
the keeper ring is hollow... so i needed to cut a piece of metal as a center base for the spring to sit in... out to the shop and i grabbed a aluminum roof nail. it fit perfect!! the picture above is how i assembled the button in order for it to work, the red button is on the wrong side, it should be in between the knurled surround and spring to explain how it functions correctly


redbutton3.jpg


my plan here is to cut the nail close to the botton of the button and weather it to make it look like a graflex pin, thats why i painted it with some model paint, so later on i can give is a dully brass color to it.


redbutton4.jpg


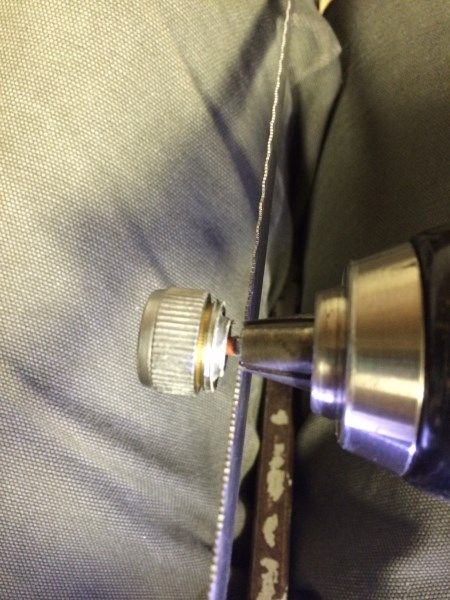
assembled and glued up, and these suckers are now functional!! YAY!! though i truly wish i waited and read about the keeper spring, those would have worked perfect!! now comes the last part... left my dremel in the truck and it was raining real good... plus i didnt want to leave Ruby for a minute, she would freak out with me out of sight and didnt want to trigger a seizure .... so dremels outside in the truck... how can i cut the nails?

button5.jpg


TADA!!! hack saw upside down, and a power drill and i got my ghetto dremel with out getting wet!

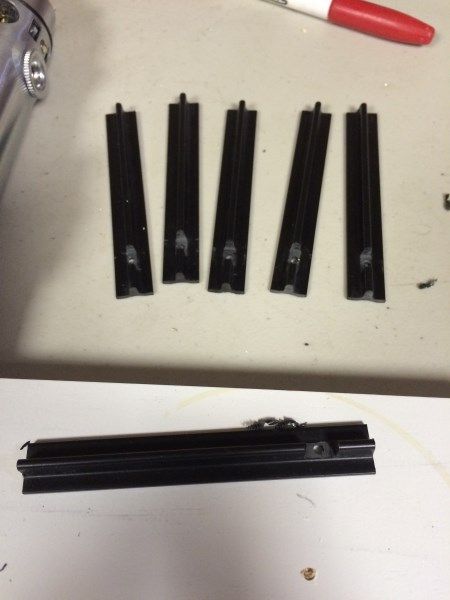
i drilled all my center holes for my grips, and called it a night. i really like using the azek wood. it is really bright and helps me see the grips
ttrackshole.jpg


in the process right now of moving around, i havent assembled my workbench. i had a great flood in my basement and lost allot of furniture, right now the utlity room where i do my of my work has all out stuff stored, so i cant access my work shop area... so a cook out table will do for now... what a mess...
workbench.jpg


part 2, coming soon!!
 
Last edited:
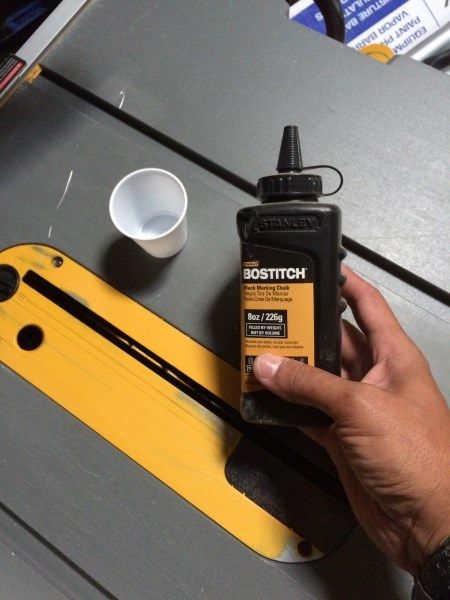
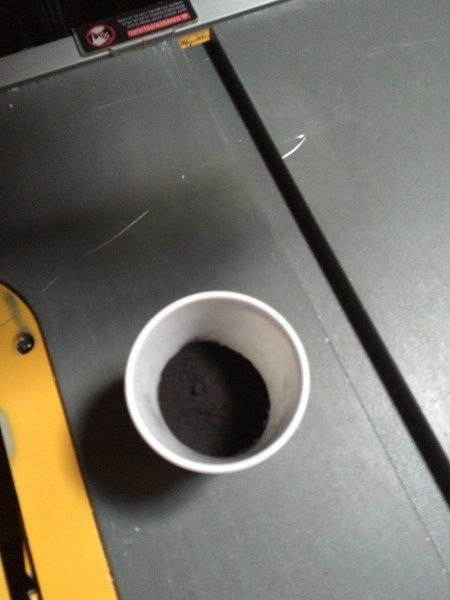
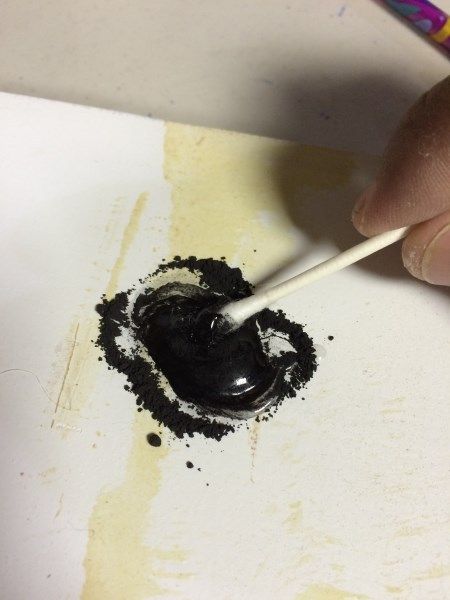
Ok so i went to my local hardware store up the street. they had the loctite epoxy, but it was clear. they didnt know of a black epoxy, so when i read the box it says it can be tinted with caulk or pigment. i was afraid to use the black paints i have, i dont know if the model car paint, or acrylics would have a chemical reaction to the epoxy... with google searches i couldnt get my answer so i thought.. where can i get black caulk... went from the hardware store to sears... no black caulk.. so while i was out i called Pop,

dan: "hey dad, where can i get black caulk"
dad: "your kidding right?"
dan: "no why?"
dad: "we have a whole case of it in the trailer"
dan: "thats right!"

we use 2 different colors of caulk at work for snapping straight lines, normally they are blue, but if i were to screw up, i then resnap with a black line not to confuse with the screwed up blue line.

blackcaulk1.jpg

looks black enough to me!!!
blackcaulk2.jpg


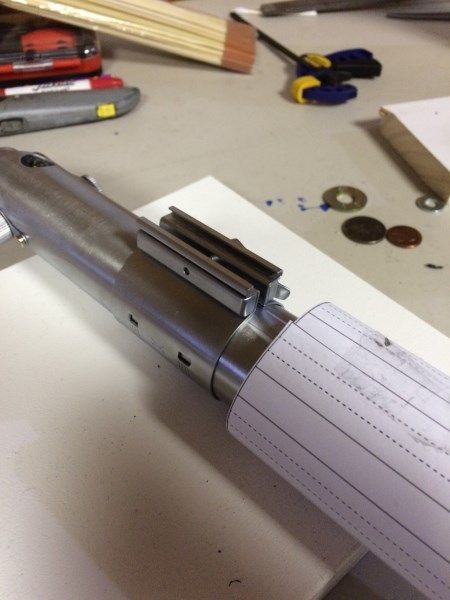
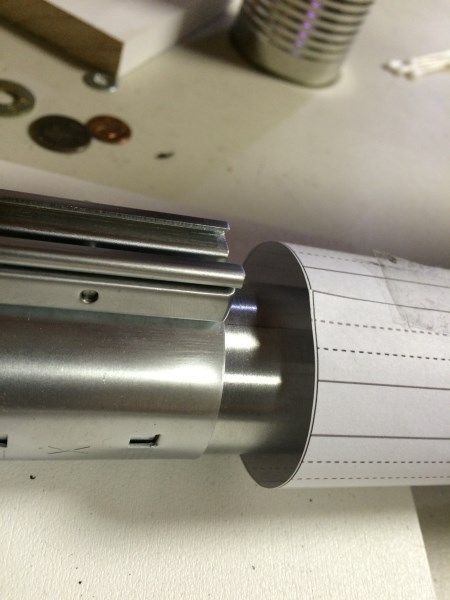
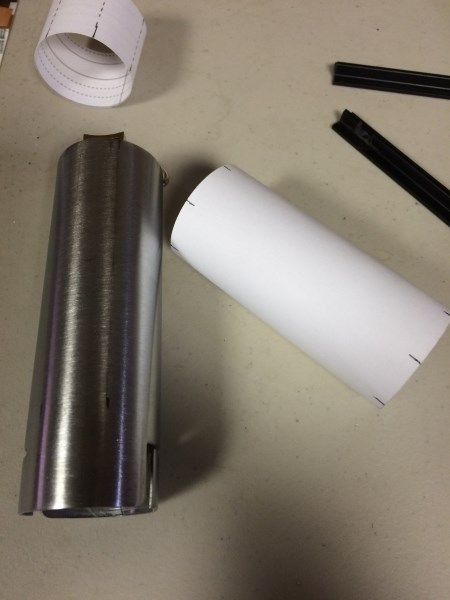
ok so i can now get alittle more progress, i printed out the template from Partsofsw.com in the download section. i am working with a MAC and really new to them so i couldnt figure out how to print it to scale, i figured being a PDF file it would print to scale, but for some reason it printed out too big..
partstemp1.jpg

partstemp2.jpg

partstemp3.jpg


yup this isnt going to work, so i figured i can do it myself with my mic's and a straight edge... Funny thing is the other night Andy sugguested how to mark out of the grip locations and i did it the same why he did so i felt much more relieved knowing he did it this way too
Keith, you could wrap a paper all the way around the tube.
Make a line/mark where the paper first overlaps itself.
Next, measure the length from the end of the paper to the line/mark.
Then, for an ESB, divide that length by six. For an ANH, divide that length by seven.
Take that number and measure it across the length at the top edge of the paper and make a mark.
Continue measuring that divided length and make a mark each time.
Do this across the bottom edge of the paper as well.
Then connect the corresponding marks from the top edge of the paper to the marks at the bottom edge of the paper.

The template may not end up looking as pretty as the printed one, but unless your measuring, marking, or simple math skills have messed up somewhere along the way, it should work.

the only reason i thought of doing it this way was because this is how i do it to drill the outside circumference of drag race rims when installing lock screws
sucp_0105_02_z%2Brim_screw_kit%2Bmasking_tape.jpg


im pretty sure i marked the paper already with pencil, but you cant see it in this picture..
mytemp1.jpg


i guess i didnt mark the template in the picture above because here it is much clearer
mytemp3.jpg


now before i glue them on, i did a test run with some rolled up scotch tape. it didnt work real well but i just wanted to make sure all my lines were right. here the grips look crooked and they are because they are just dangling with scotch tape and not aligned on the bottom lines
gripstest2.jpg


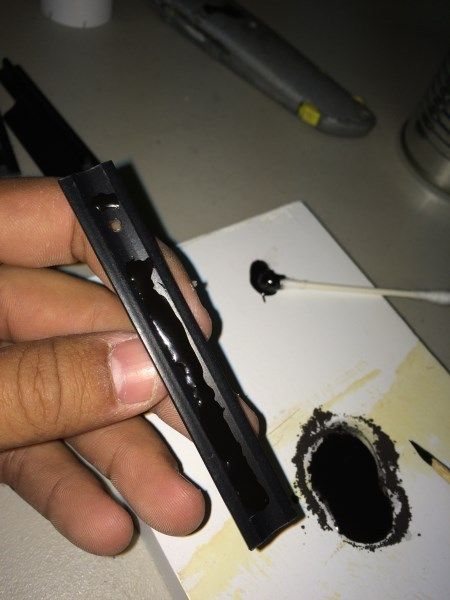
now the scary part... im afraid of epoxy's because i know they can make heat when curing. and i know some of them arent plastic friendly, and you need to make sure you use the right epoxy for the right surfaces... so you need a epoxy thats metal and plastic friendly. i mixed up 1 little squirt with some caulk and i think it worked perfect!!
time2die.jpg


i didnt want to put allot because i didnt want it oozing out the sides, so i just put "enough" to my thinking. it worked out pretty good i think
blackresin.jpg


time for lock down!
gripstick1.jpg

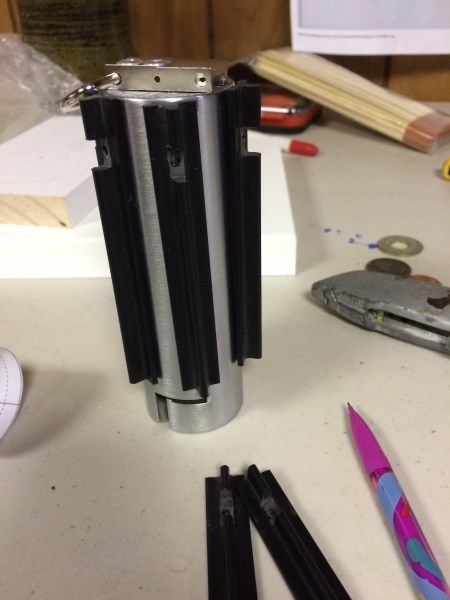
now here is where Tom and Andy can pick on me. they both do 2 grips at the same time, im alittle nervous about this so im stuck with doing 1 at a time for now. maybe my next saber i will tackle 2 at a time.

gripstick2.jpg

making sure that track is perfectly straight, even though it is not aligned with the graflex in ESB. my saber is more TFA teaser saber and i believe its lined up with the graflex clamp in the trailer. when i get a real graflex i will do a ESB dedication to where i can beat it up and weather the heck out of it, make it feel like real star wars!

gripstick3.jpg


there she will sleep for the night. at the rate im going i can do 1 track a night, if i get home in time. again i couldnt do this without therpf board and all my friends ive made on it. you guys are always there for me when i have questions and i truly appreciate it. thank you all for your help!!

danny
 
Great job on your red button assemblies, Danny.

When I read the part about your "black caulk" conversation, I imagined having the same convo with my own father. Hilarious!

The epoxy I used actually was clear, not that being clear is in any way better. I think the black works just as well if not better. Also, I like your use of clamps. On my ESB, there is a slight upward bend in a few of my T Tracks (toward the end with the Kobold clip), which I believe is from not having them clamped down properly. Great job on how to do this very cleanly, Danny.
 
Last edited:
Back
Top