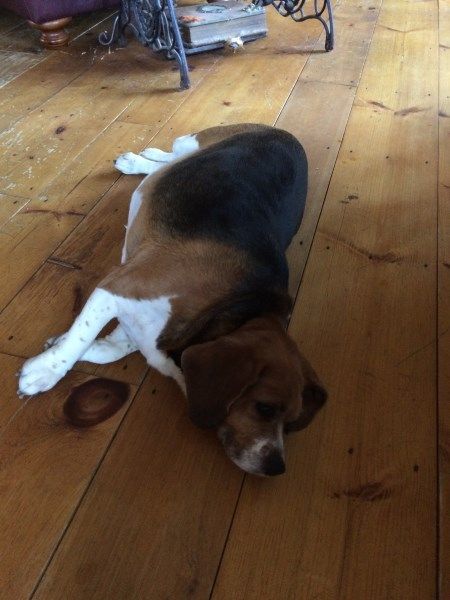
boy has it been a long time. i havent had as much free time as i have liked. we are experiencing some family issues, and a sick dog. we have 2 dogs, a beagle and old English bull dog. we adopted the beagle first and then got the bull dog, the beagle being so young at the time we believe thinks the bulldog ( a puppy at the time as well just a year younger then the beagle) thinks the bulldog is her baby. we can not separate them or the beagle goes ballistic, seizures, nose bleeds its scary... anyway why am i explaining this, because i have been on beagle sitting service the past couple of weeks while our bulldog goes under cancer treatments,,, it has not been easy dealing with this, and even harder with the beagle being upset... she will go crazy for hours until shes so exhausted she loses her voice, i will try and post the video later. ( video of my Ruby losing her voice
https://youtu.be/A8ILldC5LKU ) anyway once she finally calms down ive tackled a few things, remember these pictures and events happened before i got many great advice from you guys so please dont think im ignoring your help
when Rubys finally exhausted i can start to work
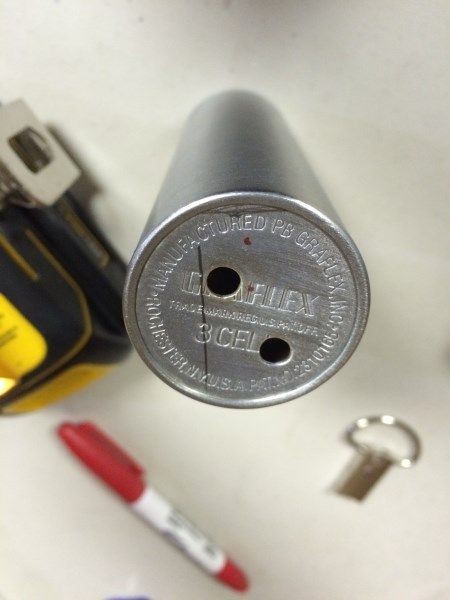
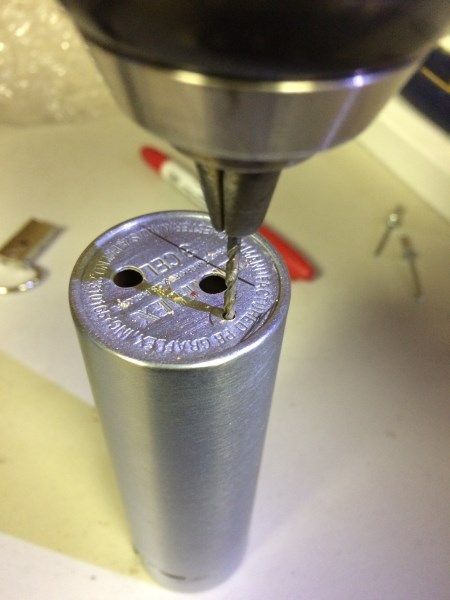
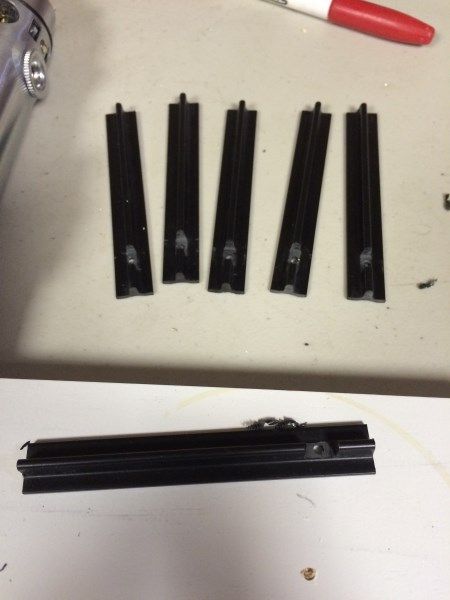
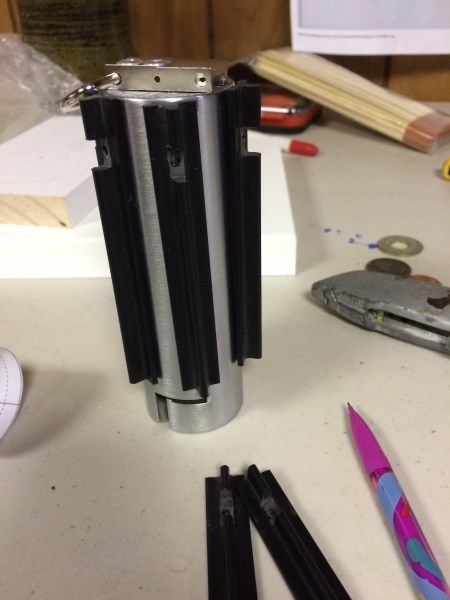
like ive stated before the LARBLE replica came with 2 holes already drilled, and the ebay auction that recently went online with no known name of the replica came with 2 holes as well along with the 3 piece buttons, so i looked into it and read a few threads where when they were sent to the machine shop the garflex template they used was already drilled with the holes so the machine shop thought they wanted the holes drilled. and were produced with these 2 holes
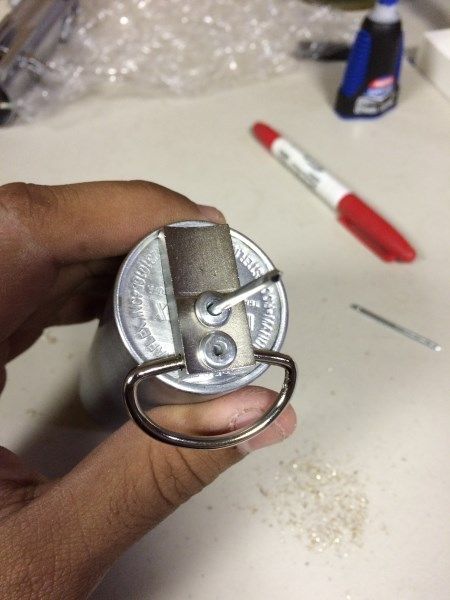
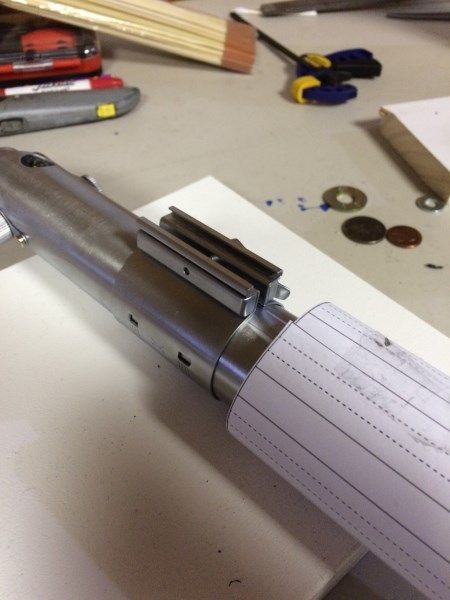
which can be tricky when attaching a kobold here is a example
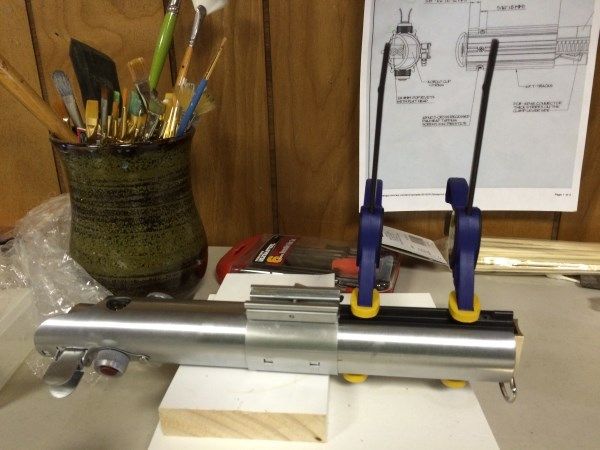
no turning back now, lets do this!
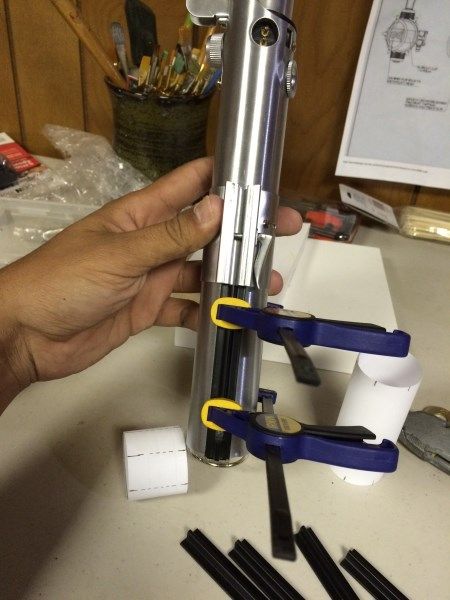
now for someone reading this thread and have NOT built a graflex saber before, DO NOT i repeat DO NOT attach the kobold now. I did not really thinking about the D ring getting in way of the paper template i will use later on in this thread... so i highly suggest waiting to attach the kobold last it will be much easier
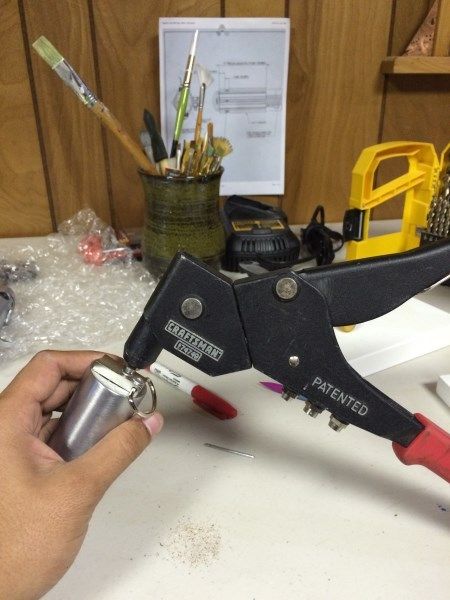
i bought this rivet gun for my father about 7 years ago.. he has 2 numatic ones in the shop to assemble all the sheet metal on the race cars, but sometimes you cant get those big bulky air guns in the tight spots, this rivet gun has a 180* turning radius, being a good son i bought it for him only for him to tell me it sucks! LOL so this is probably the first time its been used in 6-7 years...
im so use to working with very small rivets on the cars, where no force is needed to pull the rivet i was actually surprised when i used small force and the rivet wouldnt move. applying some strength and that sucker riveted great, but it took me for surprise lol these rivets are beefy!!
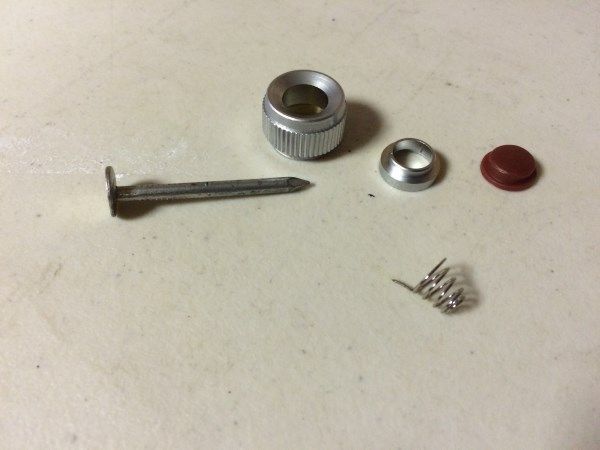
The button..
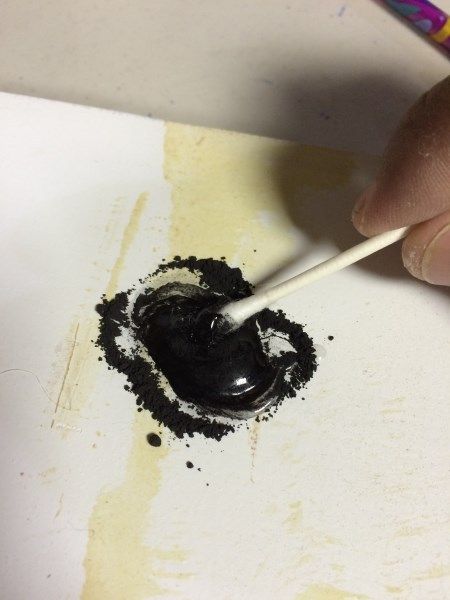
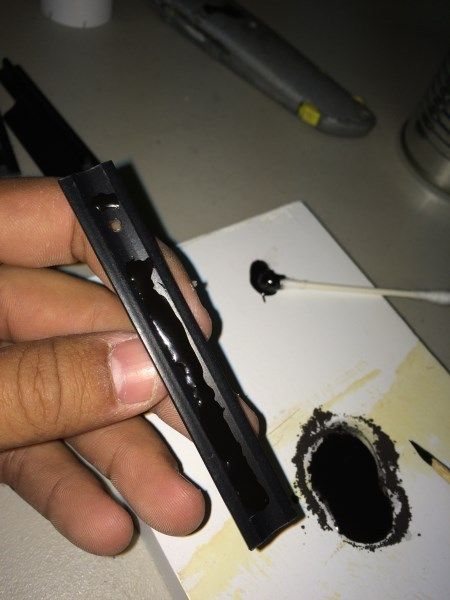
the buttun had me thinking for a few nights. you see the larbel red button came in 3 pieces, red button, knurled surround and internal keeper ring. though when put together it didnt function like a push button and there was no spring inside, along with that the internal keeper ring is held in place just by a tight tolerance. enough external force on the inside and it would pop out... so i had to super glue it together... a few days after i did this a friend on here suggested to use a keeper spring. i use them all the time and was really disappointing in myself that i didnt think of that! it was a brilliant idea, but unfortunately i already glued these suckers together... so for future readers DONT glue them together, get a very small keeper spring!
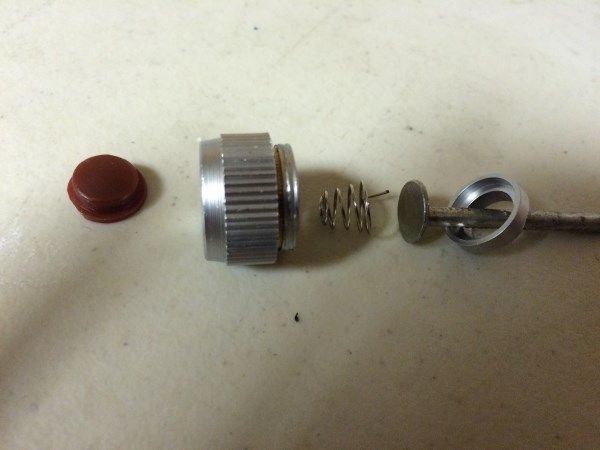
the keeper ring is hollow... so i needed to cut a piece of metal as a center base for the spring to sit in... out to the shop and i grabbed a aluminum roof nail. it fit perfect!! the picture above is how i assembled the button in order for it to work, the red button is on the wrong side, it should be in between the knurled surround and spring to explain how it functions correctly
my plan here is to cut the nail close to the botton of the button and weather it to make it look like a graflex pin, thats why i painted it with some model paint, so later on i can give is a dully brass color to it.
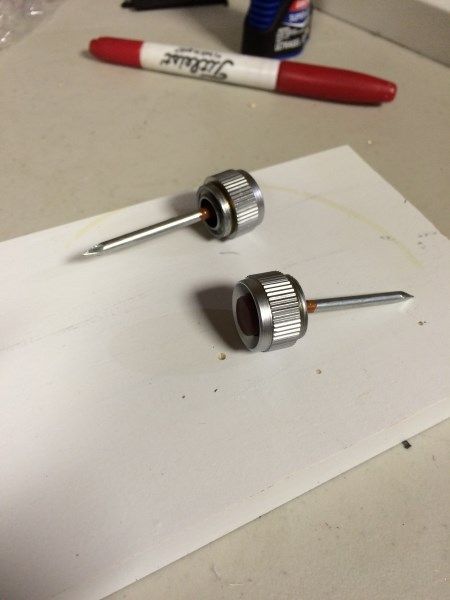
assembled and glued up, and these suckers are now functional!! YAY!! though i truly wish i waited and read about the keeper spring, those would have worked perfect!! now comes the last part... left my dremel in the truck and it was raining real good... plus i didnt want to leave Ruby for a minute, she would freak out with me out of sight and didnt want to trigger a seizure .... so dremels outside in the truck... how can i cut the nails?
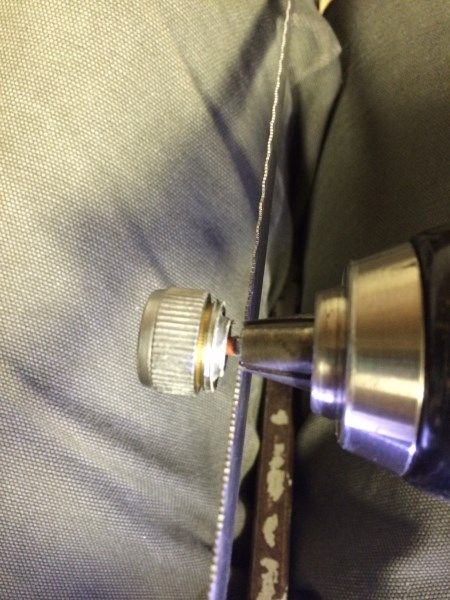
TADA!!! hack saw upside down, and a power drill and i got my ghetto dremel with out getting wet!
i drilled all my center holes for my grips, and called it a night. i really like using the azek wood. it is really bright and helps me see the grips
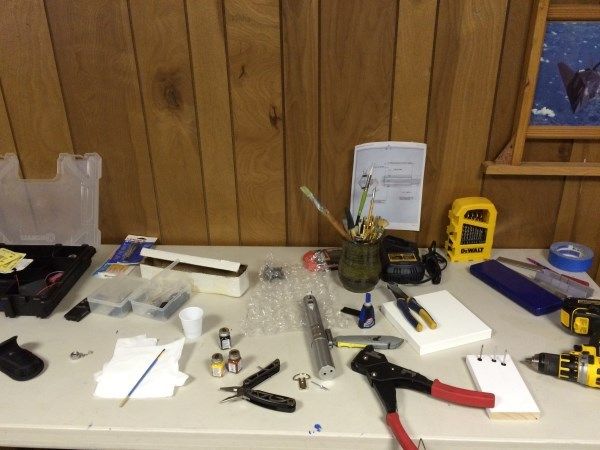
in the process right now of moving around, i havent assembled my workbench. i had a great flood in my basement and lost allot of furniture, right now the utlity room where i do my of my work has all out stuff stored, so i cant access my work shop area... so a cook out table will do for now... what a mess...
part 2, coming soon!!
") I even got some of the same stuff in folded metal provided by pfillery from Australia from vintage cupboards that were taken out to renovate kitchens ... here's a picture before he cut them up into smaller pieces ... you can see the holes too :
I even got some of the same stuff in folded metal provided by pfillery from Australia from vintage cupboards that were taken out to renovate kitchens ... here's a picture before he cut them up into smaller pieces ... you can see the holes too :