Green and Blue ranger build *pic heavy*

nogoodskills

New Member
Hey guys and gals!

I am not new to the RPF but this will be my first RPF thread haha but anyways here it is...

Any suggestions are welcome i could use them haha!


Started out with bondo and sanding :p


Finished 99% of sanding and bondo work and cut the visors and back plates... i forgot to take a few pictures before i cut the blue :/


Green


Blue


I ran into an issue when i cut the green back plate.... i got this gap due to the dremel blade being to thick! so keep that in mind if you ever do one of these...


I decided to use apoxie sculpt due the long working time to rectify the gap... im hoping this will hold up... well see how that works out...

i taped off one side and put Vaseline on it to create a barrier and then taped off the other side leaving a small gap for the apoxie sculpt....


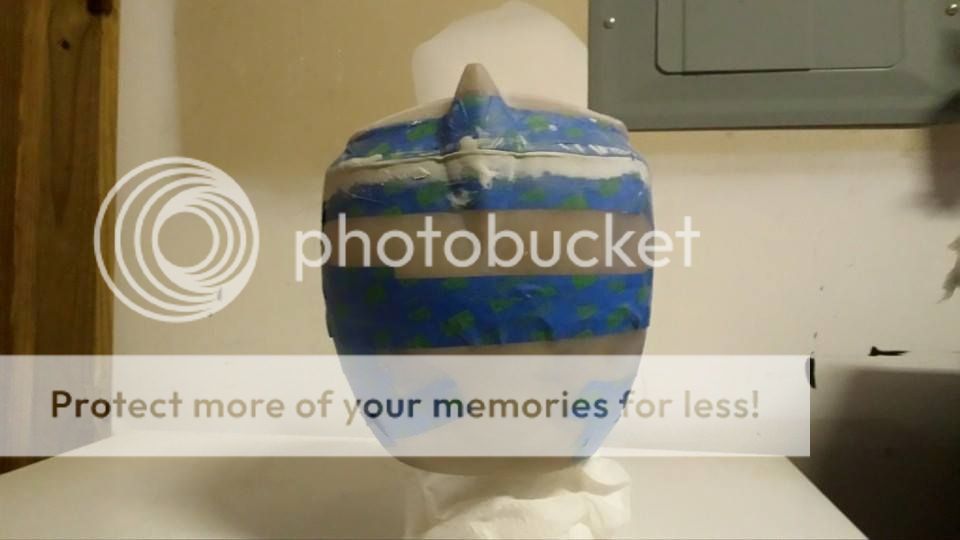
i poured fiber glass resin to make something like a registry tab... i used painters tape and some Vaseline as a barrier...


anyways thats where im at so far hoping to be able to paint the blue ranger helmet tomorrow and get the green finished and prepped for paint!
 
Finished blues tabs and added bondo for some more support... as well i drilled the air holes lol and yes im irritated i made one a little off haha...


tab.jpg

air%20hole.jpg


- - - Updated - - -

then i primed blue to check for any more fixes that may need to be done before paint... and yup i found out i needed to fix some pin holes and smooth out the bondo line a little more... not sure if it just needs a few more coats of paint to cover the bondo line... but this is how it looks atm!


front.jpg

plate.jpg

primed.jpg

primed1.jpg


finished the repair on the green helmet... in the future if anyone uses apoxie sculpt vaseline is not a good enough barrier for it... use something else haha i got painters tape stuck in it... but it worked perfectly
biggrin.png


fixed.jpg

fixed1.jpg

fixed2.jpg


after fixing the green a bit... i tabbed it...


tabbed%20green.jpg


anyways that is where i am at right now guys!!! please if anyone has any suggestions do not hesitate to post!


tab.jpg


air%20hole.jpg


front.jpg


plate.jpg


primed.jpg


primed1.jpg


biggrin.png


fixed.jpg


fixed1.jpg


fixed2.jpg


tabbed%20green.jpg
 
Last edited by a moderator:
if i were to sand spots on the blue helmet that i have already primed... would i have to re-sand the entire bucket for a smooth paint job? or could i spot sand with like 320 grit and paint?
 
if i were to sand spots on the blue helmet that i have already primed... would i have to re-sand the entire bucket for a smooth paint job? or could i spot sand with like 320 grit and paint?

If It were me, I'd wet sand the offending areas and re prime them. Depending on how the spot priming goes, you might be good to go to paint. Otherwise, I'd consider wet sanding the whole thing to get a real nice and uniform finish. Other than that, good job on the helmets. It looks like all you had to bondo was the seam line and a few pin holes ( outside of the cutting issue with the MMPR Green). If that is the case, I am super jealous, my kit required A TON more work. Maybe you have a cast from a newer mold?
 
If It were me, I'd wet sand the offending areas and re prime them. Depending on how the spot priming goes, you might be good to go to paint. Otherwise, I'd consider wet sanding the whole thing to get a real nice and uniform finish. Other than that, good job on the helmets. It looks like all you had to bondo was the seam line and a few pin holes ( outside of the cutting issue with the MMPR Green). If that is the case, I am super jealous, my kit required A TON more work. Maybe you have a cast from a newer mold?

yea i am probably gonna just sand the whole thing just to be sure... Thanks! the green helmet wasnt to bad i must have gotten a better pull... but the blue was a complete wreck... i spent 4 days sanding and bondo.... especially the left horn... it had a half inch gap and one side was higher then the other... you are right though ... they are cheap for a reason haha!
 
todays update...

I got the green sanded and finished a few repairs... and primed it i found a few more pin holes i missed... i guess ill be filling and wet sanding in a couple weeks...

but for the most part i am happy with the way its turning out so far :D


yea i am probably gonna just sand the whole thing just to be sure... Thanks! the green helmet wasnt to bad i must have gotten a better pull... but the blue was a complete wreck... i spent 4 days sanding and bondo.... especially the left horn... it had a half inch gap and one side was higher then the other... you are right though ... they are cheap for a reason haha!

I agree. You have spent this much time on it so why cut corners when you are so close. Only 4 days?! Lol ;) Keep posting your progress. It's great to see.
Cheers!
 
This thread is more than 8 years old.

Your message may be considered spam for the following reasons:

  1. This thread hasn't been active in some time. A new post in this thread might not contribute constructively to this discussion after so long.
If you wish to reply despite these issues, check the box below before replying.
Be aware that malicious compliance may result in more severe penalties.
Back
Top