Justinas
New Member
Intro:
Hey Everybody,
Another, first ever prop build and another partly inspired by “Still Untitled”. It’s there where I heard about The RPF and couple of months ago I finally decided to check it out. Being interested in filmmaking, I heard about prop building before, but never tried it for couple of reasons. First of all - I live in a place where such thing as prop building just doesn't exist. Second – seeing some of the amazing projects, it just didn't seem right thing for my not too crafty hands. And if you do something, do it right. However after listening for Adam, Guillermo del Toro and some other guys speak with such passion about props and storytelling (the later maybe is a little more interesting for me) and also being one of stereotypical guys in his mid twenties having many interests but no profession or skill, finally decided to try it out. It couldn’t hurt.
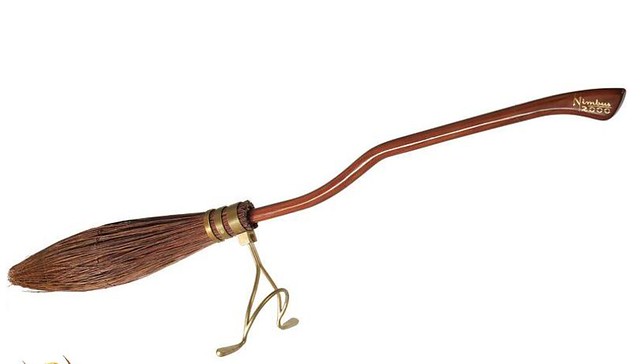
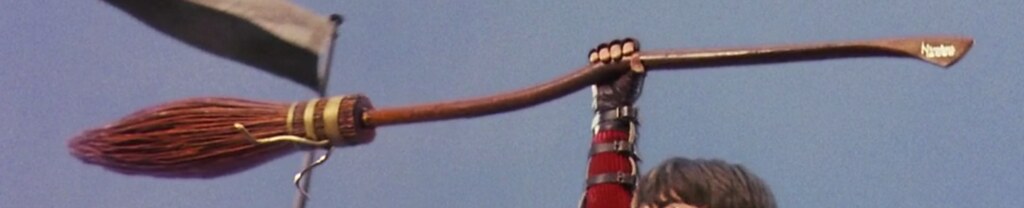
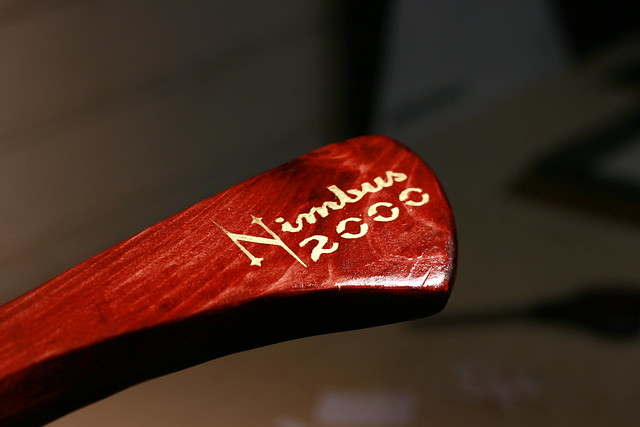
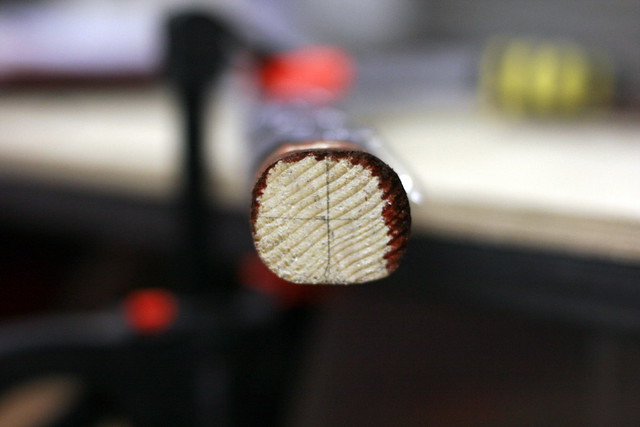
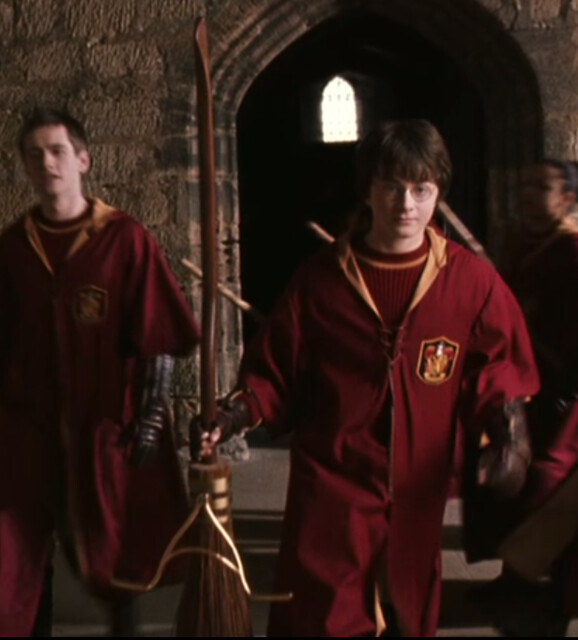
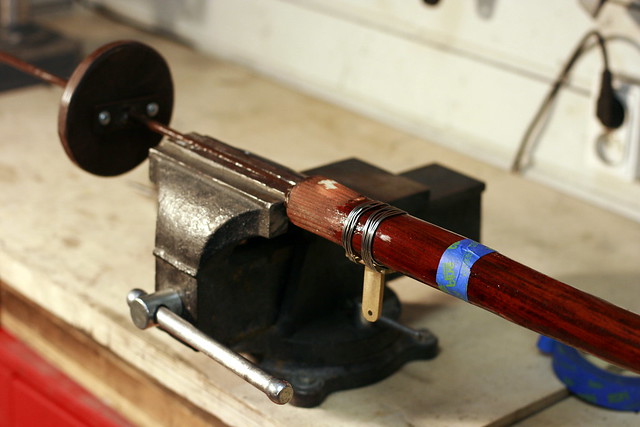
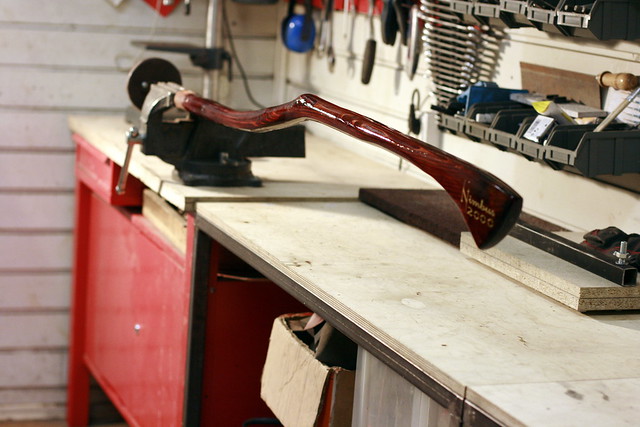
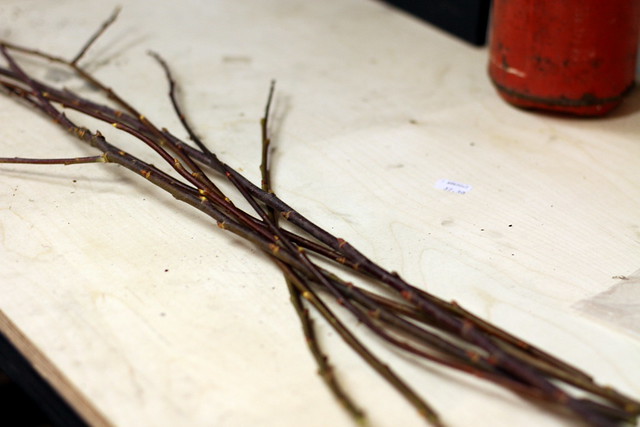
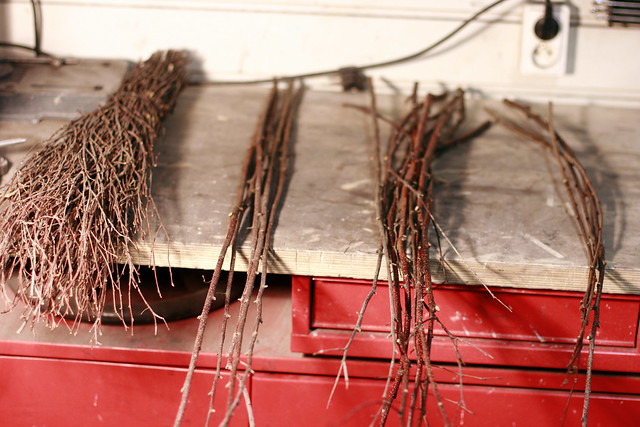
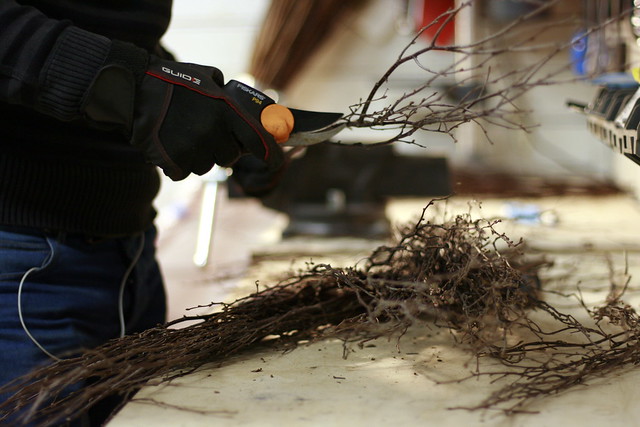
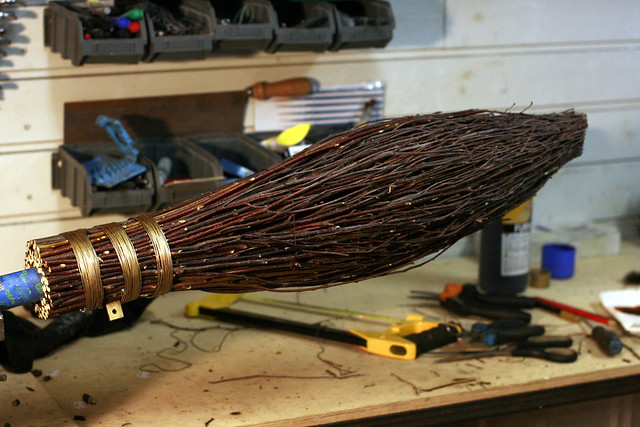
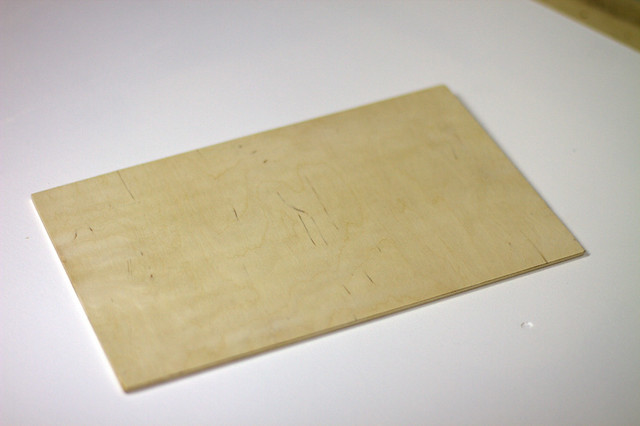
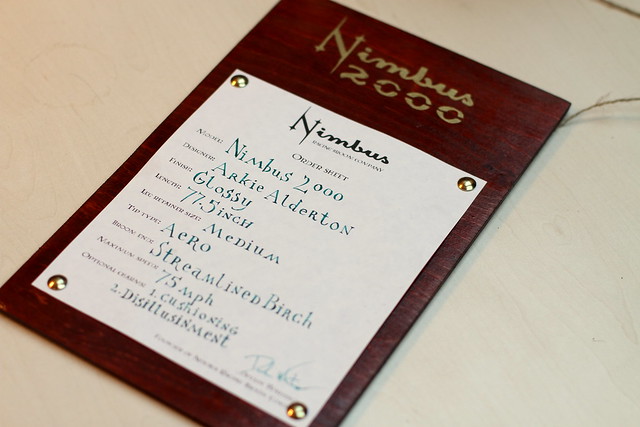
First thing to decide – what to build? So many possible choices. For my first build I decided on building Nimbus 2000 from Harry Potter. Reasons for that being my huge interest in story, the feeling I remember of seeing it first time in my mind when reading and then on screen in movies and possibility to build it from real materials. By real materials I mean the same materials they are building brooms in that world. It just adds another dimension of reality.
Research:
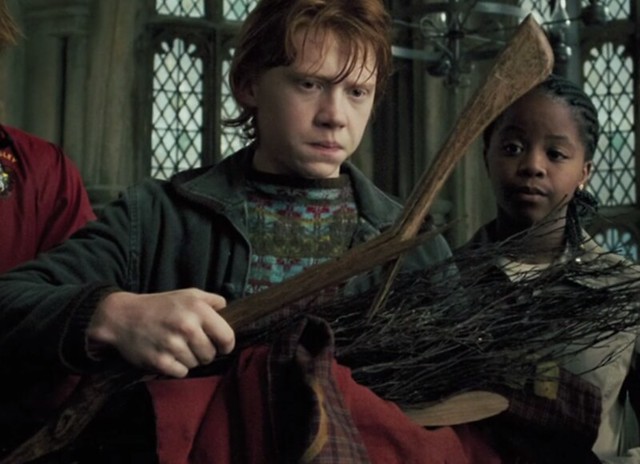
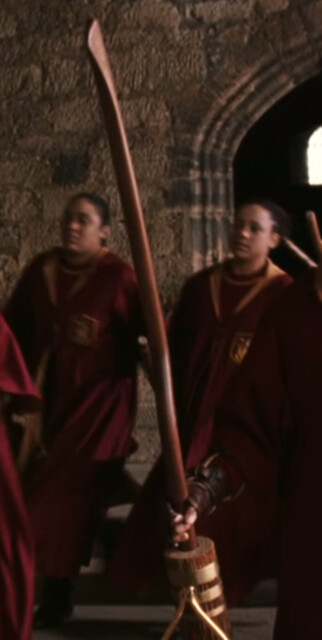
This being my attempt to get in to the mindset of a prop builder, research comes first. I collected most of the shots from first three movies, featuring the broom. Then investigated internet sources for more information and replicas made by others. I was gladly surprised that there weren’t many builds of them. The one massively produced replica was from Cinereplicas (Nimbus 2000 Limited Edition - Harry Potter - Cinereplicas.fr - Movies and series collectables and gifts). It looked like nice reference material at first, but I was greatly disappointed by it later on. Neither Noble Collection, neither various other shops had Nimbus 2000s in their catalogues. RPF had several ingenious builds using axe handles (http://www.therpf.com/f9/harry-potter-quidditch-broom-hardware-build-122466/), which were awesome. As it’s my first build and I’m here to learn, I decided to not ask for help from the community and do it all myself.
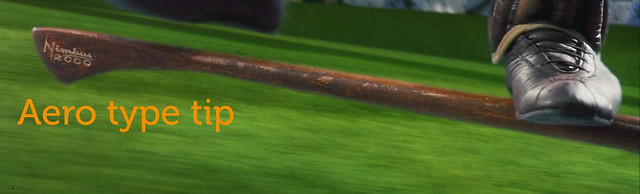
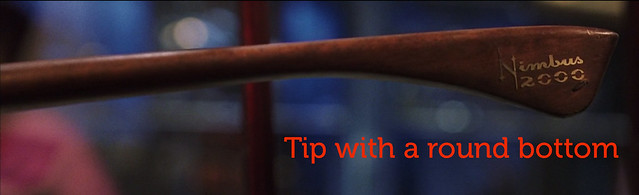
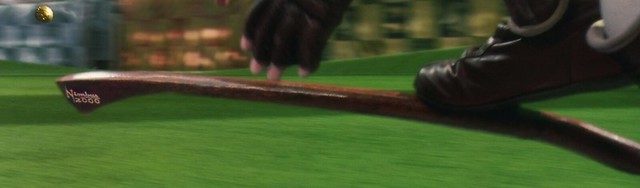
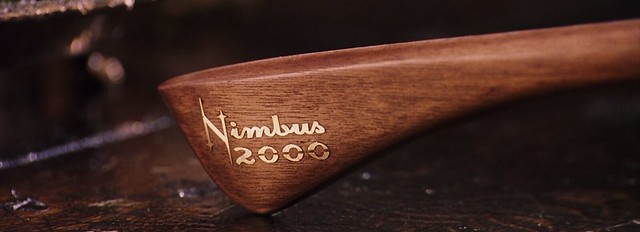
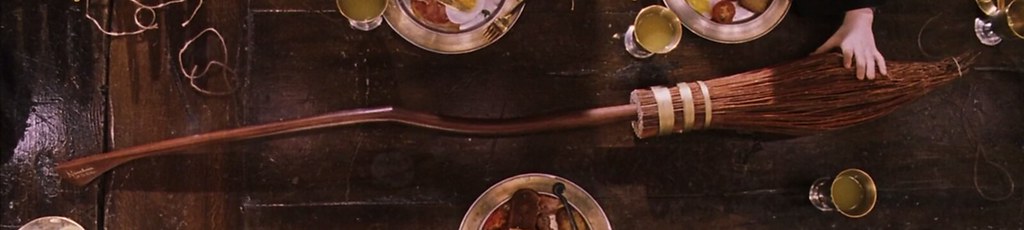
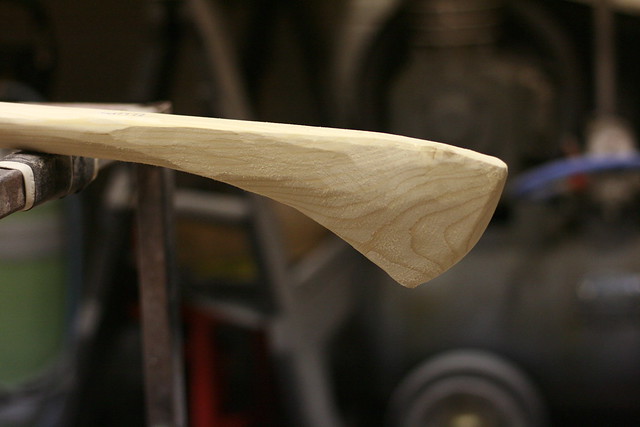
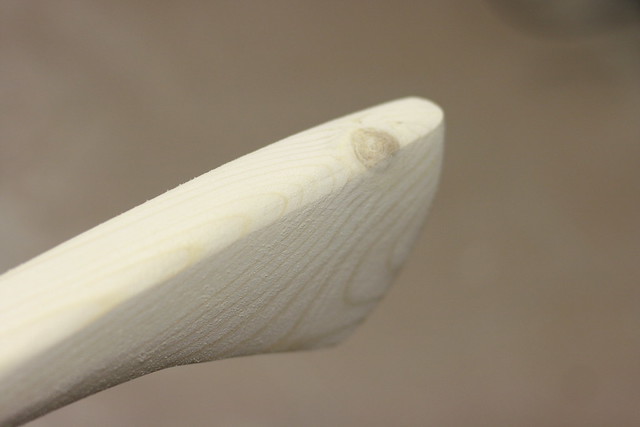
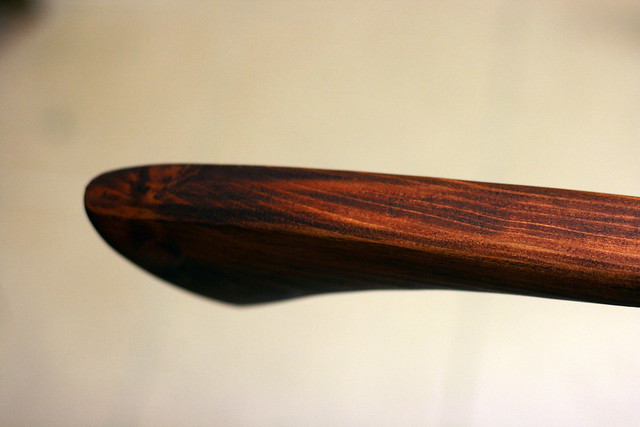
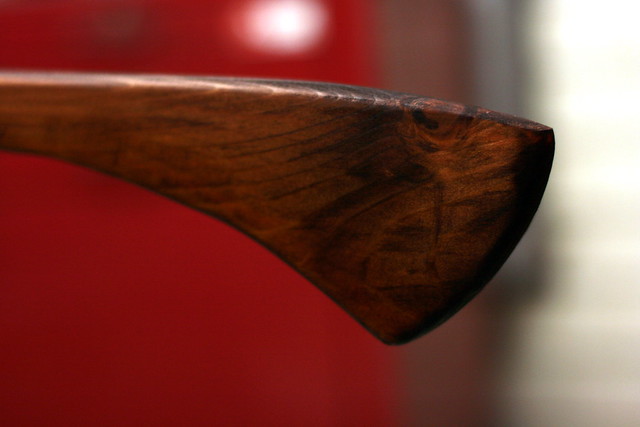
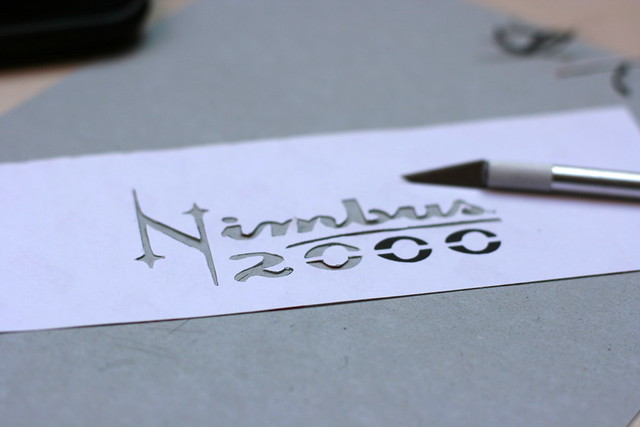
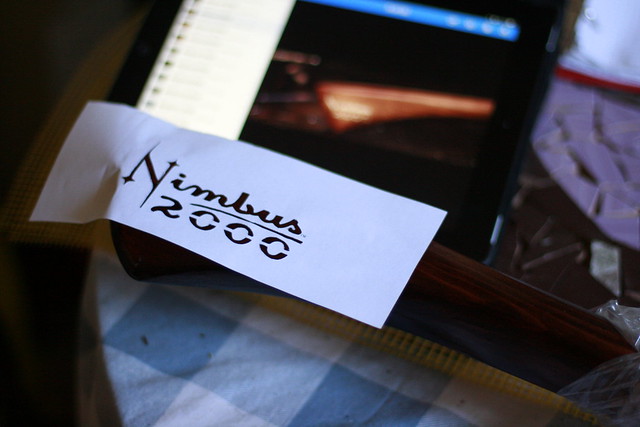
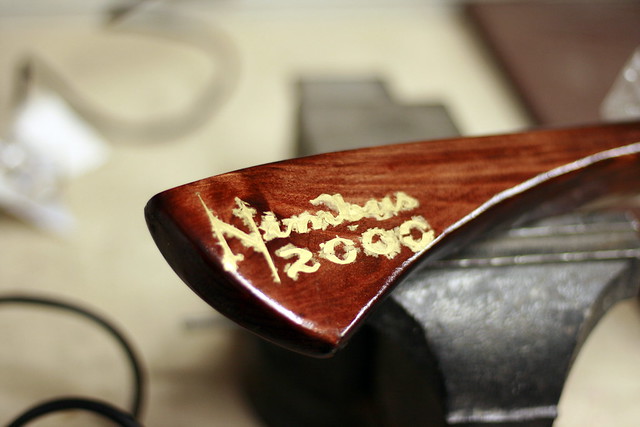
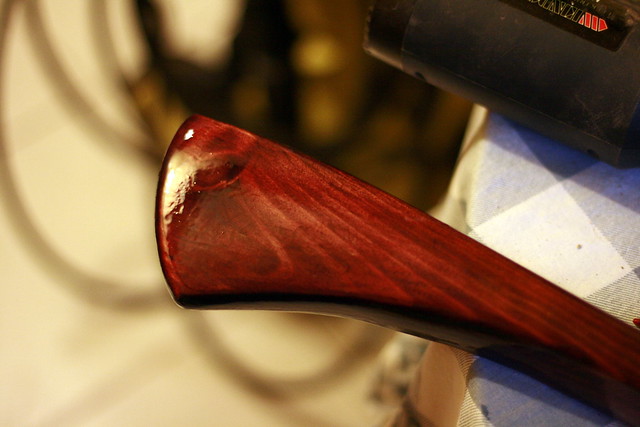
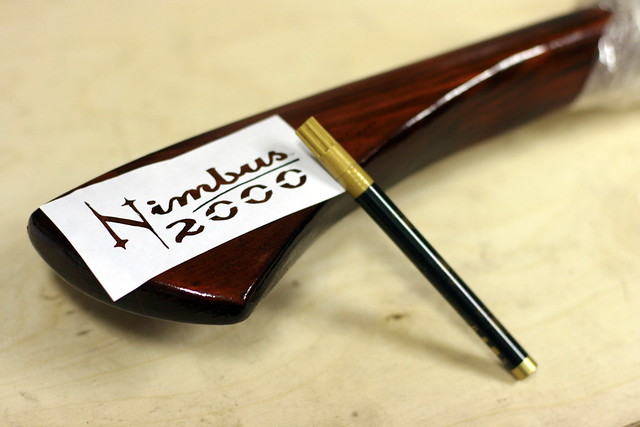
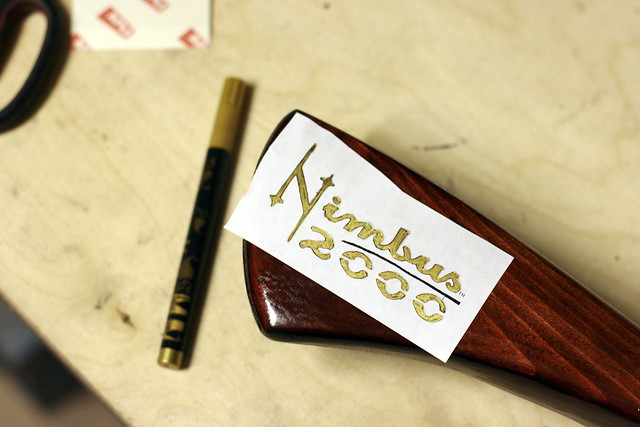
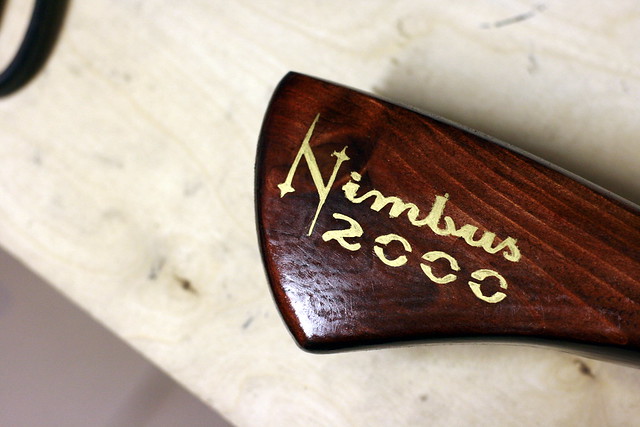
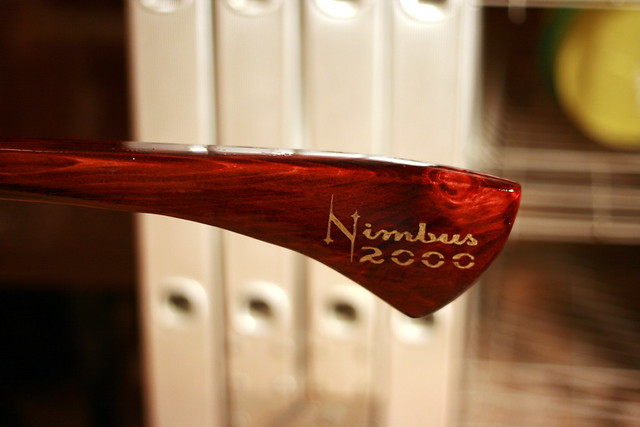
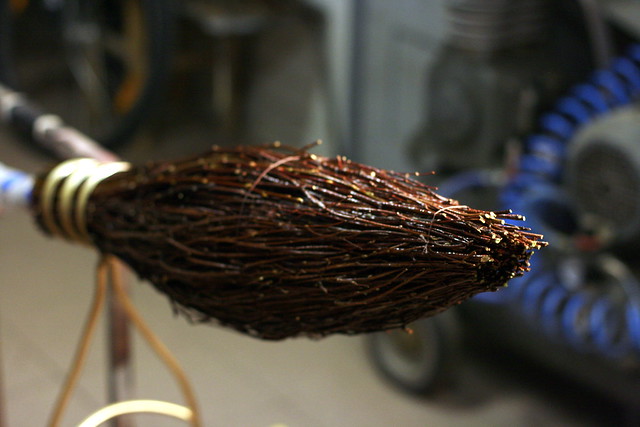
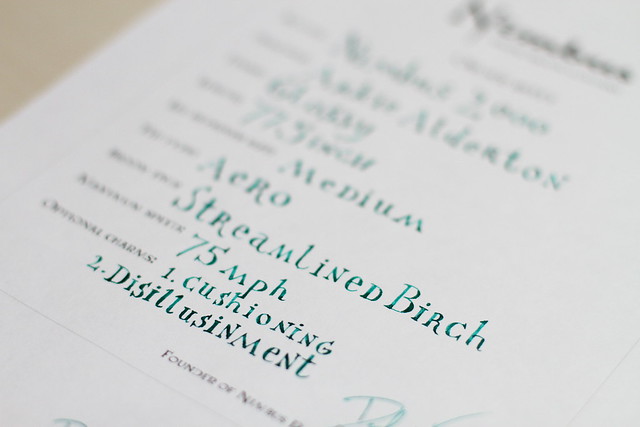
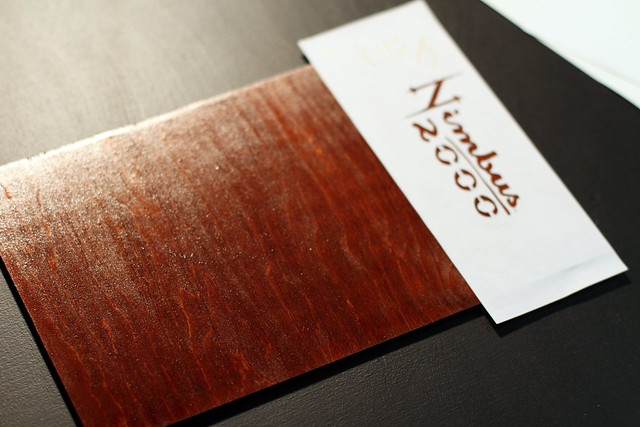
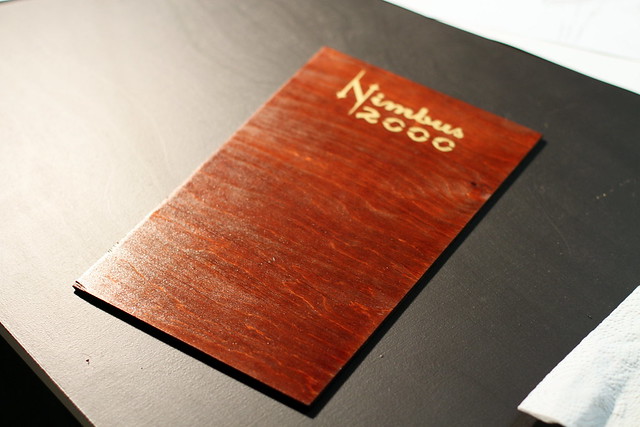
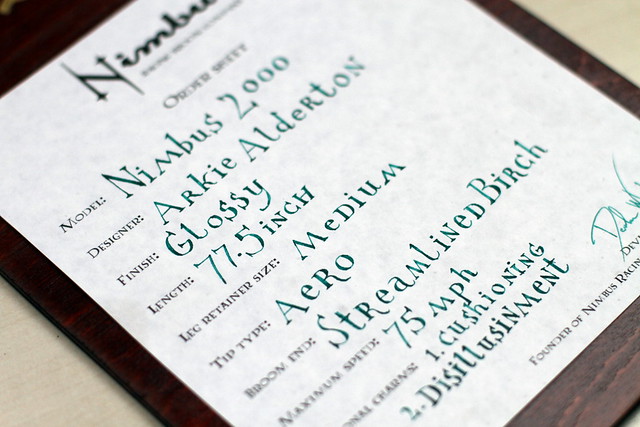
After carefully analyzing screenshots from first three movies I immediately came up with a problem – the broom looks different in many of the shots. Different brooms for different type of shots. Two of the most noticeable differences seemed to be the shape of the tip, Nimbus 2000 logo and wood finish. Some quidditch scenes had more of an aero type shape, and the tip during some standing scenes had kind of a little lip on the very end. Nimbus 2000 logo sometimes went with a line between “Nimbus” and “2000”, and sometimes without. Finish was the most confusing part – sometimes it’s a little glossy, sometimes its matte and so on – and then there is possible color correction, lighting… Maybe I shouldn’t get in too it too much, because it would be a long rant :]

I hoped to get some more definite answers from Cinereplicas replica which, as the descriptions says, was “Designed by real professionals using the Warner Bros official references”. As my main goal was to get in the mind of the prop builder, it was all about the details. Sadly, it’s exactly the details where this broom goes wrong. The shape of the tip is definitely incorrect, Nimbus logo is at the wrong angle, stem shape is wrong… I do understand that to massively produce something, you need to make some exemptions, but I decided not to use it as a reference and just make some decisions based on versions given to me by the movie.
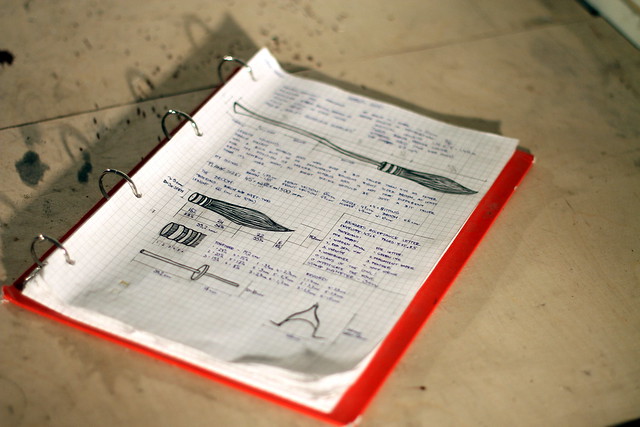
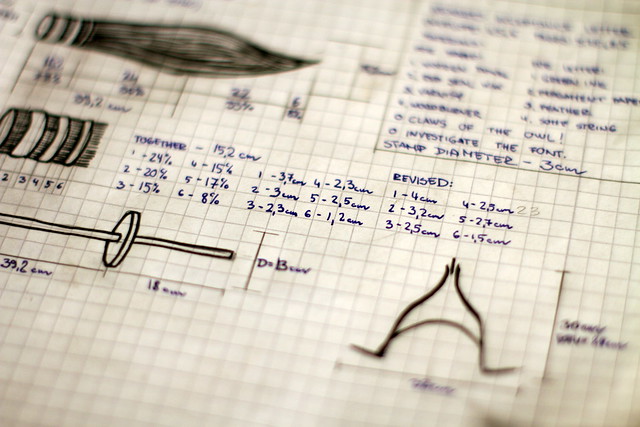
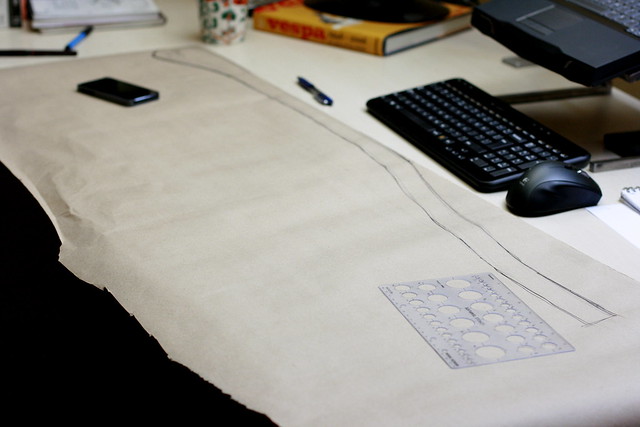
So after doing the research, some calculations were needed to establish the length, thickness and other properties of the broom. I found the height of Daniel Radcliffe (yeah, some stoking action going on here) and proportionally calculated the length of the broom used in the first movie. The screen used prop length seemed a little too small and in the end, I decided to calculate the length of the broom according to my own height. Again, this just may add a little more reality in to it. And naturally, if I want to later use this broom for commuting round town, so I cannot be using a child sized one...
This decision led to another challenge. What’s the right length for my height? I could not use Harry/Nimbus proportion as he used broom in couple of movies and because of growth spurt that proportion varied greatly. I checked out other broom/character proportions in movies and finally decided to use Malfoy/Nimbus 2001 proportion. This decision was made following story psychology - Lucius Malfoy is a pretty wealthy guy and would definitely buy the correctly sized broom for his son. So the right broom length seemed to be about ~10cm longer than the height of the rider.
Hey Everybody,
Another, first ever prop build and another partly inspired by “Still Untitled”. It’s there where I heard about The RPF and couple of months ago I finally decided to check it out. Being interested in filmmaking, I heard about prop building before, but never tried it for couple of reasons. First of all - I live in a place where such thing as prop building just doesn't exist. Second – seeing some of the amazing projects, it just didn't seem right thing for my not too crafty hands. And if you do something, do it right. However after listening for Adam, Guillermo del Toro and some other guys speak with such passion about props and storytelling (the later maybe is a little more interesting for me) and also being one of stereotypical guys in his mid twenties having many interests but no profession or skill, finally decided to try it out. It couldn’t hurt.
First thing to decide – what to build? So many possible choices. For my first build I decided on building Nimbus 2000 from Harry Potter. Reasons for that being my huge interest in story, the feeling I remember of seeing it first time in my mind when reading and then on screen in movies and possibility to build it from real materials. By real materials I mean the same materials they are building brooms in that world. It just adds another dimension of reality.
Research:
This being my attempt to get in to the mindset of a prop builder, research comes first. I collected most of the shots from first three movies, featuring the broom. Then investigated internet sources for more information and replicas made by others. I was gladly surprised that there weren’t many builds of them. The one massively produced replica was from Cinereplicas (Nimbus 2000 Limited Edition - Harry Potter - Cinereplicas.fr - Movies and series collectables and gifts). It looked like nice reference material at first, but I was greatly disappointed by it later on. Neither Noble Collection, neither various other shops had Nimbus 2000s in their catalogues. RPF had several ingenious builds using axe handles (http://www.therpf.com/f9/harry-potter-quidditch-broom-hardware-build-122466/), which were awesome. As it’s my first build and I’m here to learn, I decided to not ask for help from the community and do it all myself.
After carefully analyzing screenshots from first three movies I immediately came up with a problem – the broom looks different in many of the shots. Different brooms for different type of shots. Two of the most noticeable differences seemed to be the shape of the tip, Nimbus 2000 logo and wood finish. Some quidditch scenes had more of an aero type shape, and the tip during some standing scenes had kind of a little lip on the very end. Nimbus 2000 logo sometimes went with a line between “Nimbus” and “2000”, and sometimes without. Finish was the most confusing part – sometimes it’s a little glossy, sometimes its matte and so on – and then there is possible color correction, lighting… Maybe I shouldn’t get in too it too much, because it would be a long rant :]
I hoped to get some more definite answers from Cinereplicas replica which, as the descriptions says, was “Designed by real professionals using the Warner Bros official references”. As my main goal was to get in the mind of the prop builder, it was all about the details. Sadly, it’s exactly the details where this broom goes wrong. The shape of the tip is definitely incorrect, Nimbus logo is at the wrong angle, stem shape is wrong… I do understand that to massively produce something, you need to make some exemptions, but I decided not to use it as a reference and just make some decisions based on versions given to me by the movie.
So after doing the research, some calculations were needed to establish the length, thickness and other properties of the broom. I found the height of Daniel Radcliffe (yeah, some stoking action going on here) and proportionally calculated the length of the broom used in the first movie. The screen used prop length seemed a little too small and in the end, I decided to calculate the length of the broom according to my own height. Again, this just may add a little more reality in to it. And naturally, if I want to later use this broom for commuting round town, so I cannot be using a child sized one...
This decision led to another challenge. What’s the right length for my height? I could not use Harry/Nimbus proportion as he used broom in couple of movies and because of growth spurt that proportion varied greatly. I checked out other broom/character proportions in movies and finally decided to use Malfoy/Nimbus 2001 proportion. This decision was made following story psychology - Lucius Malfoy is a pretty wealthy guy and would definitely buy the correctly sized broom for his son. So the right broom length seemed to be about ~10cm longer than the height of the rider.


 :thumbsup