GB2 to GB1 Ghost Trap Conversion

Warrenzo

Well-Known Member
So i managed to get my hands on a fully built, Resin GB2 Ghost Trap from a good friend.

Since my costume is from GB1, i intend to convert this to GB1 so that i can wear it and not get comments such as "hey, why isn't that a GB1 trap when u aint got the GB2 logo on ur suit??" Plus i really prefer the GB1 trap over the GB2 trap anyway.

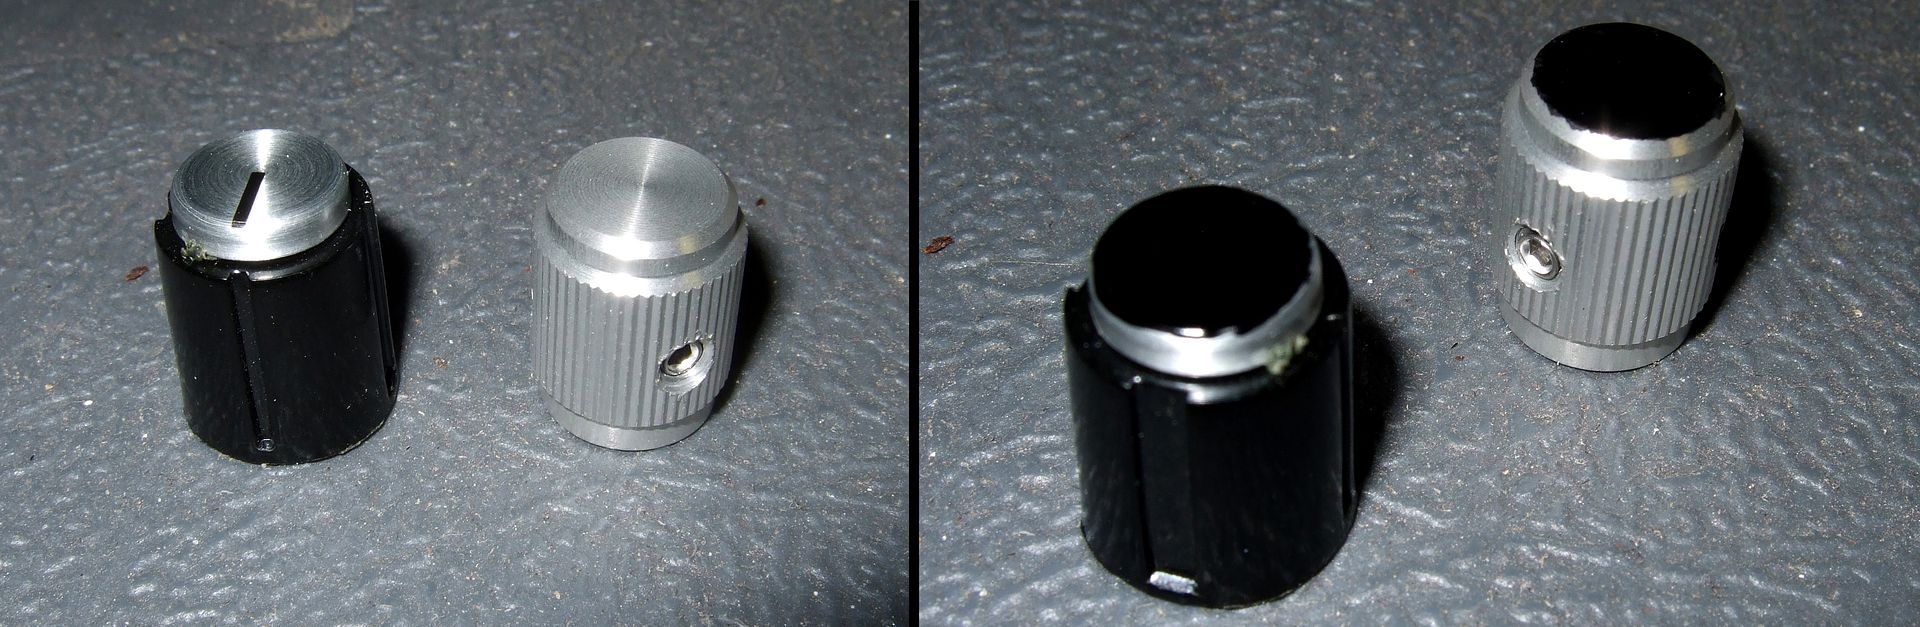
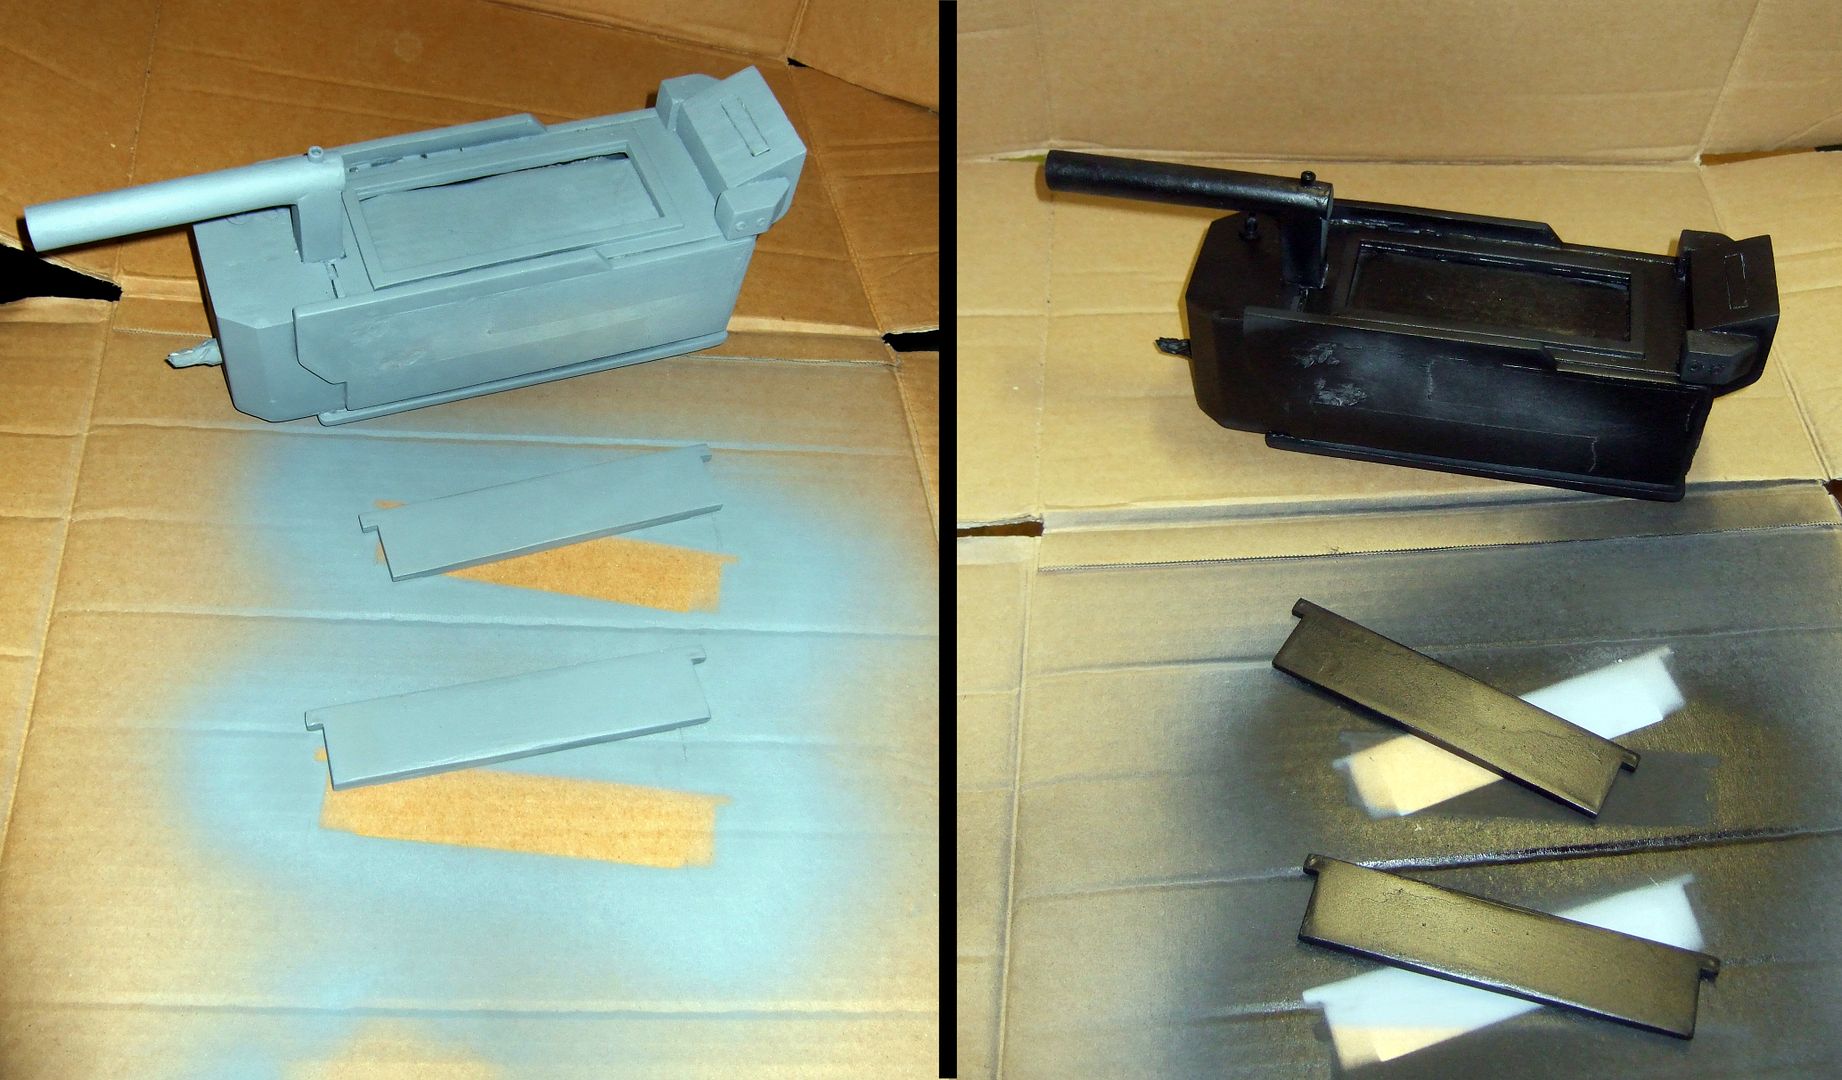
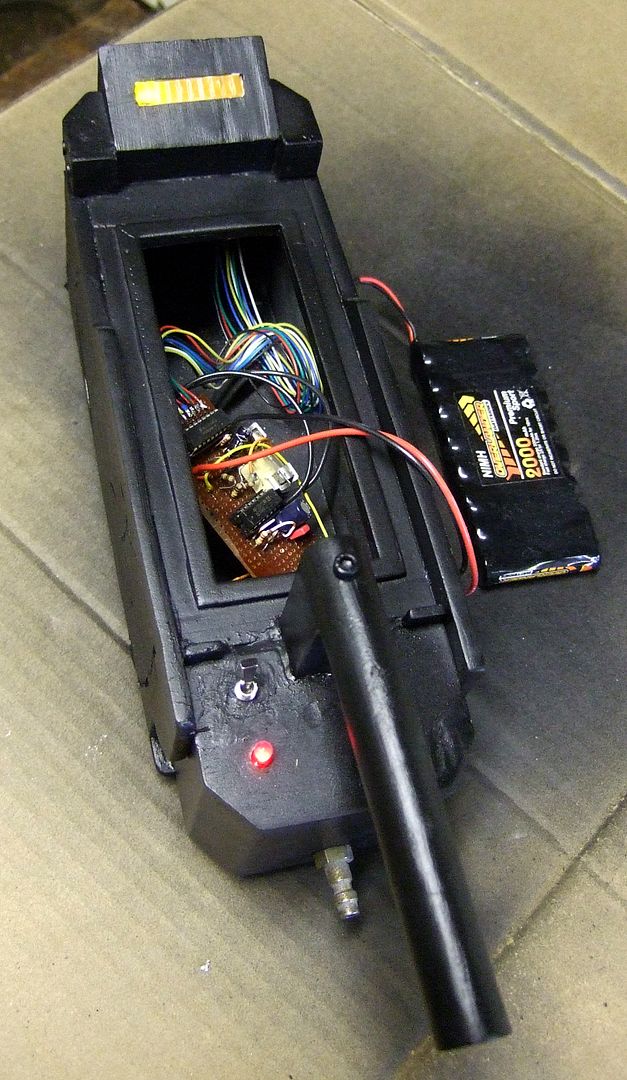
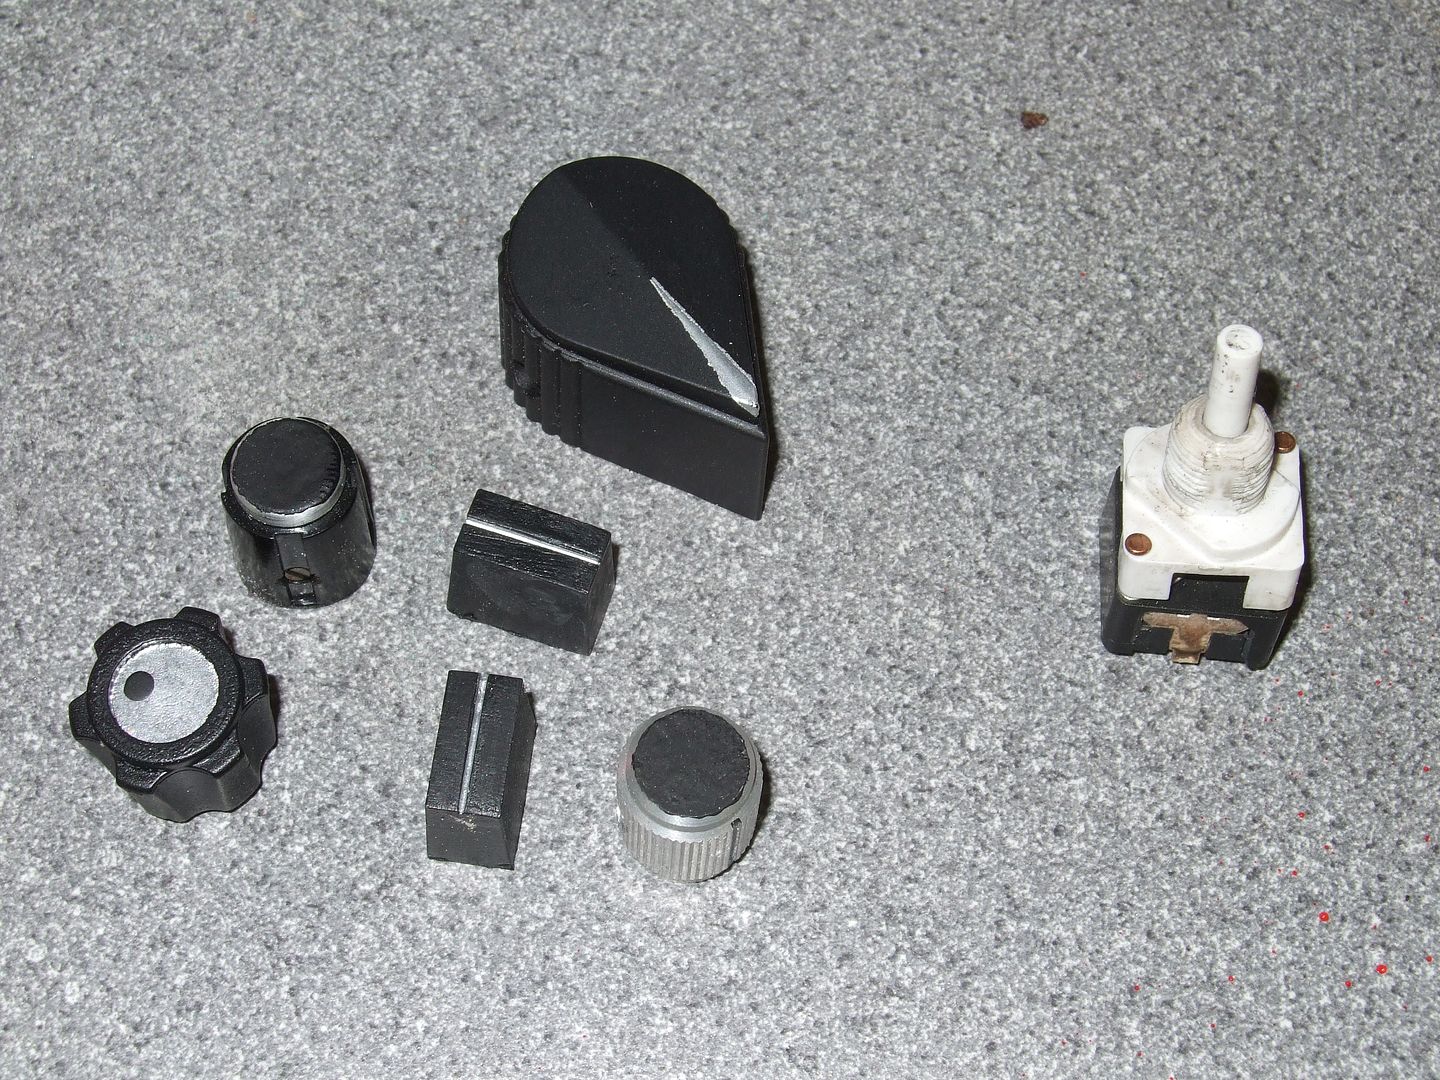
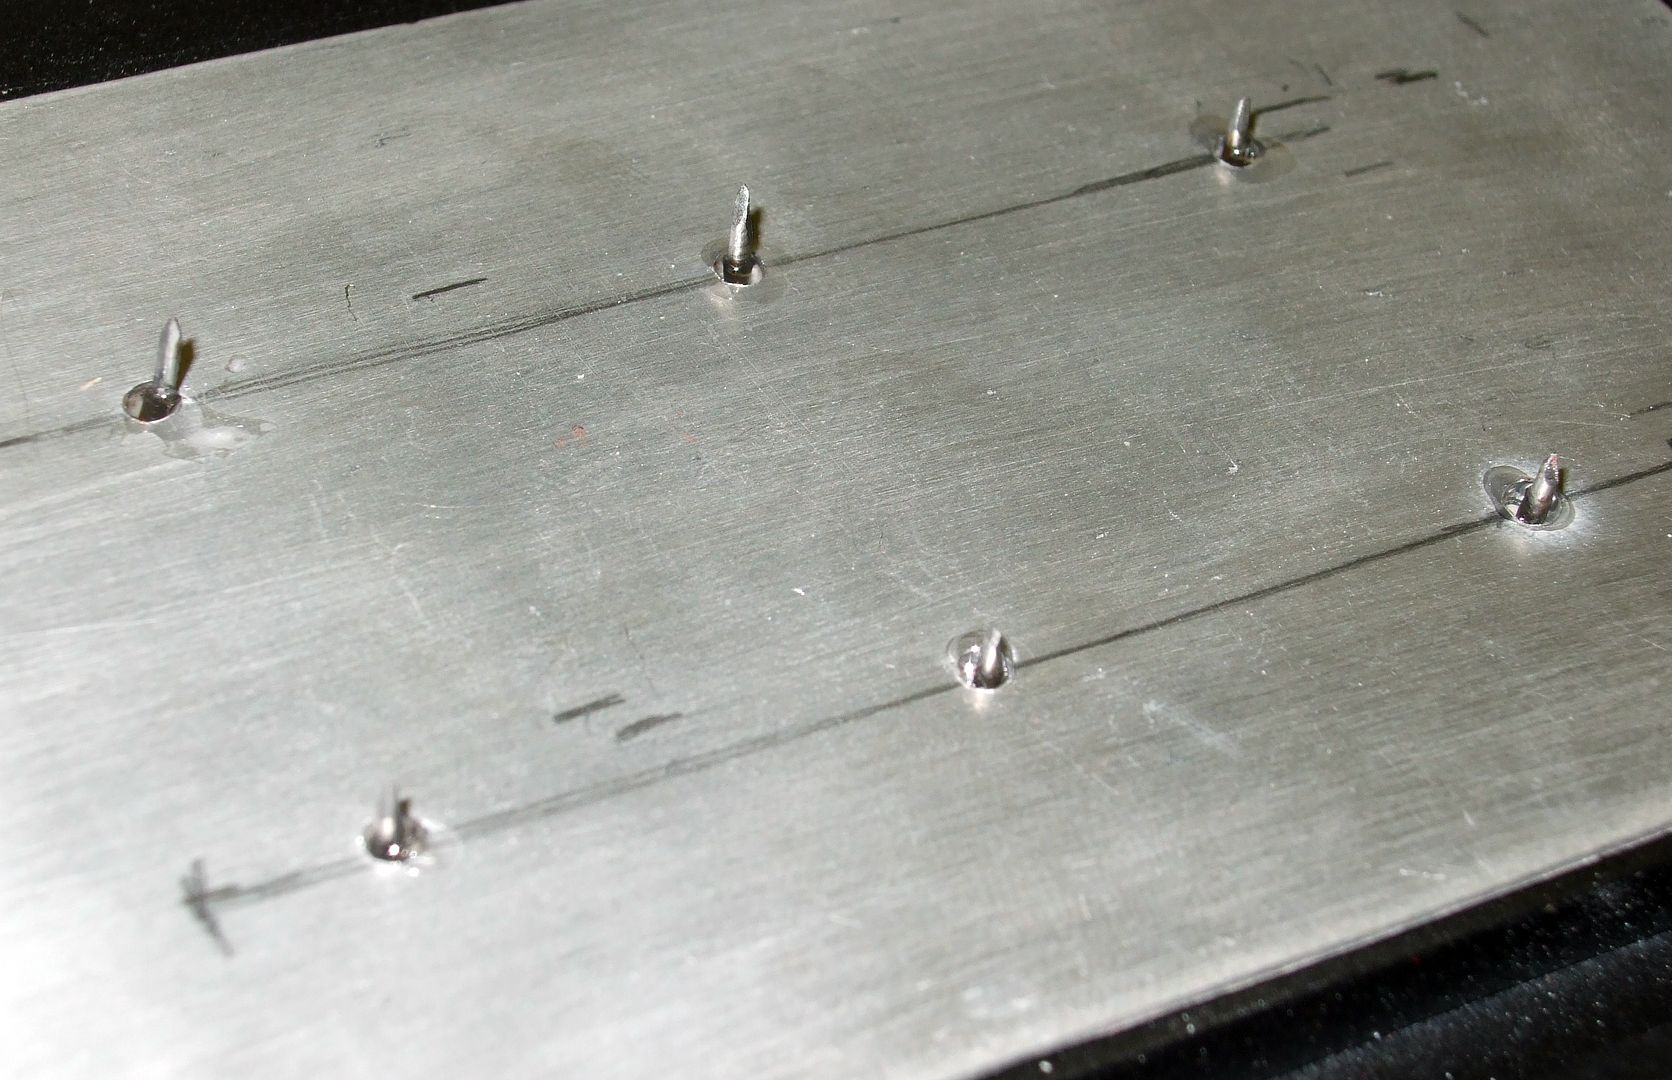
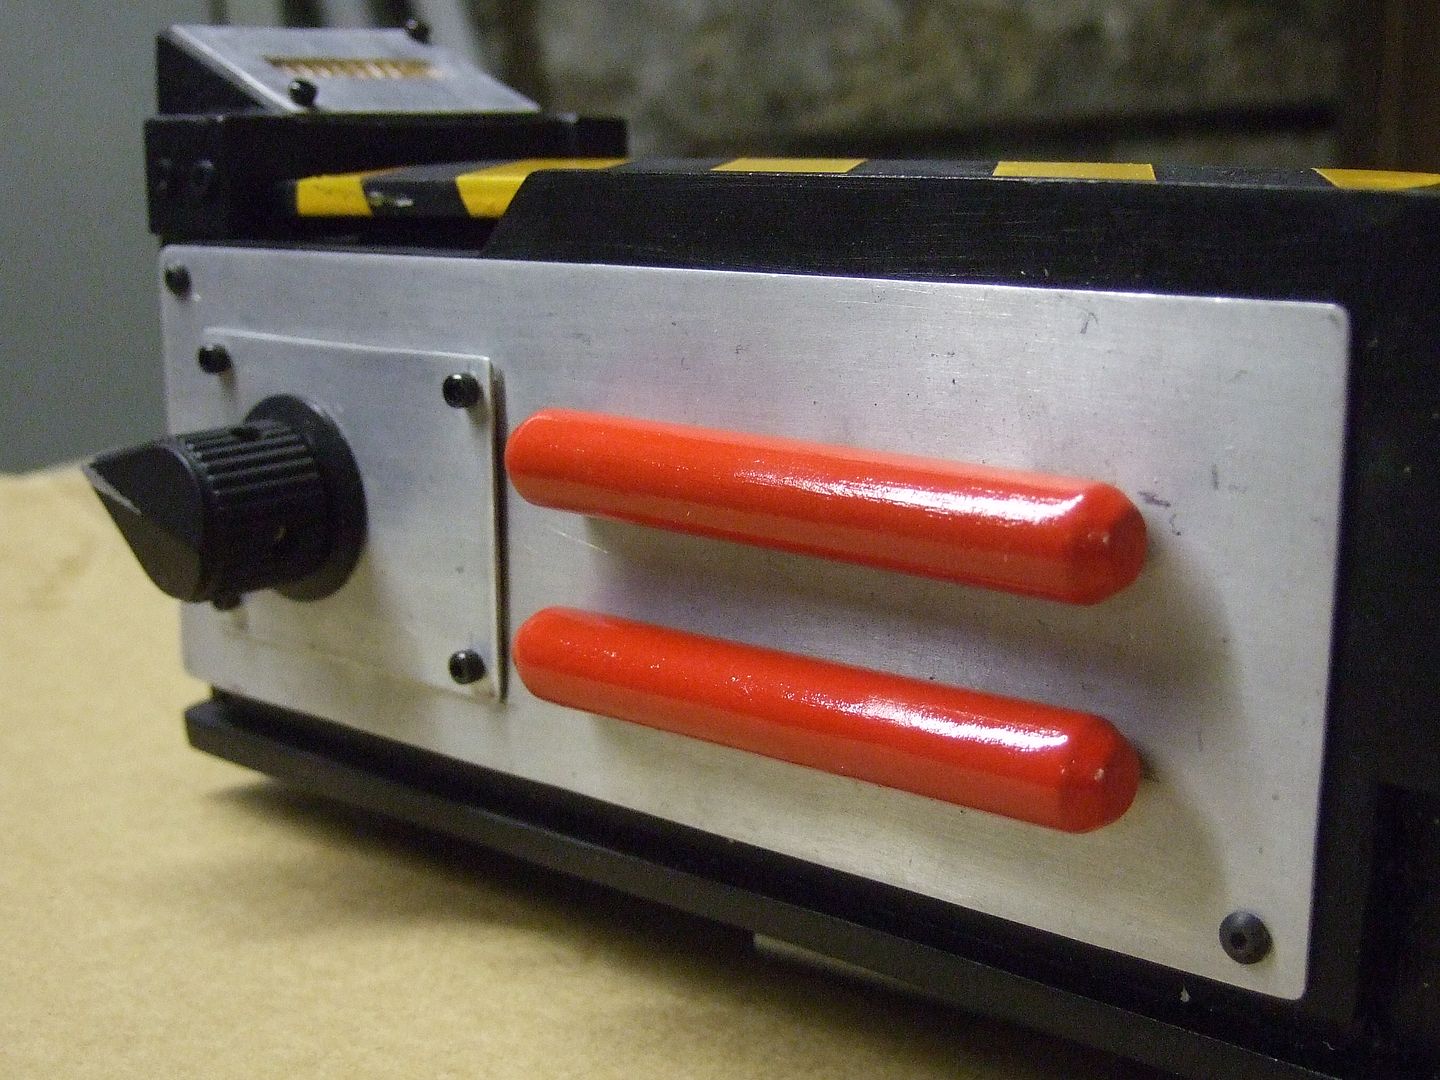
I intend to replace the side panels and top panel with aluminium ones, to install a light kit and hope to have all the knobs being able to twist....just need to figure out a way of doing this. Unfortunately the cartridge in none removeable, but that aint a big deal since i'd rather not have it fall out on me by accident and shatter into a million pieces.

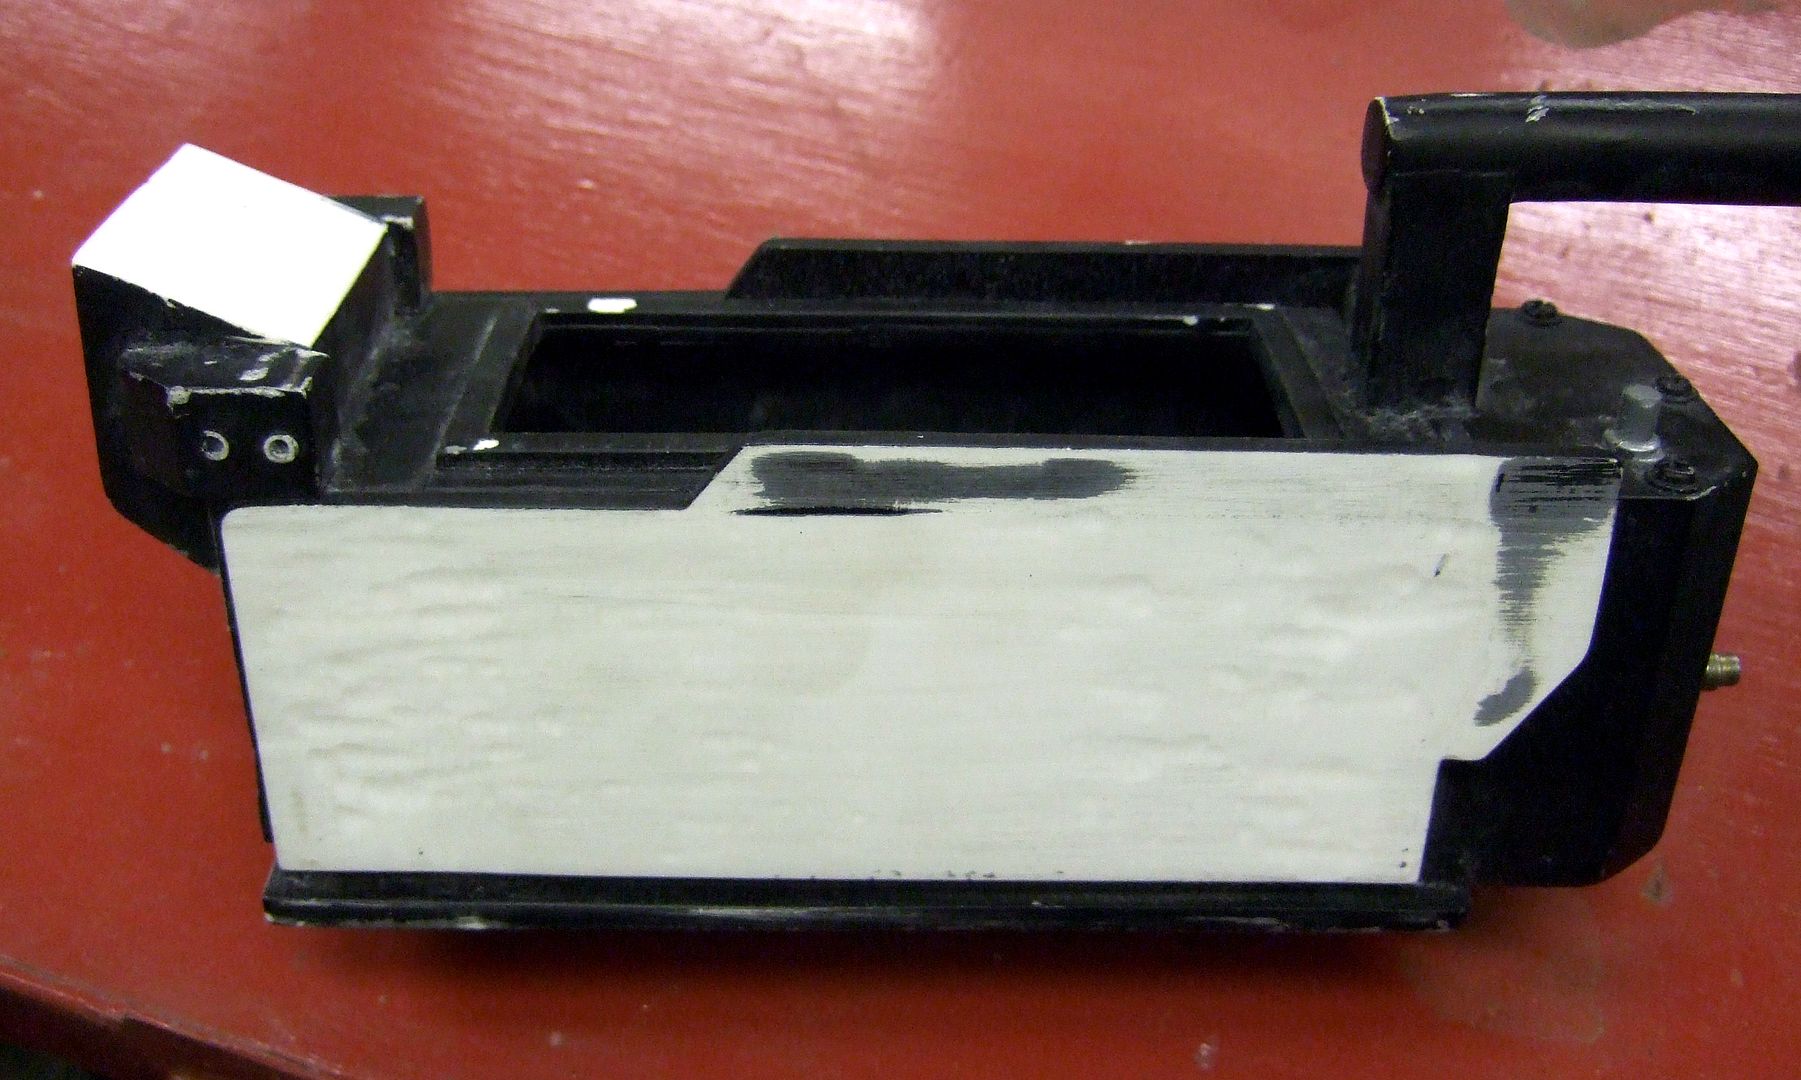
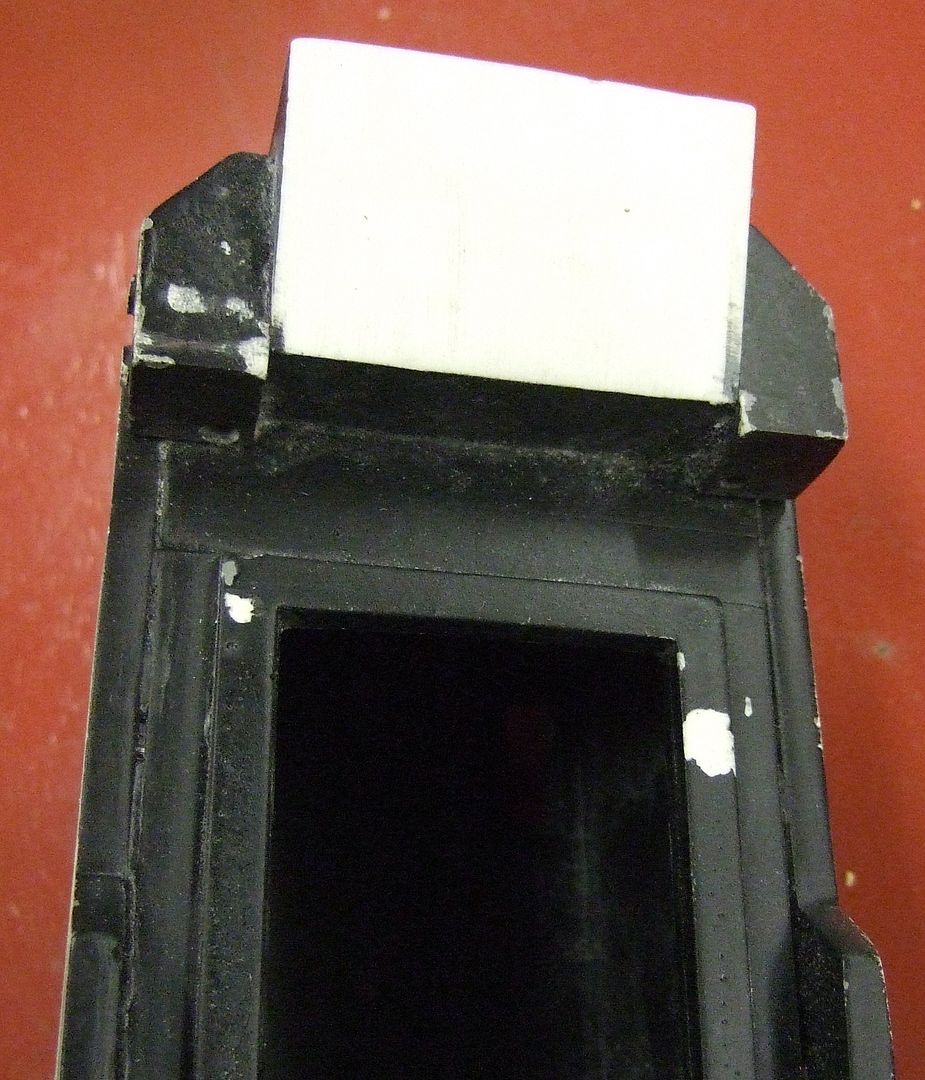
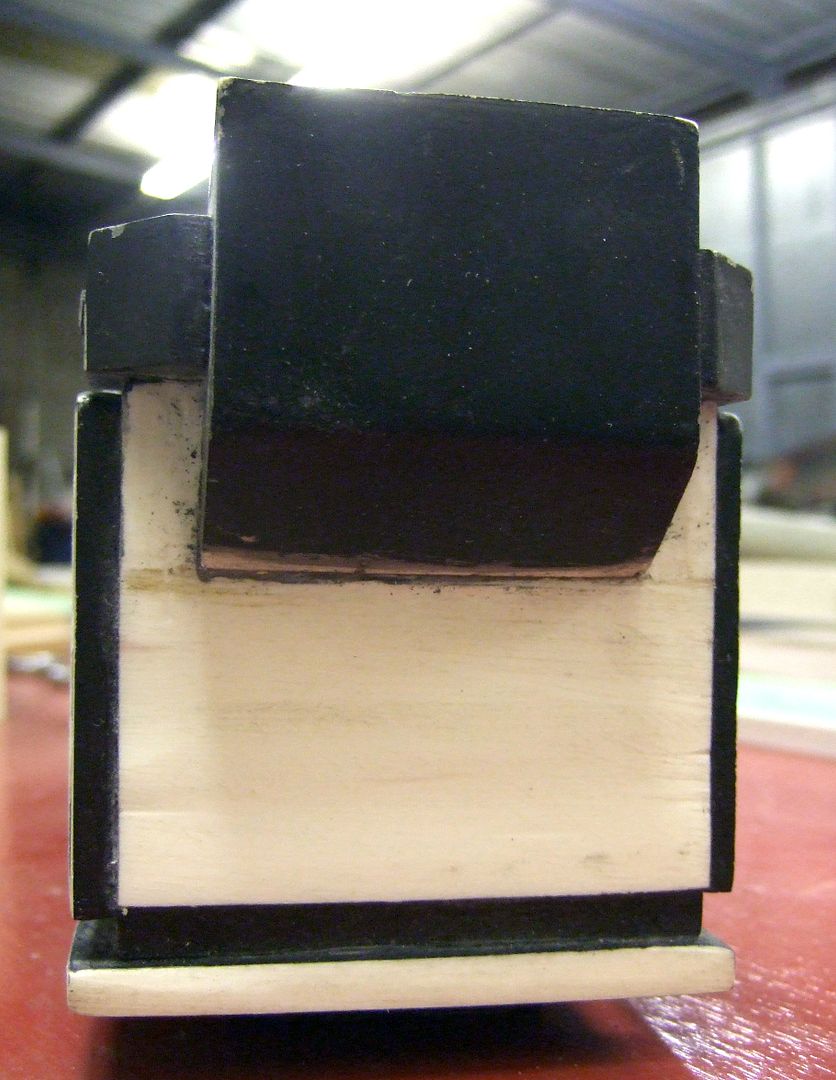
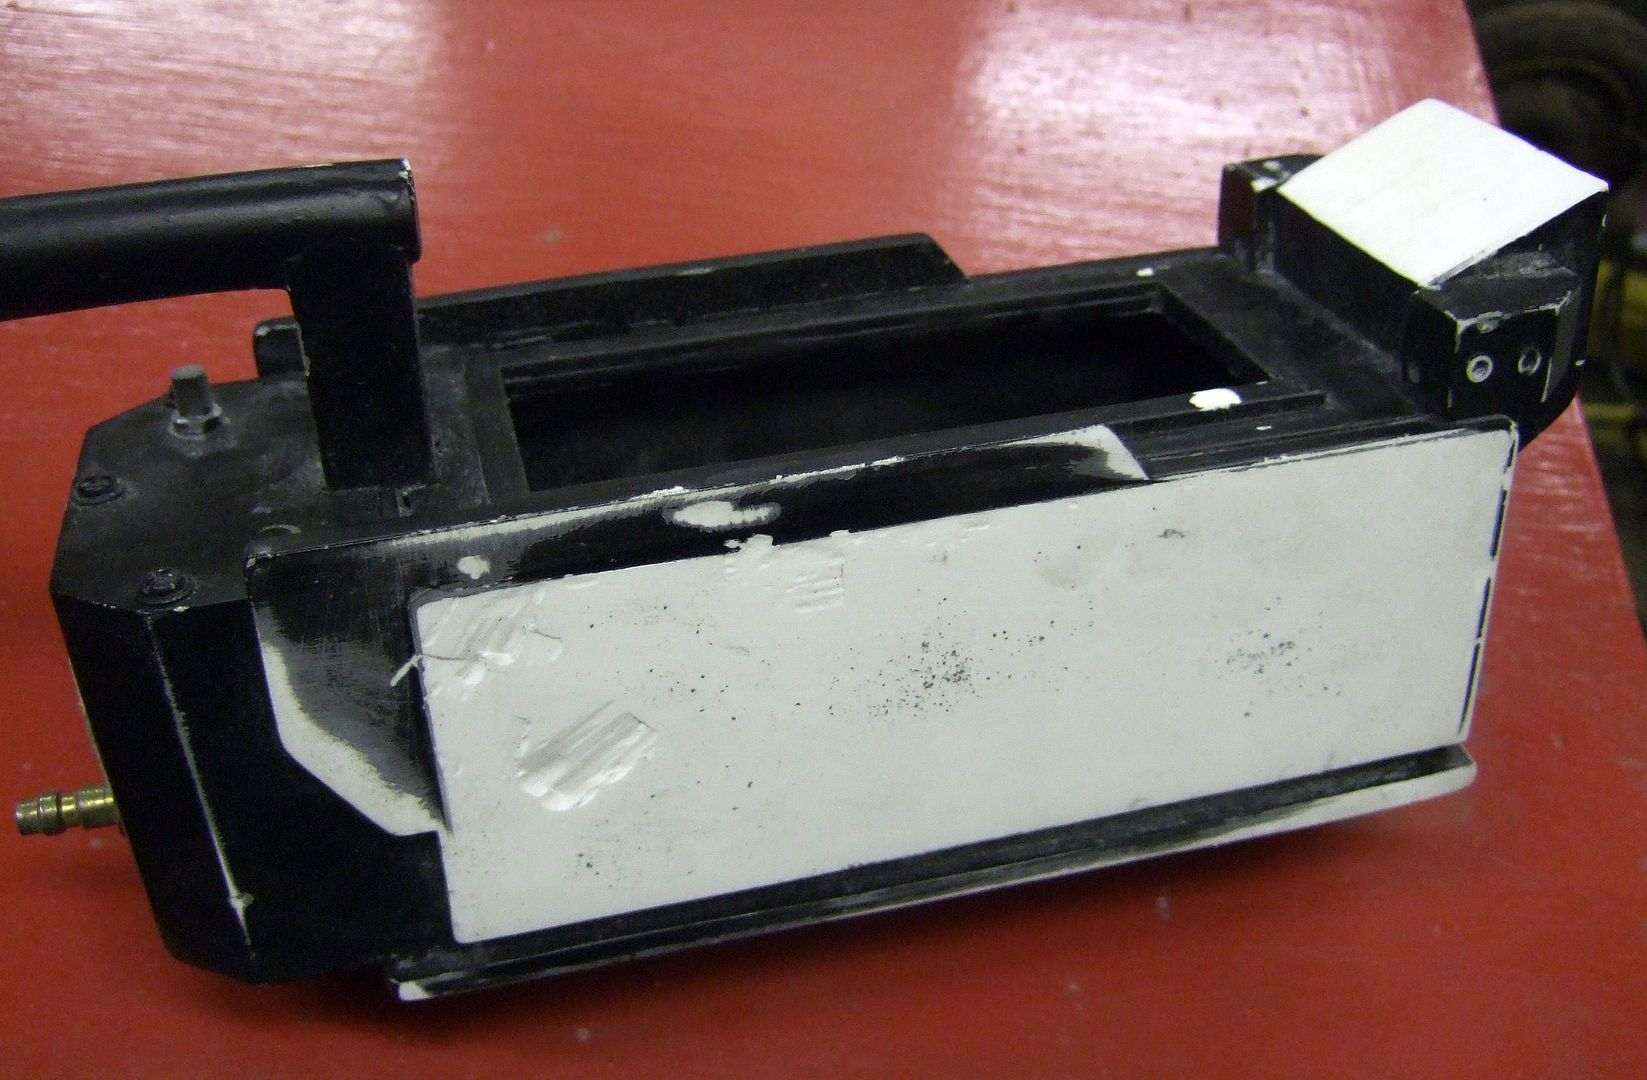
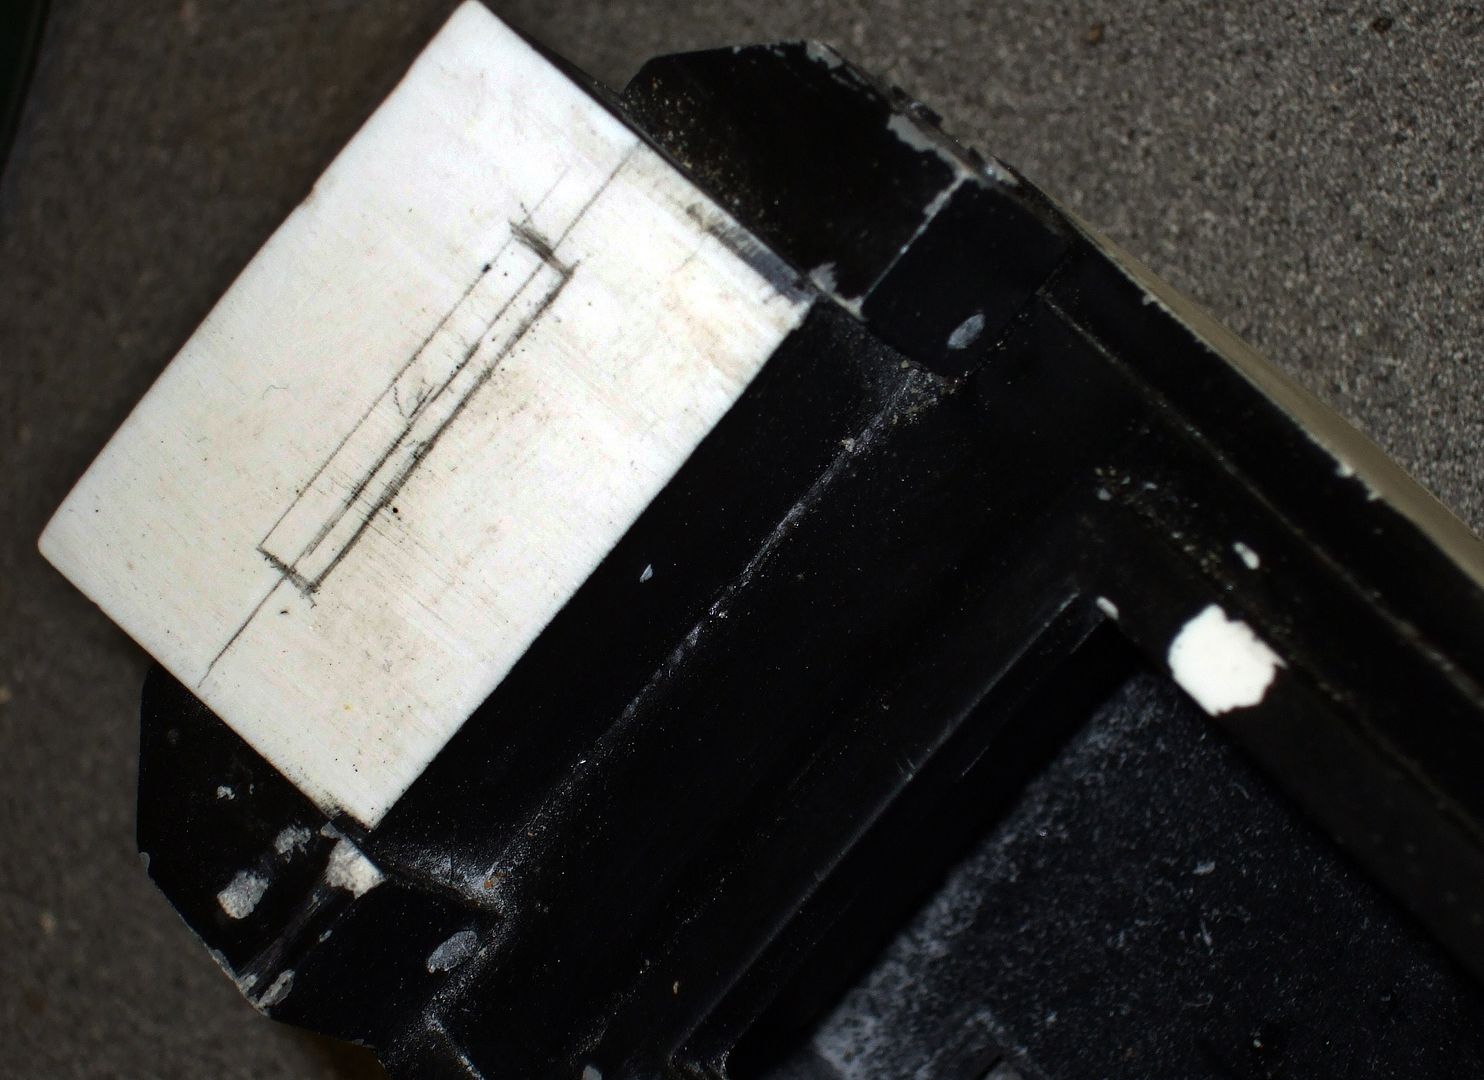
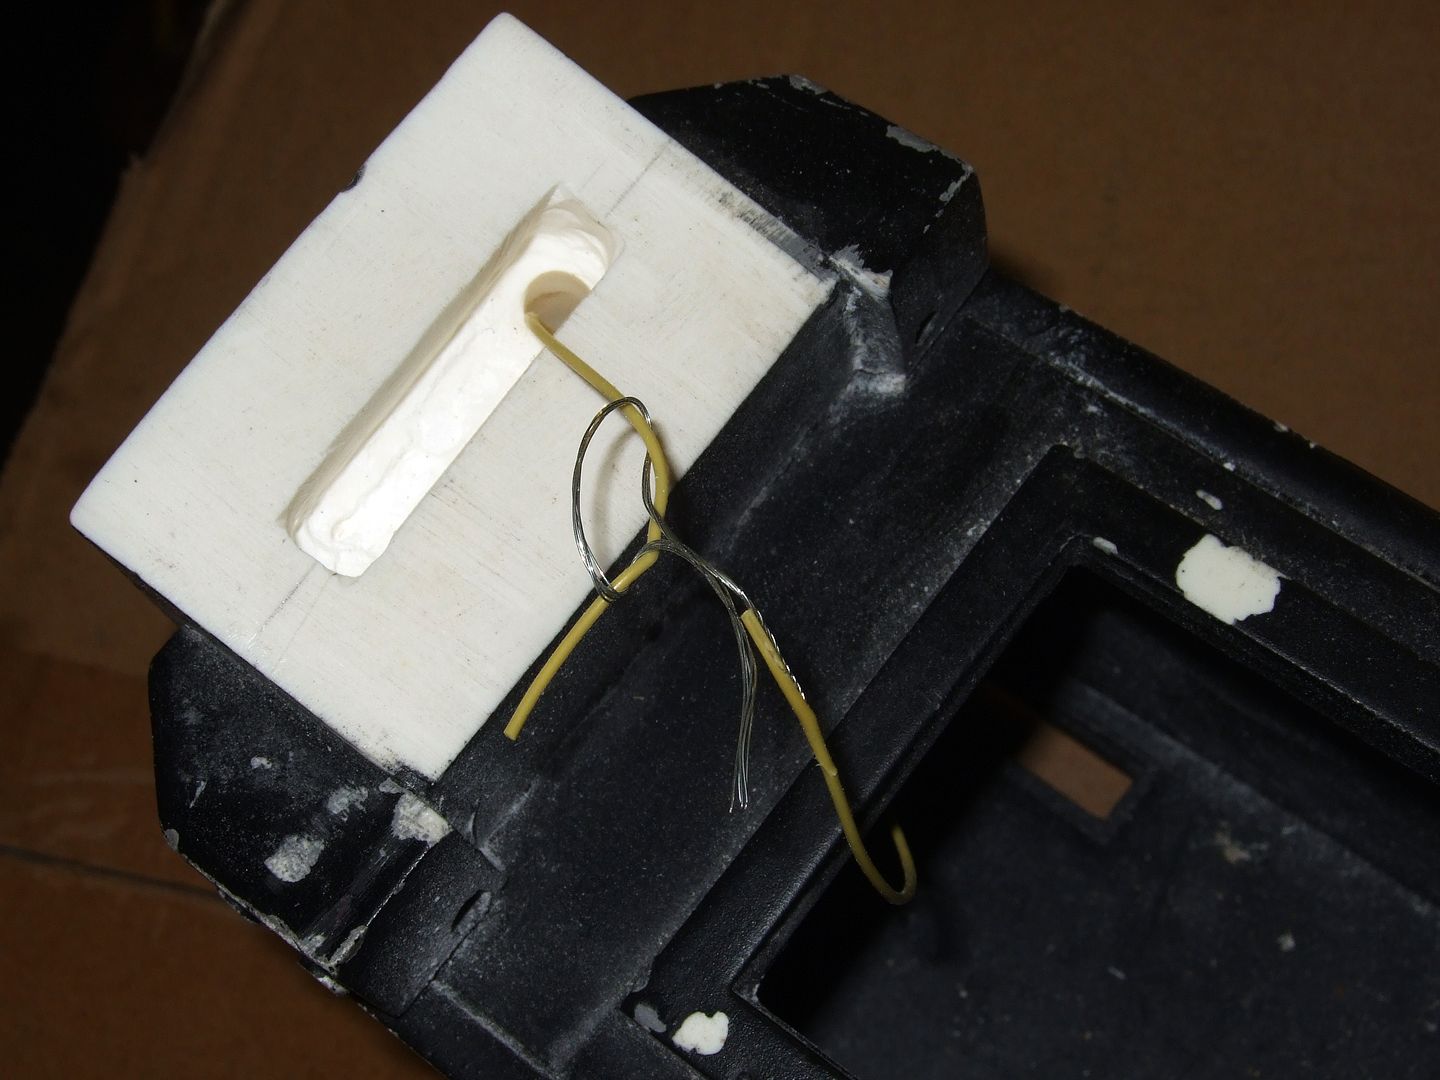
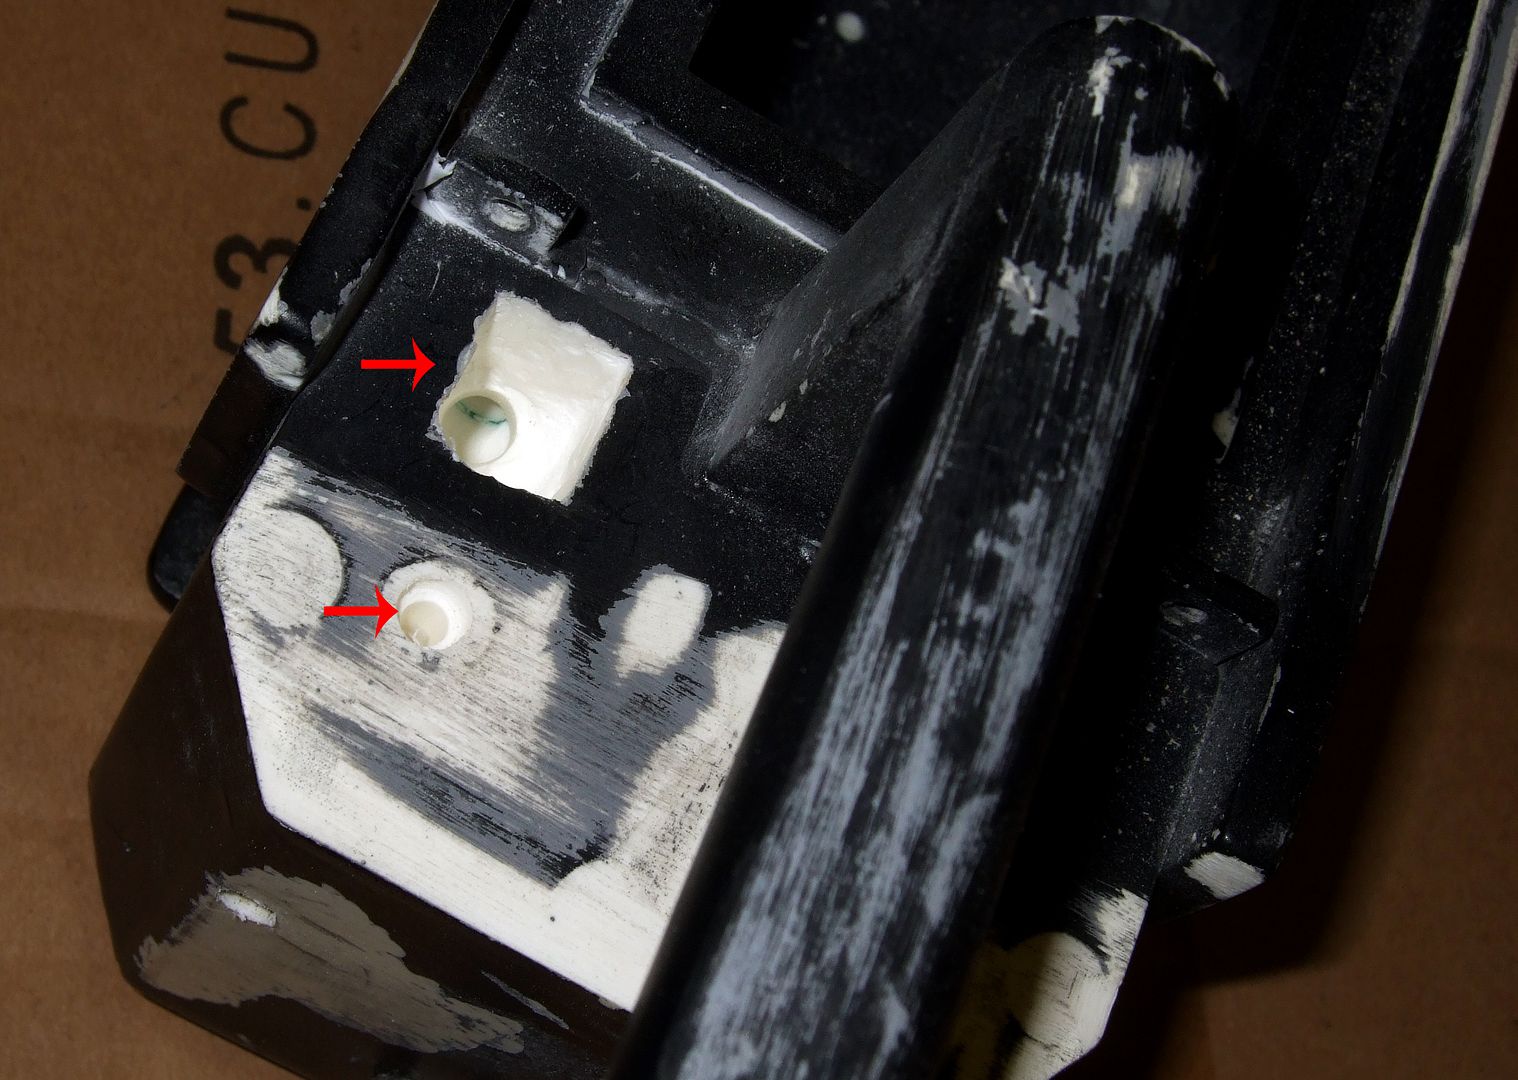
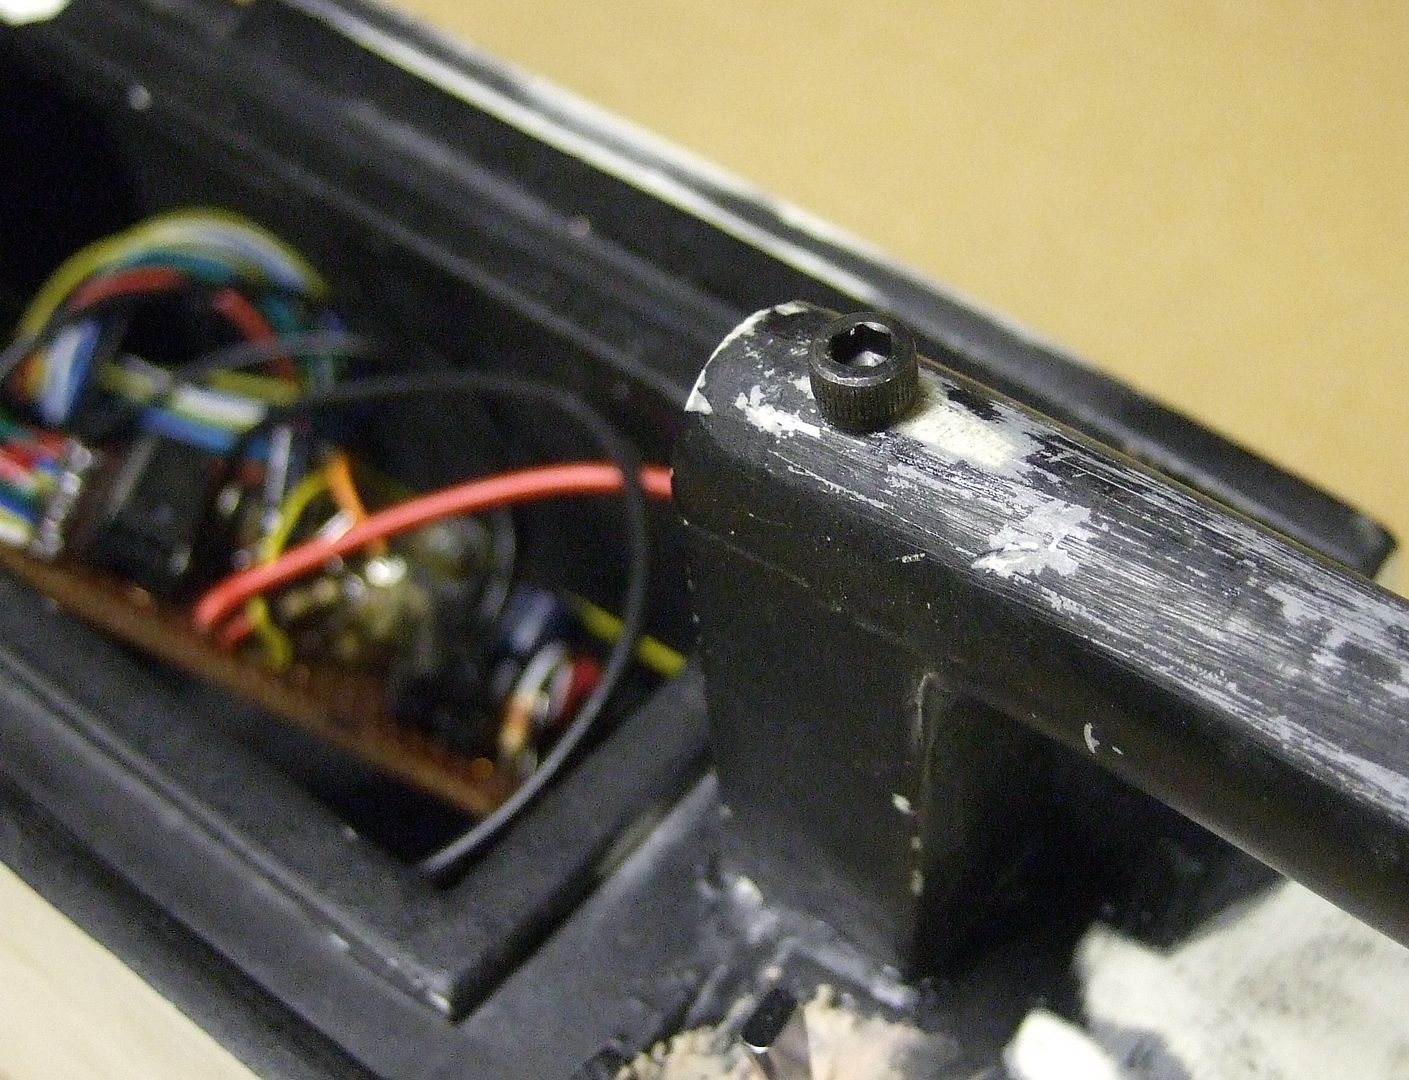
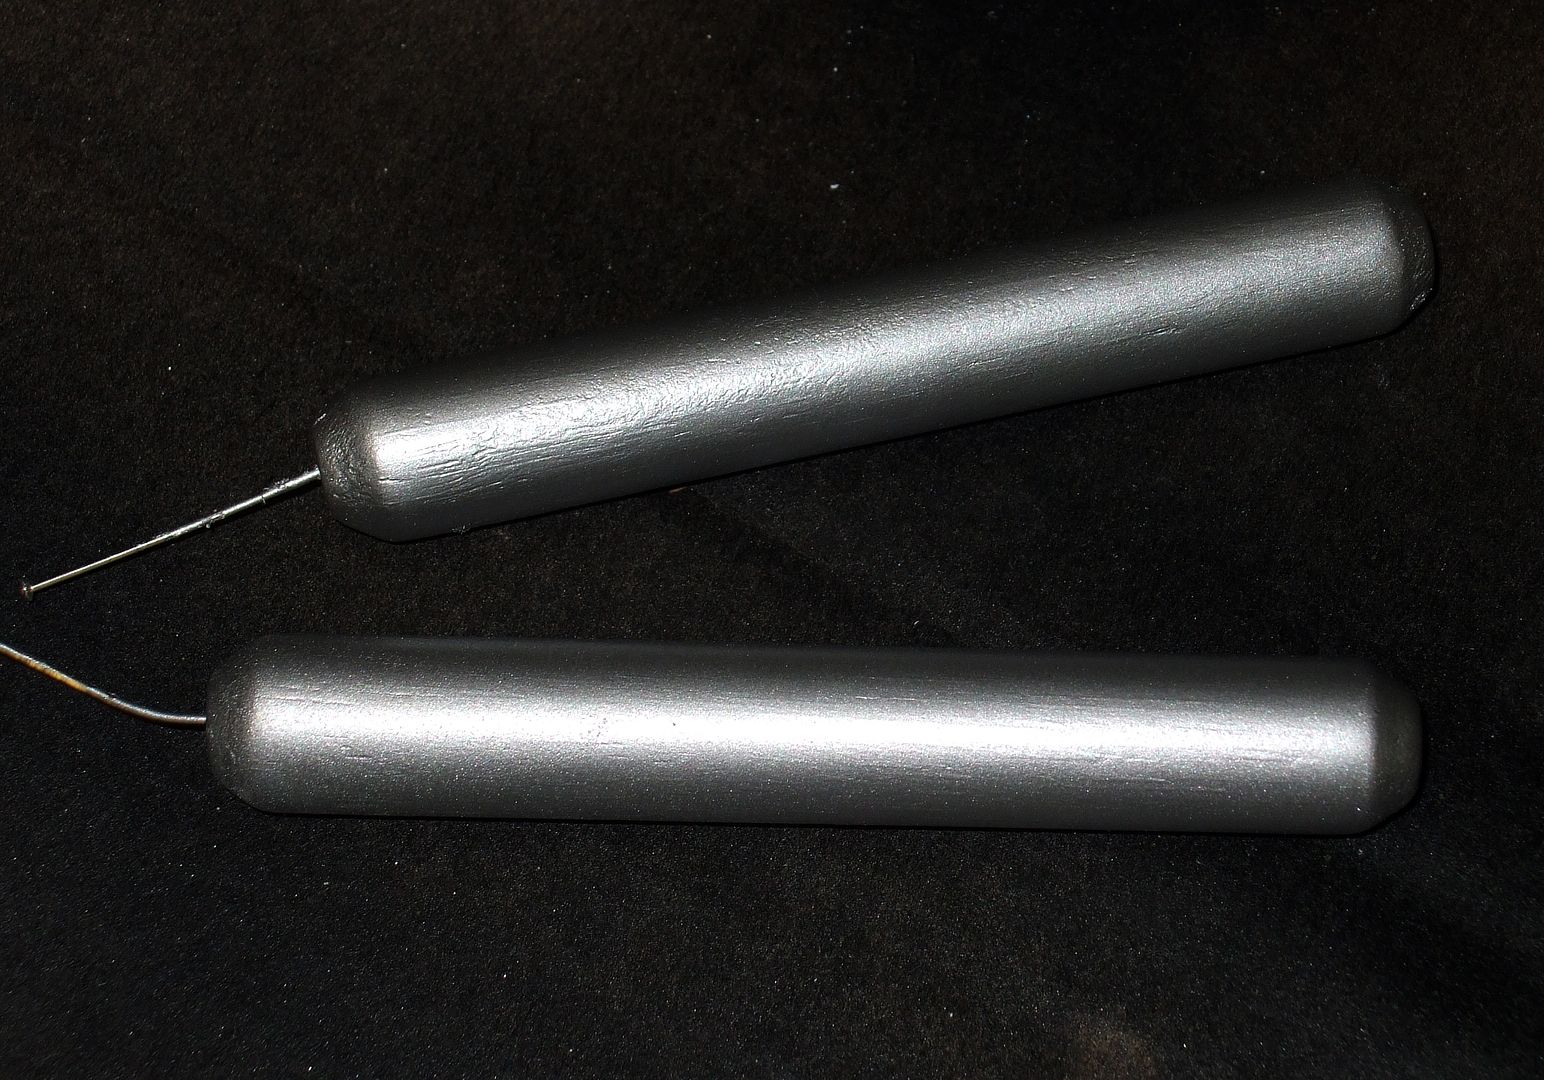
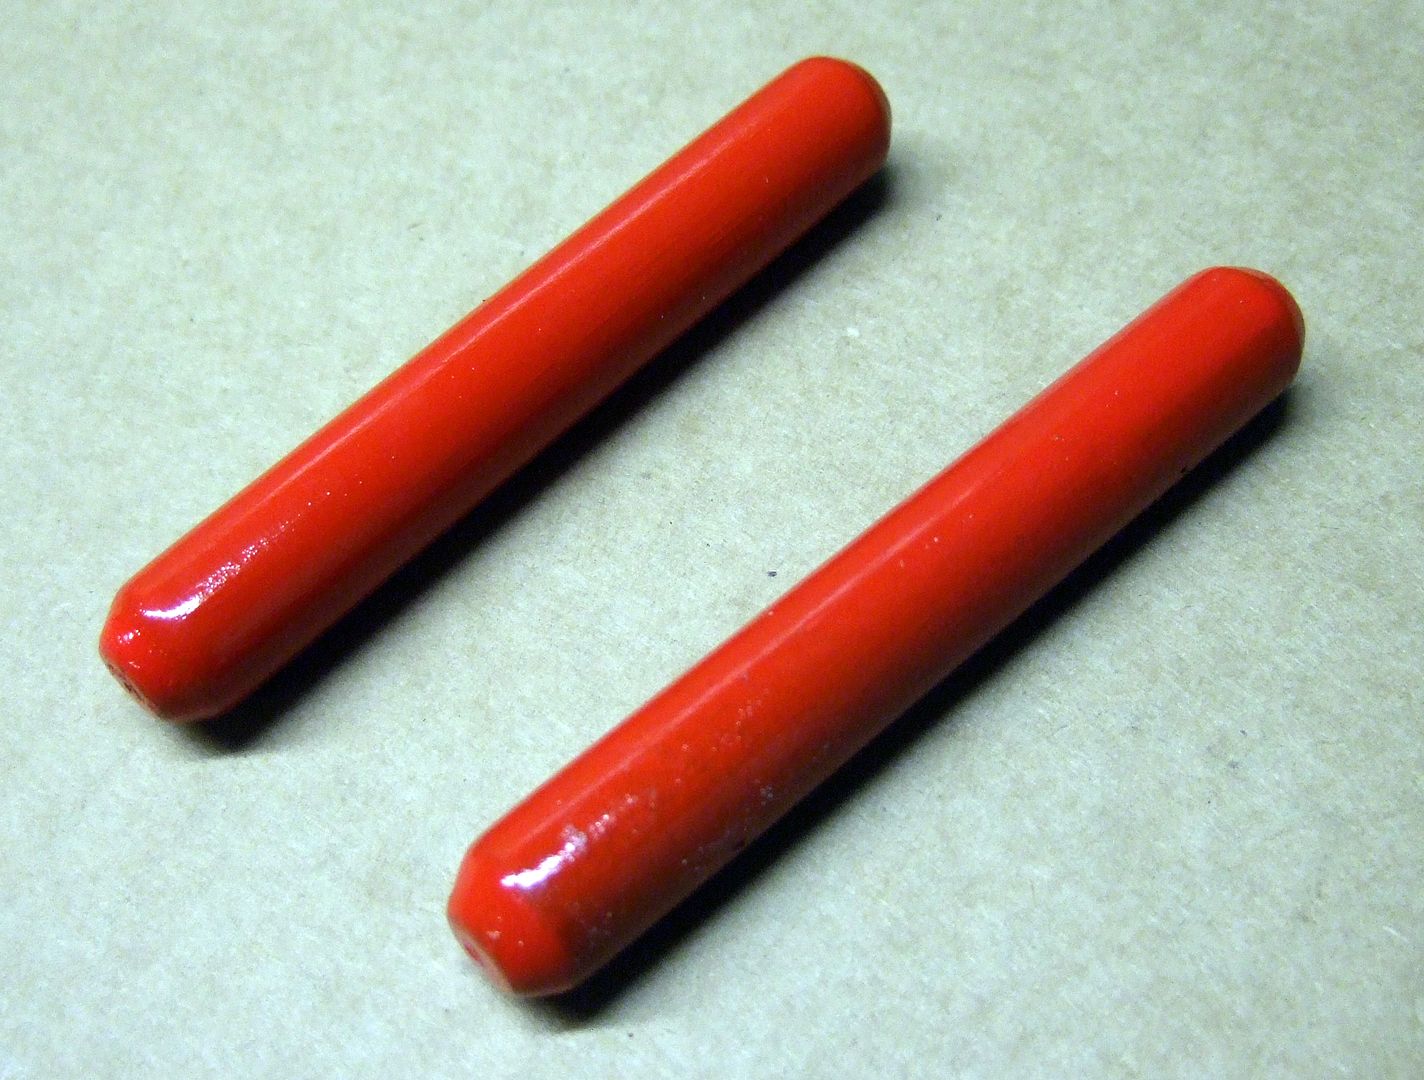
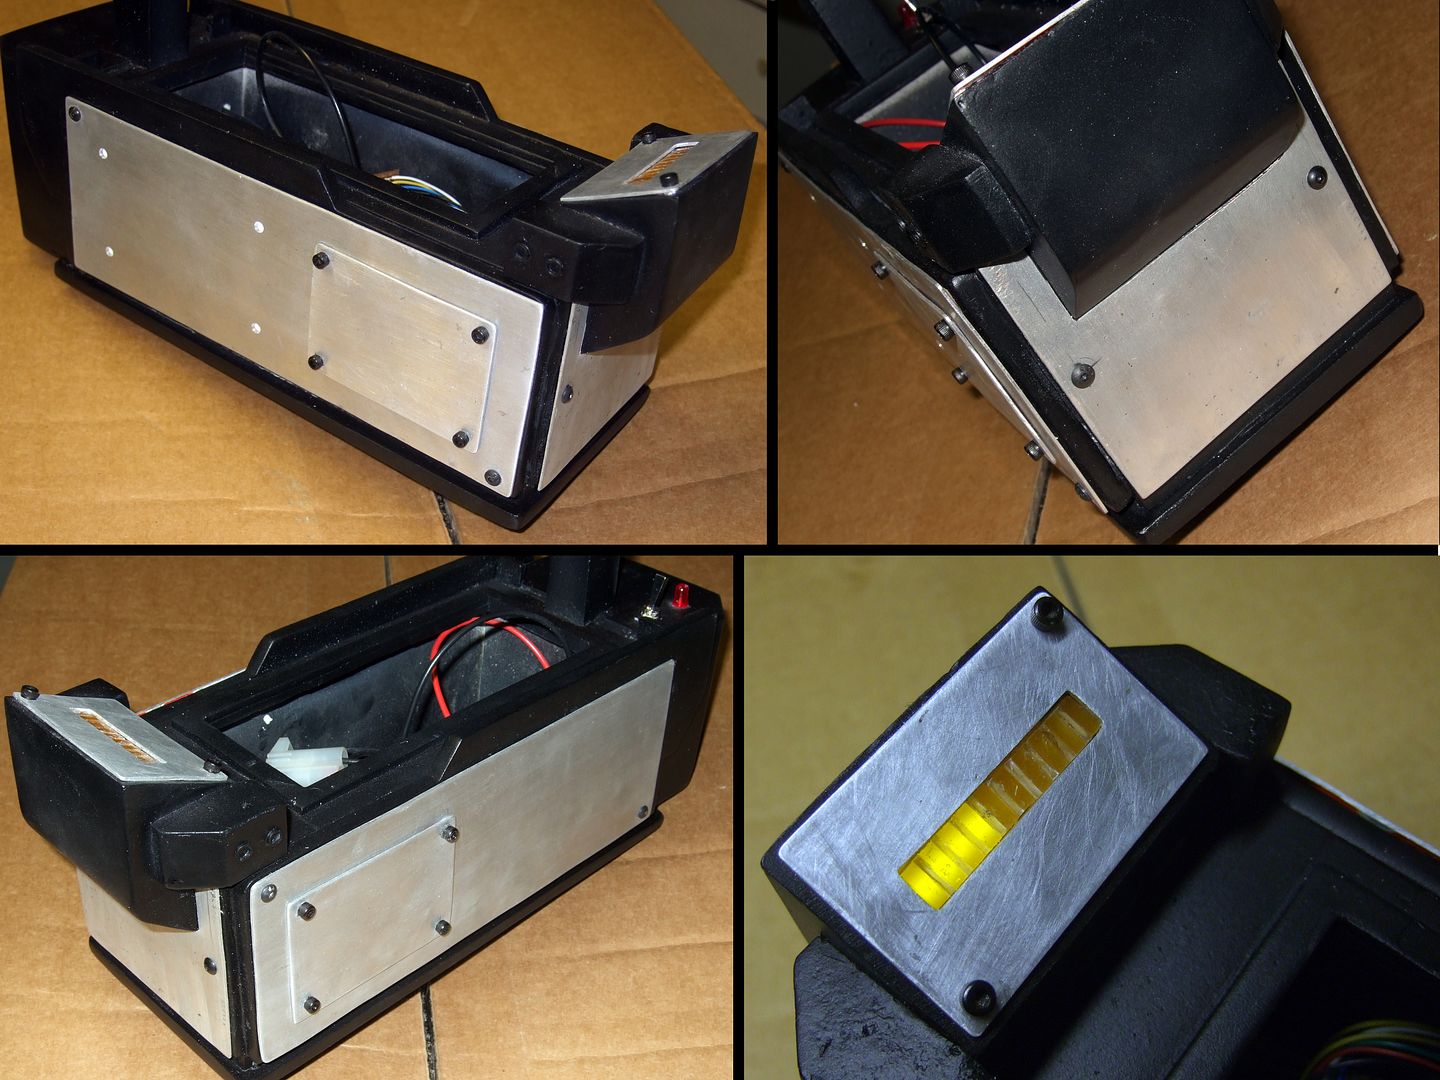
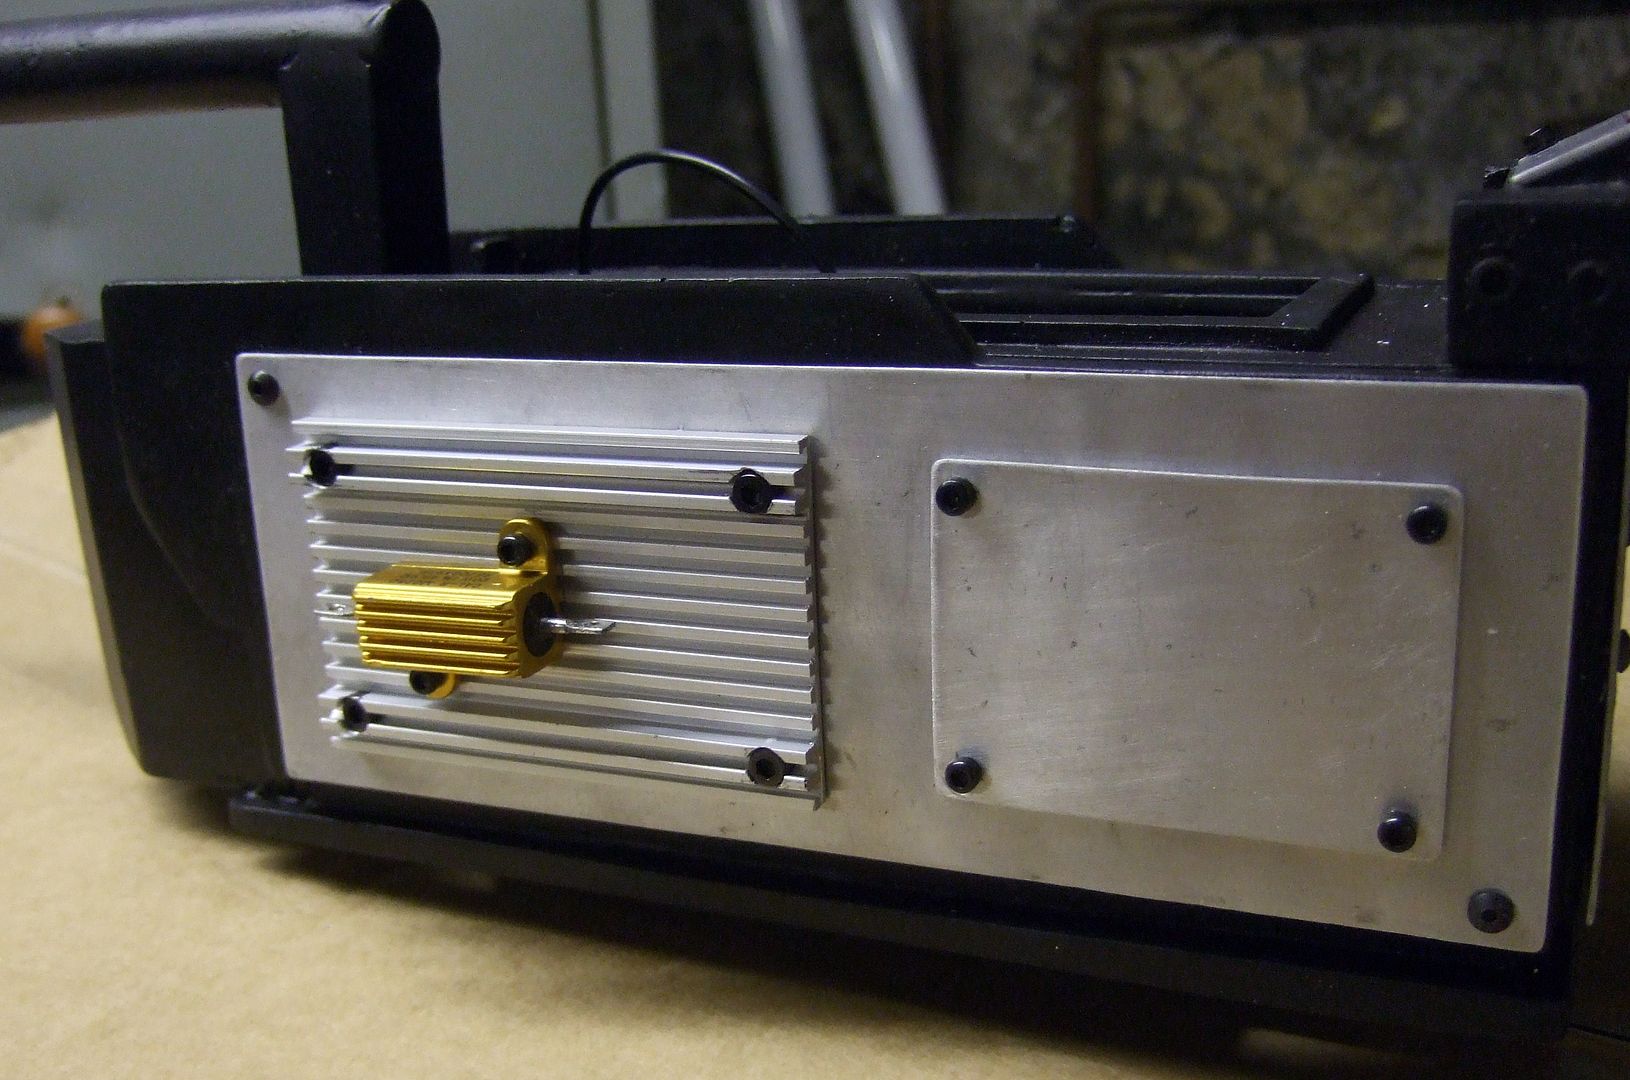
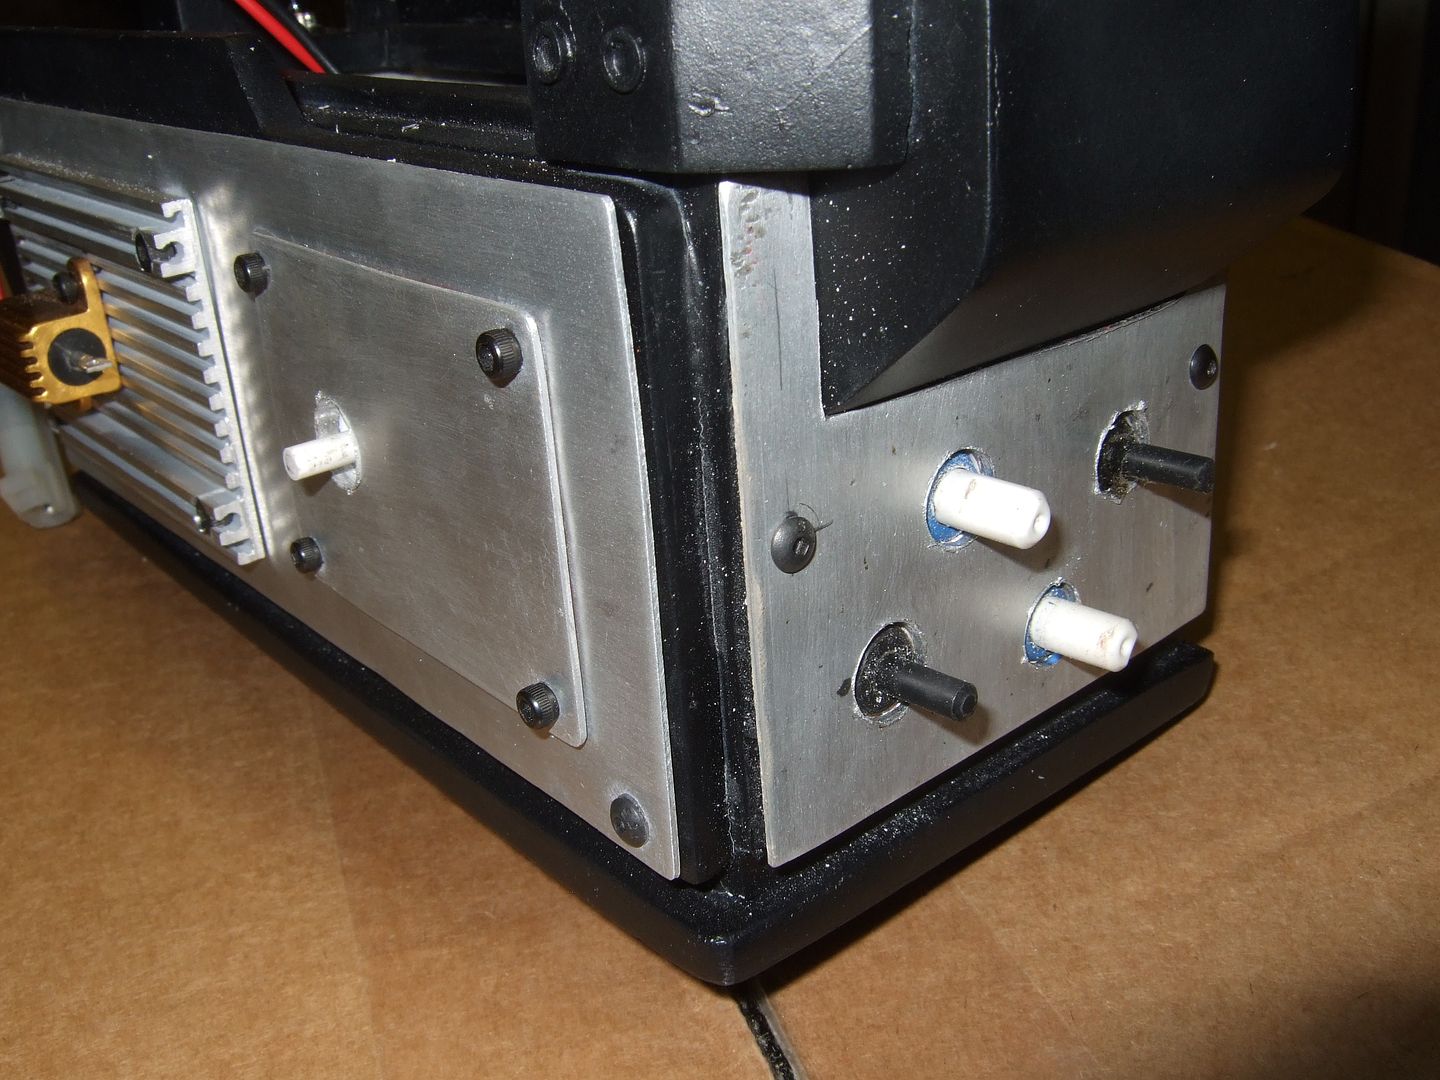
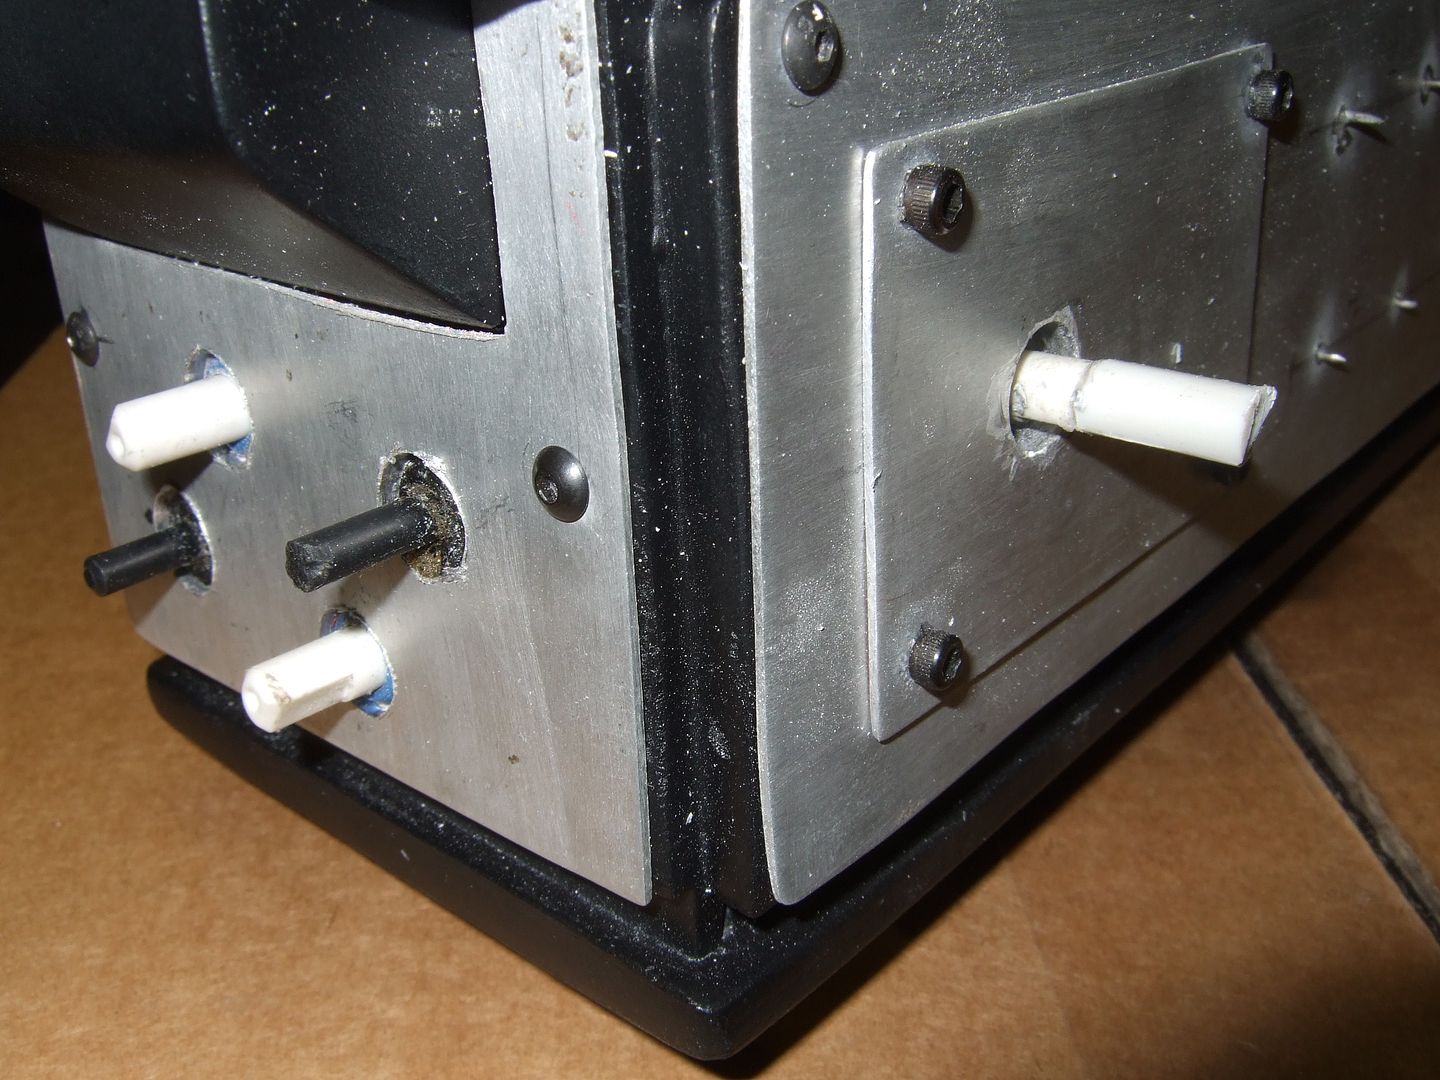
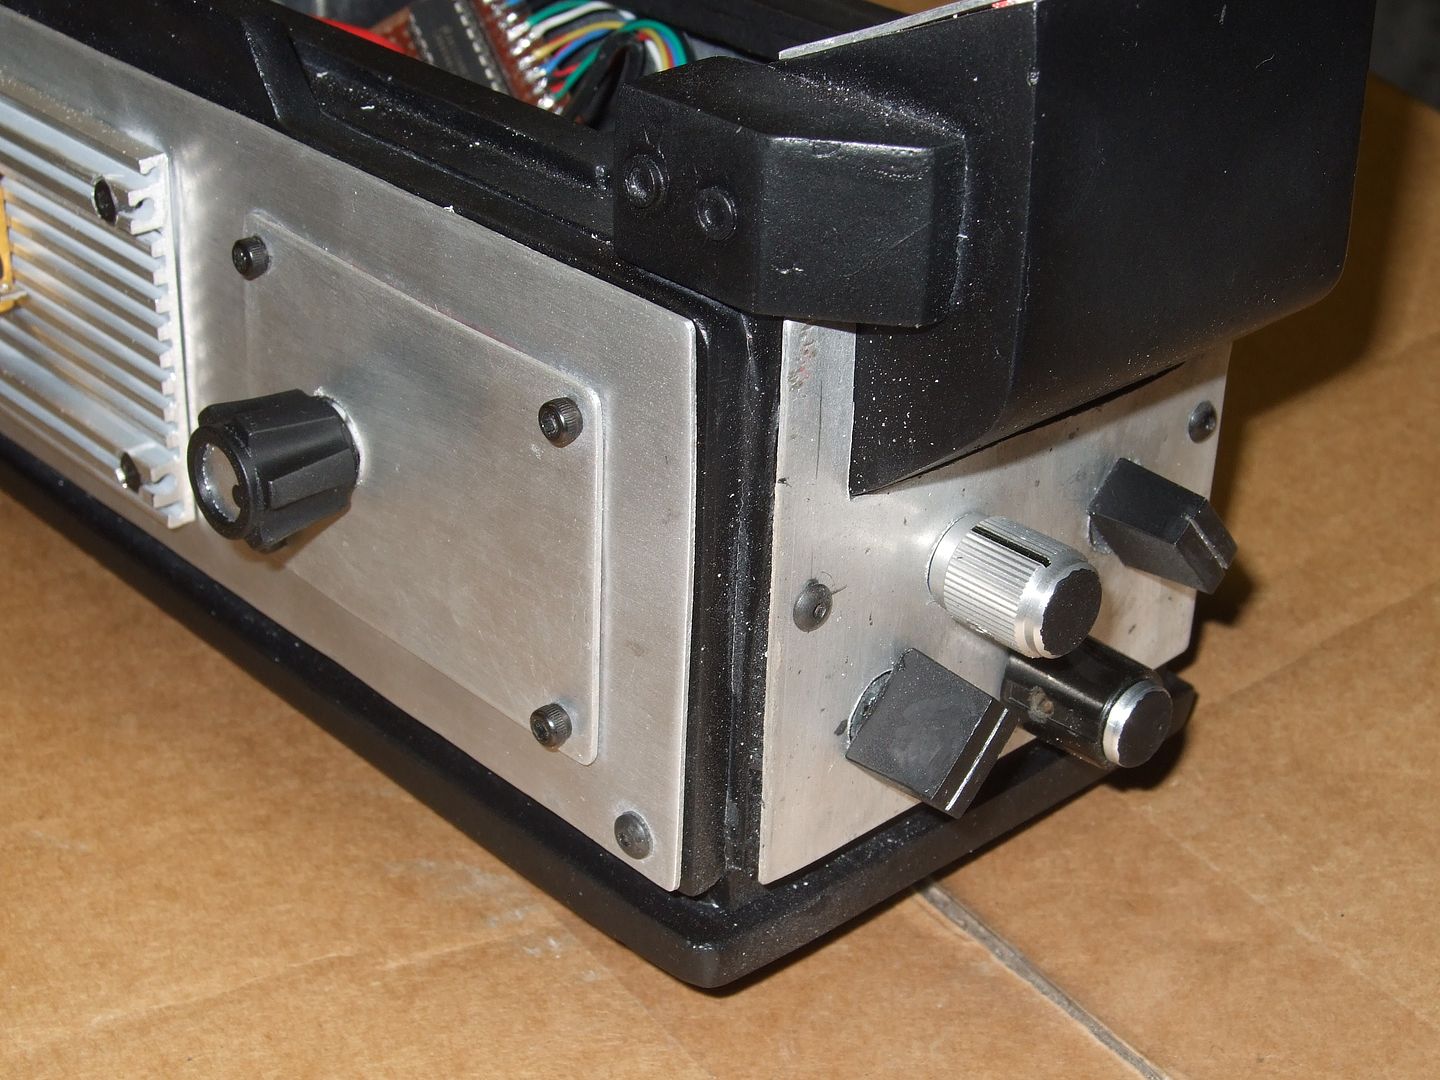
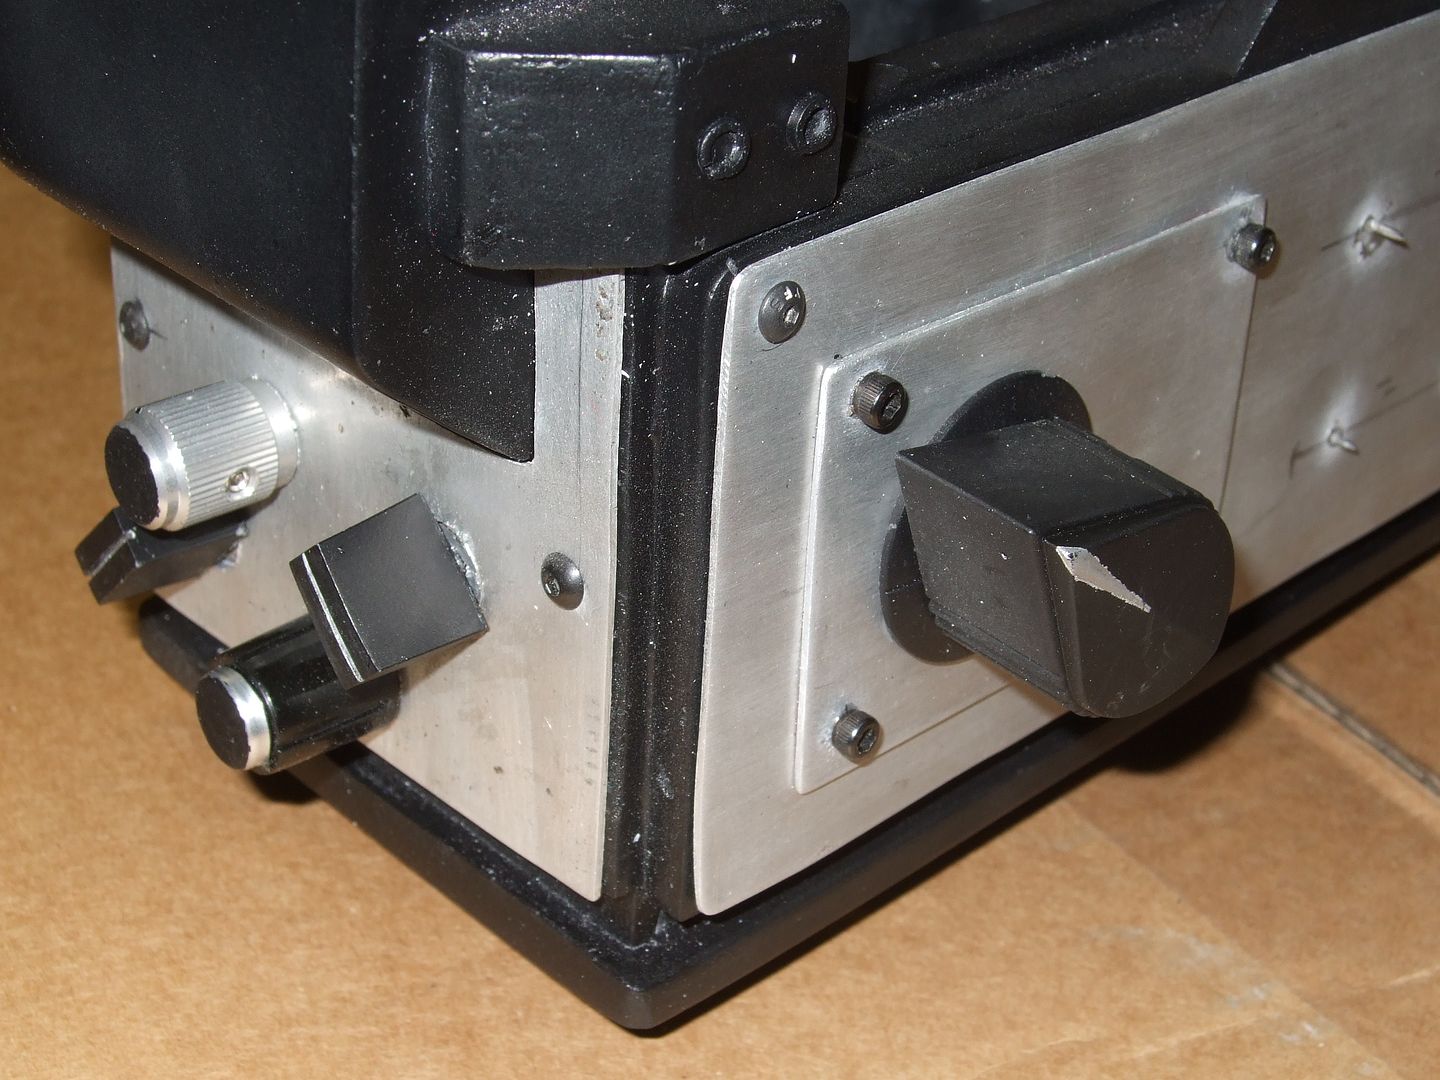
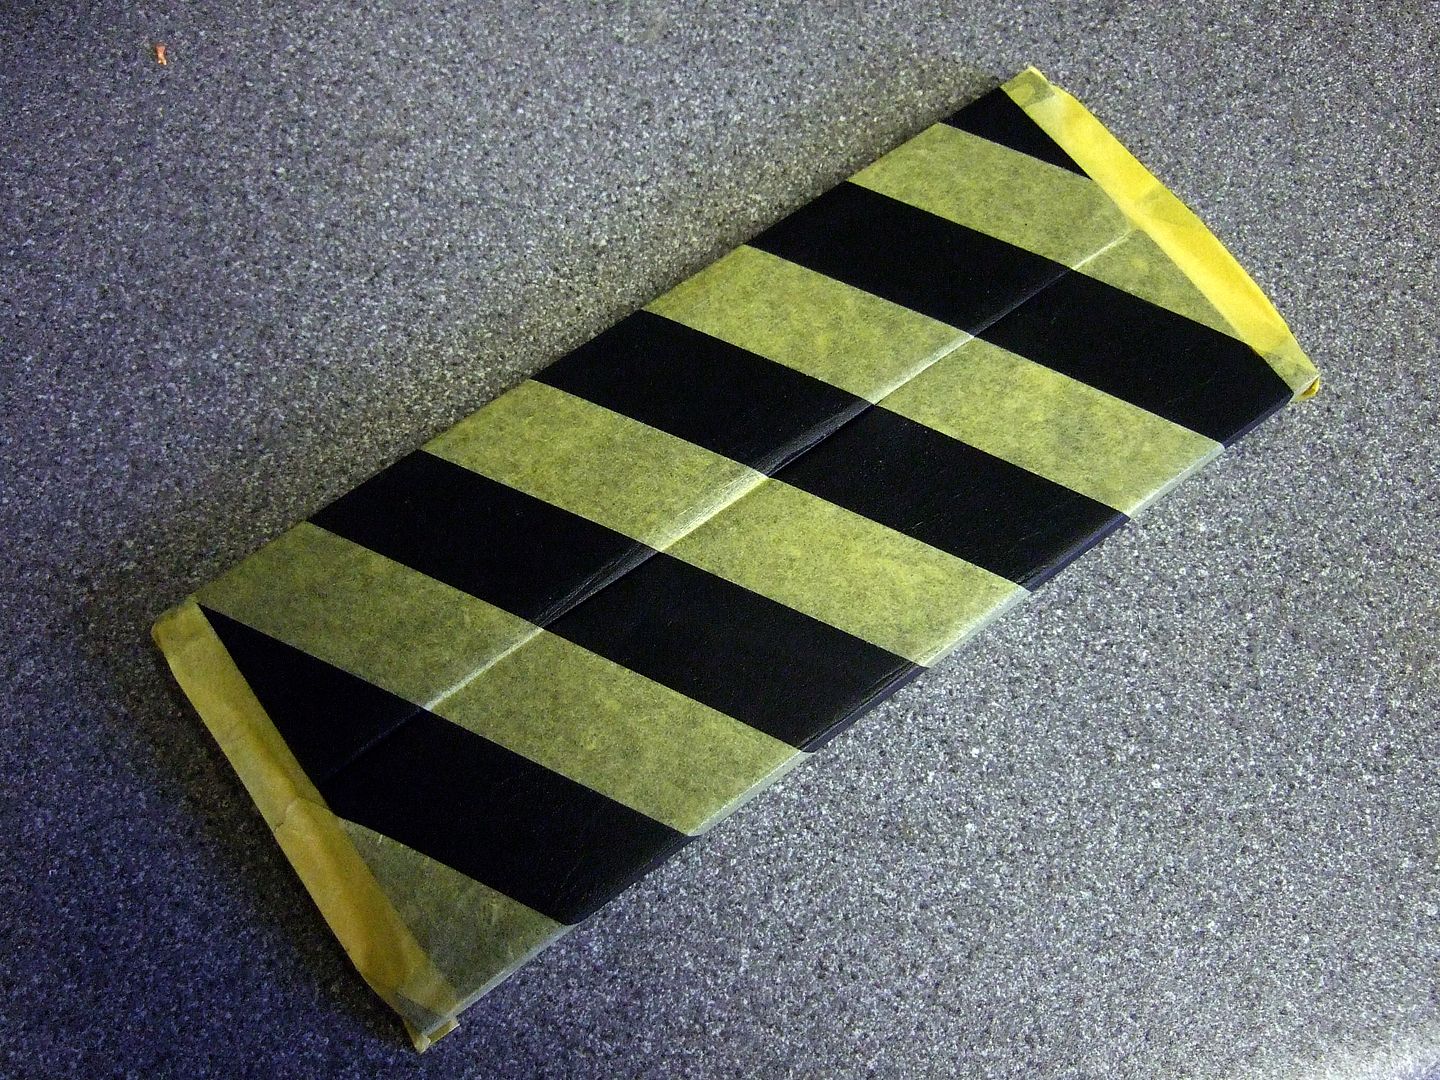
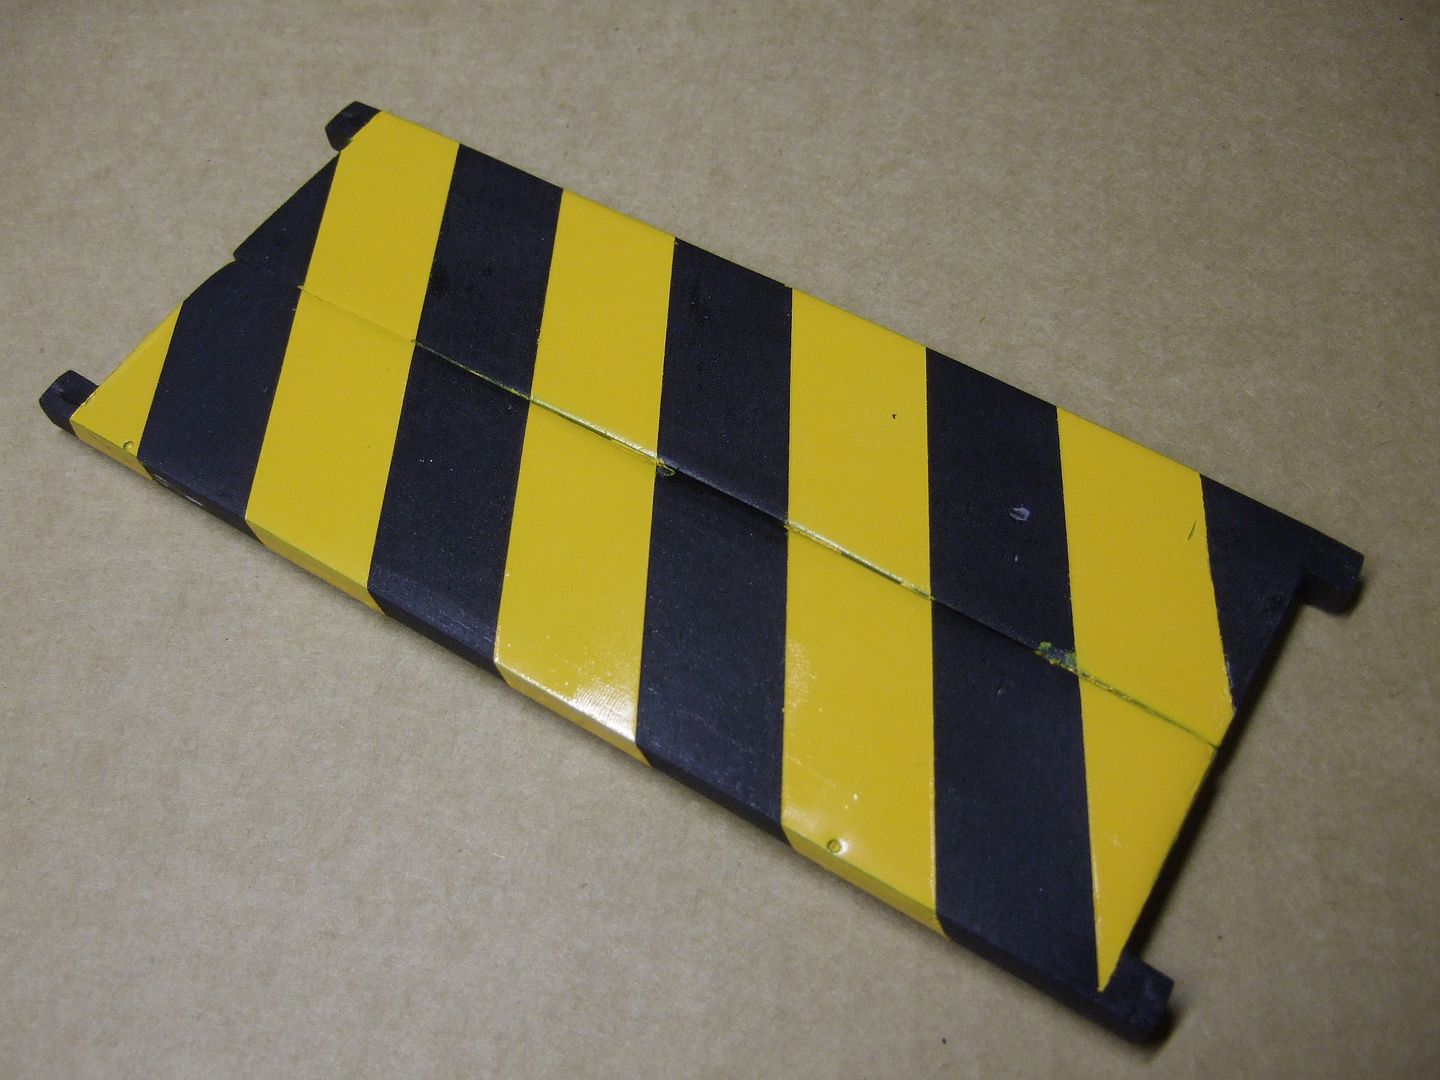
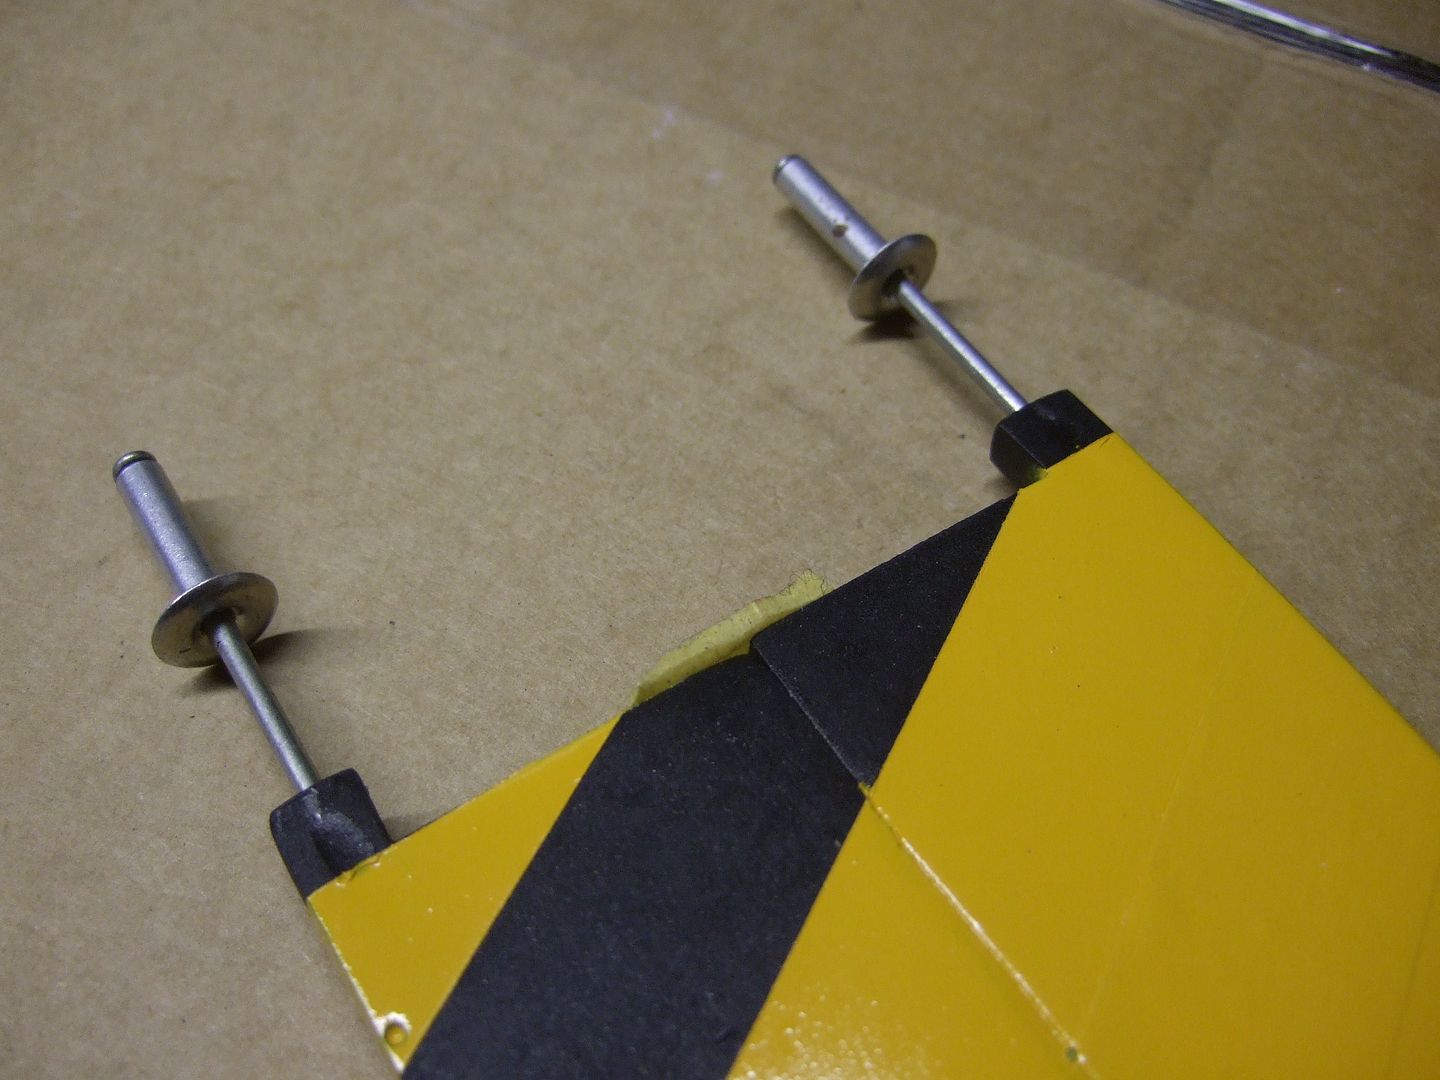
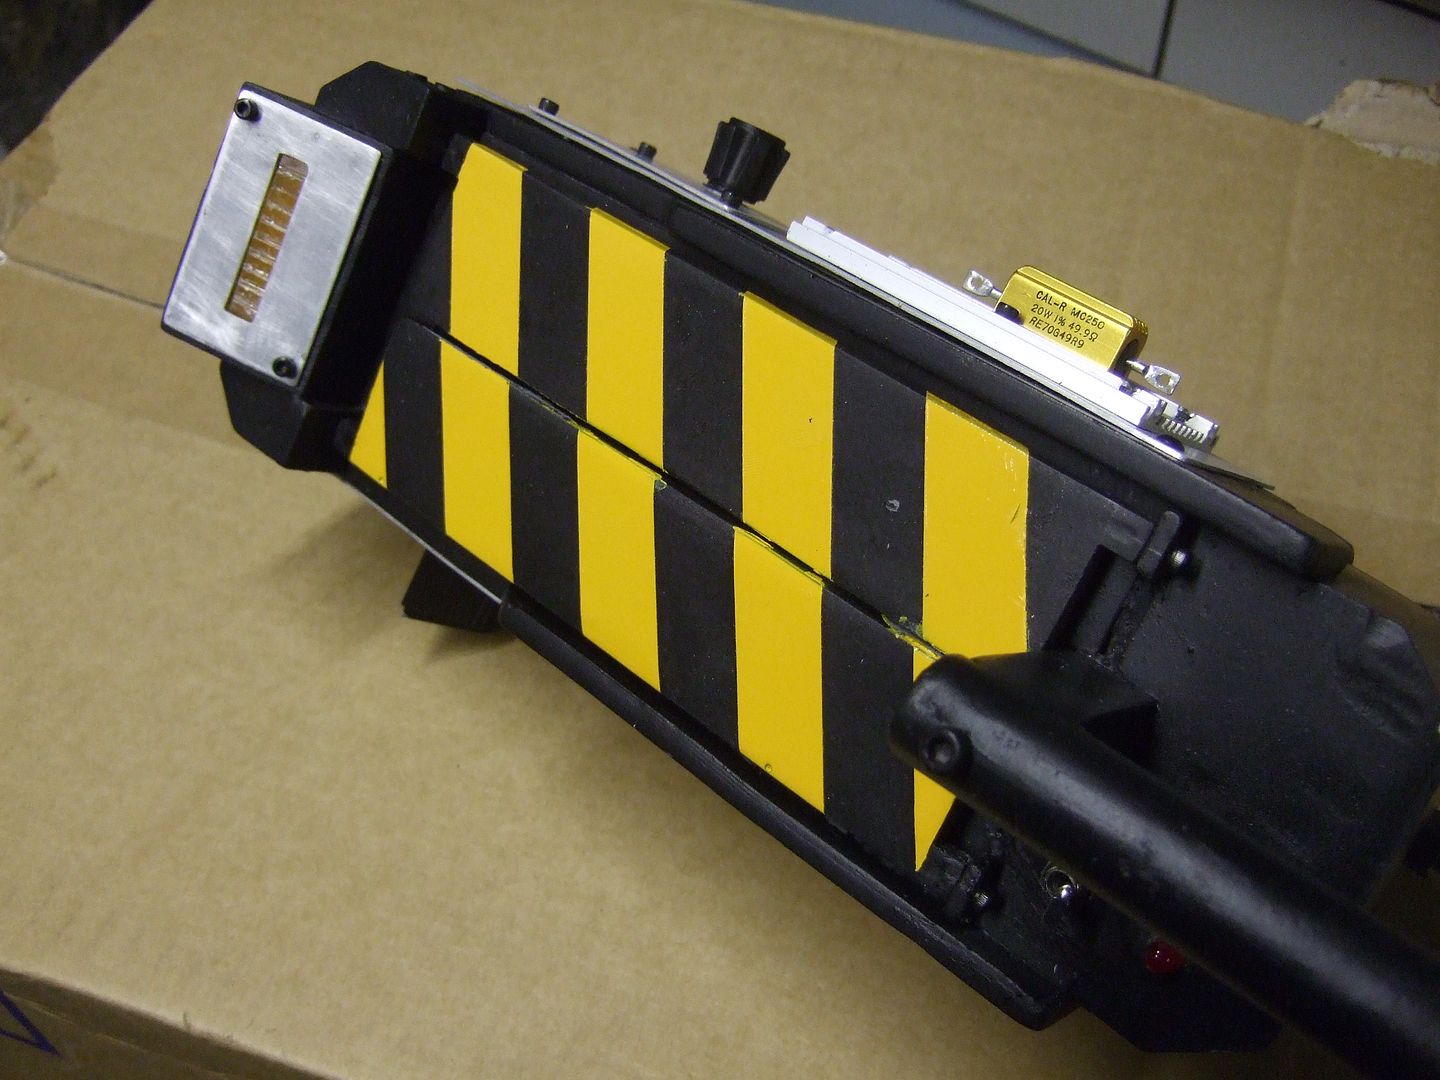
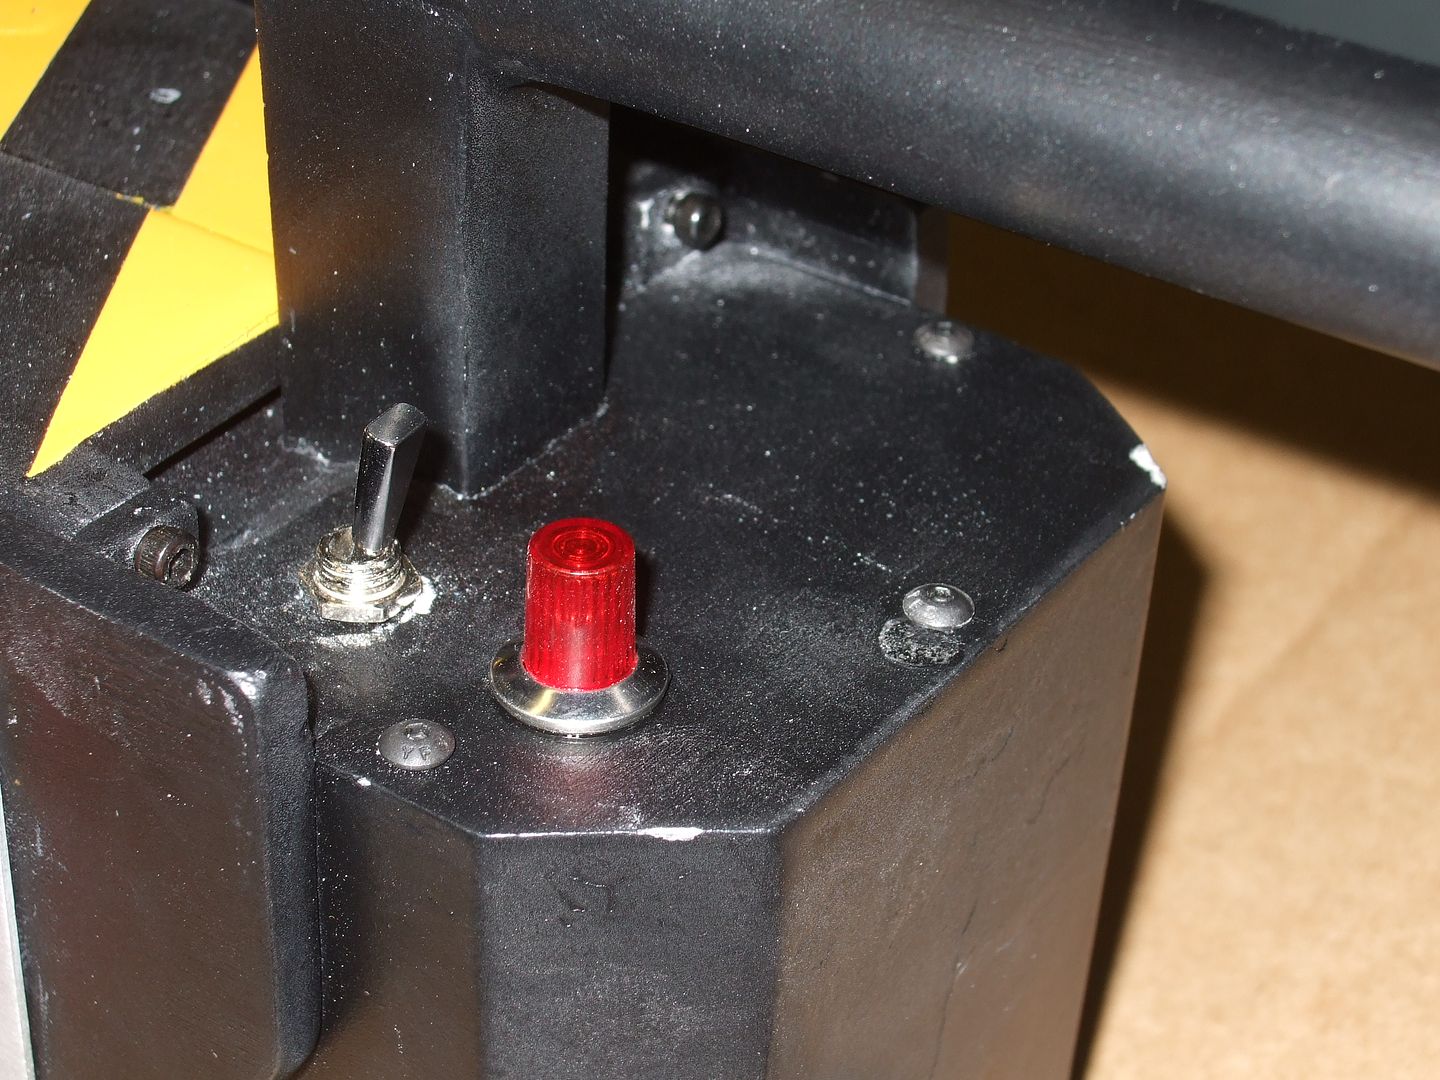
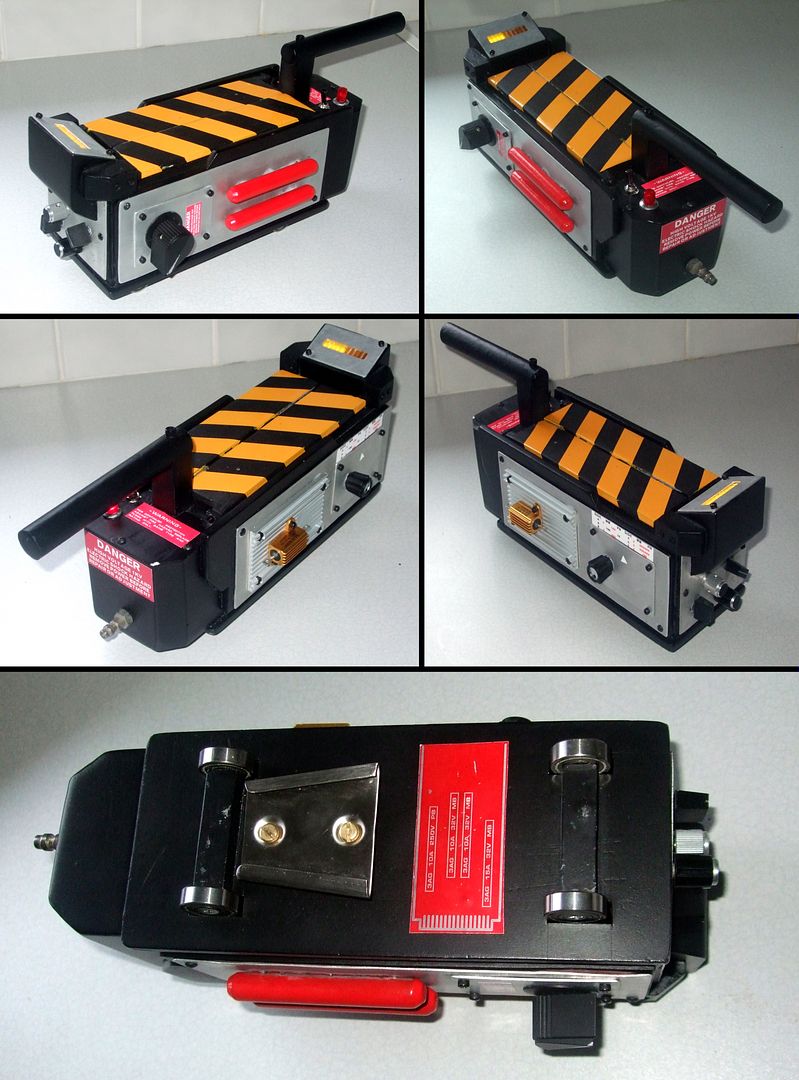
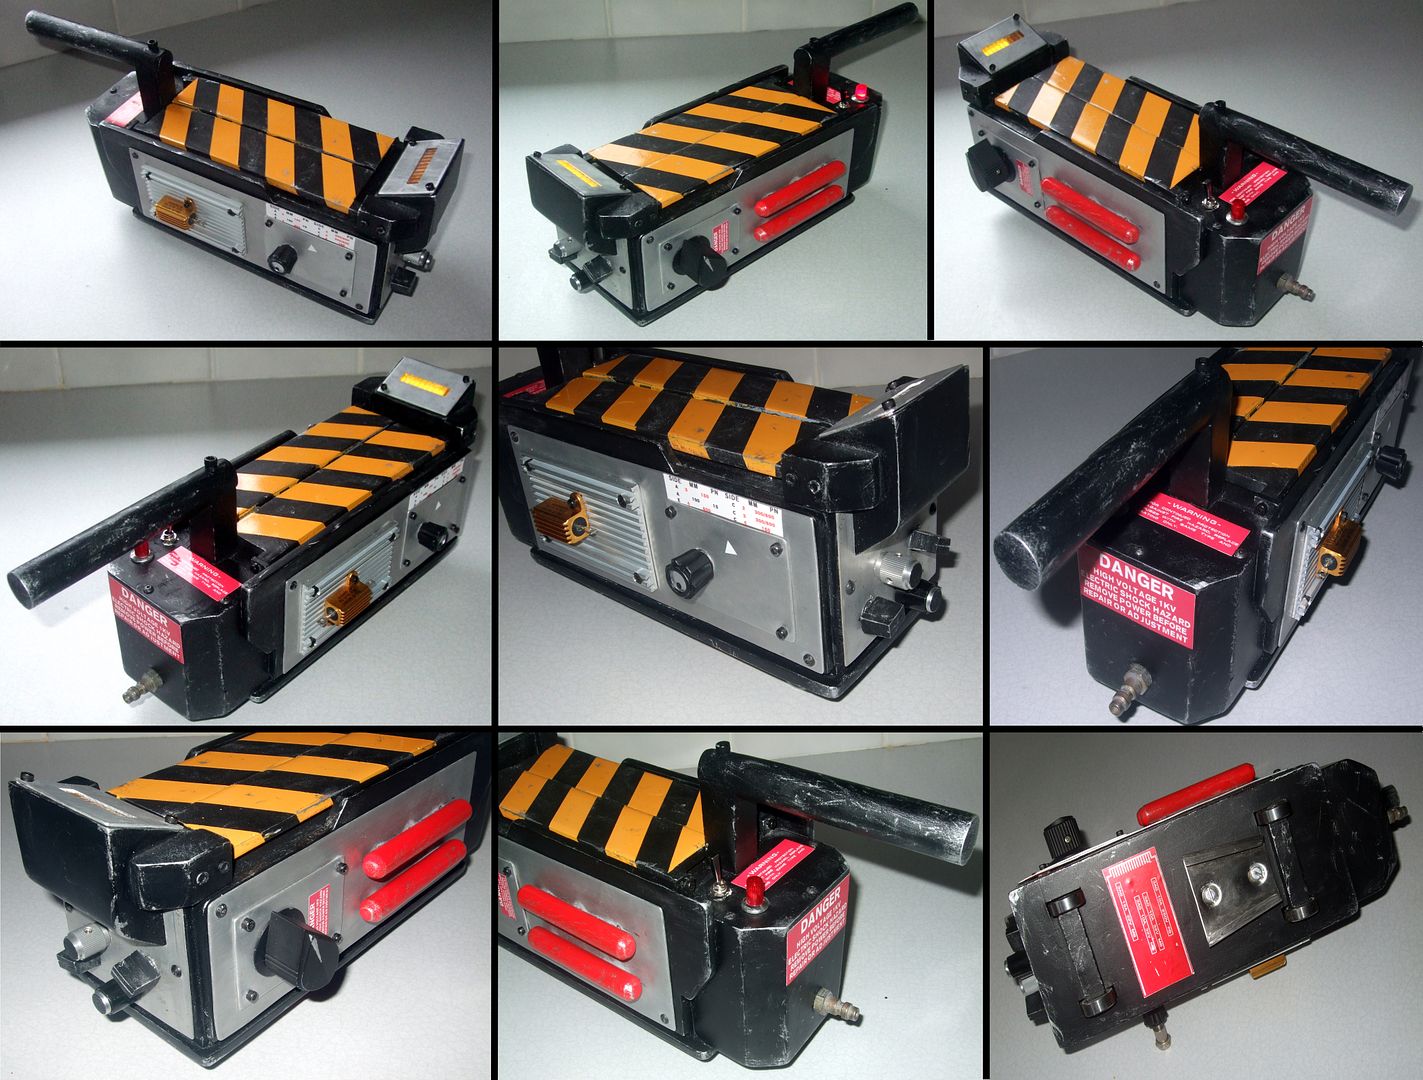
Here's a few pics of the trap as it sits at the moment.
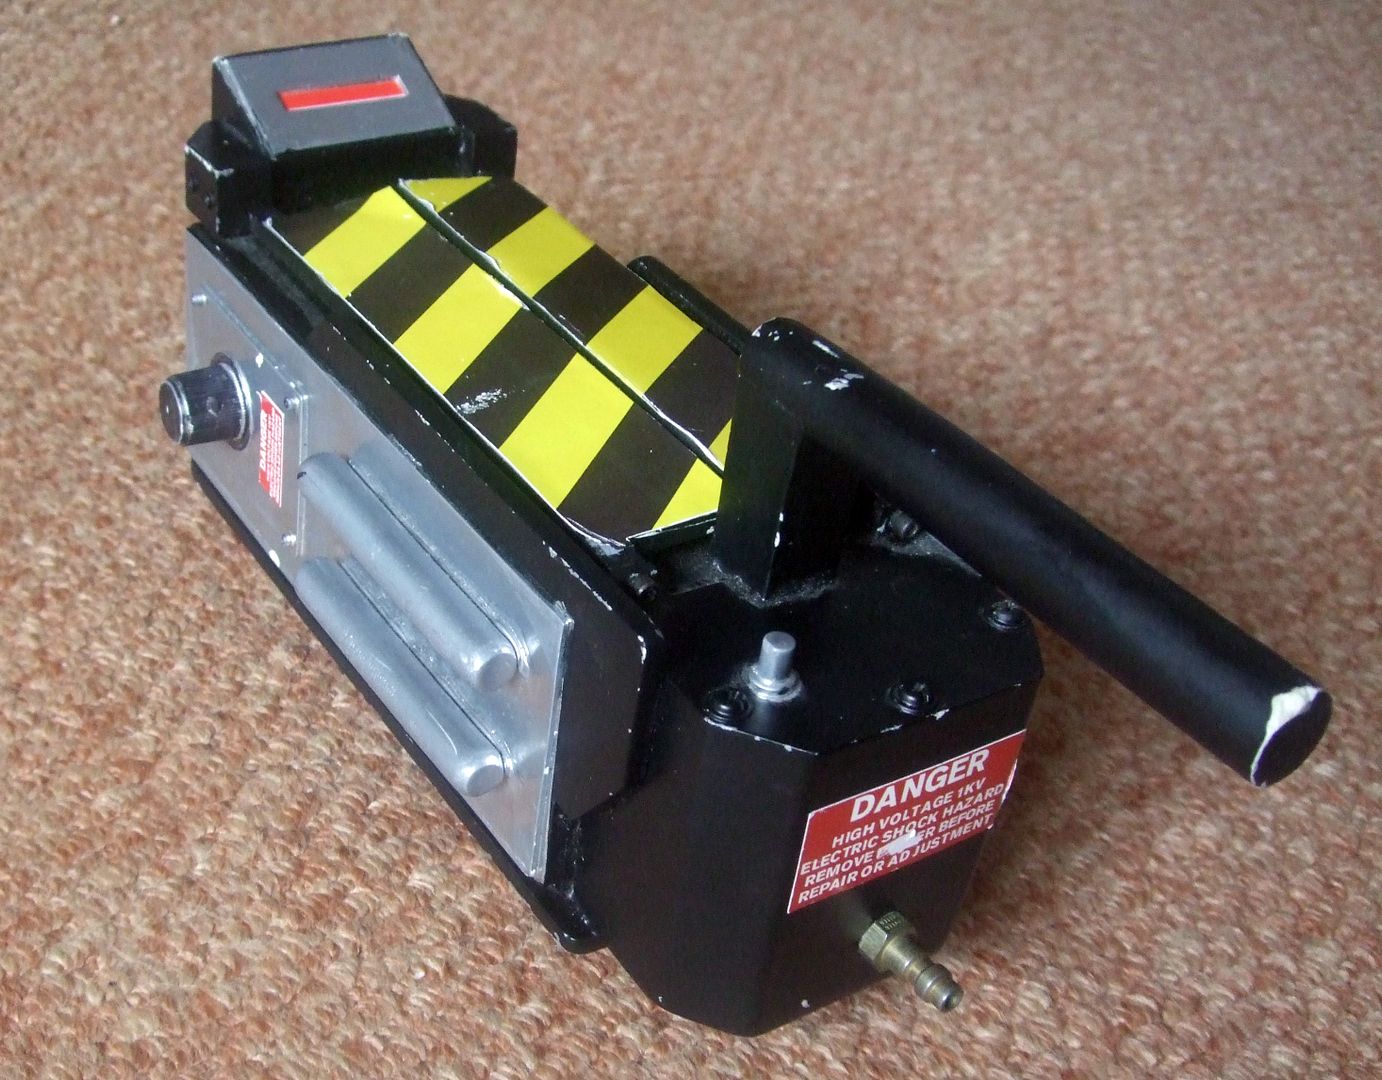
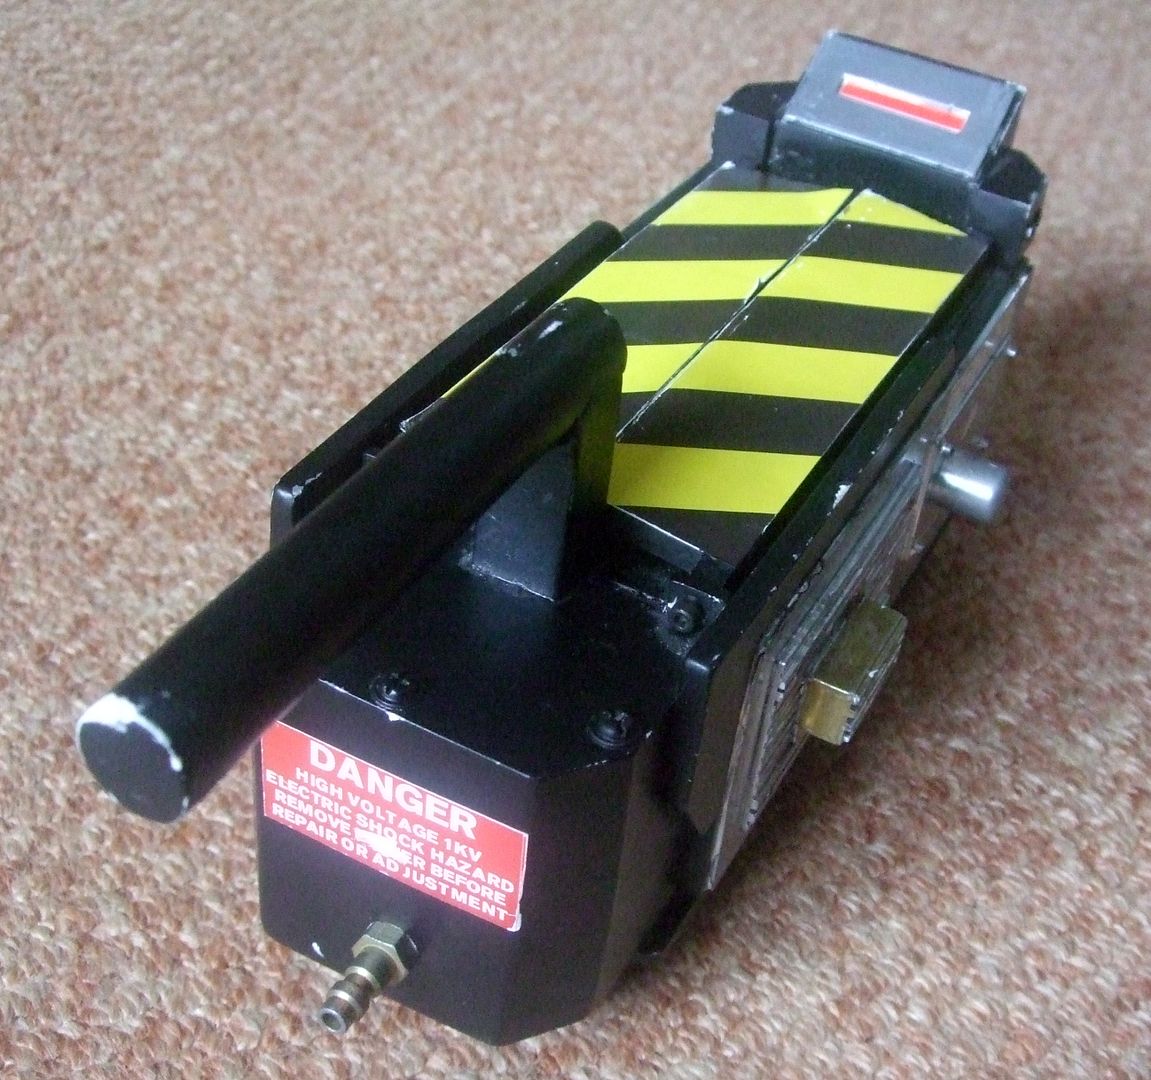
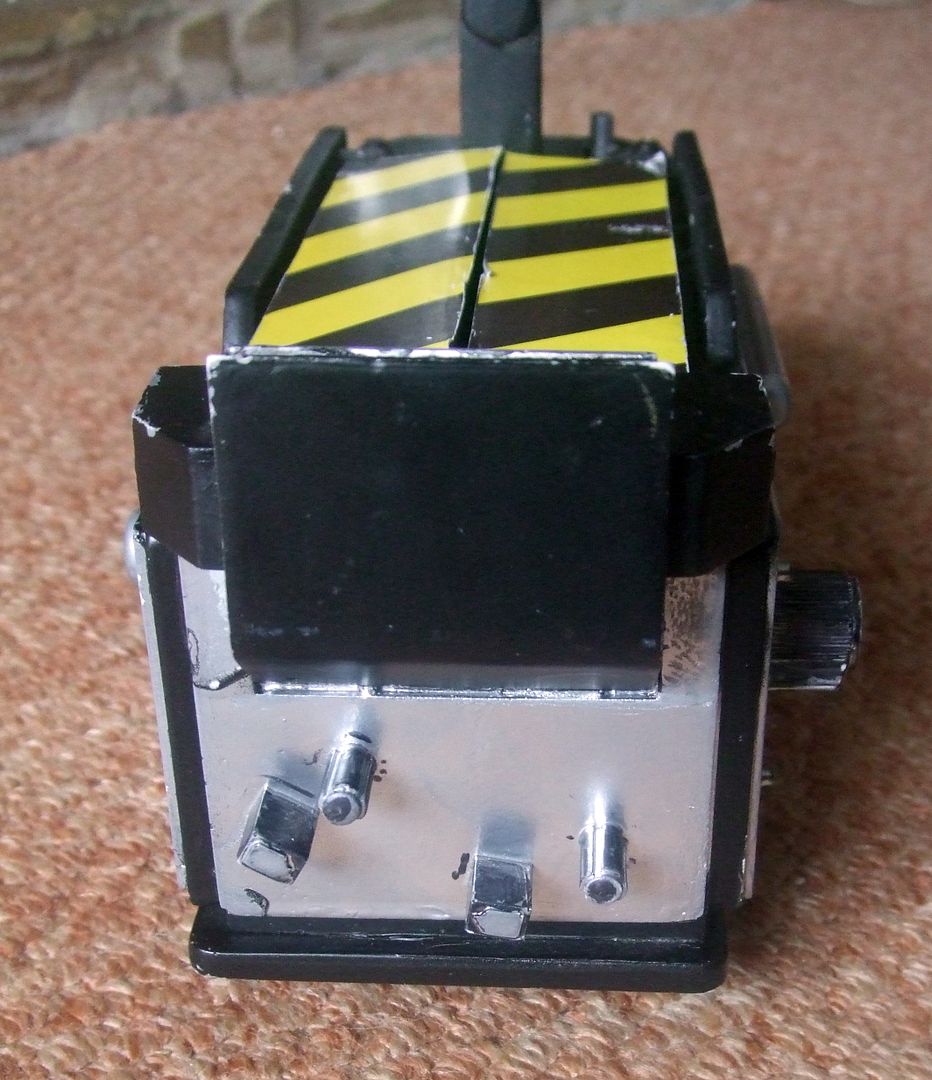
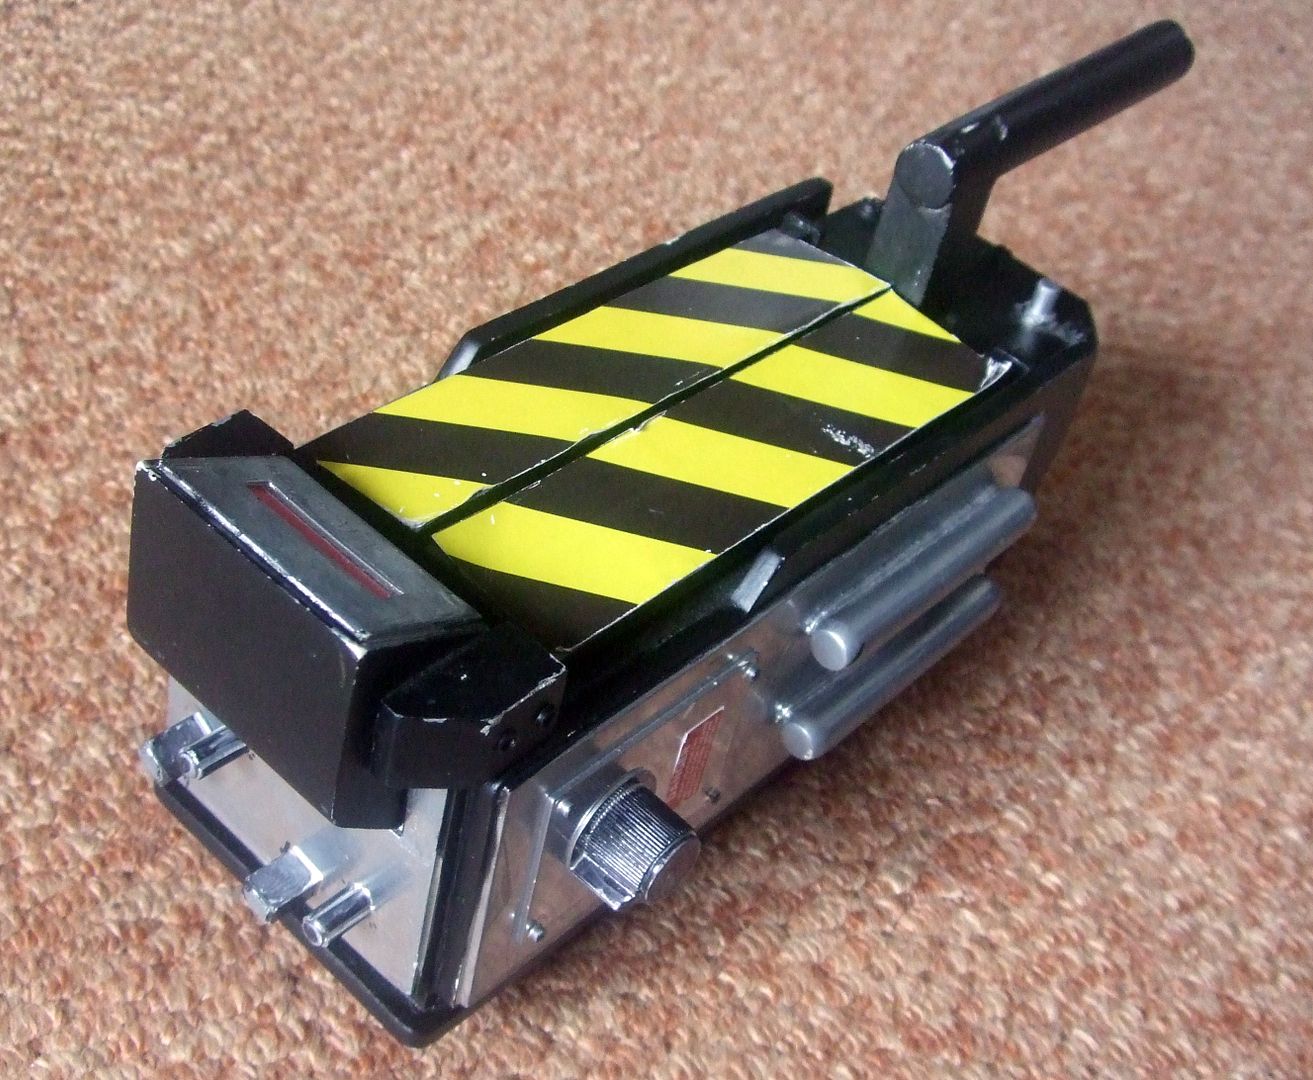
DSCF0744.jpg


DSCF0743.jpg


DSCF0742.jpg


DSCF0741.jpg


DSCF0740.jpg


Updates will follow soon ;)
 
Ok so i've began work on this conversion project. I started with taking all the measurements of the side panels, smaller side panels, front panel and top display panel. I managed to find a Coca Cola aluminium sign in my mates shed that i marked out all the panels on and then proceeded to cut them out.

DSCF7285.jpg


Obviously cutting by hand is not gonna leave the straightest of lines so once i had them all cut out i filed all the edges to straighten them up. Once i did that i wanted to give them back that shiny look, so i sanded them all down.

Pic below shows the before and after

DSCF7289.jpg


And here is all the panels layed out after sanding. I think they look newish, but yet retain a used/battered look to them. I haven't cut out the hole in the top display panel yet as i need to get the LED's 1st before i can cut this out.
DSCF7304.jpg
 
Managed to get a few more hours work done on this yesterday. I originally wanted to replace the side rods with 2 aluminum rods, but i decided to go for wooden dowels instead as this will minimize the weight a bit.

DSCF7364.jpg


I'll get back to these when im ready to install them.

Next up i wanted to remove the old resin knobs and panels, so i took a power file and sanded them off until i was happy with how the new aluminum panels fitted.

DSCF7367.jpg


DSCF7368.jpg


DSCF7369.jpg


DSCF7372.jpg


I also removed the old resin screws and hat light from the battery box.

DSCF7374.jpg
 
Up until now i haven't been able to do any work on the trap because i've been waiting on the light kit being made, but at long last it's finished and it looks great....well i think so anyway :)

I took a video to show what it looks like working before i install it.

http://www.youtube.com/watch?v=BQg44Dgd7bo&feature=youtu.be

Also took a pic aswell.

DSCF8562_zpsa1ea23ac.jpg


So the main job for today was to hollow out the parts for the electronics to fit into. For the Top display at the front i marked out where to hollow out.

DSCF8563_zps2111ea67.jpg


Next it was time to start drilling holes and using the dremel to file away at the resin unto the Bar Graph display would fit inside.

DSCF8564_zps7d9f645e.jpg


We also bored the holes for the switch and the red LED at the back of the trap.

DSCF8565_zps6e876b78.jpg


I also managed to do a bit of work on a few of the knobs aswell. For the Tear Drop side knob all that needed doing was to mask it off and paint a silver line on it. I could have used a resin copy of this part, but i opted for a real version instead. I'm not 100% happy that the paint managed to seep under the tape, but unless ur looking up close at it, it's not too noticable.

DSCF8567_zps84f9032b.jpg


I also managed to find two real knobs for the front panel aswell. All that needed doing to them was to paint the top's of them black. For this i used some Enamel Airfix paint. Again not the neatest of jobs, but it'll do

DSCF8568_zps58ffc65d.jpg
 
Looks great so far... can't wait to see it when it's complete and working... you also plan on adding the main light in the middle of the box?
 
Cheers Lrd. Unfortunately not, inside is gonna have the circuit board and battery so not much room for another light, i would have loved to have done it, but im happy with the bar graph and blinking red LED instead. I plan on someday building a trap from scratch and casting it in Resin, so maybe then i'll incorporate the light inside aswell as operational trap doors.
 
Managed to get a bit more done on the trap today. I started off with marking out the ridge that needed to be cut into the other two front knobs. Once this was done the ridge was cut and then primed for spraying black. After the black paint had dried out i used some silver airfix paint to paint on the details seen in the pic below.

DSCF8578_zps7e4a34cd.jpg


While that was left to the side to dry i peeled the yellow/black caution tape off the trap doors and sanded them down, as i intend to paint the stripes on instead.

DSCF8584_zpsa8113586.jpg


Next it was time to fit the electronics into the trap. This meant unsoldering some of the wires to get the into where they should be and then re-soldering then back on again.

DSCF8586_zps501d08db.jpg


Once in place it was time to fill up he holes we created and also the exsisting ones as i want to make new holes and start from scratch again.

DSCF8591_zps542f8ce5.jpg


While the fillers was drying out we drilled a small hole in the handle and added the cap screw.

DSCF8595_zpsb2bf1f82.jpg


Once the fillers was dry, it was then sanded. Next up was to mask off all the parts that i don't want to be sprayed. When that was done it was time to give the trap and trap doors a coating of primer and then two coats of Satin Black. The pic below was taken after the 1st coat of black began to dry out so it looks a little grey still. We also didn't completely spray all of the sides as i intend to apply a little glue underneath the plates to keep them stuck, so i wanted to give them the best chance of sticking as possible without it possibly reacting to the paint.

DSCF8597_zps19f171a7.jpg
 
Sloooowwwllllyyyyy getting near the end of this trap conversion now.

Today i gave the trap another coat of black as there was still a few areas that were a little thin. Once it dried i removed the masking tape and took a little pic with the light kit switched on.

DSCF8623_zpsc9178e87.jpg


I looked closely at the Side Rods i had turned out of a wooden dowel, and the more i looked, the more i could see grain so i sprayed them with some Silver. When i did this the grain in the wood become even more noticeable, so i decided the only thing for it was to sand and respray with Silver until it disappeared.

DSCF8627_zps7b81b0c4.jpg


Once i was happy with the finish on them i then gave them 2 coats of Red.

DSCF8643_zpsb13646f5.jpg


Whilst they were left to dry it was time to attach the Aluminium side panels. For this we had to tap the Resin for the screws and add some Super Glue for some added support.

DSCF8639_zpsd2971445.jpg


Next up was the Metal(Aluminium)Vector Plate and Resistor. I decided to leave the metal wings on either side of the Resistor, as im trying to replicate the look of the one they used in the Sedgewick Hotel to capture Slimer.

DSCF8640_zpsd44cb9d5.jpg
 
Well this is the last update as the Trap is now complete and i can't wait to wear it with the rest of my uniform!!

Once the plates were all on it was time to look at attaching the knobs. I didn't want them to be boring and just be glued on, i really wanted for them to turn, soooooooooo...... we dismantled 6 dimmer switches.

DSCF8651_zps8a226834.jpg


We started by drilling clearance holes and gluing the switches in place.

DSCF8655_zpse83836b2.jpg


DSCF8656_zpsd36c9e26.jpg


When that was done it was time to attached the knobs. I had to buy 3 resin knobs and managed to find 3 real working knobs aswell. For the resin ones we had to drill holes in the bottom and glue them to the switch, the others pushed on and were able to be tightened with either a screw driver or Allen key.

DSCF8657_zps83492bba.jpg


DSCF8658_zps763a4edb.jpg


Next up, the Side Rods!!

For these we drilled tiny holes in the side plate/resin and glued in some nails. This would allow the rods to be glued and nailed on with the tap of a hammer.

DSCF8648_zps339d5aa6.jpg


DSCF8664_zps1dd935ff.jpg


Earlier in the build i masked off the Trap Doors, ready for the yellow paint

DSCF8624_zps3a59f52a.jpg


I'm really pleased with how these turned out, i had to use model paint so that meant building it up over several layers as it was rather watery

DSCF8660_zpse7e145ac.jpg


When the paint was dry it was then time to attach them to the Trap. For this we used 2 rivets and 2 Cap Screws. The rivets act as a pivot for them to open. I plan to add some earth magnets later to stop them opening while hanging on my belt

DSCF8659_zps7587c71a.jpg
 
Doors added!!

DSCF8663_zpsa68b1a6a.jpg


Also added the Red lens cover and 3 Button Head Screws to the Battery Box, ideally there should be 5 screws, but i ran out. I will add these when i order more

DSCF8666_zpsb6a3fcb4.jpg


Next i added the Labels

DSCF8667_zps4d480dd7.jpg


And weathered it

DSCF8668_zps18898403.jpg
 
Interesting. I didn't notice them It stands up a little higher, imo, in the film. Less built in than those look and more like little metal casters. It sits so low I didn't think it had any.

Awesome btw. If I had the $ and initiative I'd love some GB props. But alas, I am lazy and broke.
 
Cheers bud.

It's actually one of Nick-a-tron's 1st ever version's of his trap kits, so alot of changes have been made to his kit since this one. I just screwed them back into place of where i took them off at the beginning. The angle of the pics also make it look a little lower too as i took them more from above than straight on.
 
This thread is more than 11 years old.

Your message may be considered spam for the following reasons:

  1. This thread hasn't been active in some time. A new post in this thread might not contribute constructively to this discussion after so long.
If you wish to reply despite these issues, check the box below before replying.
Be aware that malicious compliance may result in more severe penalties.
Back
Top