First attempt at a mark 3 Iron Man build (Painted Faceplate)

Young Son

New Member
Hey all

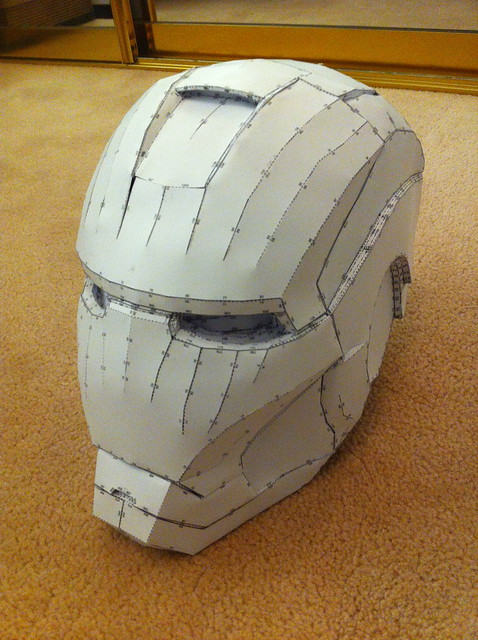
I have been hiding in the dark of the forum for a while now but now since I have started my first build of a mark 3 iron man suit and thought I would share my progress on it :).

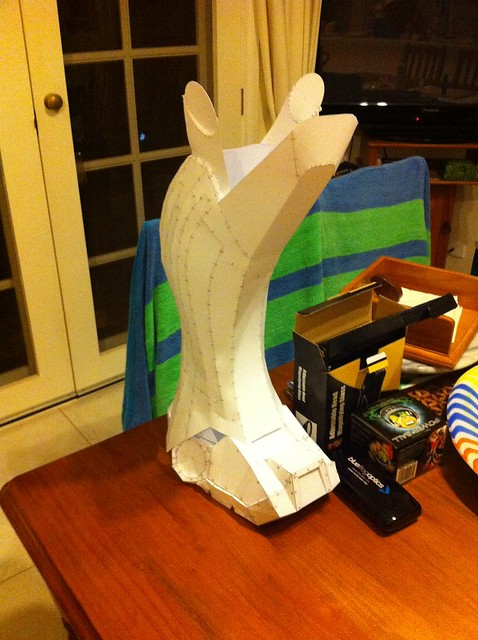
It has become a bit of an obsession for me now I have really been enjoying the late nights hunched over the kitchen table cutting and gluing my way through the stack of paper.

Here are some photo of my progress.... It is my first time so please be gentle :confused

6920998924_a086804306_c.jpg


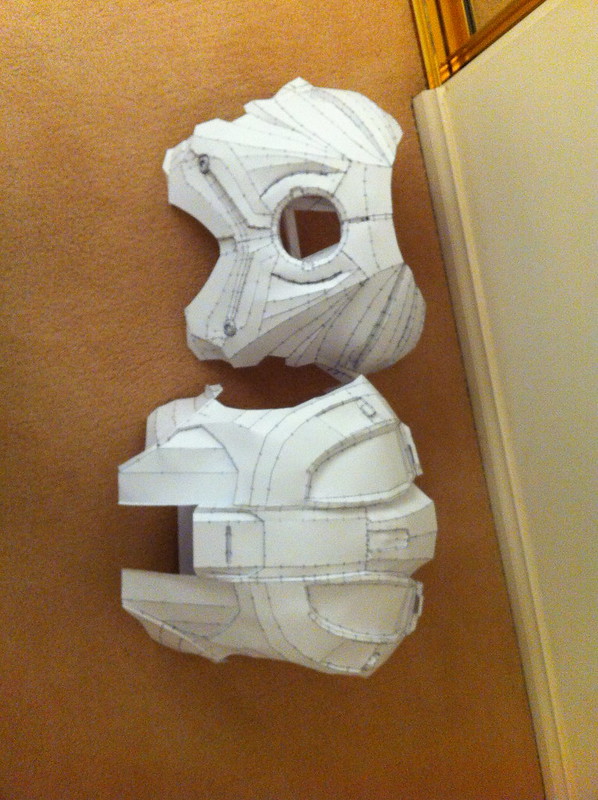
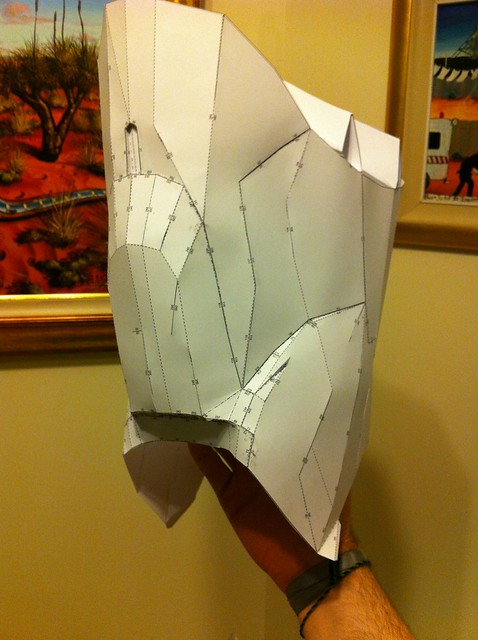
The chest and back pieces, I finished the back late last night.

7067077759_0aef924008_z.jpg


I am pretty happy with how it is coming together I do have a leg floating around the place and I will add a photo of it when it is located.

If anyone has any advice, tips, hints or criticisms feel free to pass them to me I am always keen to learn more :)
 
Last edited:
Re: My first mark 3 Iron Man build

Looking good bro :D
And welcome to the forums ^^

tips:
Dont cut everything out and then start piecing it together (trust me its a puzzling nightmare)
use a laptop or normal computer or whatever so you can vieuw the file you are working on so you can see what page what piece is were ^^

also i noticed that the hot glue gun works the fastest and the best it gives ya really clean and nice results

for the rest I'd say keep doing what you do, it looks really clean and very well done :D
 
Re: My first mark 3 Iron Man build

Your pep work looks great, this will definatly make the smoothing process go much easier, hope to see more, Great job so far
 
Re: My first mark 3 Iron Man build

first time... surely not. These look great!!

be careful with the scalpel when you're sleepy... I've had many trips to ER from late night costuming mistakes :lol
 
Re: My first mark 3 Iron Man build

Build looks really clean! Can't wait to see more!

Looking good bro :D

tips:
Dont cut everything out and then start piecing it together (trust me its a puzzling nightmare)
use a laptop or normal computer or whatever so you can vieuw the file you are working on so you can see what page what piece is were ^^

I disagree on this one, personally I like to cut out all the pieces but I write down the page number on each piece and try to keep them sorted in piles based on page number. I just find it faster to concentrate on one task at a time ie. Cut out all the pieces, glue all the pieces...etc
 
Re: My first mark 3 Iron Man build

Thanks for the advice :) glad I am heading in the right direction.

be careful with the scalpel when you're sleepy... I've had many trips to ER from late night costuming mistakes :lol

yeah I have had a few close calls like that, I almost lost a digit.....or 4 haha

Aren't those the mark 7 files? Or are my eyes playing tricks on me?

Their mark 3 aren't they :confused haha

use a laptop or normal computer or whatever so you can vieuw the file you are working on so you can see what page what piece is were ^^

I would be lost without my laptop next to me while doing this. I don't think it would be possible for me to complete it without it haha


I have located my missing pieces of my iron man leg last night, I am now keeping all my finished pieces together

7070096401_0deacd2483_z.jpg


Finished calf and boot, I am planning to the other leg after I finish my piece i am currently doing. For some reason I didn't do them one after the other :wacko

7070096971_4c4d9ddeb5_z.jpg


And here is the thigh.

I should hopefully have the next piece done tomorrow and I will put up some photos of the finished piece.
 
It has been a long time since i have posted any progress on my suit. I pack it away over winter and have not had the time since the weather has warmed up again.... until now.

so without further ado here are some updates on my progress....

Here is one of the gloves just after i finished it

8229421574_02c43e7d14_c.jpg


8229420874_ce66bd9916_c.jpg


Helmet held together with tape after i painted it with resin ready for fiber glass
8229424326_973e79bae2_c.jpg


Testing the water with fiber glass, first attempt ever at fiber glassing
8228351771_308be516ff_c.jpg


The helmet with the fiber glass finished and the ridges have started to be sanded off.
8229419618_8ba43b5c08_c.jpg


Faceplate and jaw trying to get the lines looking right
8229420212_f672713ef7_c.jpg


My finished and painted faceplate. I am happy with how it turned out, apart from a few imperfections but over all turned out alright
8228352375_821ce58fbb_b.jpg


Some feedback about what you guys think would be great.

Need the push to get my butt back into it :lol
 
First of all, much respect for picking this project up again after a 8 month hiatus.

Second, great job on the faceplate. That paint job looks sleek!
 
Wow - looks fantastic! Question - what is the meaning for the "X"s in the pic showing your initial foray into fiberglassing? Just curious - I'm on my second helm and I really screwed this step up on the first one, so I'm looking for any and helpful tips/techniques for the second. Thx.
 
This thread is more than 11 years old.

Your message may be considered spam for the following reasons:

  1. This thread hasn't been active in some time. A new post in this thread might not contribute constructively to this discussion after so long.
If you wish to reply despite these issues, check the box below before replying.
Be aware that malicious compliance may result in more severe penalties.
Back
Top