knievel
Active Member
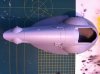
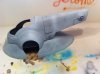
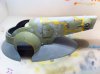
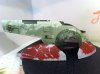
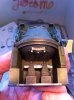
Picked this kit up three years ago, not knowing wat I was going into. thought a had a good plan, but made some major mistakes:
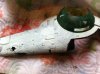
1. Thinking it was a good idea to use graffiti paint.
2. prepainting everything before assembling.
The lack of a good place to work and having to do everthing on the kitchentable didn't help to find the rest to take this hobby one step at the time.
So after messing up my model with a thick layer of paint, I was banned to the attic for three years.
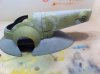
Finally got my own table to work there too. During my Y-wing build I stumbled onto threads where people strips off old paint to restart on a project.
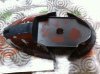
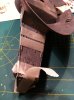
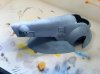
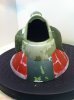
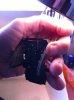
Found a Great thread on a thinner available here in the Netherlands. Active ingredient: 2-butoxyethanol.
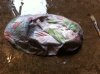
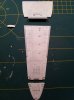
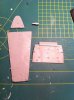
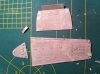
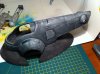
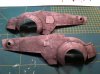
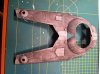
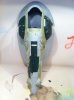
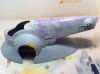
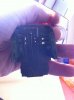
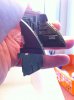
After soaking it in with a brush and leaving it wrapped in kitchenpaper, the ugly layer came straight off!
It only had some problems with the citadel chaos black prime coat.
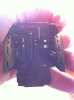
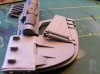
Anyway. After 2 hours of soaking and brushing a now have a clean canvas to work on!
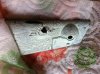
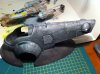
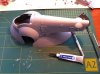
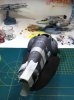
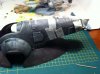
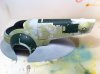
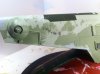
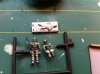
So I assembled the hull yesterday evening, and spent the rest of the time filling and sanding the seem on the hull.
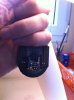
I want to make this my 1st build with lights, so advice on that is welcome.
Got a plan on masking and building up the paintlayers this time. Advice on paintcolors would be helpfull. Working with Vallejo airbrush paint at the moment.
1. Thinking it was a good idea to use graffiti paint.
2. prepainting everything before assembling.
The lack of a good place to work and having to do everthing on the kitchentable didn't help to find the rest to take this hobby one step at the time.
So after messing up my model with a thick layer of paint, I was banned to the attic for three years.
Finally got my own table to work there too. During my Y-wing build I stumbled onto threads where people strips off old paint to restart on a project.
Found a Great thread on a thinner available here in the Netherlands. Active ingredient: 2-butoxyethanol.
After soaking it in with a brush and leaving it wrapped in kitchenpaper, the ugly layer came straight off!
It only had some problems with the citadel chaos black prime coat.
Anyway. After 2 hours of soaking and brushing a now have a clean canvas to work on!
So I assembled the hull yesterday evening, and spent the rest of the time filling and sanding the seem on the hull.
I want to make this my 1st build with lights, so advice on that is welcome.
Got a plan on masking and building up the paintlayers this time. Advice on paintcolors would be helpfull. Working with Vallejo airbrush paint at the moment.
Last edited: