Hey guys,
My first post and first thread on the boards here. I've been lurking for the last couple of months reading up on the Anigrand Star Destroyer builds before I tackle it myself.
Many thanks to DTSSYST for the help and advice so far!
Before I began that, I wanted to 'go easy' on a little prebuilt kits before all that drilling for the fibre optics etc.
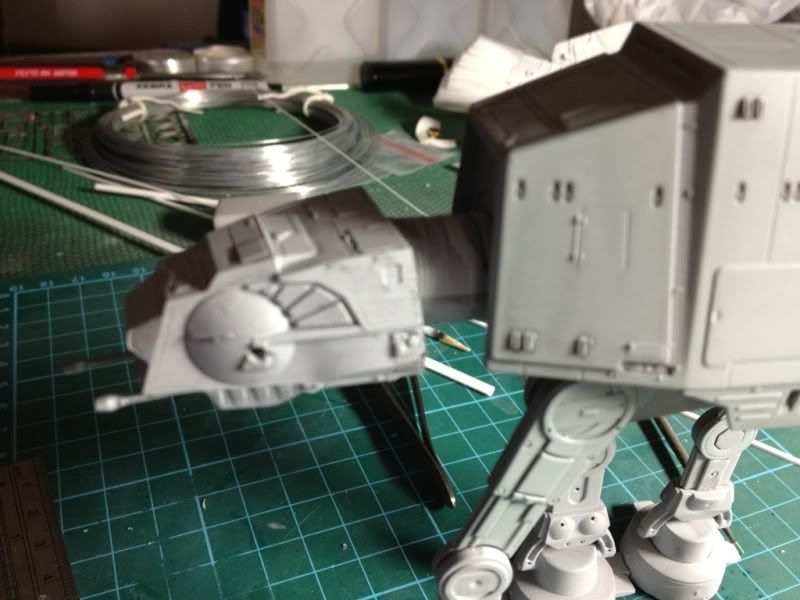
I decided on a 'Fallen AT-AT' Hoth scene. I know it's been done before and probably even done to death, but I couldn't resist such an iconic scene!")
I started out and ordered 2 AT-ATs from ebay as well as a snow speeder kit (which comes in a pair of those little guys). Couldn't resist checking out the ATATs and ripped the boxes open while driving to work! Those little guys are actually quite nicely done! After getting back from work, I did a side by side comparison with images from 'sculpting a galaxy' and noticed that other than the pistons on the legs and a few other minor details, it is pretty spot on from the studio version. Here's where you pros come in. Did I miss anything there? Perhaps in terms of proportion, I might have overlooked something that might need correcting. Anyone with any F Toys ATAT experience?
Anyways, I started out by replicating some of the 'minor details', namely drilling in the various holes that appeared in the pictures. I used either a 0.5mm or 0.6mm bit, depending on how 'large' the holes appeared in the photos.
Much better I think, especially after repainting and weathering the entire thing.
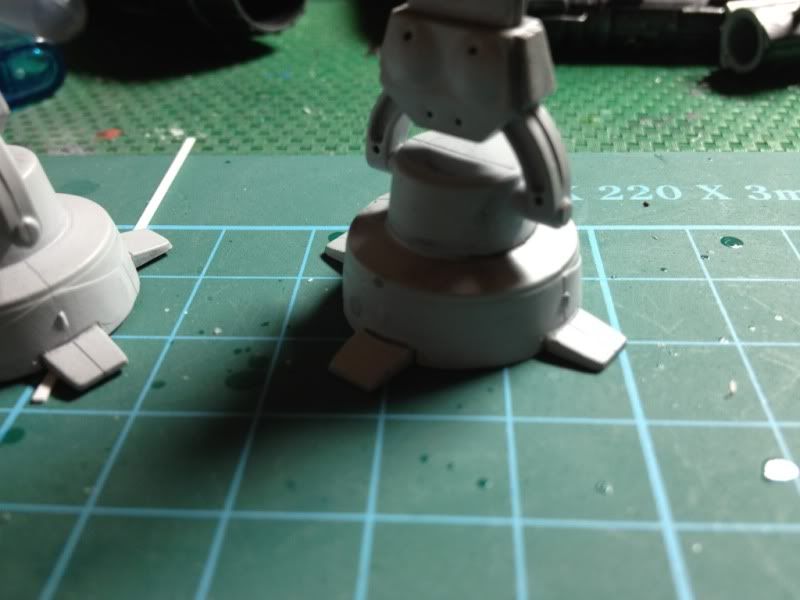
Next, I noticed that the F Toys flaps on the feet were molded together, instead of flappy panels like the real thing. I scribed lines around the flaps to make them look a little disjointed and flappier.
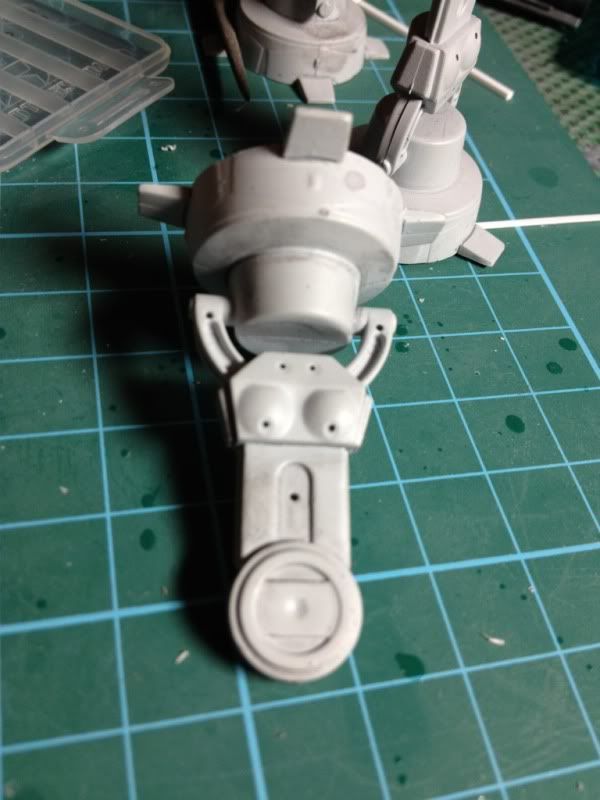
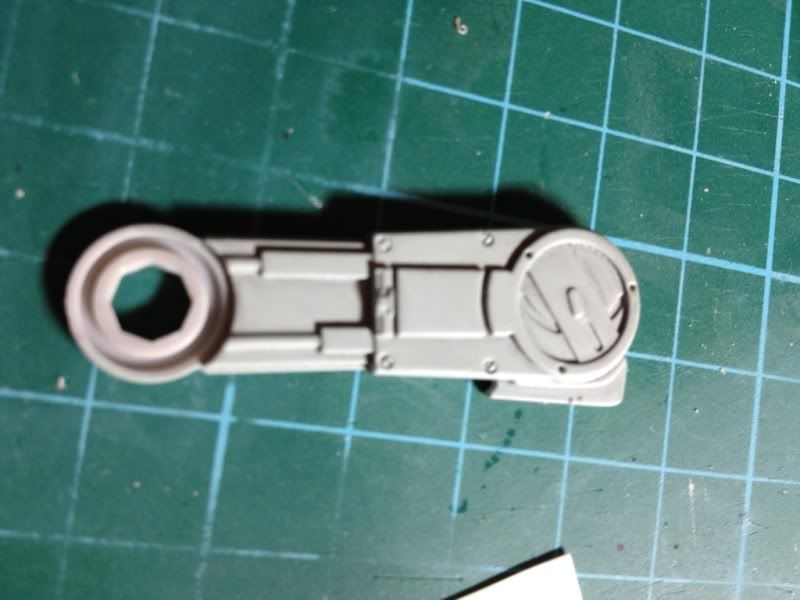
Lastly for the night, I added the pistons to one of the legs. Turned out to be much more tedious than I envisioned and took longer than I expected. I used a half - cylindrical 2mm wide bit of Evergreen to make the 'foot' portion of the piston, a 1mm cylindrical strip, drilled a 0.6mm hole through it, and then plugged it with a 0.5mm strip that was glued to the 'heel'. I couldn't think of any other way I could do it with the stuff I had at hand and had to make do. ATAT pros, any ideas?
That's about all I did for tonight. I plan to finish up the rest of the legs, attach the cheek guns and then prime the entire sucker to get ready for repainting.
Thanks for reading guys, and go easy on me! I might have broken a few 'unwritten rules' about the AT AT without knowing it. Any tips or suggestions would be great!
My first post and first thread on the boards here. I've been lurking for the last couple of months reading up on the Anigrand Star Destroyer builds before I tackle it myself.
Many thanks to DTSSYST for the help and advice so far!
Before I began that, I wanted to 'go easy' on a little prebuilt kits before all that drilling for the fibre optics etc.
I decided on a 'Fallen AT-AT' Hoth scene. I know it's been done before and probably even done to death, but I couldn't resist such an iconic scene!
I started out and ordered 2 AT-ATs from ebay as well as a snow speeder kit (which comes in a pair of those little guys). Couldn't resist checking out the ATATs and ripped the boxes open while driving to work! Those little guys are actually quite nicely done! After getting back from work, I did a side by side comparison with images from 'sculpting a galaxy' and noticed that other than the pistons on the legs and a few other minor details, it is pretty spot on from the studio version. Here's where you pros come in. Did I miss anything there? Perhaps in terms of proportion, I might have overlooked something that might need correcting. Anyone with any F Toys ATAT experience?
Anyways, I started out by replicating some of the 'minor details', namely drilling in the various holes that appeared in the pictures. I used either a 0.5mm or 0.6mm bit, depending on how 'large' the holes appeared in the photos.
Much better I think, especially after repainting and weathering the entire thing.
Next, I noticed that the F Toys flaps on the feet were molded together, instead of flappy panels like the real thing. I scribed lines around the flaps to make them look a little disjointed and flappier.
Lastly for the night, I added the pistons to one of the legs. Turned out to be much more tedious than I envisioned and took longer than I expected. I used a half - cylindrical 2mm wide bit of Evergreen to make the 'foot' portion of the piston, a 1mm cylindrical strip, drilled a 0.6mm hole through it, and then plugged it with a 0.5mm strip that was glued to the 'heel'. I couldn't think of any other way I could do it with the stuff I had at hand and had to make do. ATAT pros, any ideas?
That's about all I did for tonight. I plan to finish up the rest of the legs, attach the cheek guns and then prime the entire sucker to get ready for repainting.
Thanks for reading guys, and go easy on me! I might have broken a few 'unwritten rules' about the AT AT without knowing it. Any tips or suggestions would be great!