This particular project began when I purchased one of the hero Rail Guns from ERASER. The movie certainly wasn't one of Arnold's better films, but I had always liked the rather clunky looking EM-1.
Though the one I picked up had some minor damage, the biggest obstacle to overcome was the missing multi-purpose scope. In fact, most of the screen used pieces I'd seen over the years were missing the same part. After some research, I discovered that the piece in question was an existing Infrared Night Vision scope (actually mounted upside down on the prop). And while the good news was that the scope was still available for civilian purchase, the bad news was it cost over $25,000.00. Thinking that was a little more than I was willing to put into the restoration, I decided it was more practical to scratch build my own version. Fortunately, fellow RPF member Gary Nagy had one of the props that *did* have a production made scope that he was more than kind enough to offer me to use as a reference. As the scope was in pretty rough shape I decided I scratch the majority of it, with the exception of the front lens section, which was removable via some screws. I made a one time mold of it, produced a solid casting and then cleaned it up as best I could, allowing for the front end to be drilled out to allow the later insertion of a lens. The rest of the piece followed after that.
Now, on to the photos!
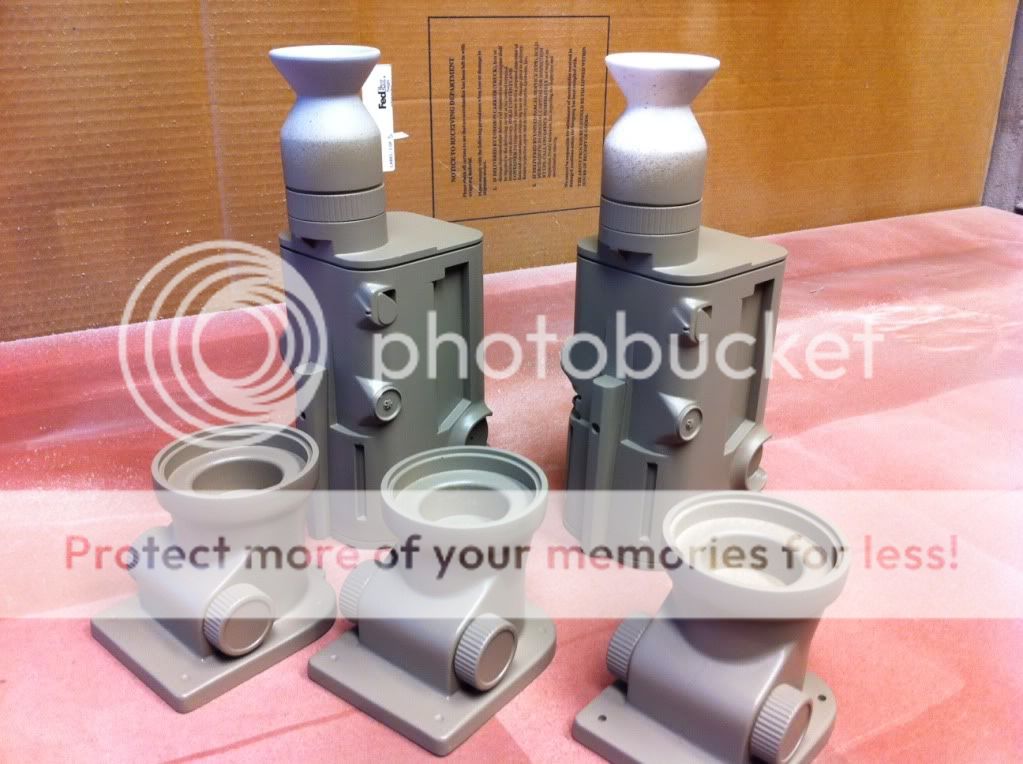
Here's new build with the casting of the front lens. Gary's screen used one is in the background...the main body is a piece of poplar If I recall correctly, with all the detail pieces made out of styrene and pvc pieces...

Here you can see the new eye piece I turned up on a lathe...

Now it's starting to come together...

I rebuilt the dials and cast them separately...

Not finding an off the shelf paint that matched, I wound up taking Gary's scope to a paint shop and had them color match me a quart of paint. I spray everything with my HVLP gun in my paint booth at work...
Finally! This one has not been fitted with any electronics, though the body has been rotocast and the lens piece can be removed for the installation of any lights and batteries...
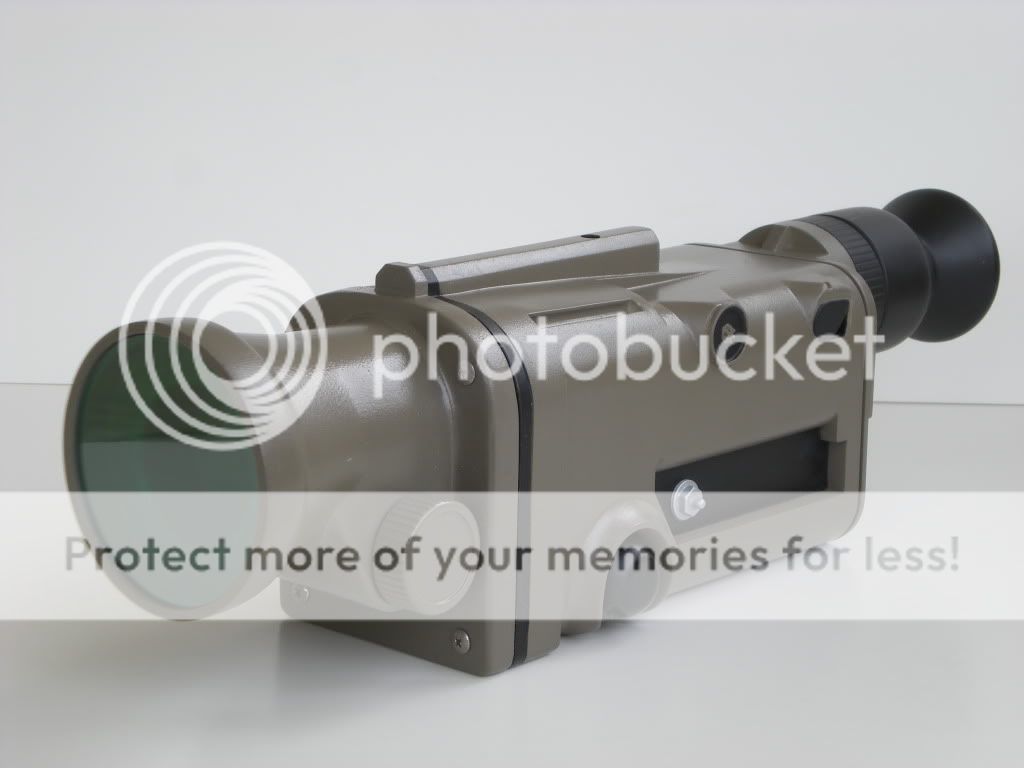

I've added two pieces of thin plexiglass into the front of the lense, the green colored one goes first, with a thicker clear piece pressure fitted onto it. I'm also making up some warning labels for the left side recess to match the ones the actual scopes have, which should be finished soon. I'll probably re-paint the entire rifle once I've made the necessary repairs it needs.
Thanks for looking!
Shawn
Though the one I picked up had some minor damage, the biggest obstacle to overcome was the missing multi-purpose scope. In fact, most of the screen used pieces I'd seen over the years were missing the same part. After some research, I discovered that the piece in question was an existing Infrared Night Vision scope (actually mounted upside down on the prop). And while the good news was that the scope was still available for civilian purchase, the bad news was it cost over $25,000.00. Thinking that was a little more than I was willing to put into the restoration, I decided it was more practical to scratch build my own version. Fortunately, fellow RPF member Gary Nagy had one of the props that *did* have a production made scope that he was more than kind enough to offer me to use as a reference. As the scope was in pretty rough shape I decided I scratch the majority of it, with the exception of the front lens section, which was removable via some screws. I made a one time mold of it, produced a solid casting and then cleaned it up as best I could, allowing for the front end to be drilled out to allow the later insertion of a lens. The rest of the piece followed after that.
Now, on to the photos!
Here's new build with the casting of the front lens. Gary's screen used one is in the background...the main body is a piece of poplar If I recall correctly, with all the detail pieces made out of styrene and pvc pieces...
Here you can see the new eye piece I turned up on a lathe...
Now it's starting to come together...
I rebuilt the dials and cast them separately...
Not finding an off the shelf paint that matched, I wound up taking Gary's scope to a paint shop and had them color match me a quart of paint. I spray everything with my HVLP gun in my paint booth at work...
Finally! This one has not been fitted with any electronics, though the body has been rotocast and the lens piece can be removed for the installation of any lights and batteries...
I've added two pieces of thin plexiglass into the front of the lense, the green colored one goes first, with a thicker clear piece pressure fitted onto it. I'm also making up some warning labels for the left side recess to match the ones the actual scopes have, which should be finished soon. I'll probably re-paint the entire rifle once I've made the necessary repairs it needs.
Thanks for looking!
Shawn
")