EVO3
Well-Known Member
Hey guys!
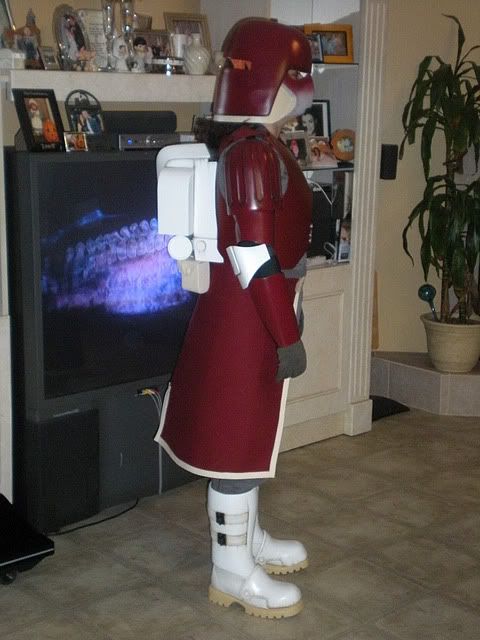
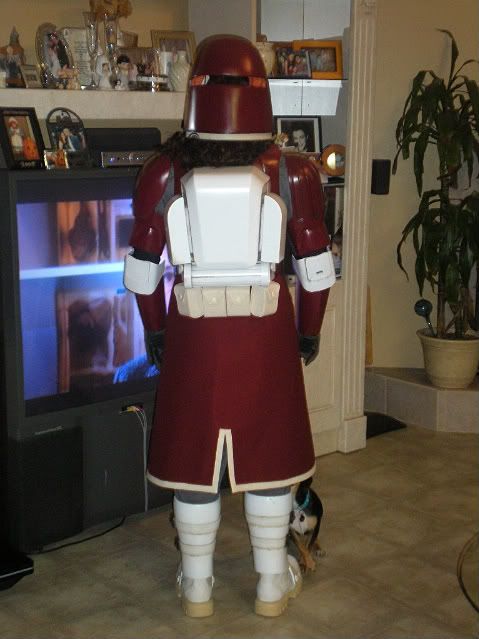
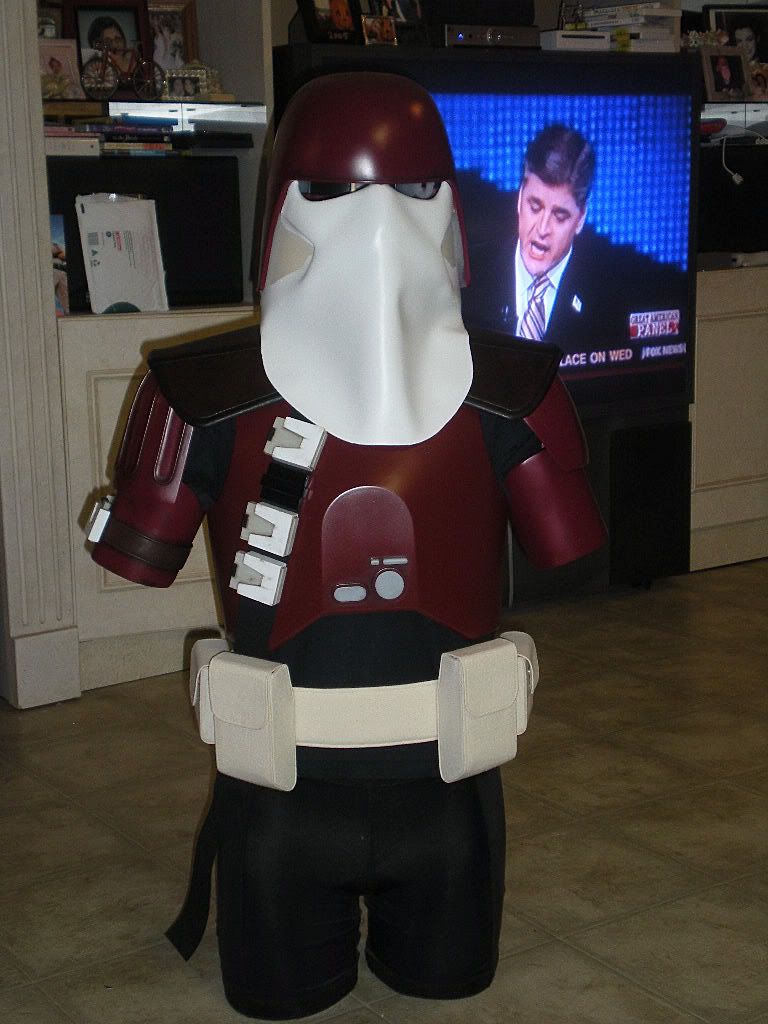
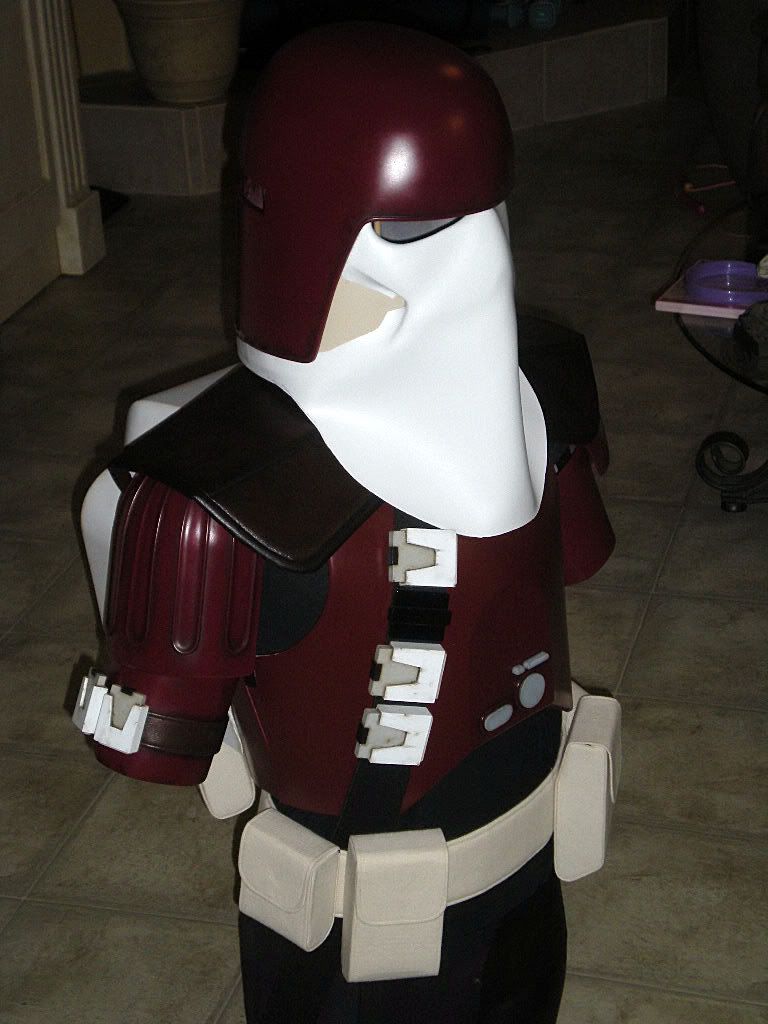
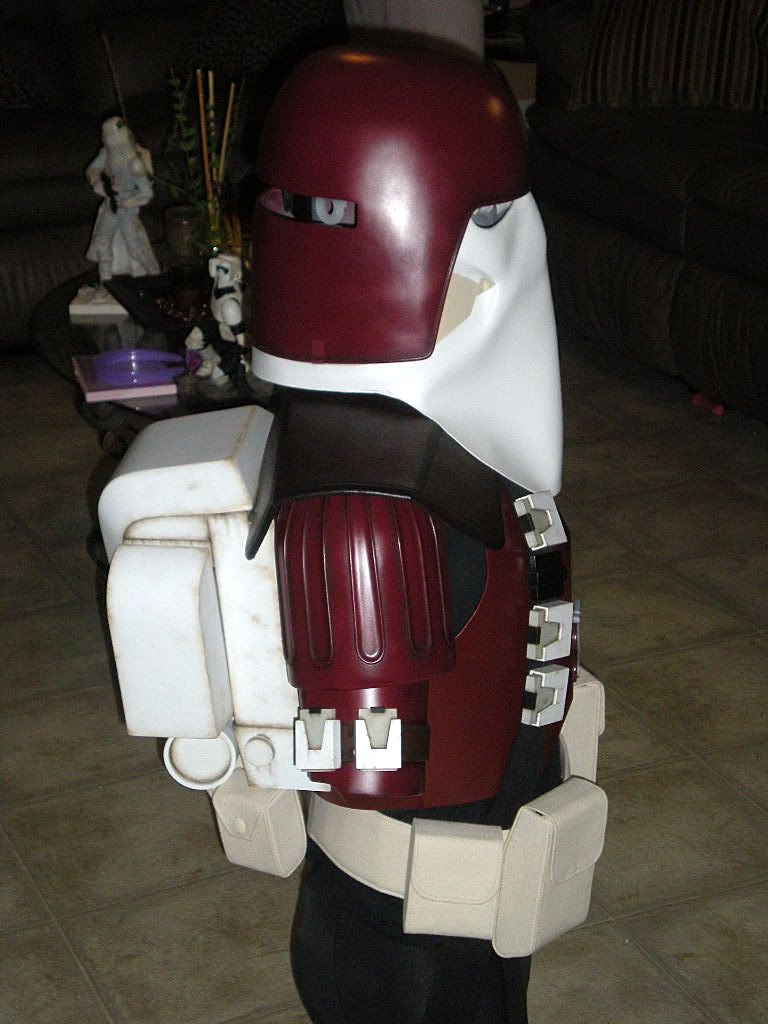
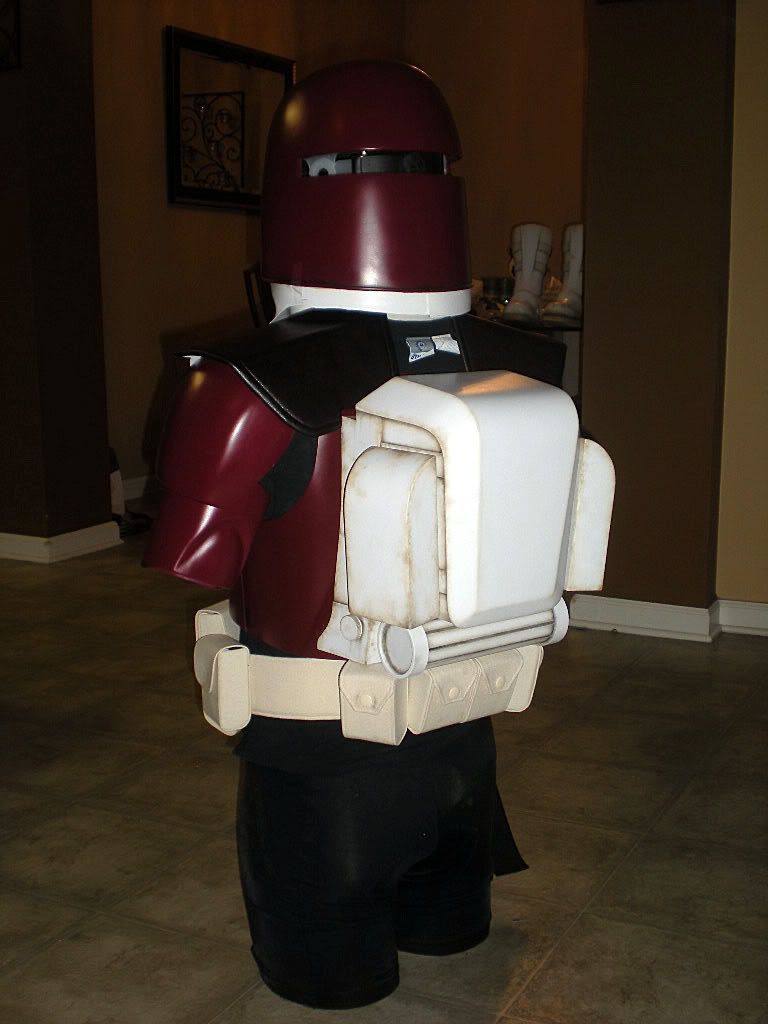
Havent posted here in a while. Been busy building my wife a GM. She was getting tired of here Scout armor, so i had to build her something new. Wasnt easy, as some parts were built from scratch and others had to get down sized to fit her.
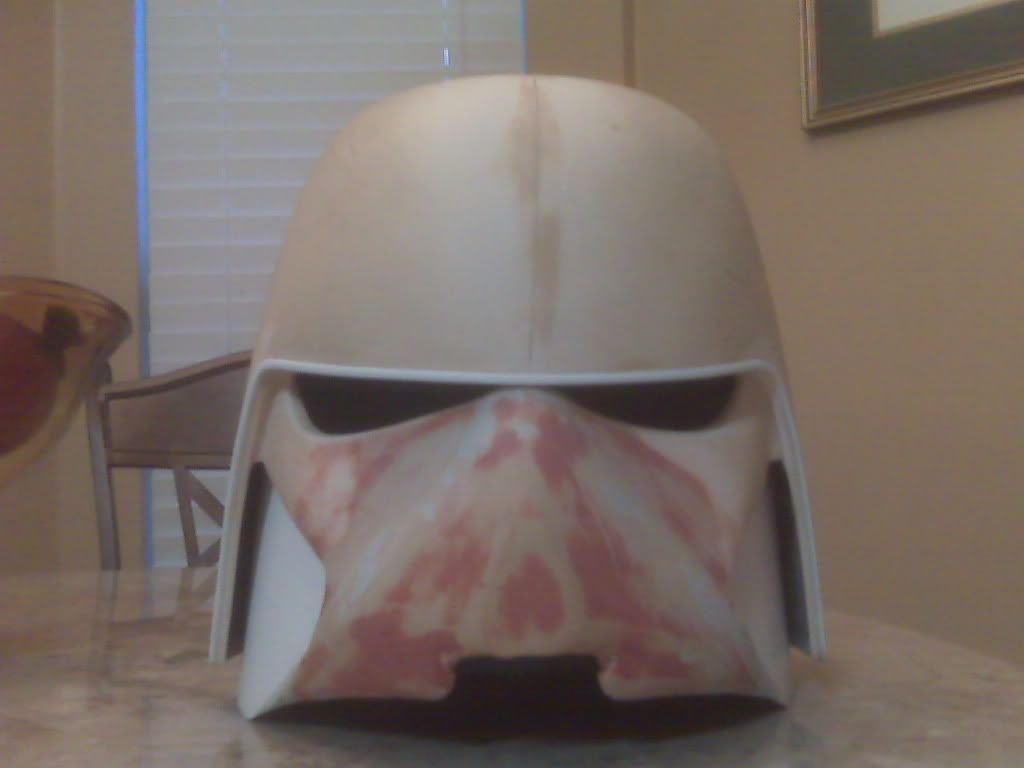
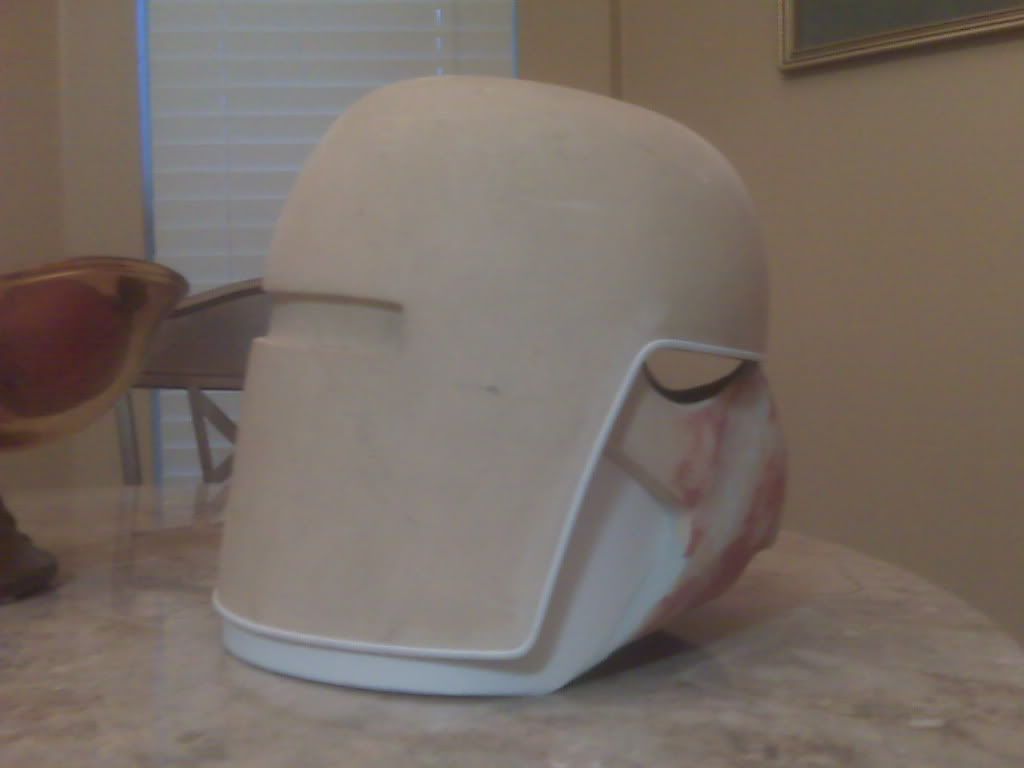
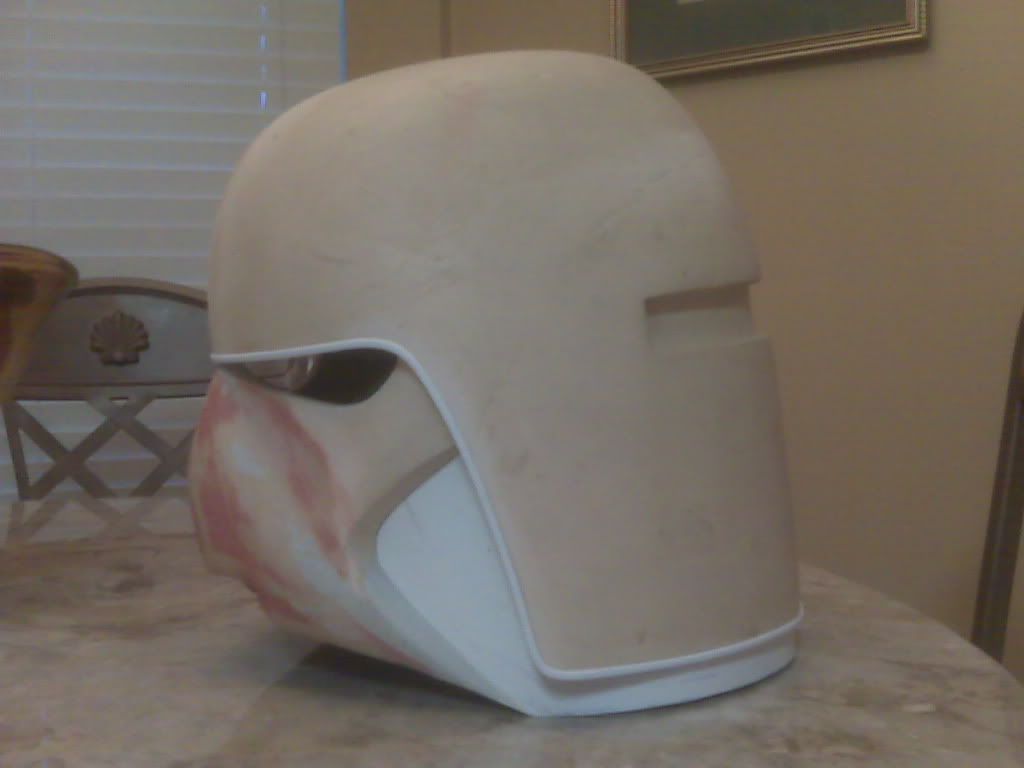
I started with an SGB helmet. To big, so i took a bit out of the middle and rejoined it. I also added a lip around the edge of the helmet and resculpted the face a bit.
More to come.....
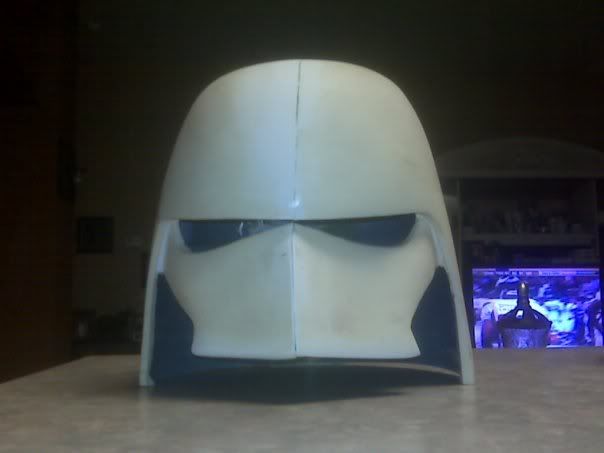
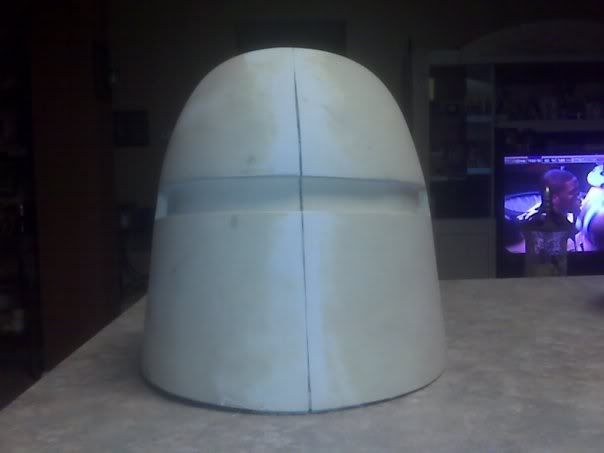
Next, i decided to make a few changes to the helmet. Added styrene to the cheeks.....
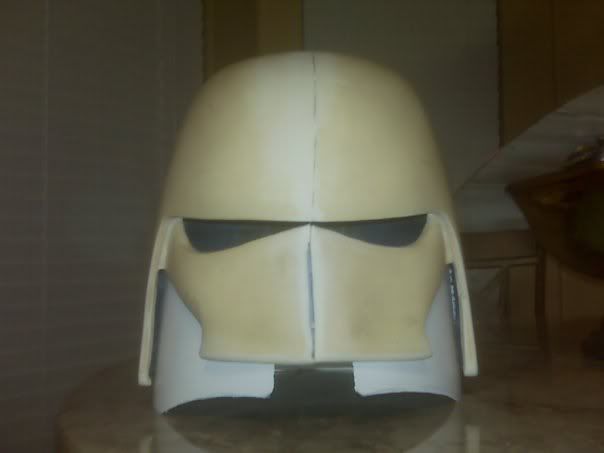
Then started to mod the "beak" area.......
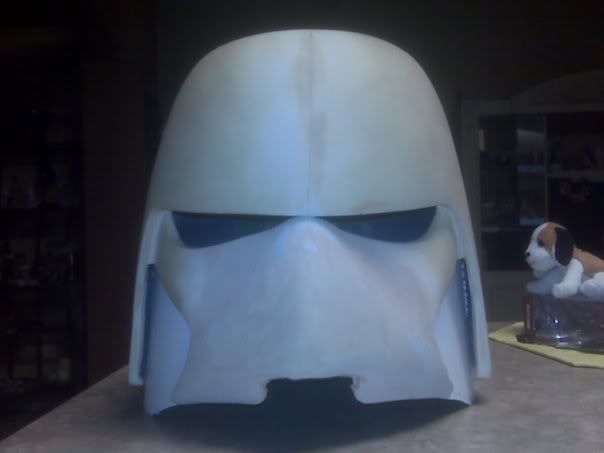
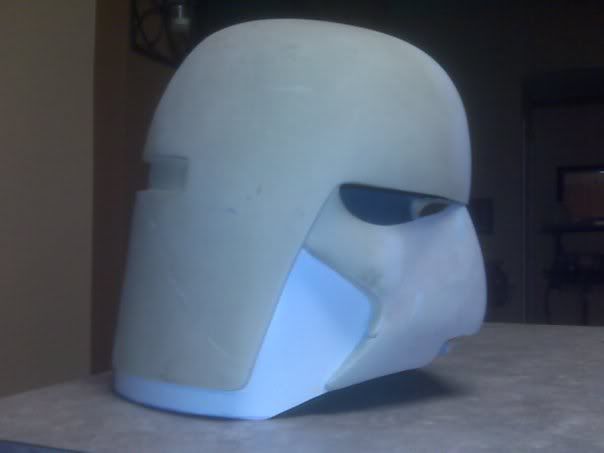
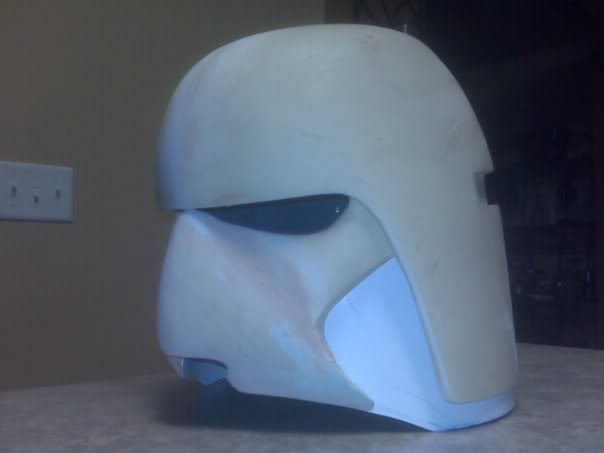
Then added trim around the edge of the "hard hat".....
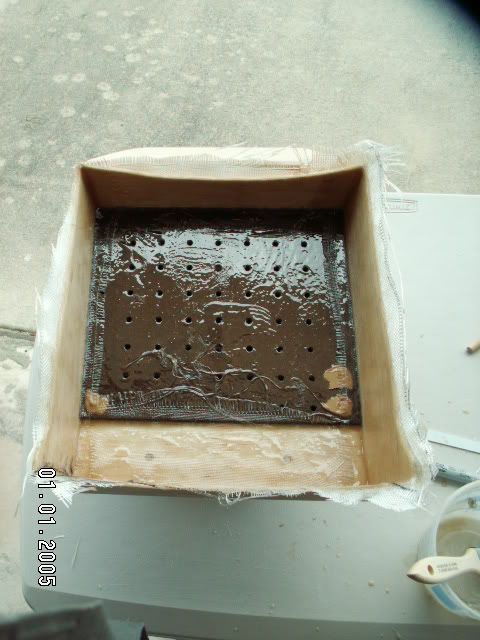
Next was the right shoulder bell. Some people say its a TB shoulder bell or a modded TK bell. Ended up having to make my own. Started out with some blue insulation foam from Lowes. Cut out the rough shape, then started sanding away. Its the first time ive ever used this medium, and i have to say, i loved it! I had the foam shoulder bell shaped out in about 20 min. Unfortunately, i was so excited i forgot to snap a pic. Next step was to Glass the foam. The idea is for the foam to act somewhat like a disposable mold. So it got glassed with about three layers of cloth and resin.
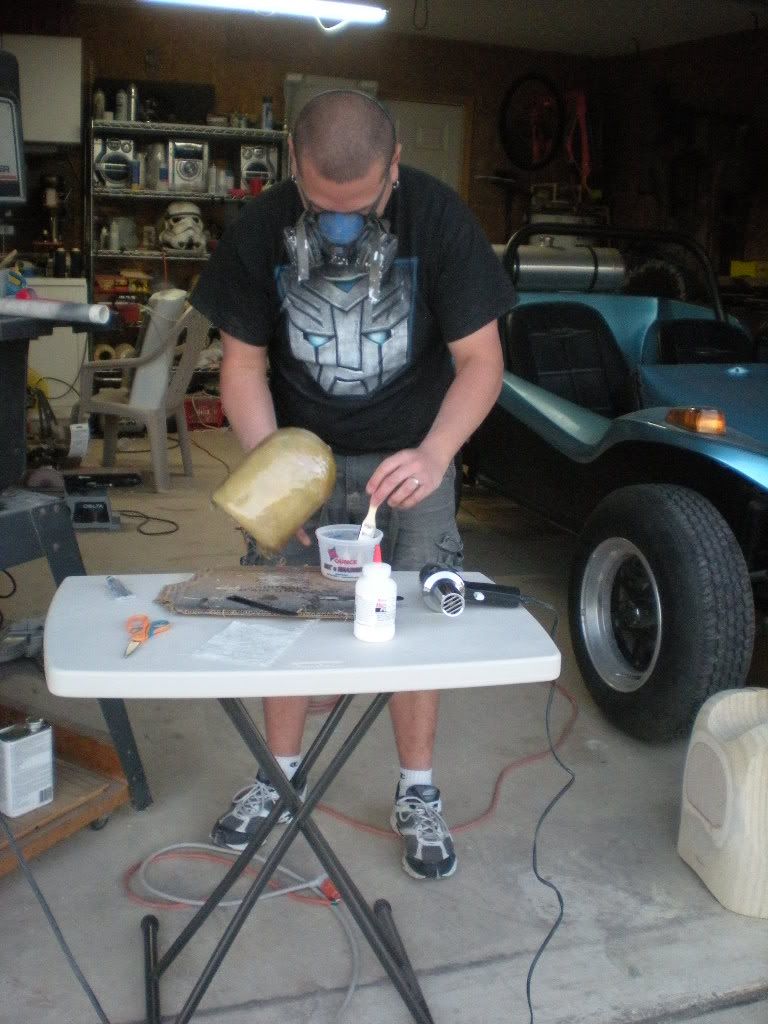
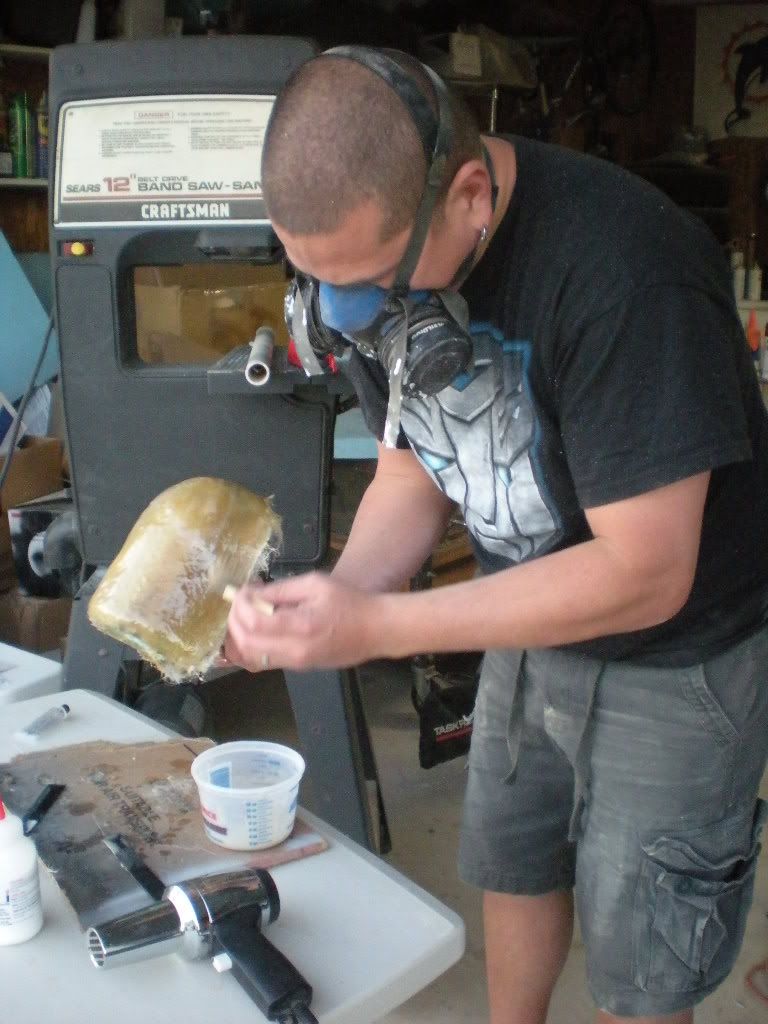
Here you can see the blue foam.......
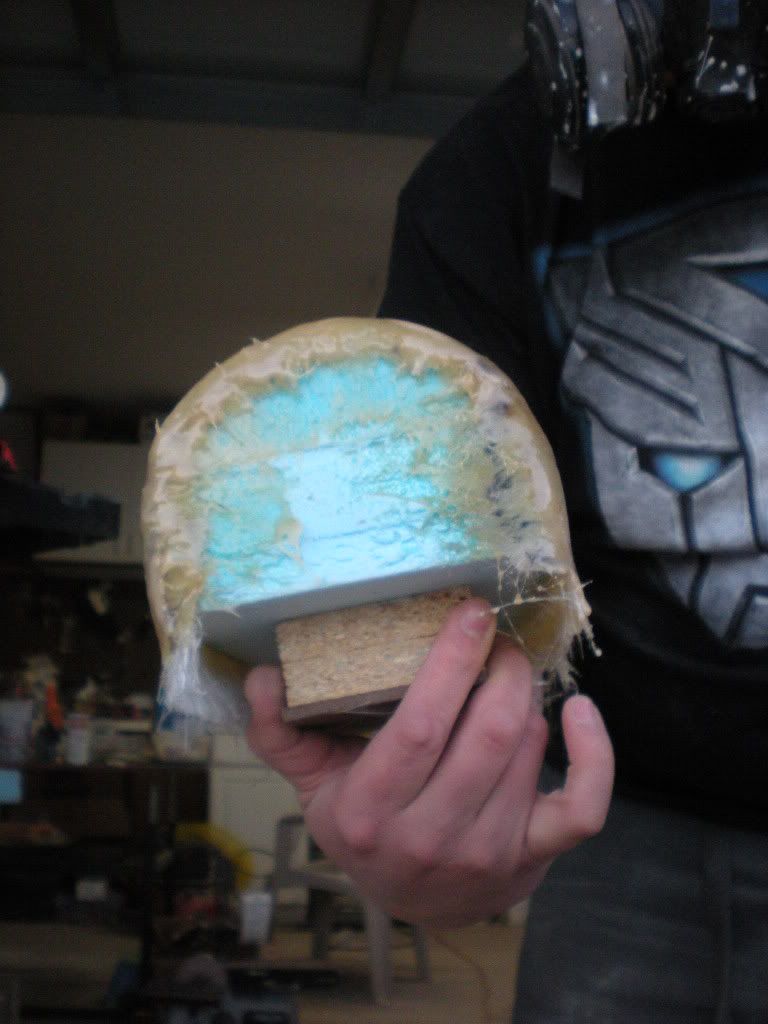
Here is the result once the foam is removed and the bell is sanded smooth.
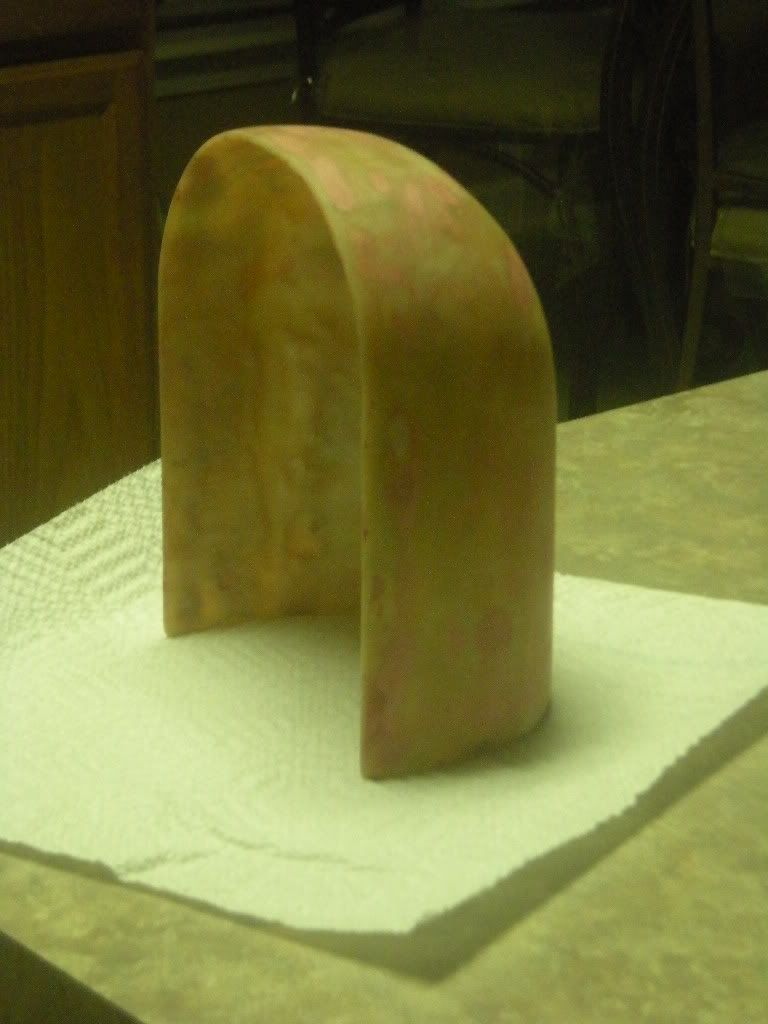
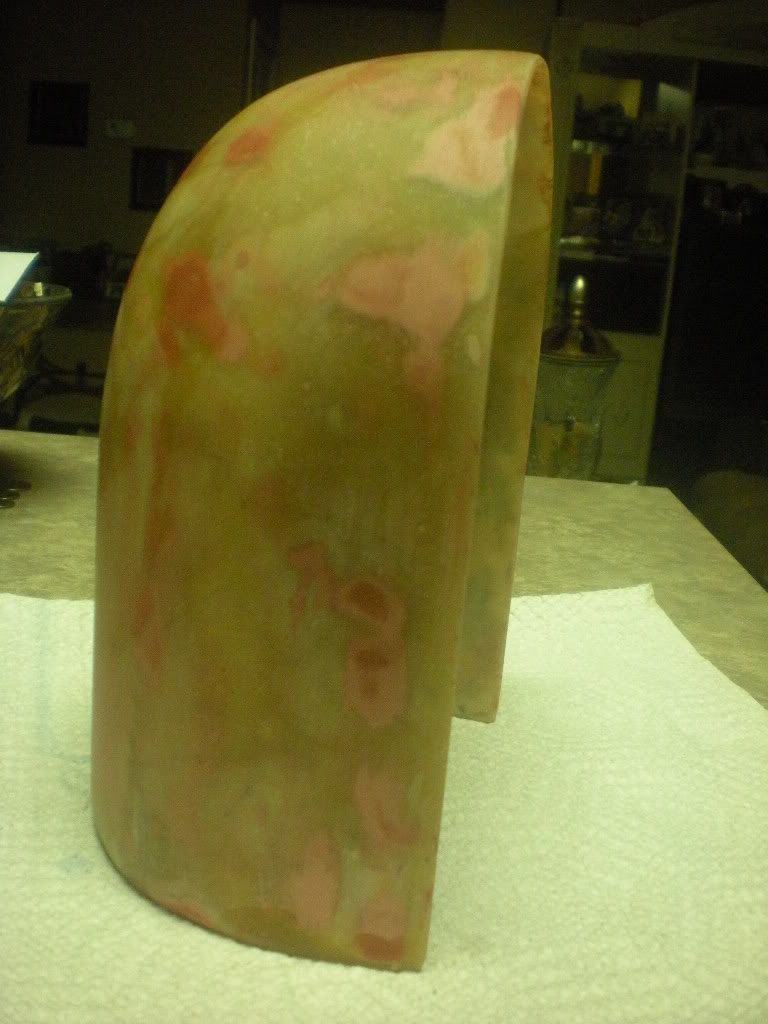
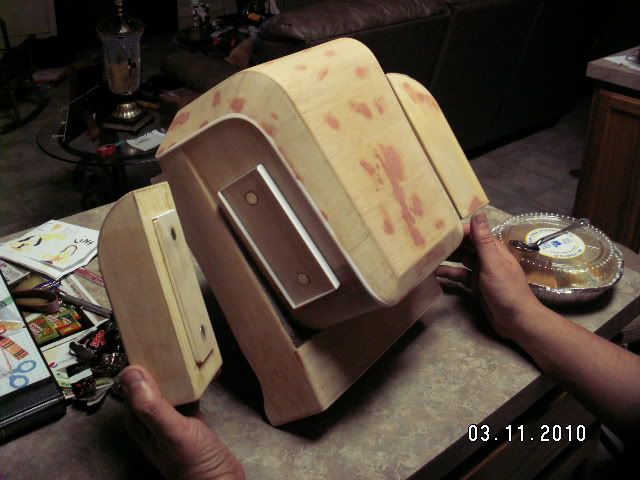
Then i measured and drew the lines on the bell to use as a guide for gluing the styrene strips on it.
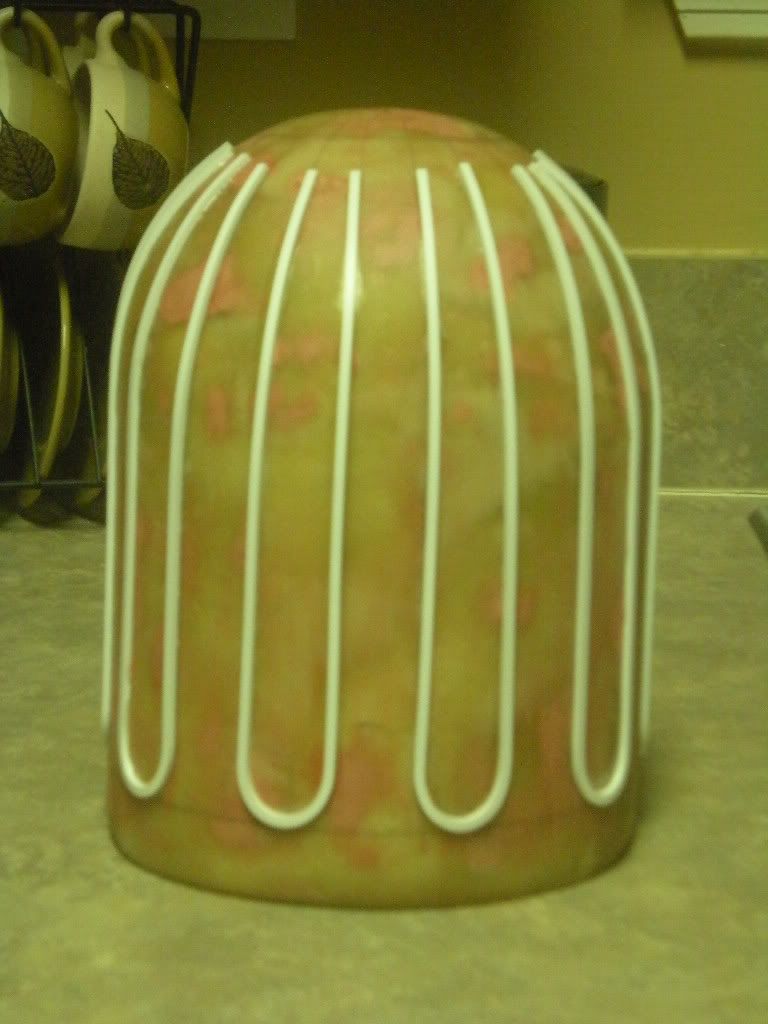
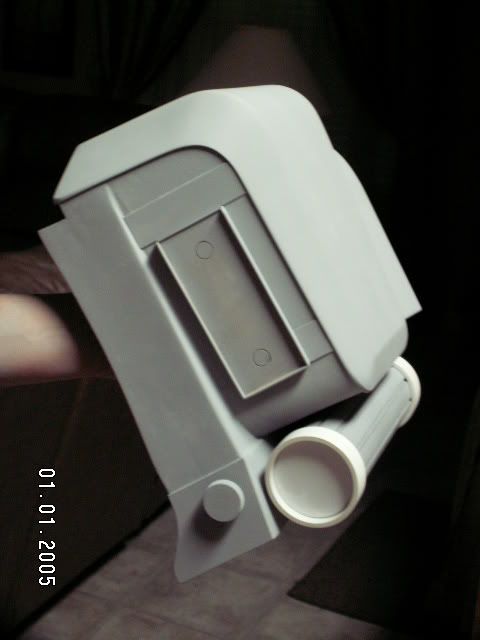
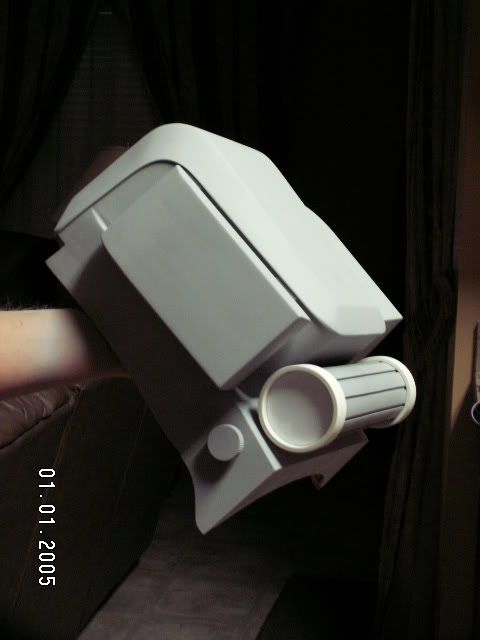
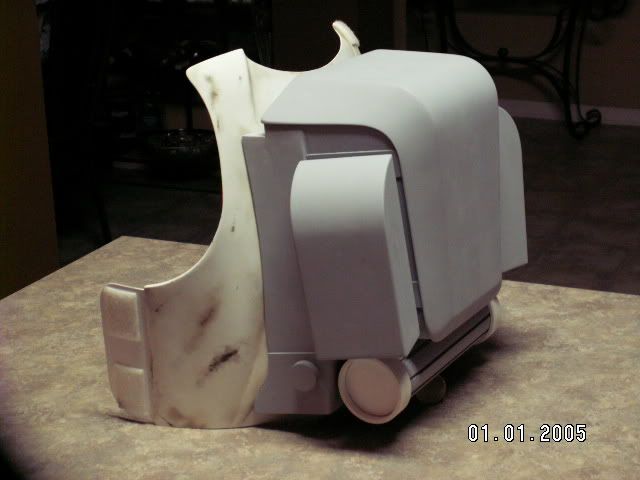
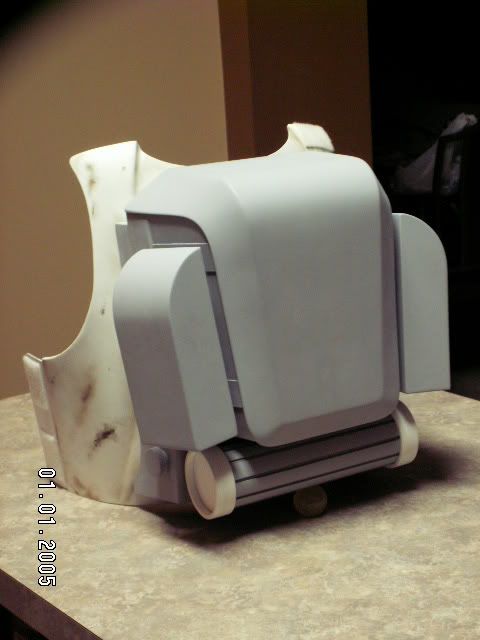
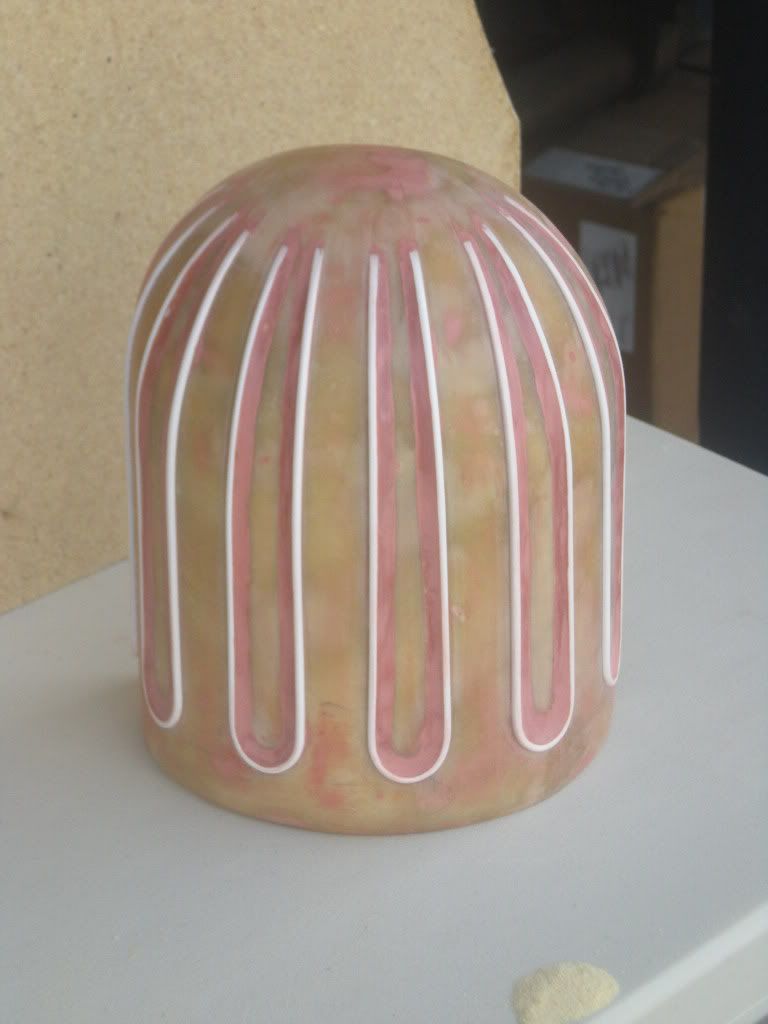
Here is the bell once all the edges were taken off of the styrene and body work was done. Its ready for painting!
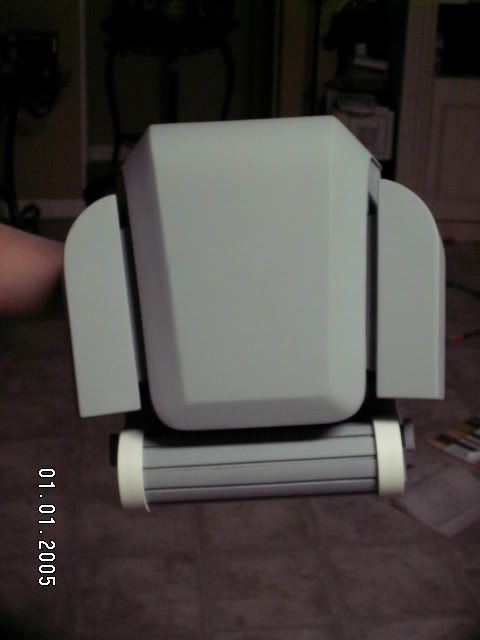
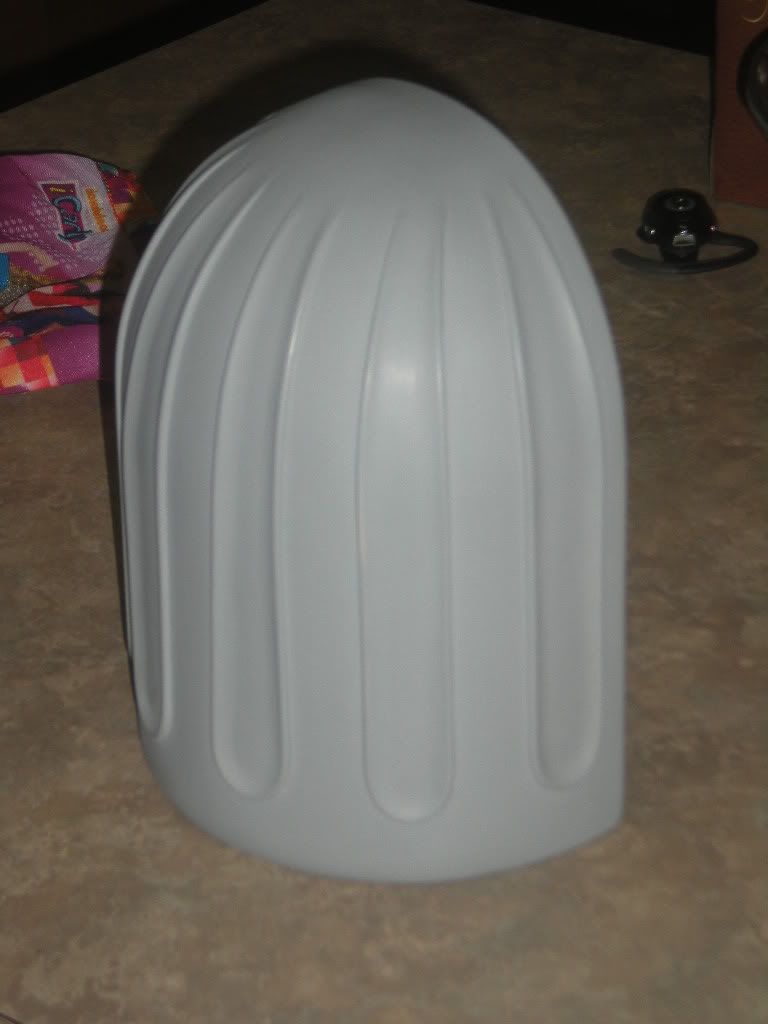
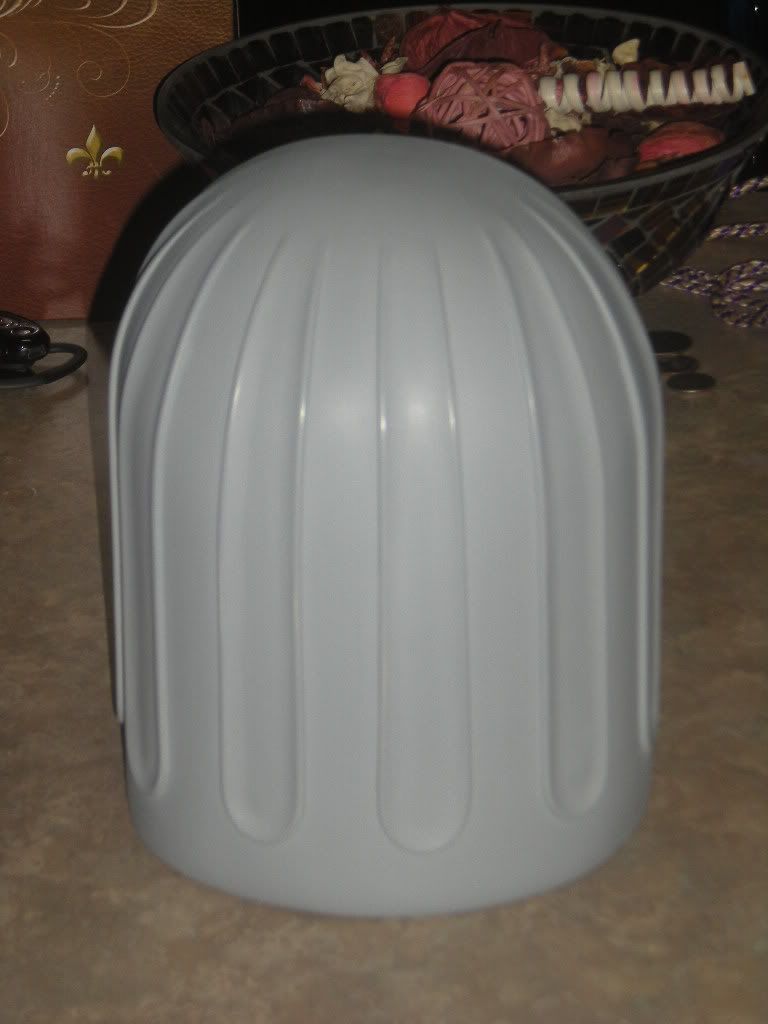
Primer is done and i can move on to the next part.
Havent posted here in a while. Been busy building my wife a GM. She was getting tired of here Scout armor, so i had to build her something new. Wasnt easy, as some parts were built from scratch and others had to get down sized to fit her.
I started with an SGB helmet. To big, so i took a bit out of the middle and rejoined it. I also added a lip around the edge of the helmet and resculpted the face a bit.
More to come.....


Next, i decided to make a few changes to the helmet. Added styrene to the cheeks.....

Then started to mod the "beak" area.......


Then added trim around the edge of the "hard hat".....


Next was the right shoulder bell. Some people say its a TB shoulder bell or a modded TK bell. Ended up having to make my own. Started out with some blue insulation foam from Lowes. Cut out the rough shape, then started sanding away. Its the first time ive ever used this medium, and i have to say, i loved it! I had the foam shoulder bell shaped out in about 20 min. Unfortunately, i was so excited i forgot to snap a pic. Next step was to Glass the foam. The idea is for the foam to act somewhat like a disposable mold. So it got glassed with about three layers of cloth and resin.


Here you can see the blue foam.......

Here is the result once the foam is removed and the bell is sanded smooth.


Then i measured and drew the lines on the bell to use as a guide for gluing the styrene strips on it.

Here is the bell once all the edges were taken off of the styrene and body work was done. Its ready for painting!

Primer is done and i can move on to the next part.


