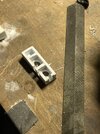
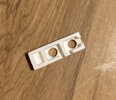
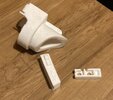
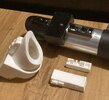
So, after starting this whole energizer project I ended up with molds of my own scratch work that don't need to get thrown away, how many folks want to pick up a maglite or aluminum pipe and make their own?
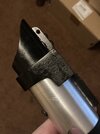
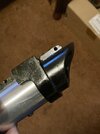
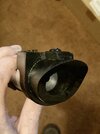
I have a shroud now that just needs a little sanding. Sometimes bubbles form in the back rim, easily to fill, I was going to do mine with milliput and instead did the super glue/baking soda thing. I'll drop a picture of a lightly painted shroud today, I just got my TS-14 can in the mail.
There is ONE issue I'll describe later. Here, just look at some pictures. The shroud is smoother than it looks, it's black resin which looks dusty any time you sand it.


I used specific parts from Evergreen and Plastruct for the midband and grips. I can supply these or give y'all an instruction booklet for what I did.
The problems I have are that I don't have scratch made versions of the top of the box or the greeblie behind the shroud. You can buy the greeblie from Roy at wannawanga.com I think. I'm also thinking of mocking up a couple versions in styrene to cast, if there's any interest.
I have a shroud now that just needs a little sanding. Sometimes bubbles form in the back rim, easily to fill, I was going to do mine with milliput and instead did the super glue/baking soda thing. I'll drop a picture of a lightly painted shroud today, I just got my TS-14 can in the mail.
There is ONE issue I'll describe later. Here, just look at some pictures. The shroud is smoother than it looks, it's black resin which looks dusty any time you sand it.
I used specific parts from Evergreen and Plastruct for the midband and grips. I can supply these or give y'all an instruction booklet for what I did.
The problems I have are that I don't have scratch made versions of the top of the box or the greeblie behind the shroud. You can buy the greeblie from Roy at wannawanga.com I think. I'm also thinking of mocking up a couple versions in styrene to cast, if there's any interest.

