
This was a commission for Dragon Age II armor of the main Character Hawke that I did in the fall of 2010 and early 2011. The greaves are were probably my favorite part until I made the glove some months later. I had to look at the trailer to get an idea of what we wanted to go for and a couple of concept pics at the time. I know in some version people have made it look real rough and like sheet tin somebody just slapped on their body. I wanted it to look a little more refined then that. Also I did the blade on his staff. He had another person work on the leather parts of the costume.
Most of the armor is made from pvc sign plastic and bondo. I learned to bend the shapes in the feet plates with my Lorax Axe. It is painted a darker gray armor color then what I normally do, but this adds an edge to it. The spray paint was a hammered dark bronze which I enhanced with black acrylic paint. I hand wiped the black into the little hammered spots and some of the wear marks to make them stand out. Texture gives an object believability. I could've probably gone for a more rot iron color, but he didn't want the armor to be more black the gray.
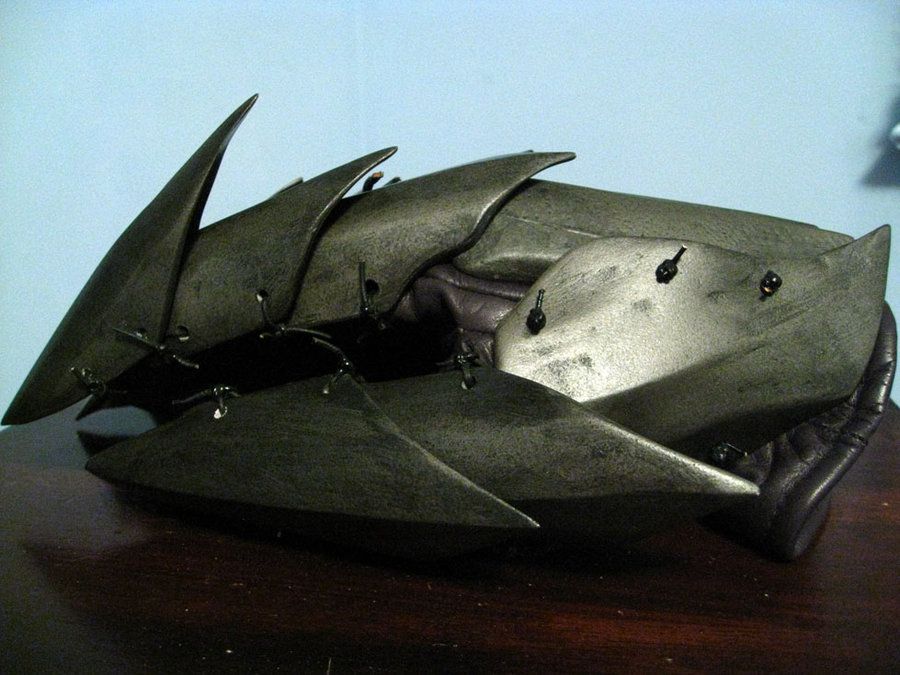
These plates will ride a little higher then pictured. They are made for a guy who is 6’8. He will be attaching it directly to the leather costume a leatherer is making for him. Other plates include knee armor, vambracers, gauntlet, spauldron and collar armor. The large pyramid/spikes are made from fusing plastic sheets together and carving them down. If I were to do this again I would use a different material for the larger spikes or vacuum from them. The fake wields are made from using a hot glue gun.
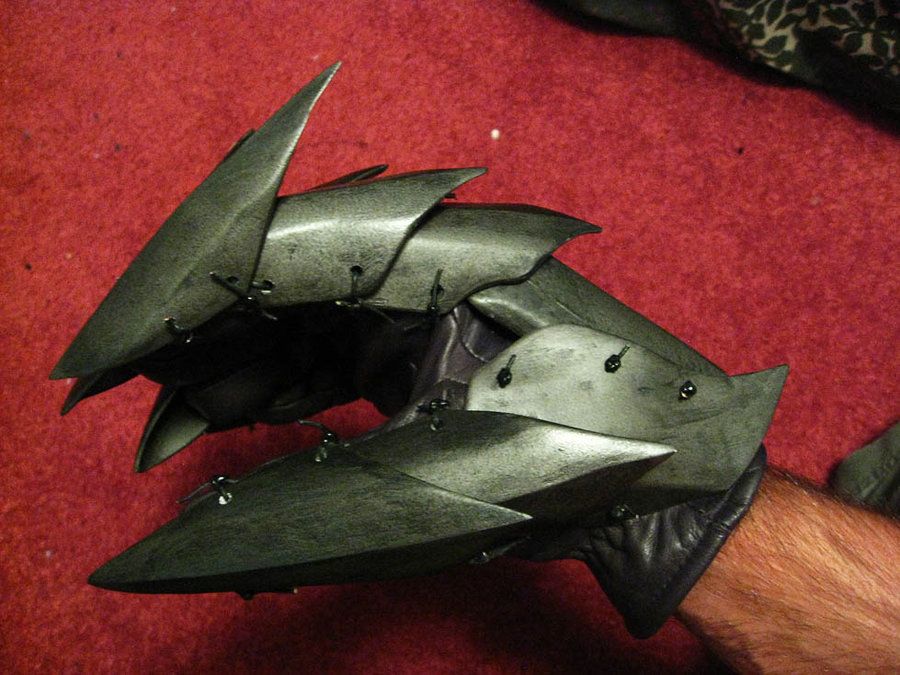
Since we were doing the armor based off of the trailer a few shapes were hard to discern. The gauntlet in the trailer for instance looks like 3 or 4 plates. I tried that first and then after discussion with the commissioner and finding a concept art piece we went with a full vambracer with one plate on top. I think it looks better. But both representations are placed below. Also we only did one spike for the elbow instead of two. Daniel is pushing 6'7" and he said that with those spikes on he might accidentally jab a friends eye out since come to that level on him. :facepalm


The string was only used for the photos. We used chicago screws or threaded posts to attach them directly to the costume.


The glove... well the glove came later. He needed the costume for a convention in feb and I didn't have the glove ready so he made one for himself. So some of his images have his old one on and then the new one I made for him. In the mean time I worked on a glove for him. The glove was an interesting experiment. I used 3 mm plastic and then formed and carved into it. I attached the plates with round leather cord to the leather glove and attached the ones around the knuckles to each other to keep them from moving forward when clinching a fist. Also the fingers have good movement and you can grip things. He did say he was able to grab items alot better with the one I made.


Now the slightly downer part. When I shipped it to him in fairly secure and properly packaged shipping materials the UPS delivery service damaged the boxes in transport which damaged the armor. The basically obliterated the neck piece which I had to rebuild anew and broke little parts off of other pieces. Even with photographic proof that the damage to the package came from external means UPS refused to take the blame and did not reimburse Daniel for the damages. They said I improperly packed it and if had given 2 inches of proper packing all the way around( i had an 1 inch a half) then the product wouldn't have been damaged in any manner, no matter the accident. If you saw the box when it arrived at Daniels... you know no 2 inches would've protected it. It was almost like someone had dropped the pallet with the packages on it and it took the brunt of the fall. They refused to honor their insurance policy. So I generally try to not use them unless a customer wants to pay the UPS cost of shipping materials and packaging. Daniel repair most of the damage and rebuilt the neck piece. So the neck guard you see at the top was the older one. The newer one I added another lipped edge to the sides we found in a different picture. He is wearing he newer one in his pics. It looks better with the winged area on it to connect it with the shoulders and slight collarbone protection. And this is him in costume.


")