Bob Rosland
New Member
After becoming addicted to Destiny, I decided I should take a crack at some of the weapons from the game. I switched to easy mode and started with the Hunter's knife.
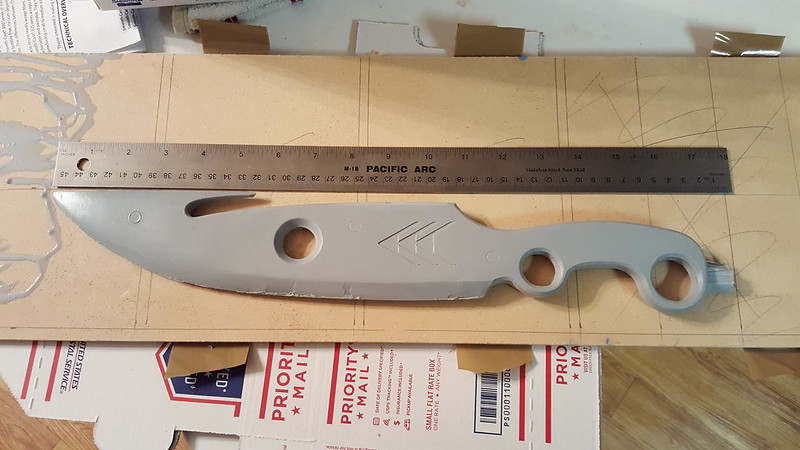
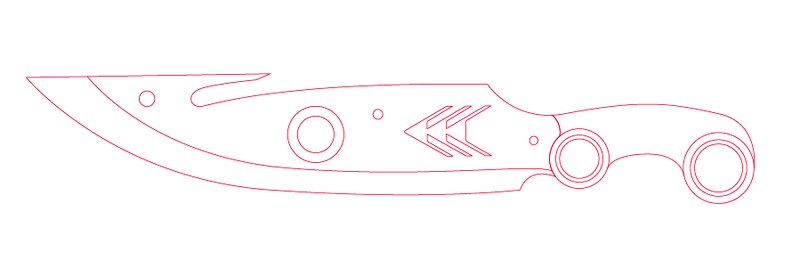
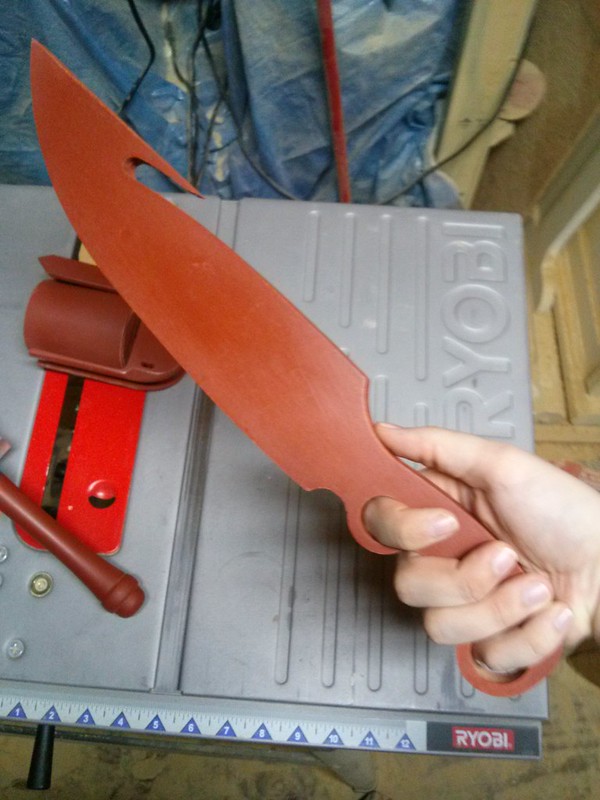
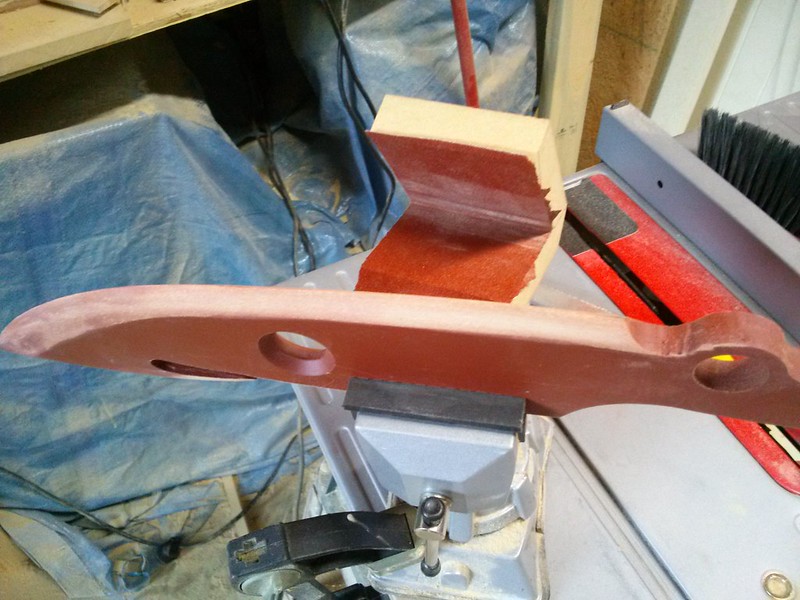
It started with drawing blueprints using the image that Bungie graciously provided that shows the knife from every angle you could possibly need. I took those and cut the basic shapes (the handle and blade were made separately) from two halves of 1/4" MDF because that's what I had lying around. Here's the first couple passes of sanding and primer.
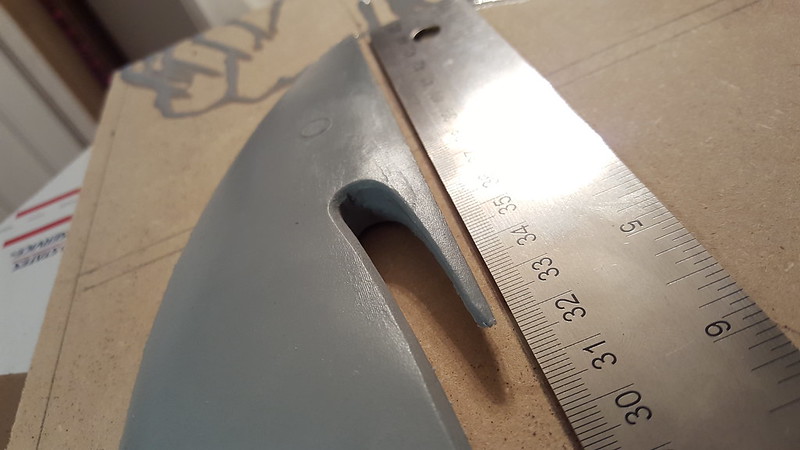
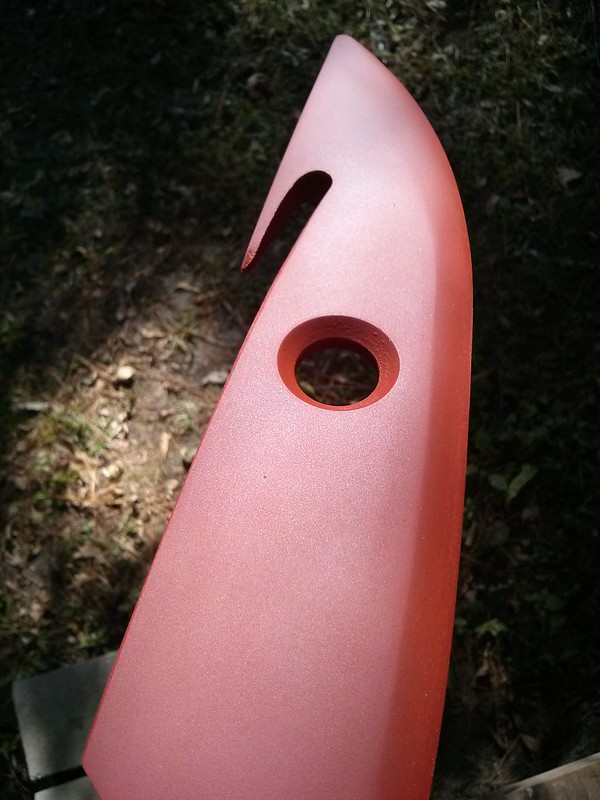
The hole in the blade was cut with a forstner bit to ensure that the hole would be perfect and the edges of the hole were beveled with a 45 degree router bit. I didn't get any before and after pictures, but I tapered the last third of the knife on my belt sander because the entire thing being 1/2" thick would just look silly. I made a custom sanding block to help keep the "sharp" parts of the blade even along both sides of the entire length of the knife.
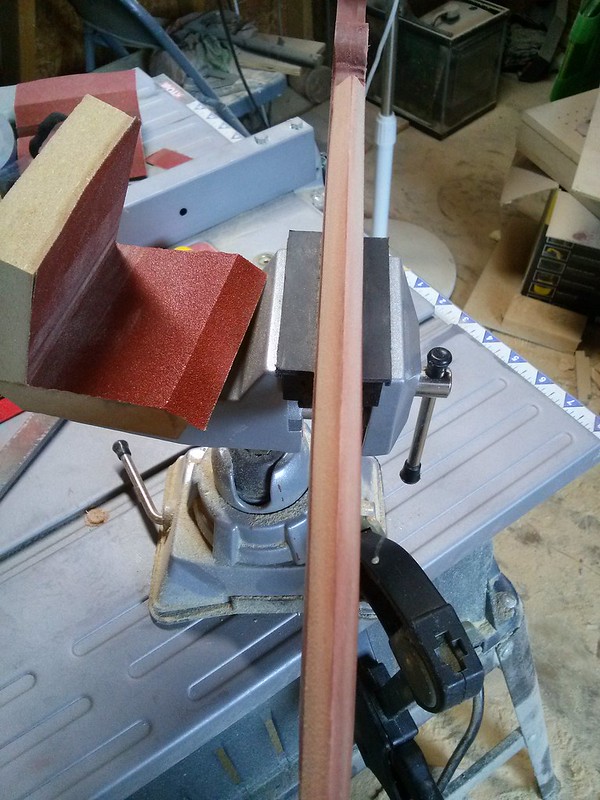
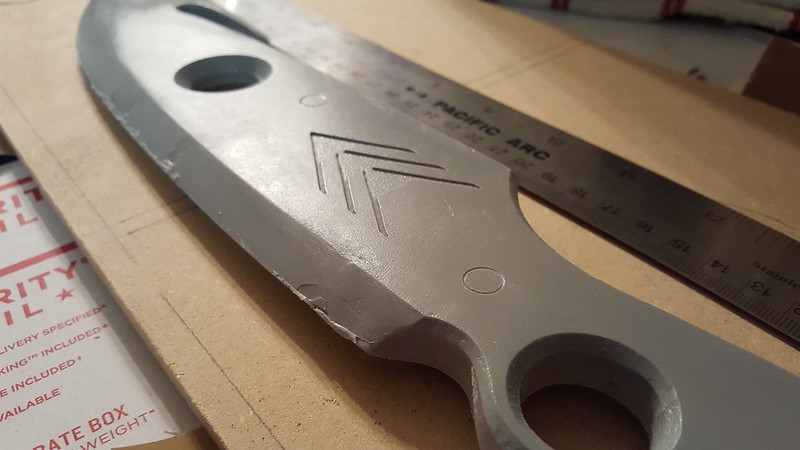
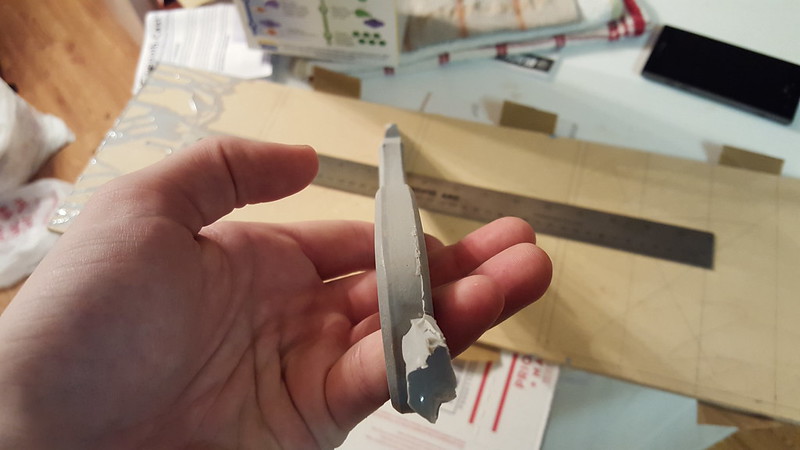
This is just a progress shot of the sanding process. Smoothing everything out while keeping the sharp edges is pretty tricky.
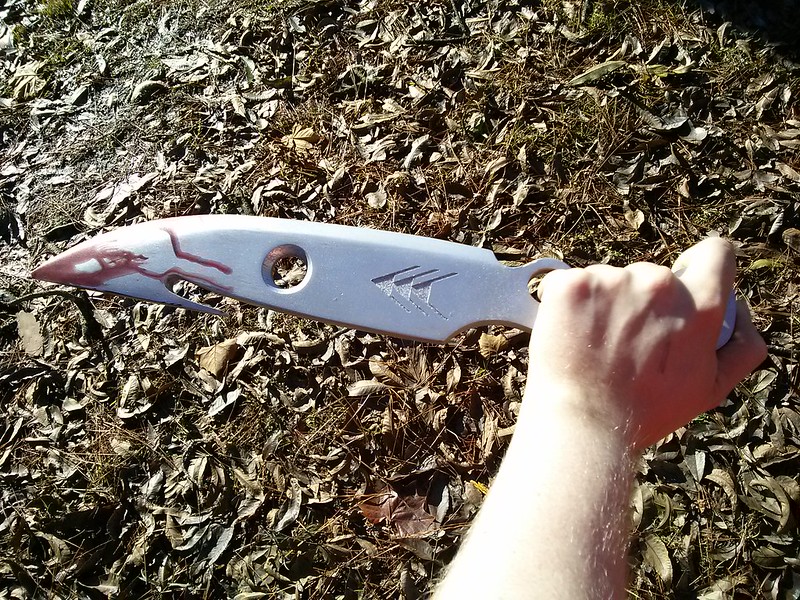
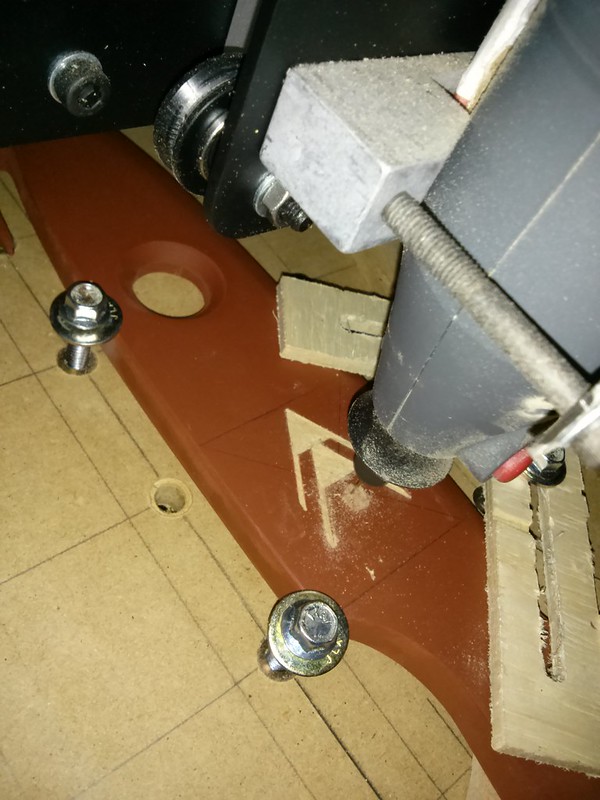
Today, it went back under the knife (Ha.) for the engraved Hunter symbol on both sides. Letting my Shapeoko have it's way with this thing that I've been working on for weeks was pretty terrifying, but both sides engraved perfectly. Very little cleanup is needed because the primer acted as masking layer, which eliminated the MDF fuzz.

More updates to come later. You can take a look at my Facebook page Bob Rosland Industries and see other things I'm working on if you wish!
It started with drawing blueprints using the image that Bungie graciously provided that shows the knife from every angle you could possibly need. I took those and cut the basic shapes (the handle and blade were made separately) from two halves of 1/4" MDF because that's what I had lying around. Here's the first couple passes of sanding and primer.
The hole in the blade was cut with a forstner bit to ensure that the hole would be perfect and the edges of the hole were beveled with a 45 degree router bit. I didn't get any before and after pictures, but I tapered the last third of the knife on my belt sander because the entire thing being 1/2" thick would just look silly. I made a custom sanding block to help keep the "sharp" parts of the blade even along both sides of the entire length of the knife.
This is just a progress shot of the sanding process. Smoothing everything out while keeping the sharp edges is pretty tricky.
Today, it went back under the knife (Ha.) for the engraved Hunter symbol on both sides. Letting my Shapeoko have it's way with this thing that I've been working on for weeks was pretty terrifying, but both sides engraved perfectly. Very little cleanup is needed because the primer acted as masking layer, which eliminated the MDF fuzz.
More updates to come later. You can take a look at my Facebook page Bob Rosland Industries and see other things I'm working on if you wish!