Customer build 1/350 NX-01

Status
Not open for further replies.
Now that the epoxy has dried over night I addressed the base. The owner Dave sent me a MR base. Nice. Mirrored Plexiglas top to it and a acrylic pole. There was no way to remove the pole without inflicting damage to the whole base. I needed a temporary solution.

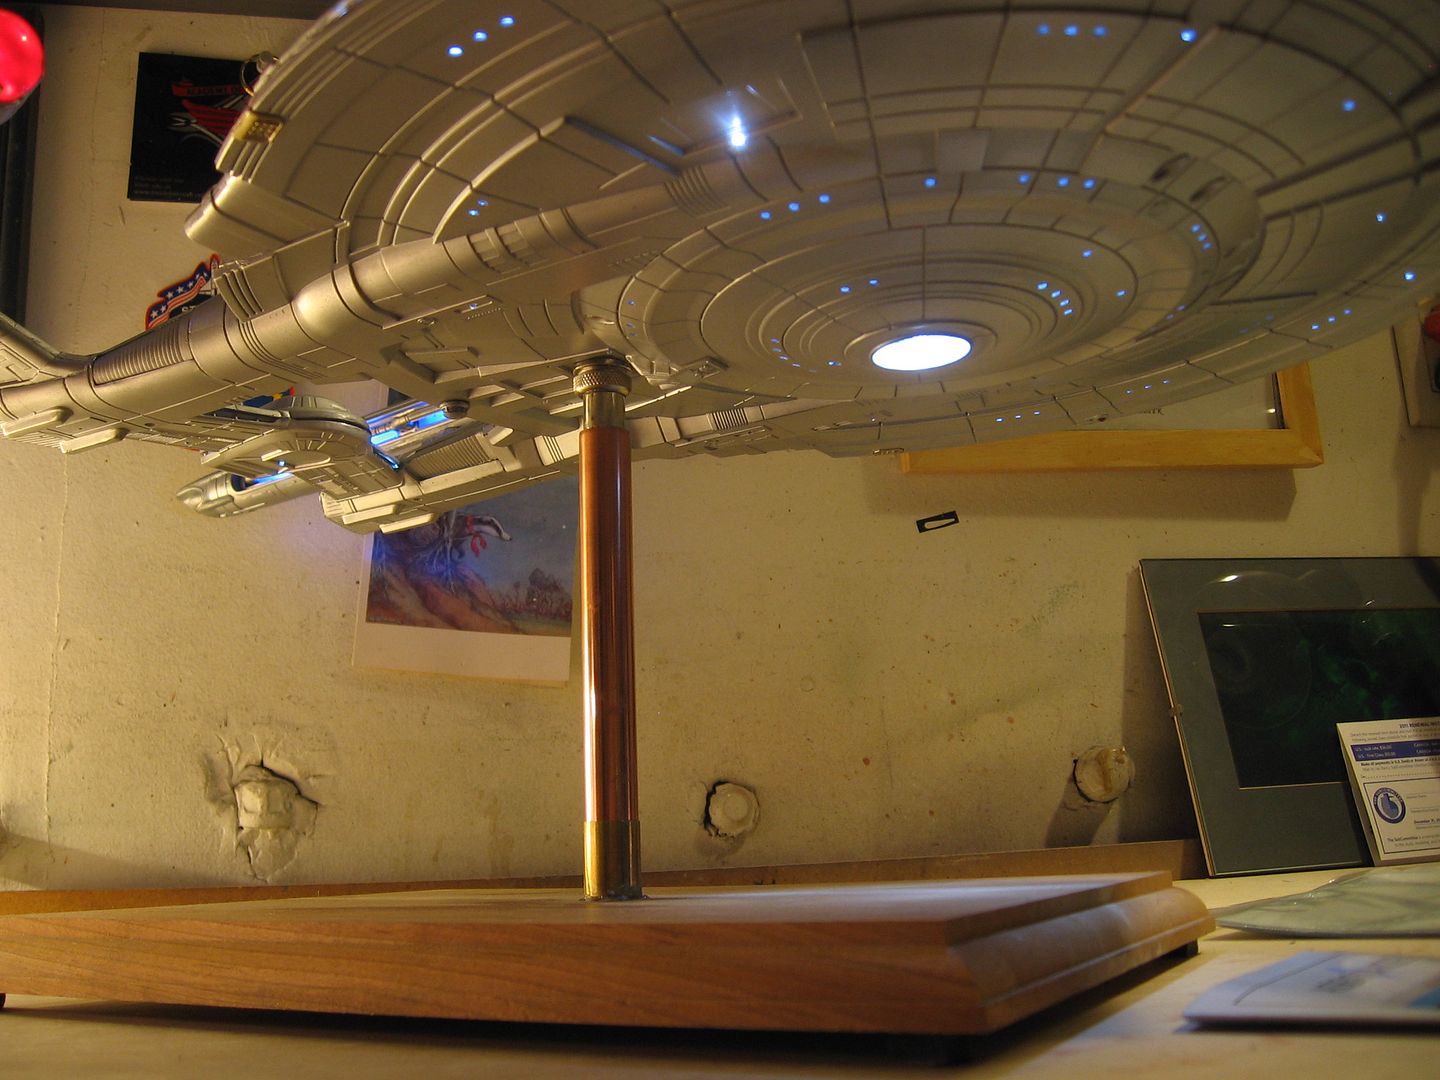
So out to the garage and rummage through my stuff and found a nice base. It is unfinished wood but was perfect for my needs. I have lots of brass stock and found the right sized OD to the Pole Dave sent me. I drilled a hole dead center in the wooden base and fit the brass in using a square to make sure it was true. Glued that in with CA. Added some rubber feet.

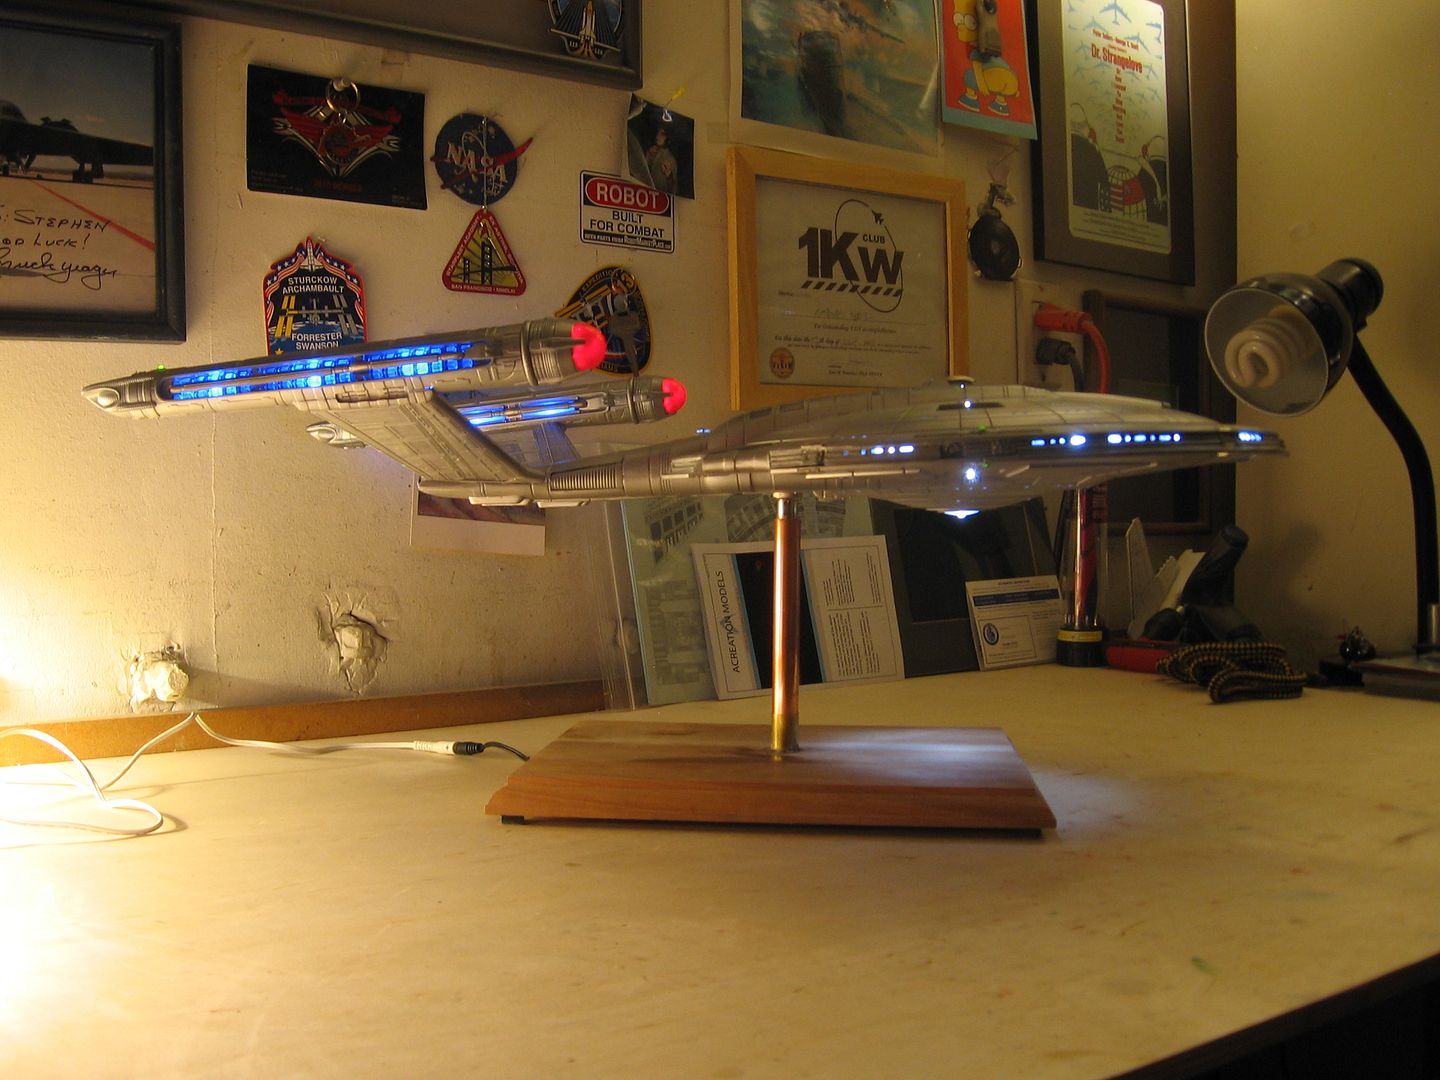
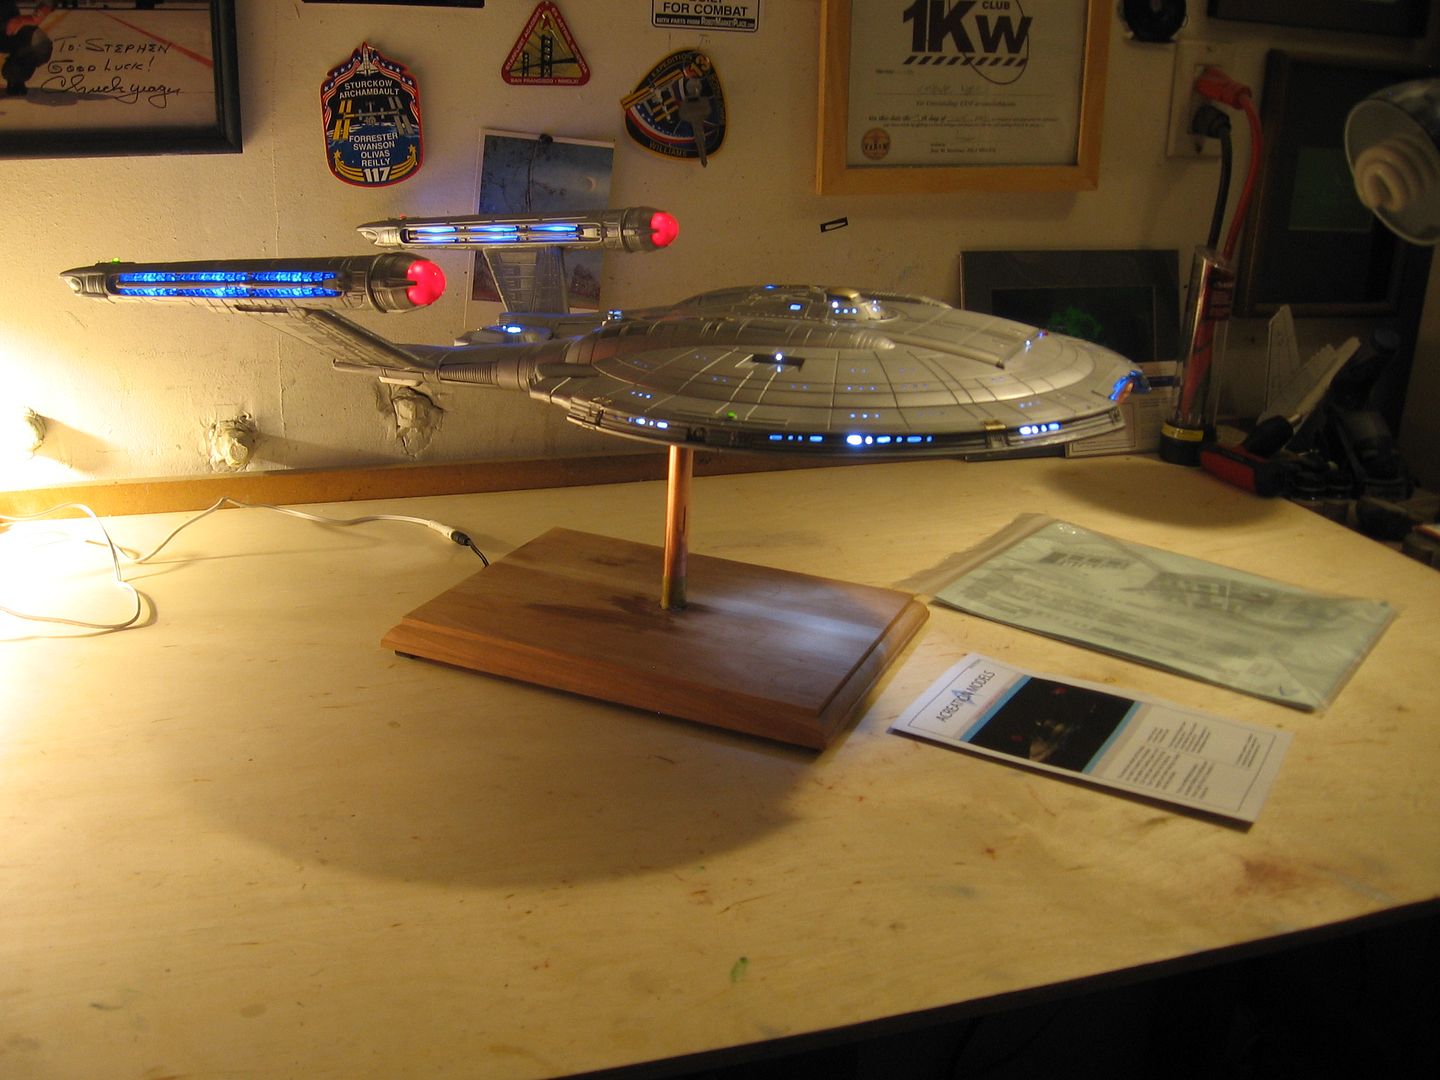
The pole fits snuggly into the brass and can be removed with ease. You can turn the model on the stand too. The ship is mounted at a slight positive angle (no the nacelles aren't drooping it's your eyes! LOL!).

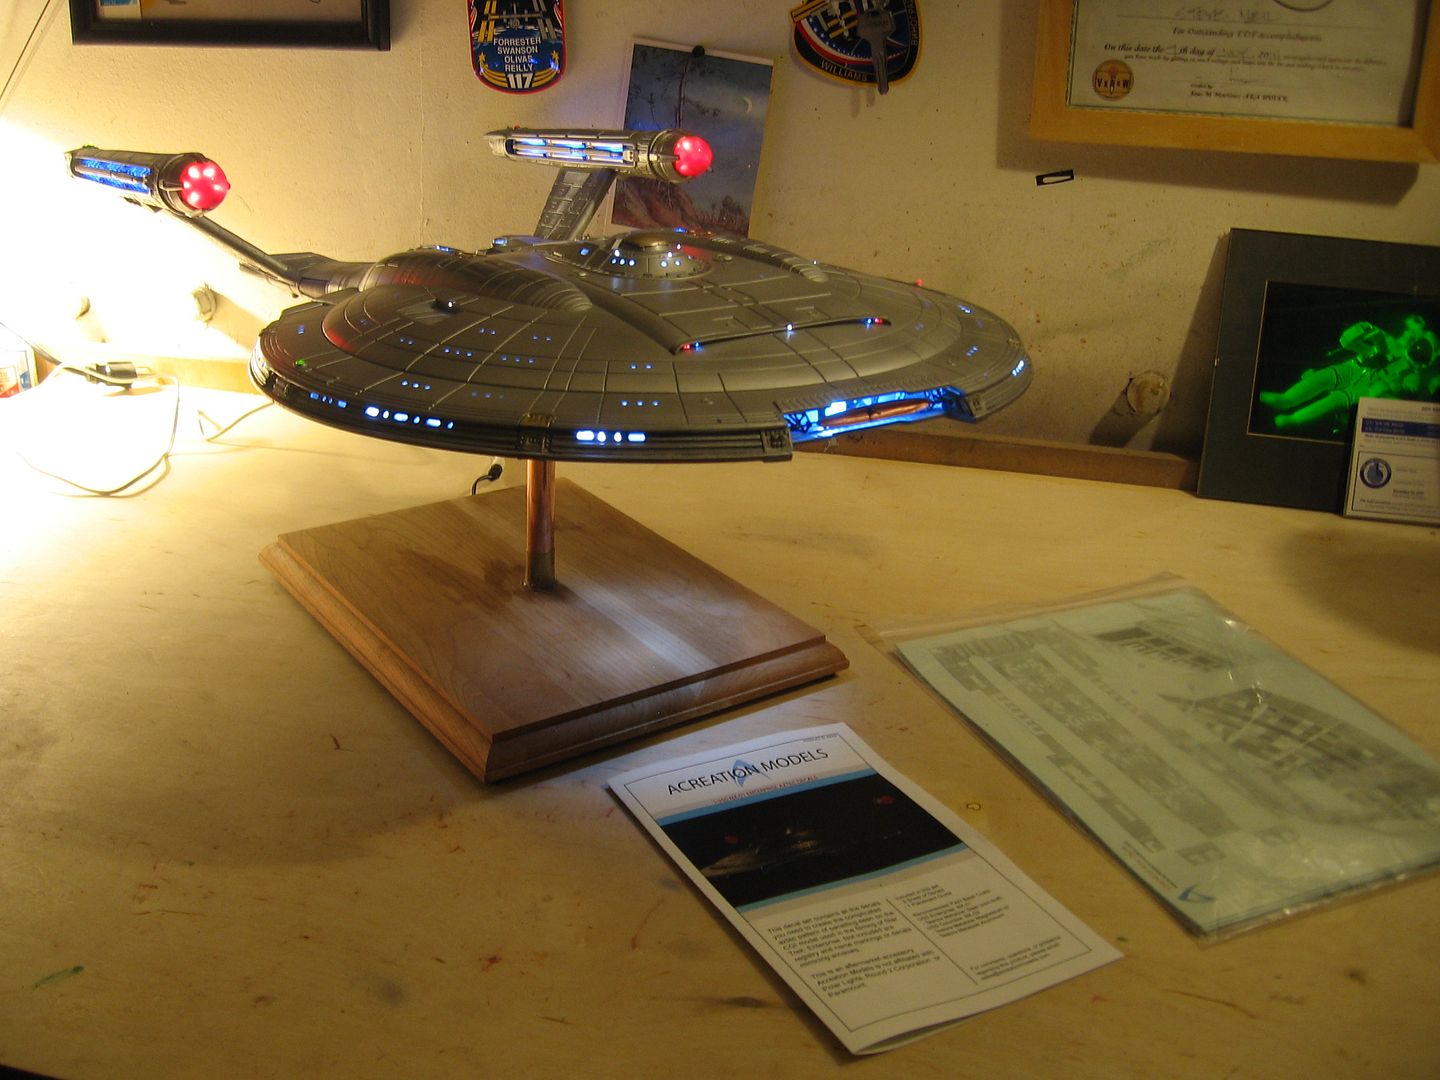
I plan to mount a piece of mirrored plex to the base later on and paint the edges black. Dave will at least have a decent base for now until he replaces it with some thing else down the road.

Now I can get to work adding the decals tomorrow and she'll be finished.

More tomorrow,

Steve

IMG_6462.jpg


IMG_6464.jpg


IMG_6460.jpg


IMG_6459.jpg
 
A signed picture from Chuck Yeager...now you are just showing off!! Keep up the great work. I am making a lot of notes for my NX build in the near future!
 
Thanks Clan. And Space Rat no I didn't. Scary huh? Well not really.

At the mounting position I chose it is the absolute CG of the model. Additionally the plastic there is extremely think and it's close to the narrow point of the saucer. There's less than inch of clearance between the top and bottom.

I suppose I could have put a piece of PVC pipe in there but didn't think it would be much help. She's very solid on her mount there. But if you're really worried about it put the PVC pipe in or styrene.

Thanks again guys,

Steve
 
Just a clear coat when done. I doubt if these Acreation Models Decals will yellow.

The Acreations models Aztec Decals are a 98% exact match to Doug Drexler's renders. The color is exact. They are very thin and yet you can bang them around pretty good and they don’t tear. Done right they look painted on. I can’t say enough good things about their decals. I’m very impressed.

For the flat surfaces water and a brush alone does a great job. For the corrugated and deep impressions Micro Sol does the job. Even after I applied the Micro Sol I could still push them around without damage.

For raised details in the hull they are suppose to apply over, I used water to start. Then a bit of Micro Sol and if that didn’t completely do the job and brush once only of the Solvaset. Once you use that stuff you can’t move it. Or the decal will break up. But after it dries it conforms the decal to the most detailed raised parts of the hull like magic.
I highly recommend there decals. Worth every penny.

Busy day for me running around town and getting materials. Got some nice mirrored acrylic sheets for the stand. I’ll get more done tomorrow.

Steve

IMG_6466.jpg


IMG_6467.jpg


There is a decal over that raised part. I did nothing more than use Micro Sol and Solvaset .

IMG_6468.jpg


IMG_6469.jpg


No clear on yet.
 
There is a decal over that raised part. I did nothing more than use Micro Sol and Solvaset.
Nicely done! I've never used any decal solutions, so I didn't realize they could soften decals to that extent without damaging or obliterating them; I probably would have cut the decal around that bit of detail.

Your basecoat doesn't appear to have a glossy surface. What are you doing to negate the "silvering" issues?
 
Thanks but the base coat is primer, followed by testors metal buff aluminum and coated with gloss clear. Decals slide around very well. no issues.

Steve
 
Boy, the gloss sure doesn't come across in the photos (not much, anyway). Thanks!

BTW, beautiful build! Yours is one of the few builds I've seen with lights that aren't overly bright for the scale.
 
Status
Not open for further replies.
Back
Top