Customer build 1/350 NX-01

Status
Not open for further replies.
Thanks guys that's nice of you. Internship. No pay. Hard work and you have to move out here. Doesn't sound much like and good thing to me. ;)

As she sits now she is structurally built. She's got more claps on her than Carter has pills to force this thing together cleanly.

I tired and tired to get her to just float together. Sanded things. Adjusted edges. You name it. Oh it got better but still parts just want to run screaming from each other in opposite directions. This is why in some cases I have found some garage kits to be better.

Like Scott Brodeens 31 inch Nautilus. I don't think I have ever built such a good fitting kit.

The problem I think is that the big companies often pull parts when they are still warm. I found this a lot in this kit and others. Especially the clear parts for the nacelles. They looked like concaves.

Enough of that. The plastic weld and all these clamps ought to do it. I'm going to let it sit through tonight and through tomorrow and take the clamps off Thurs.

Hey I'll do a few parts on the Big E! ;)

Steve

IMG_6397.jpg
 
So while I waited on the clamps today I did this. The hanger deck parts weren't made to be lighted or did they have windows. Seemed lifeless without them.

The problem was the model was glued shut. No way to get at the wiring to add another light. But I figures away out. Got the part popped out and could just get inside to feed a wire in and out the bottom were I spliced it in and added a resister.

I drilled out a filled these tiny windows, put some tape on the outside and filled them with clear epoxy. The top round part was clear so all I did was black it out and paint more silver. Then scratched off the paint. Bingo. Not perfect but a hell of a lot better than unlighted and no windows.

Tomorrow is seaming and blocking light leaks. Touch up paint and final painted details. Then it's Aztec time.

Steve

IMG_6407.jpg
 
This is seriously one of the sexiest builds of a Star Trek ship I've ever seen. Awesome work, Steve!

Cheers,

Guy
 
As always Steve, your work is amazing, highly detailed, informative, educational and just a lot of fun to watch.
 
Today was fill light leak day and I almost got them all except for a few I’ll finish off tomorrow.

It’s a real pain going around with putty and fill little cracks and trying to keep it put of the fine detail. Luckily Squadron is forgiving and easy to carve. Some of the cracks like the ones in the hanger Aft bay area were really hard while others like the horribly warped seams on the nacelles were easy.

What wasn’t easy is where the seams meet (or didn’t) over the bussard collectors. There was a huge gap there and nothing I could do outside of sanding down the bussards would make them fit together. But they cleaned up well.

I still have to final sand and repaint of course but it’s going well. I have just about no leaks in the saucer rim. Maybe to I’ll get tomorrow.

More tomorrow,

Steve

IMG_6418.jpg


IMG_6417.jpg


IMG_6416.jpg


IMG_6421.jpg


IMG_6419.jpg


IMG_6422.jpg
 
Lots of filling and sanding green putty today. Got all the light leaks. Now to touch the paint up with an airbrush tomorrow and start adding decals.

More tomorrow

Steve
 
Steve,
I'm surprised you have the patience for that squadron green putty. Have they changed the formula? My old stuff would sand up great then shrink down a little more in the seam. It took forever to stop shrinking.

Vince
 
They must have Vince. I didn't run into that problem and found it easy to work with and re-scribe. I haven't had any in a long while and usually use Bondo spot putty but the store was out of it so I figured what the heck. It seems to dry faster too. Beats me. So far so good.

Steve
 
Three days of this. But the parts just drive me nuts how they fit together not to mention the light leaks as a result.

But it’s all fixed now and I’m touching up the paint as we speak.

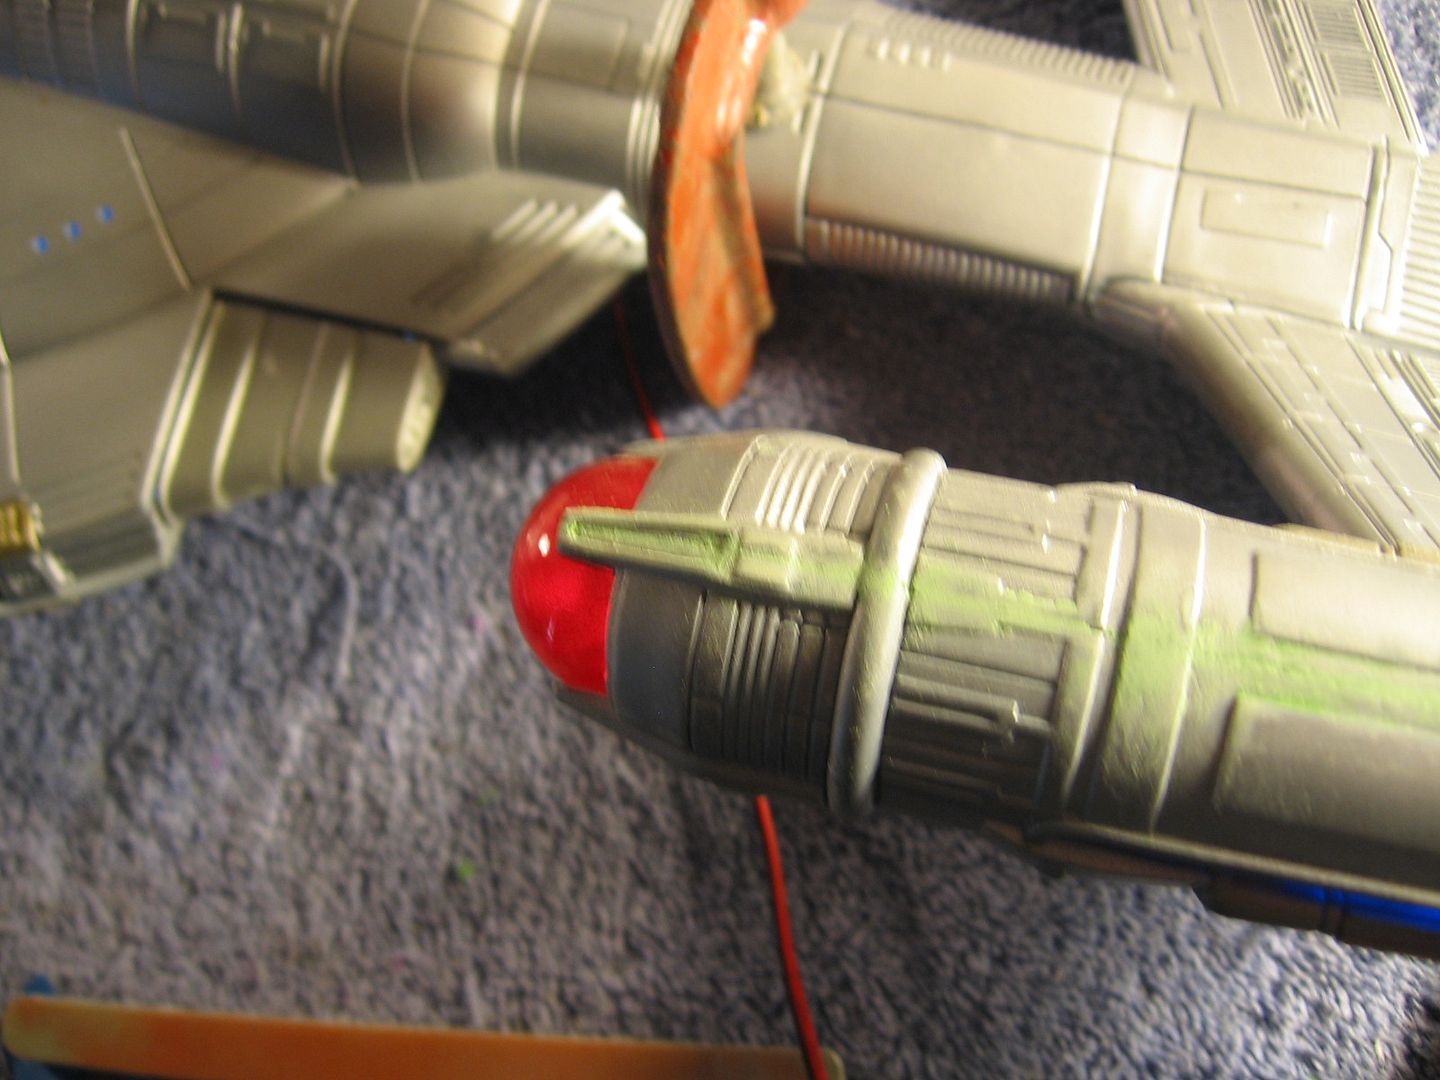
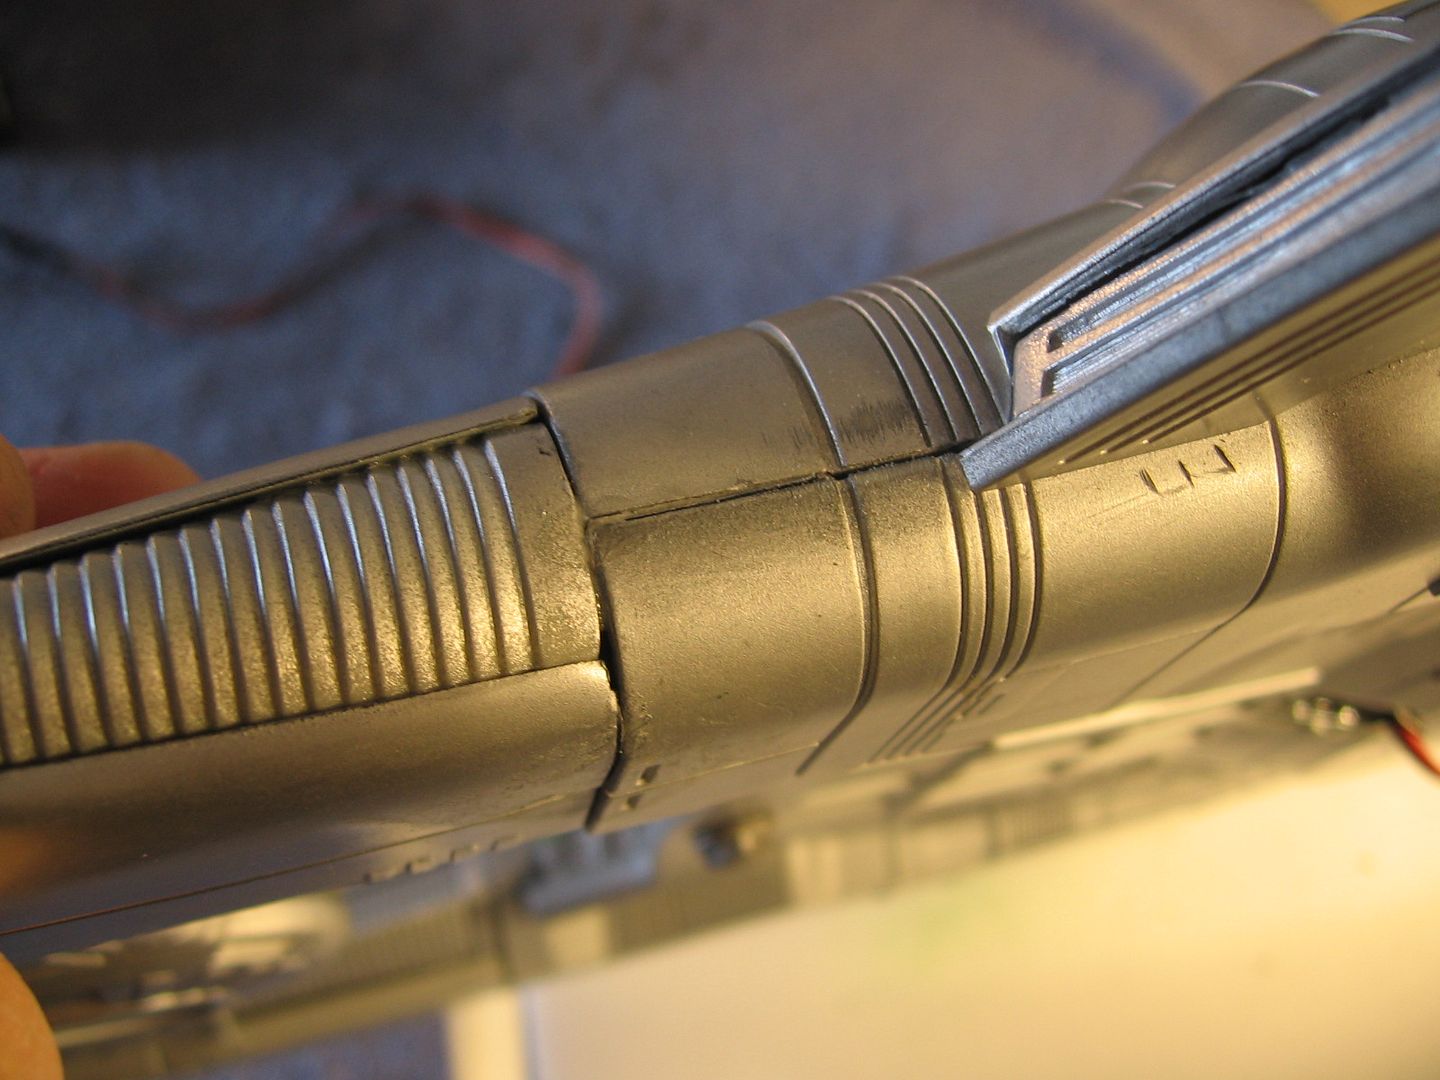
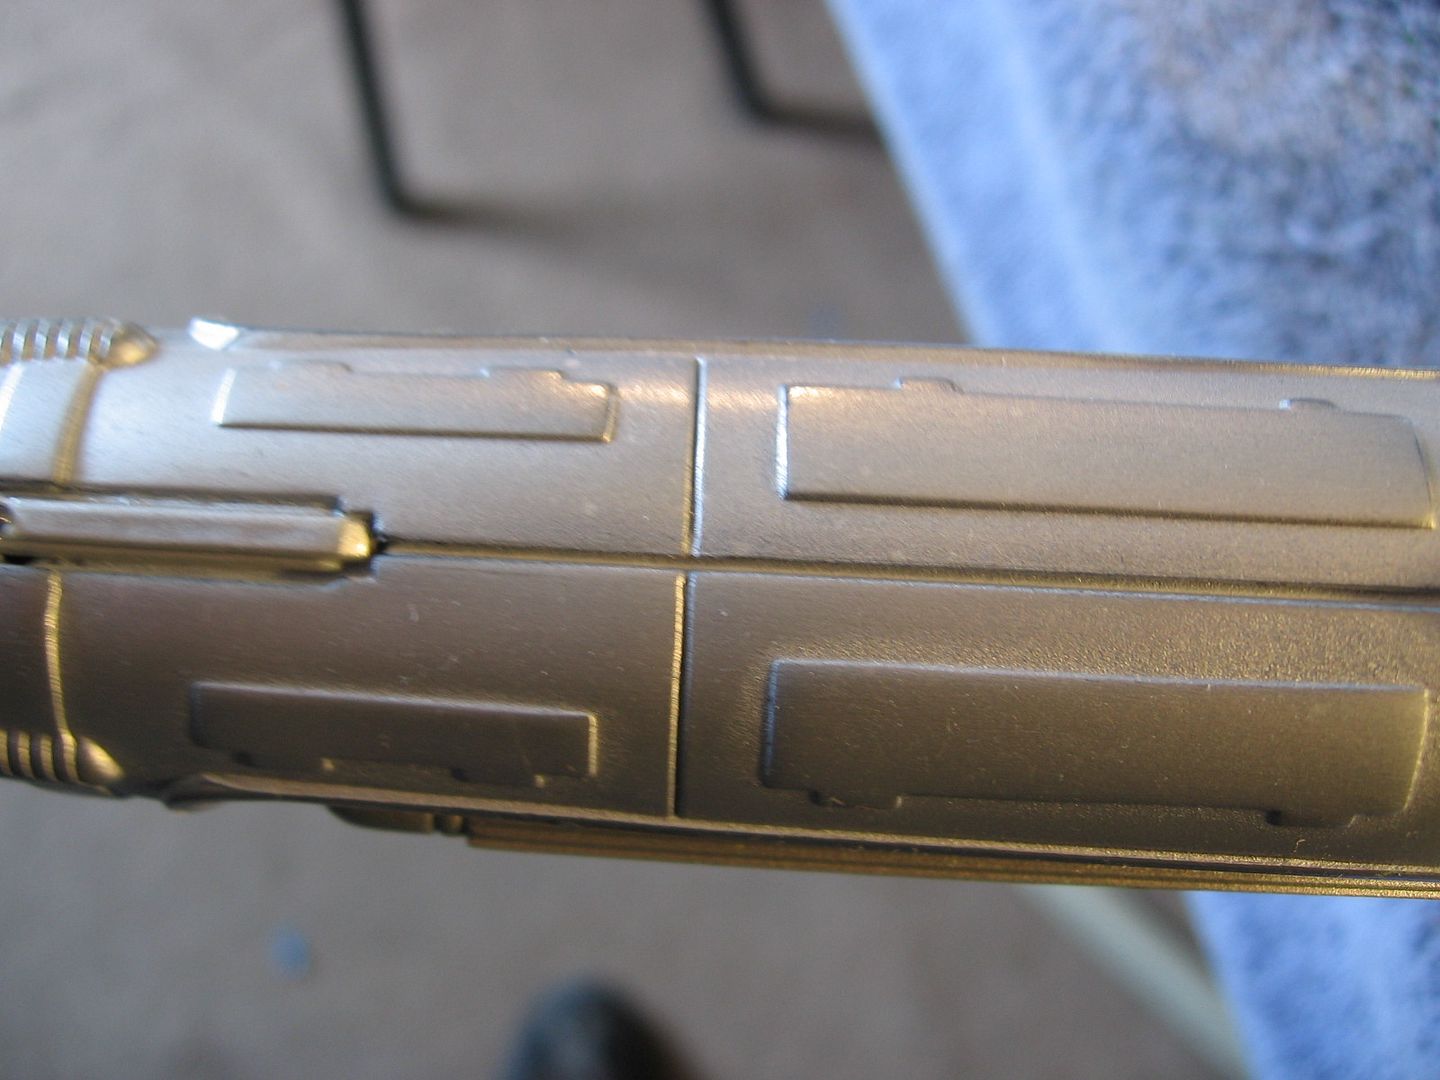
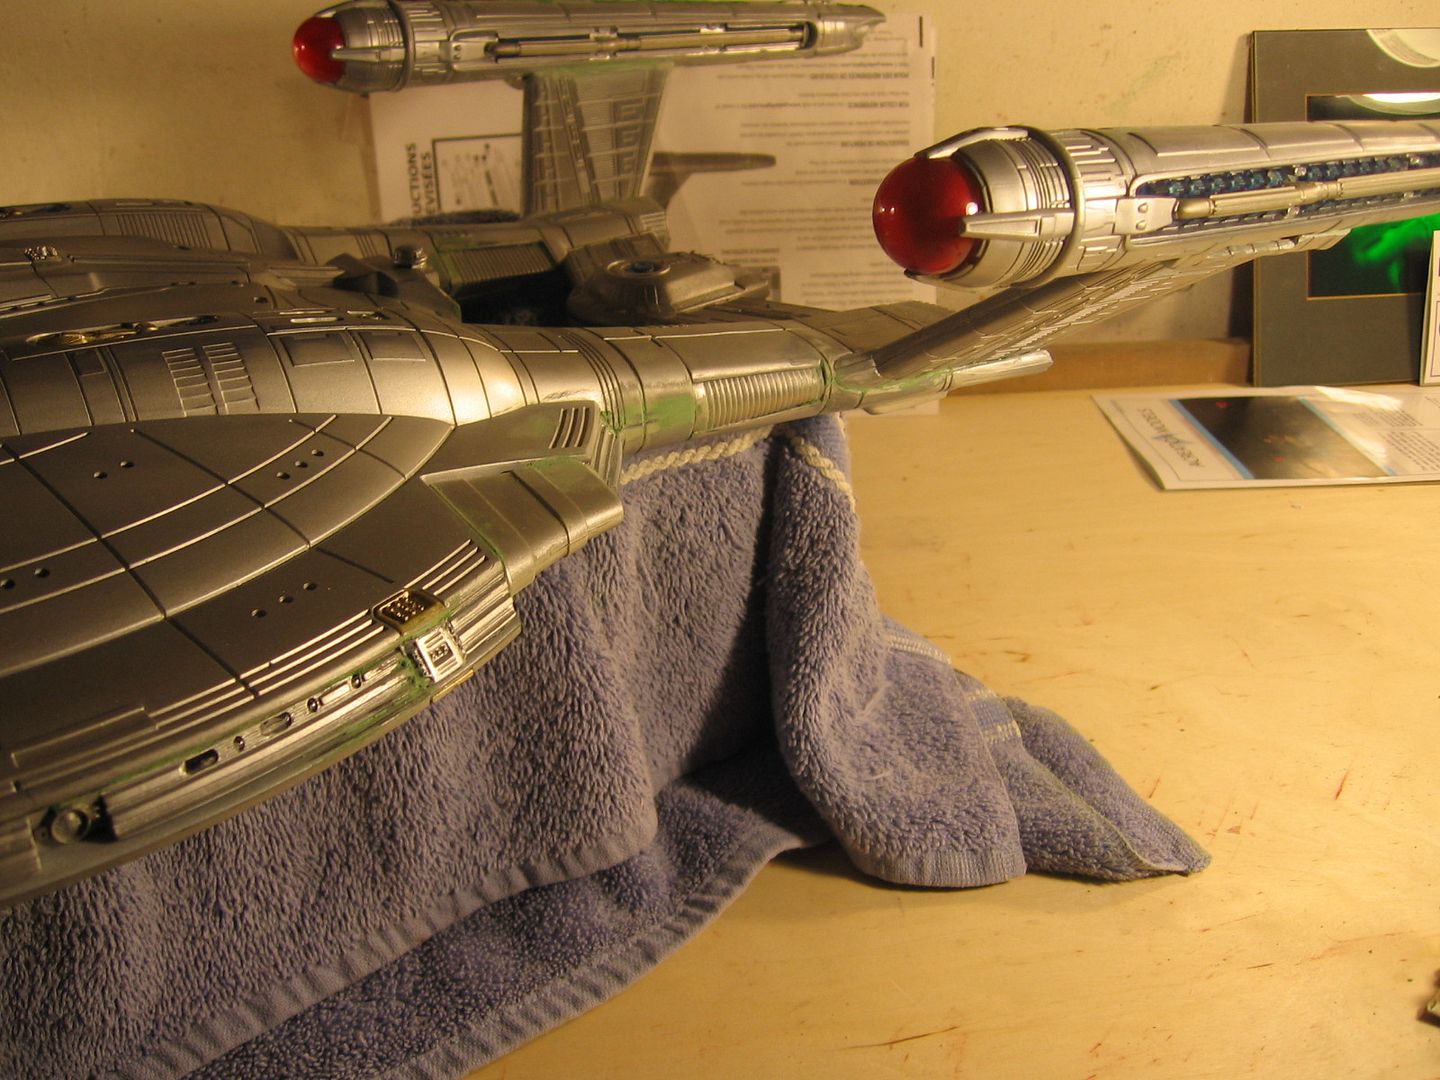
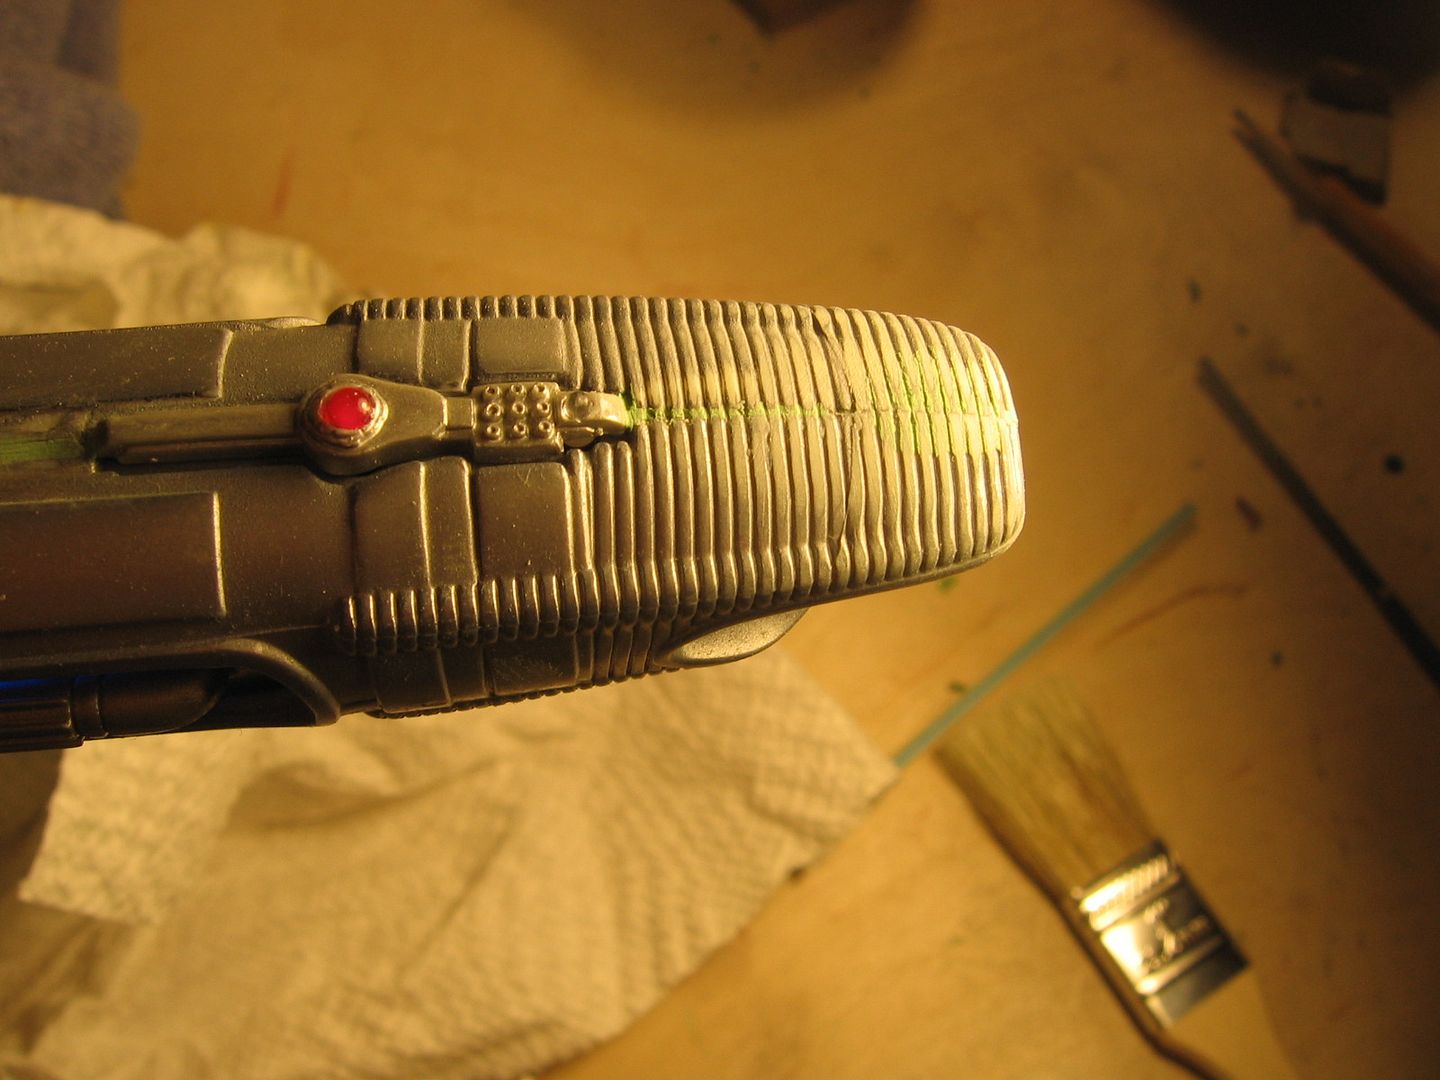
As you can see on the nacelles and other areas the seam lines don’t match when the two halves are properly put together. Not much one can do about that. I took the curse off the stepped areas with sanding and blended putty.

But all complaining aside in the end this is a nice solid model. Don’t let my griping stop you from building yours. Just do it and love it. To tell you the truth I can’t wait to start mine.

Thanks to Gary and Cultman TV I have the lighting and decals in the box with mine ready to go.

Steve

IMG_6429.jpg


Yuck!

IMG_6431.jpg


WTF? Panel lines don’t match.

IMG_6436.jpg


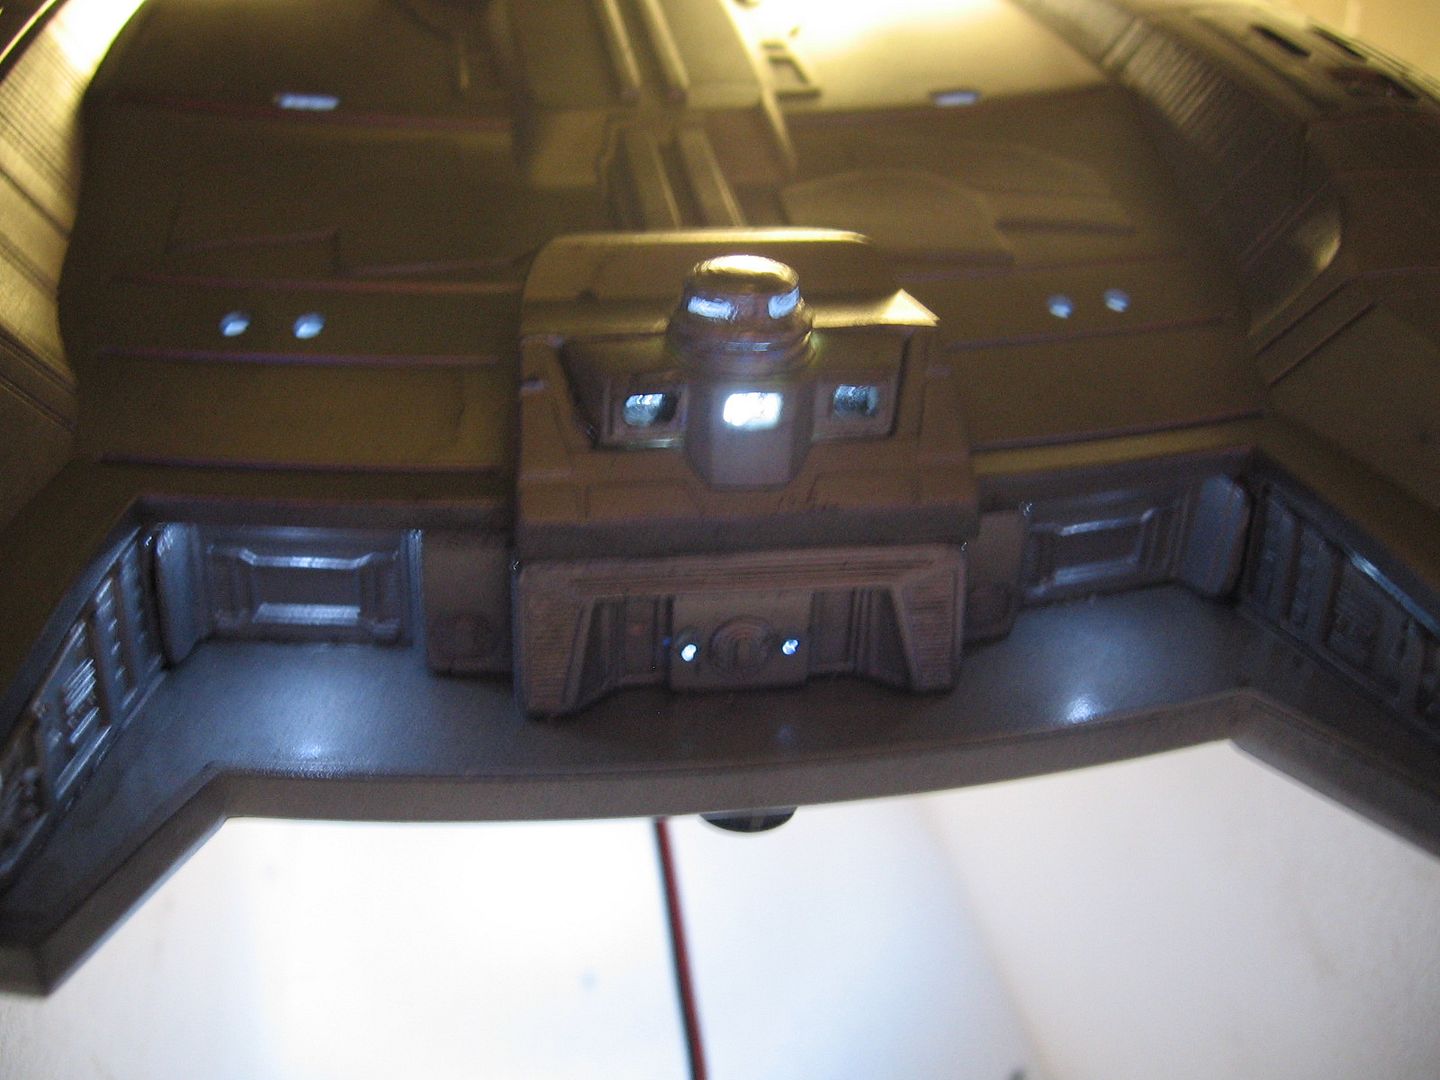
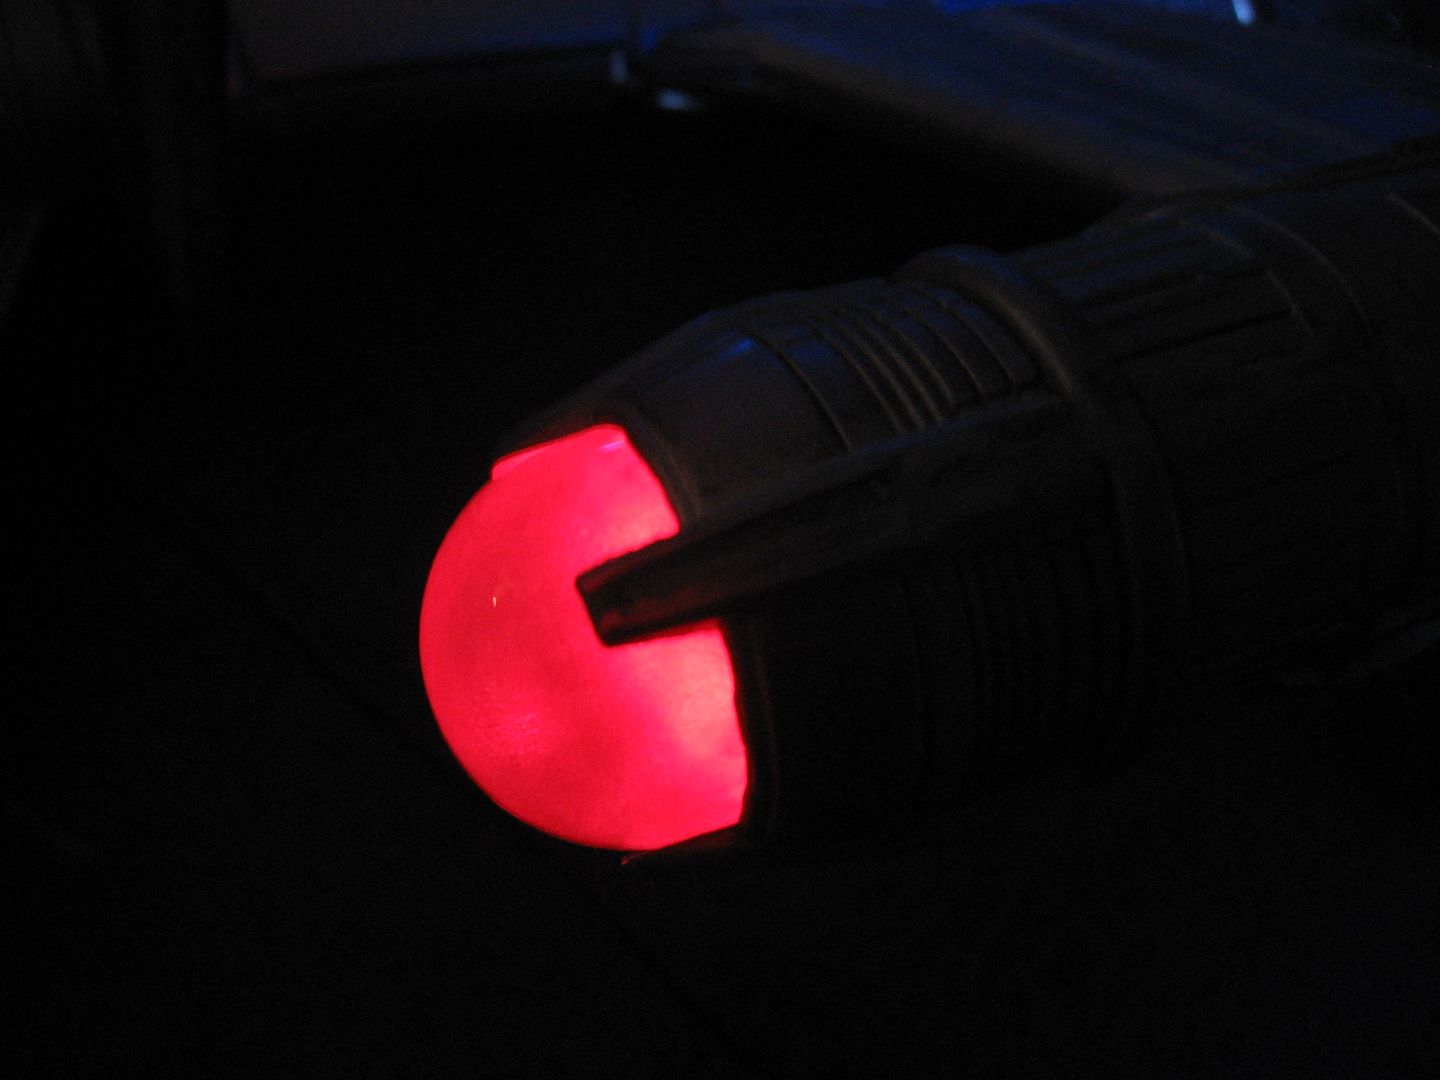
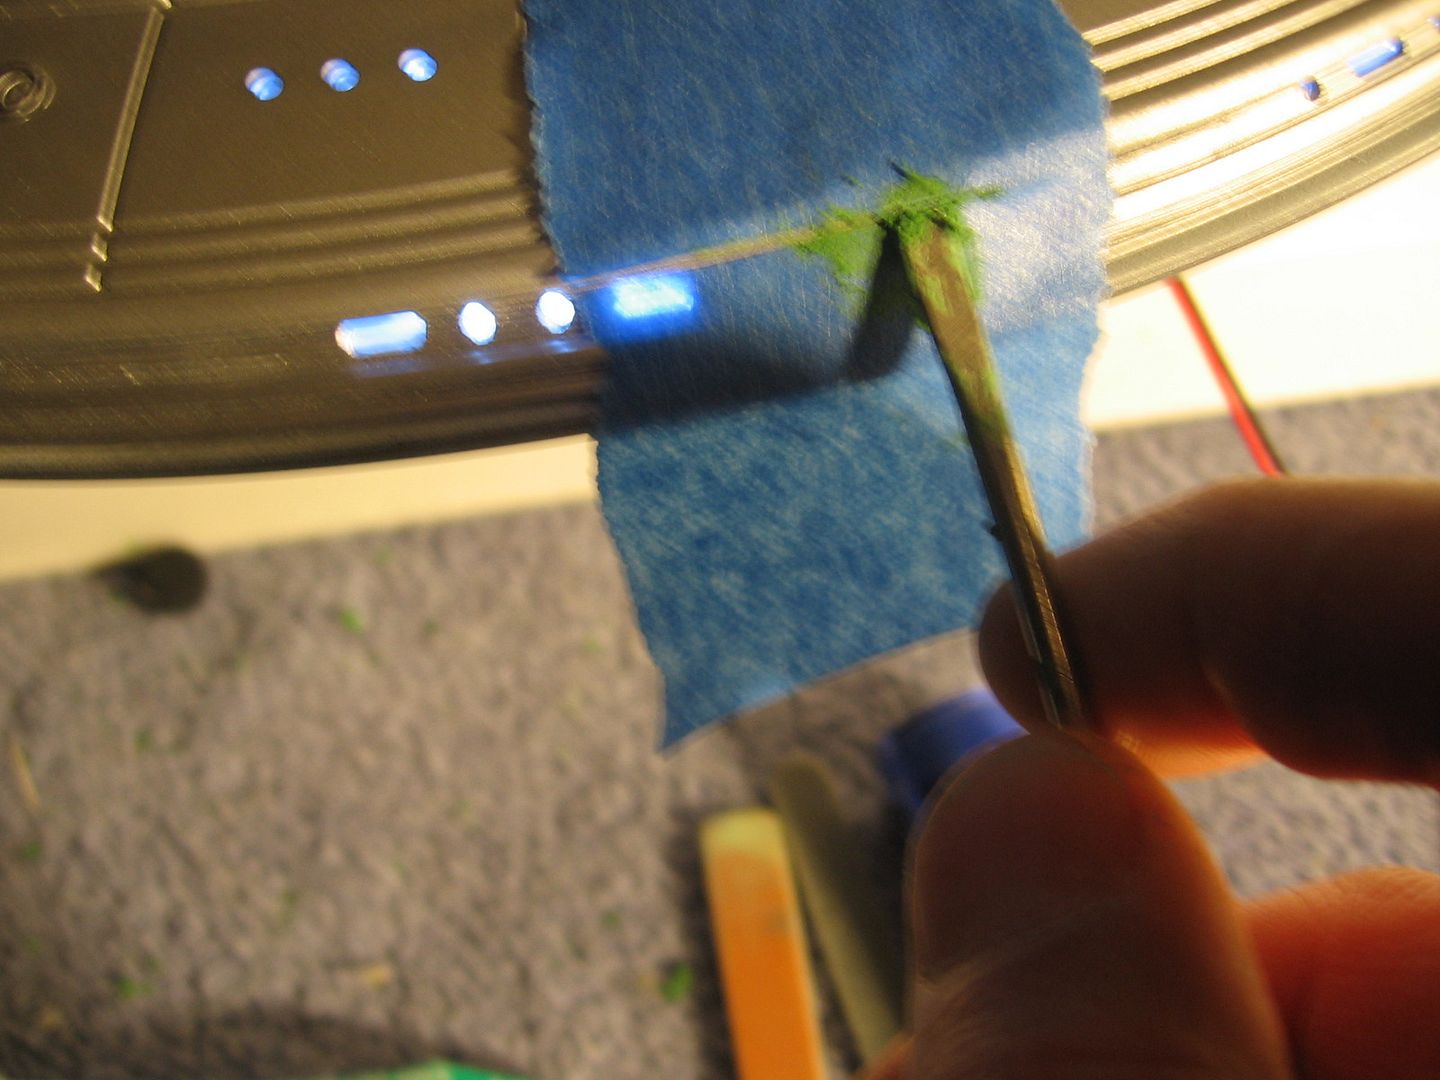
Plugin leaks. Tape keeps dummy fingers from getting it on the windows.

IMG_6437.jpg


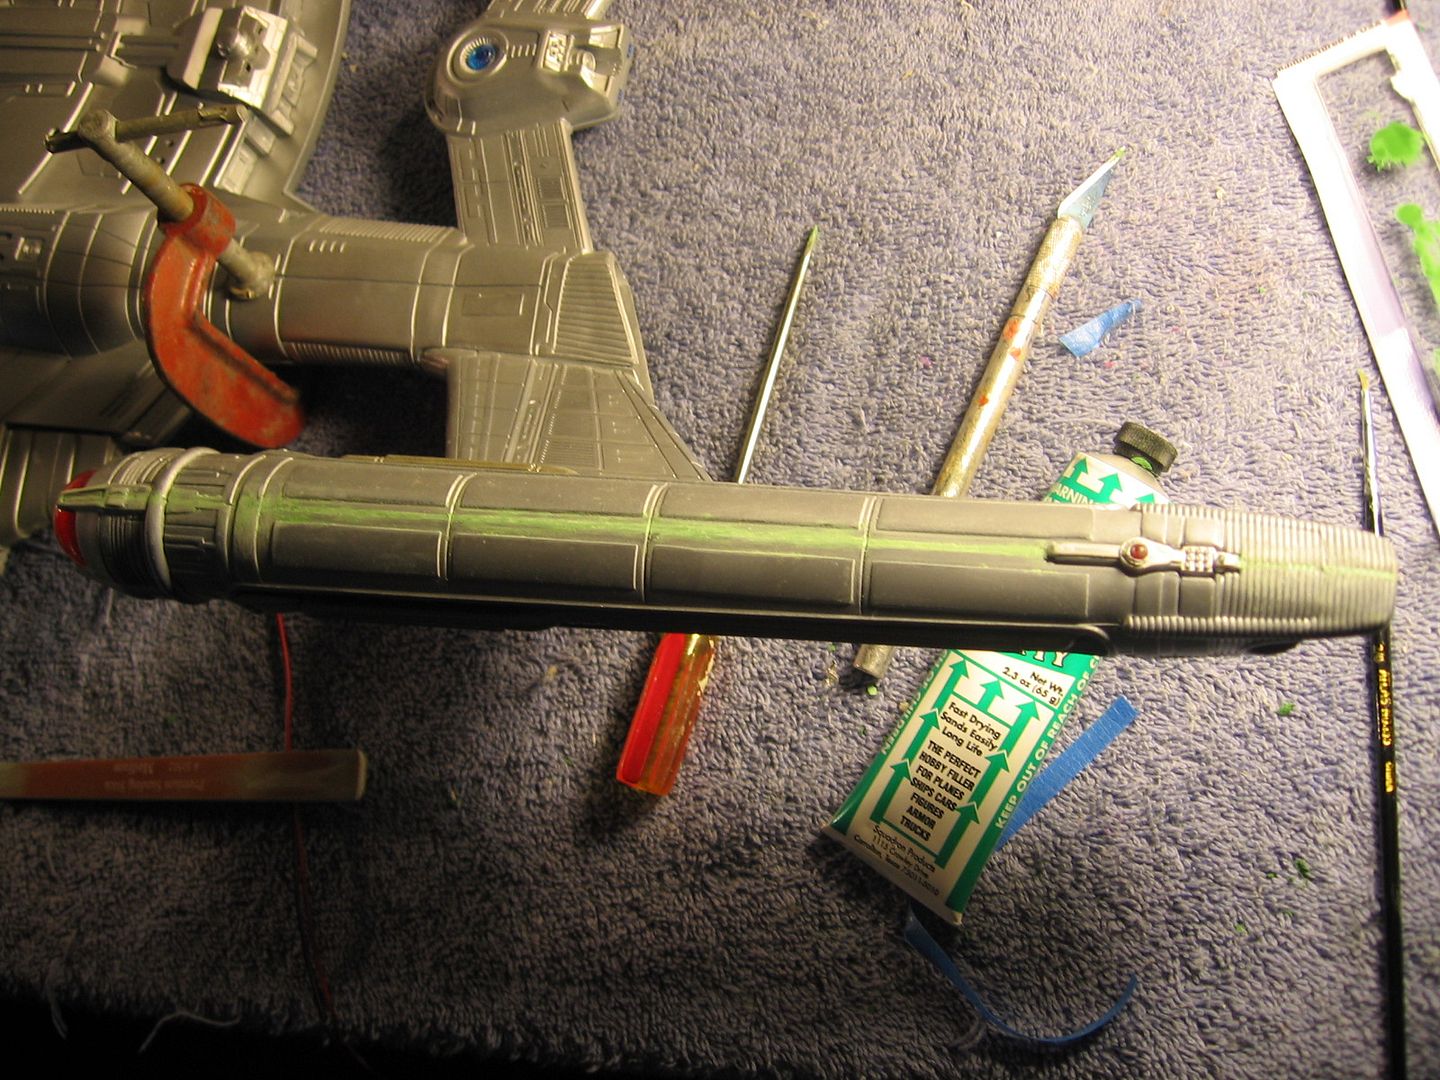
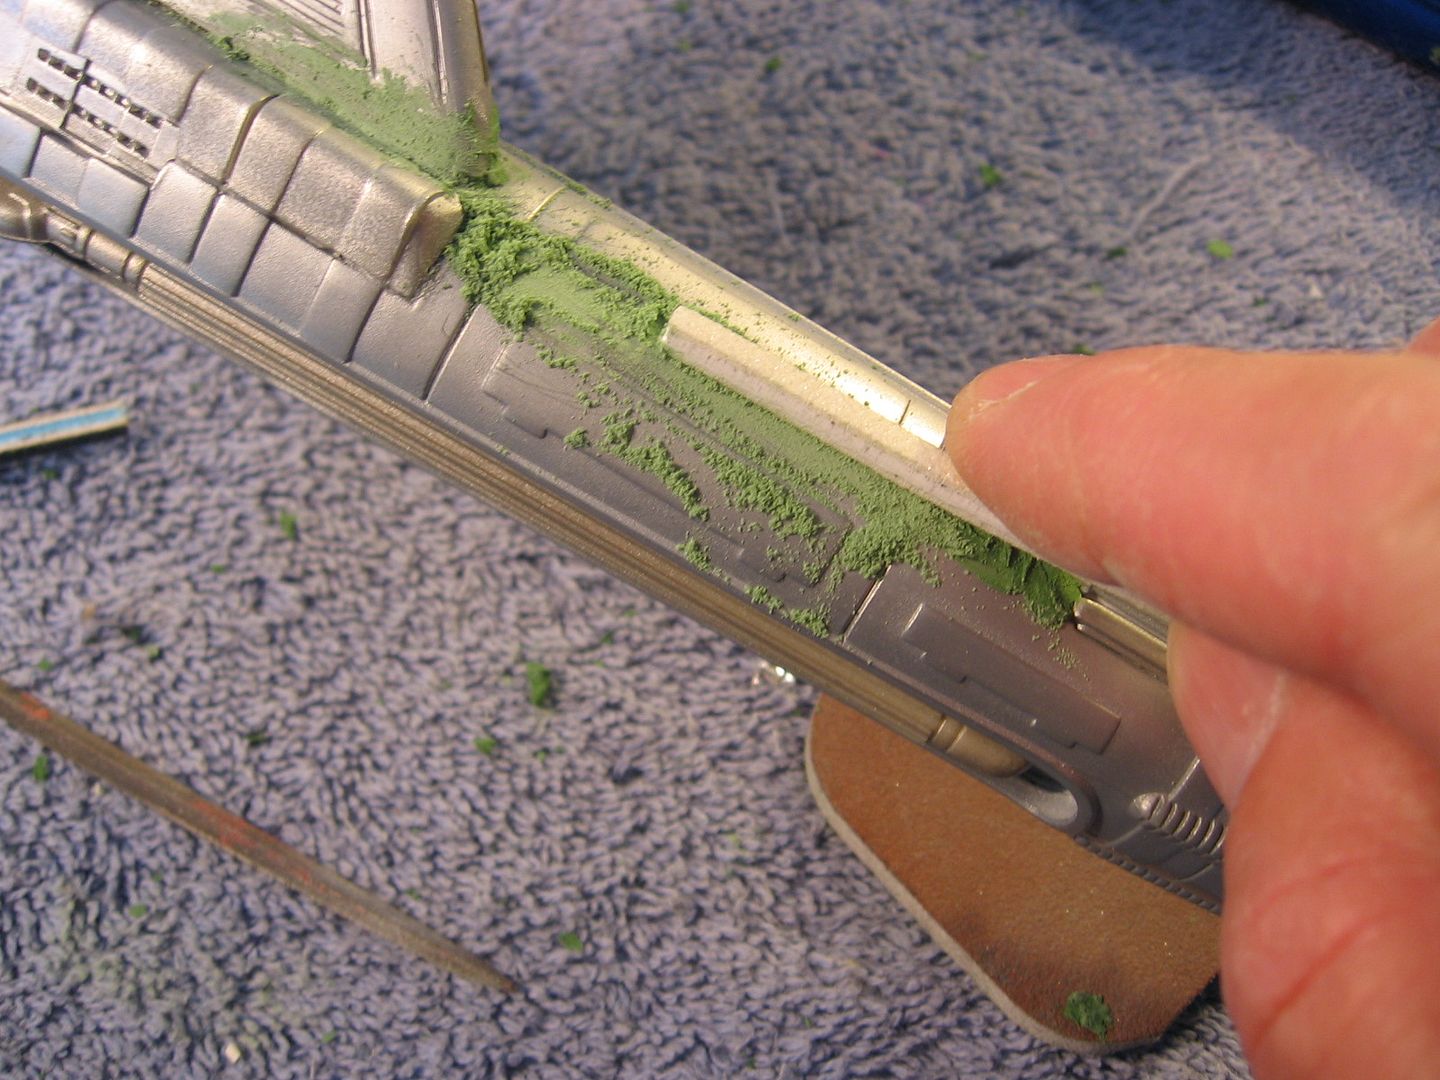
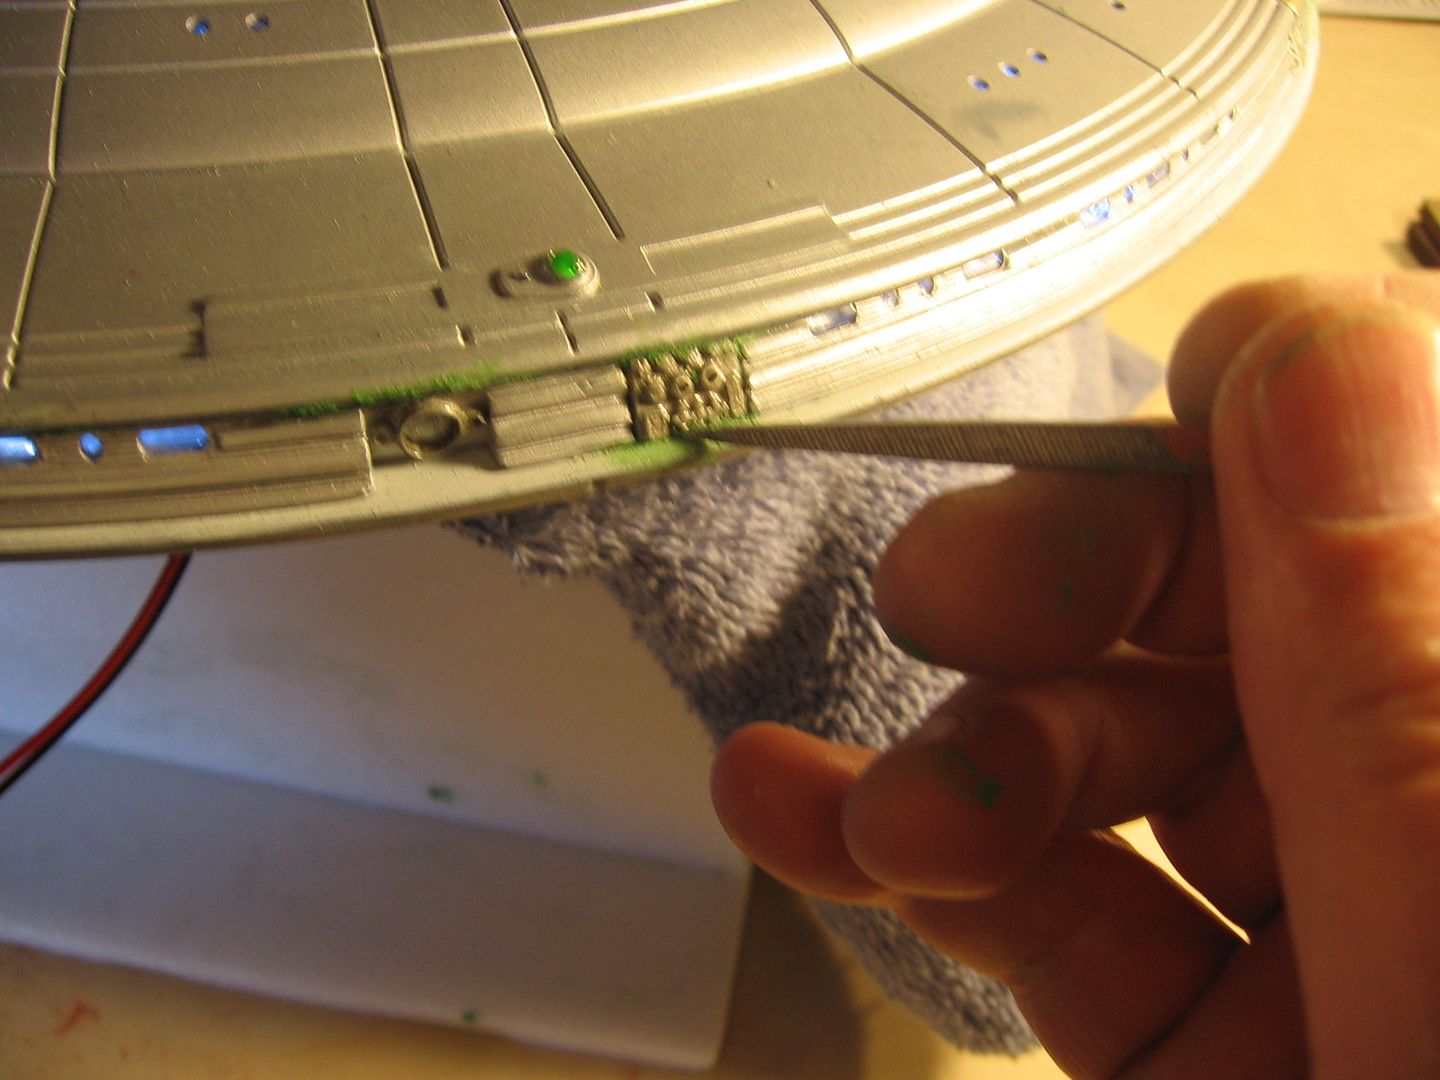
Sanding and sanding and sanding and sanding…

IMG_6439.jpg


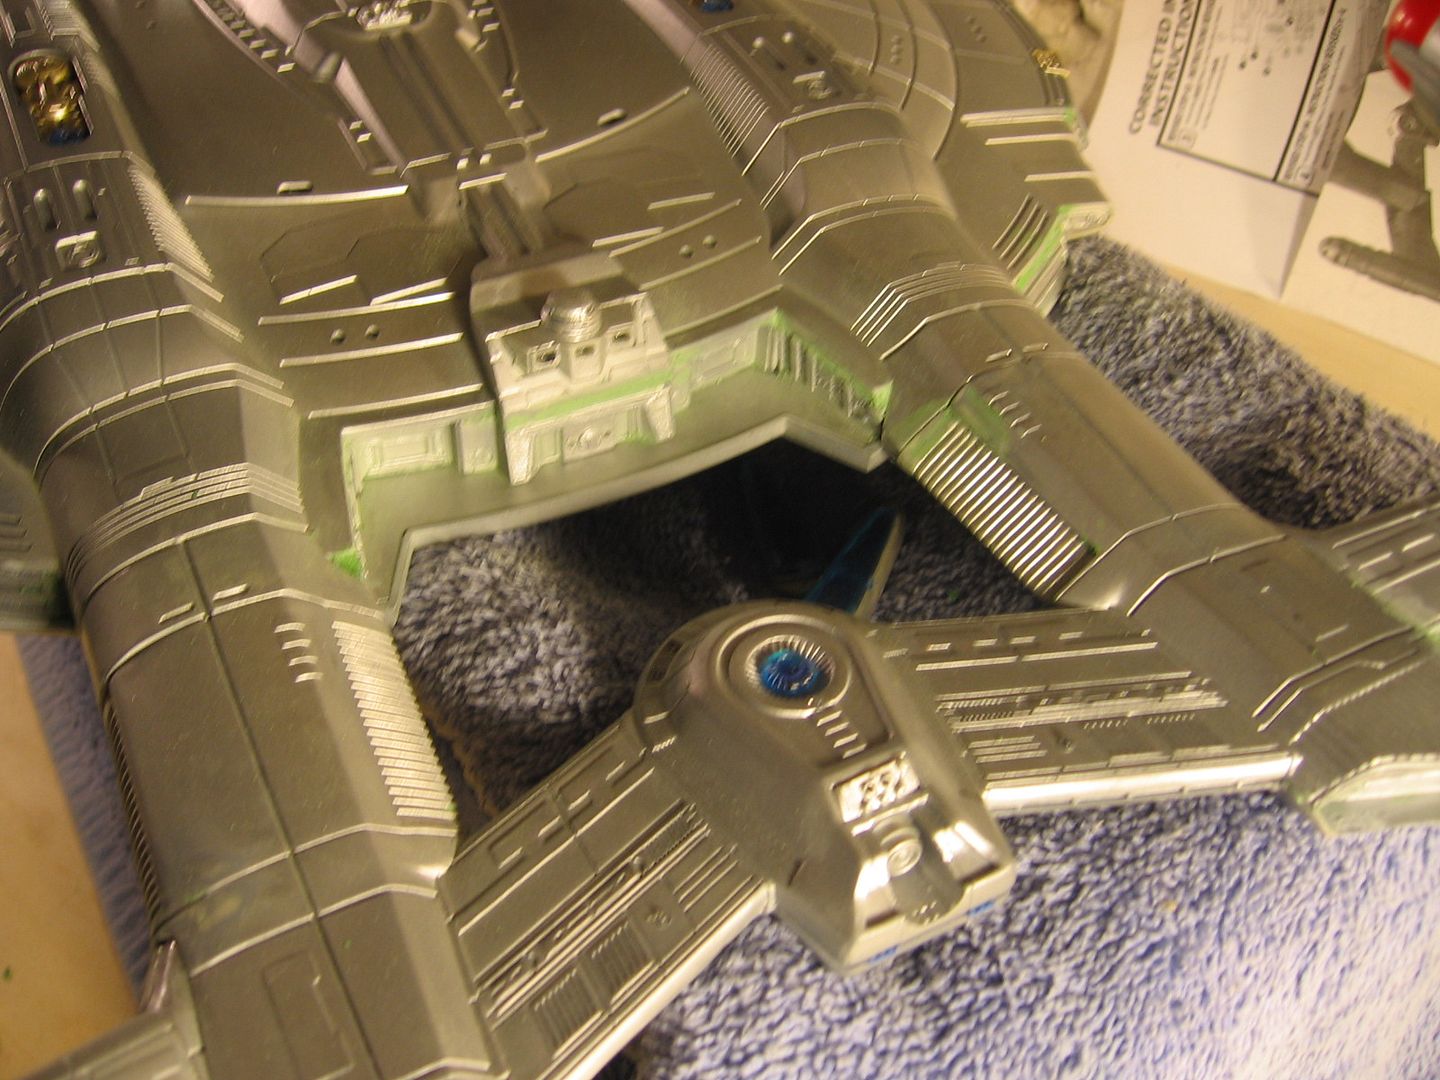
All the green is seam filling and light leak plugging up.

IMG_6442.jpg


IMG_6441.jpg


It’s almost done with seaming!

IMG_6443.jpg


Wait a minute found another one!

IMG_6446.jpg


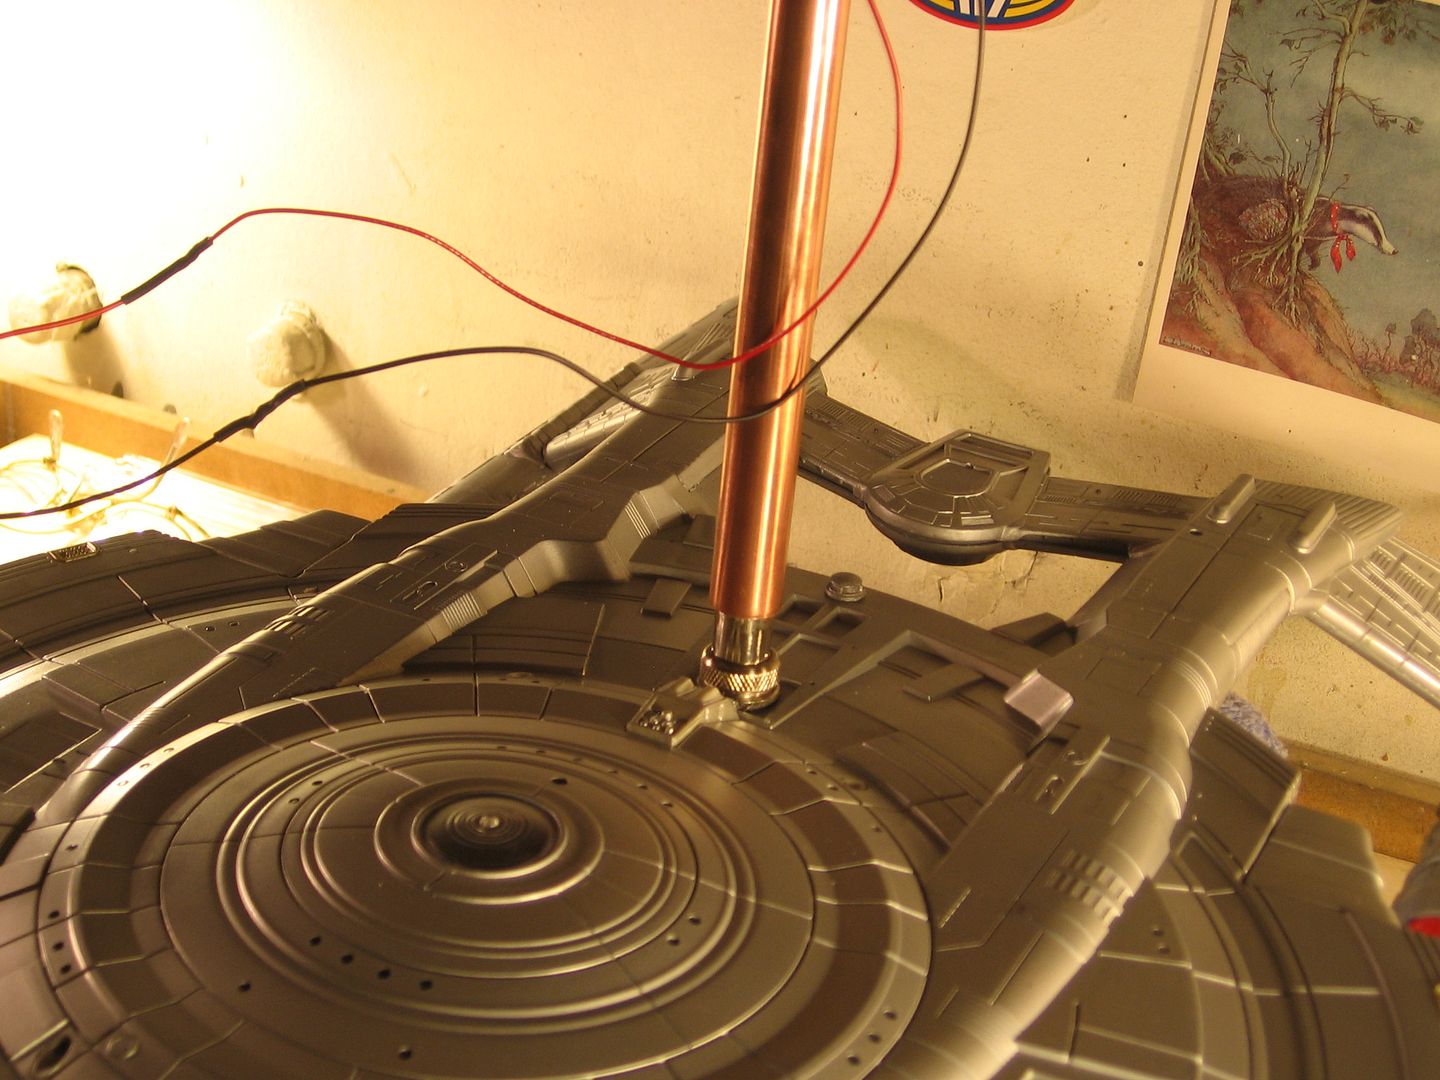
These lines didn’t match either but were close enough to fix. However the step here if walked on would have tripped you down the stairs. Better now.
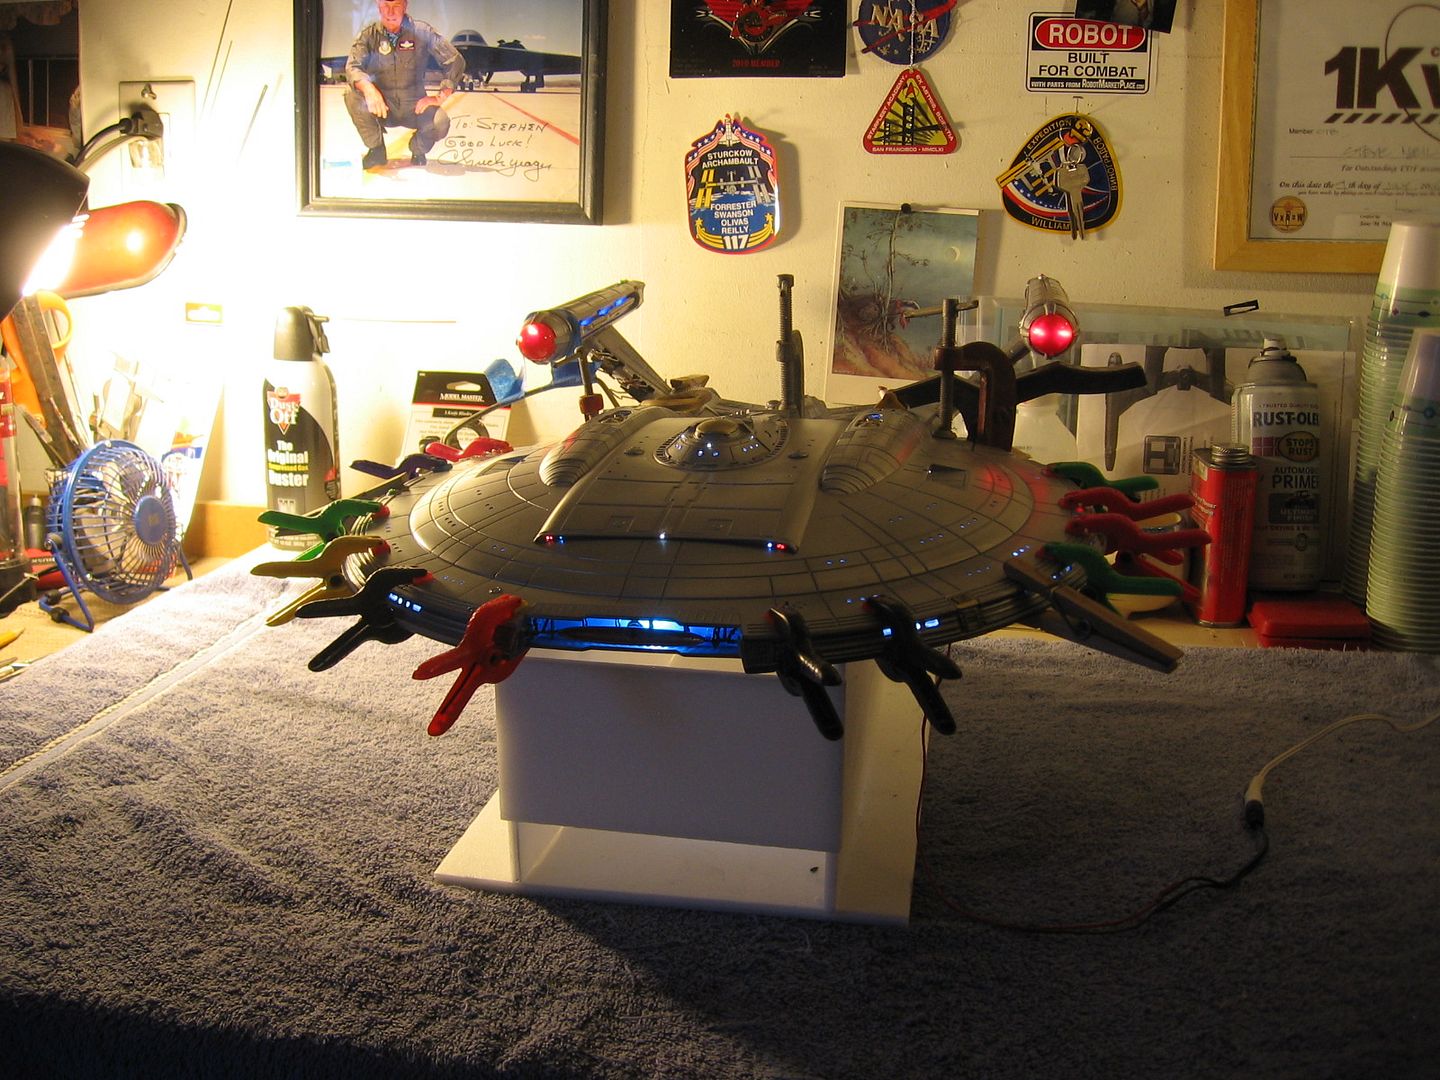
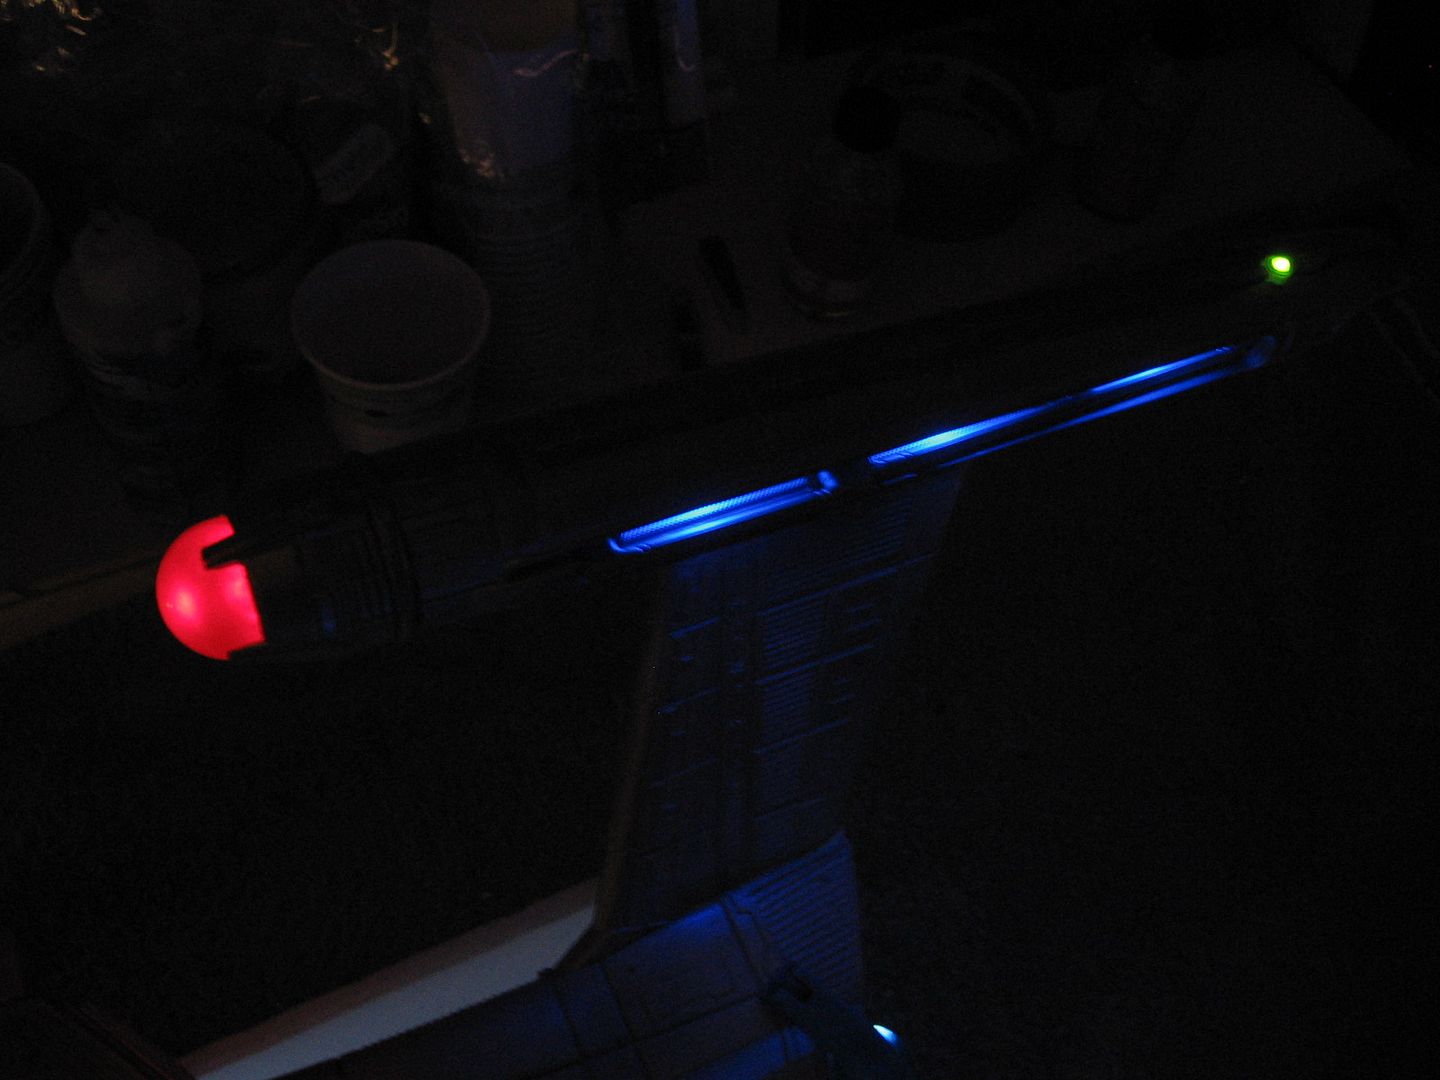
IMG_6448.jpg


No light leaks.

IMG_6447.jpg


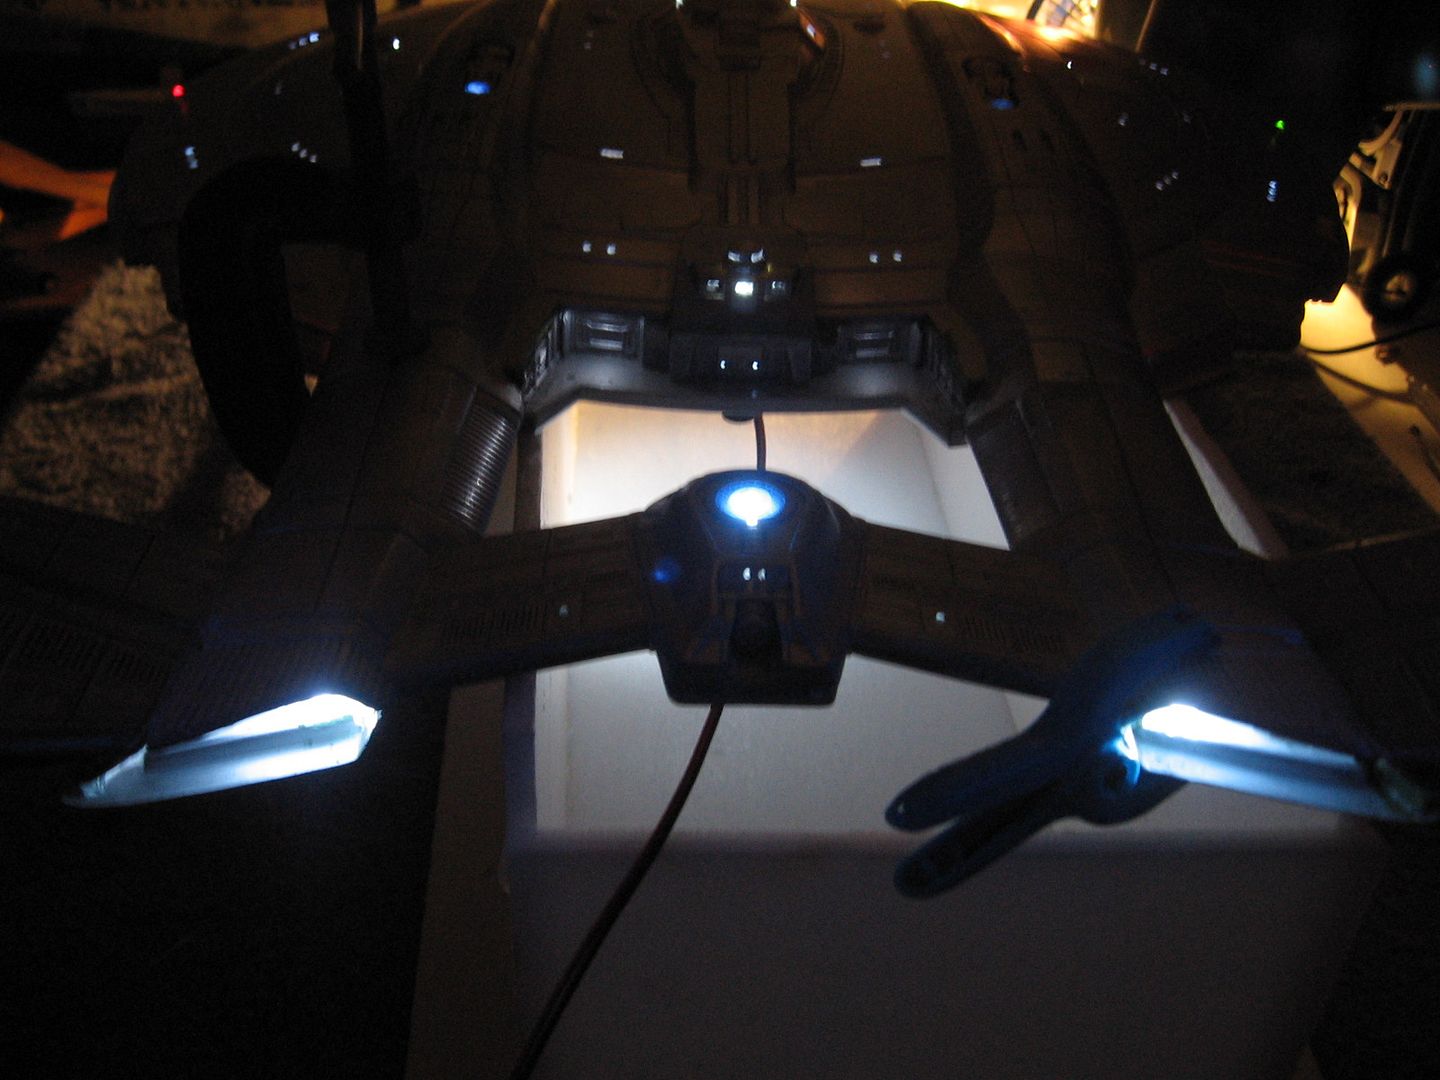
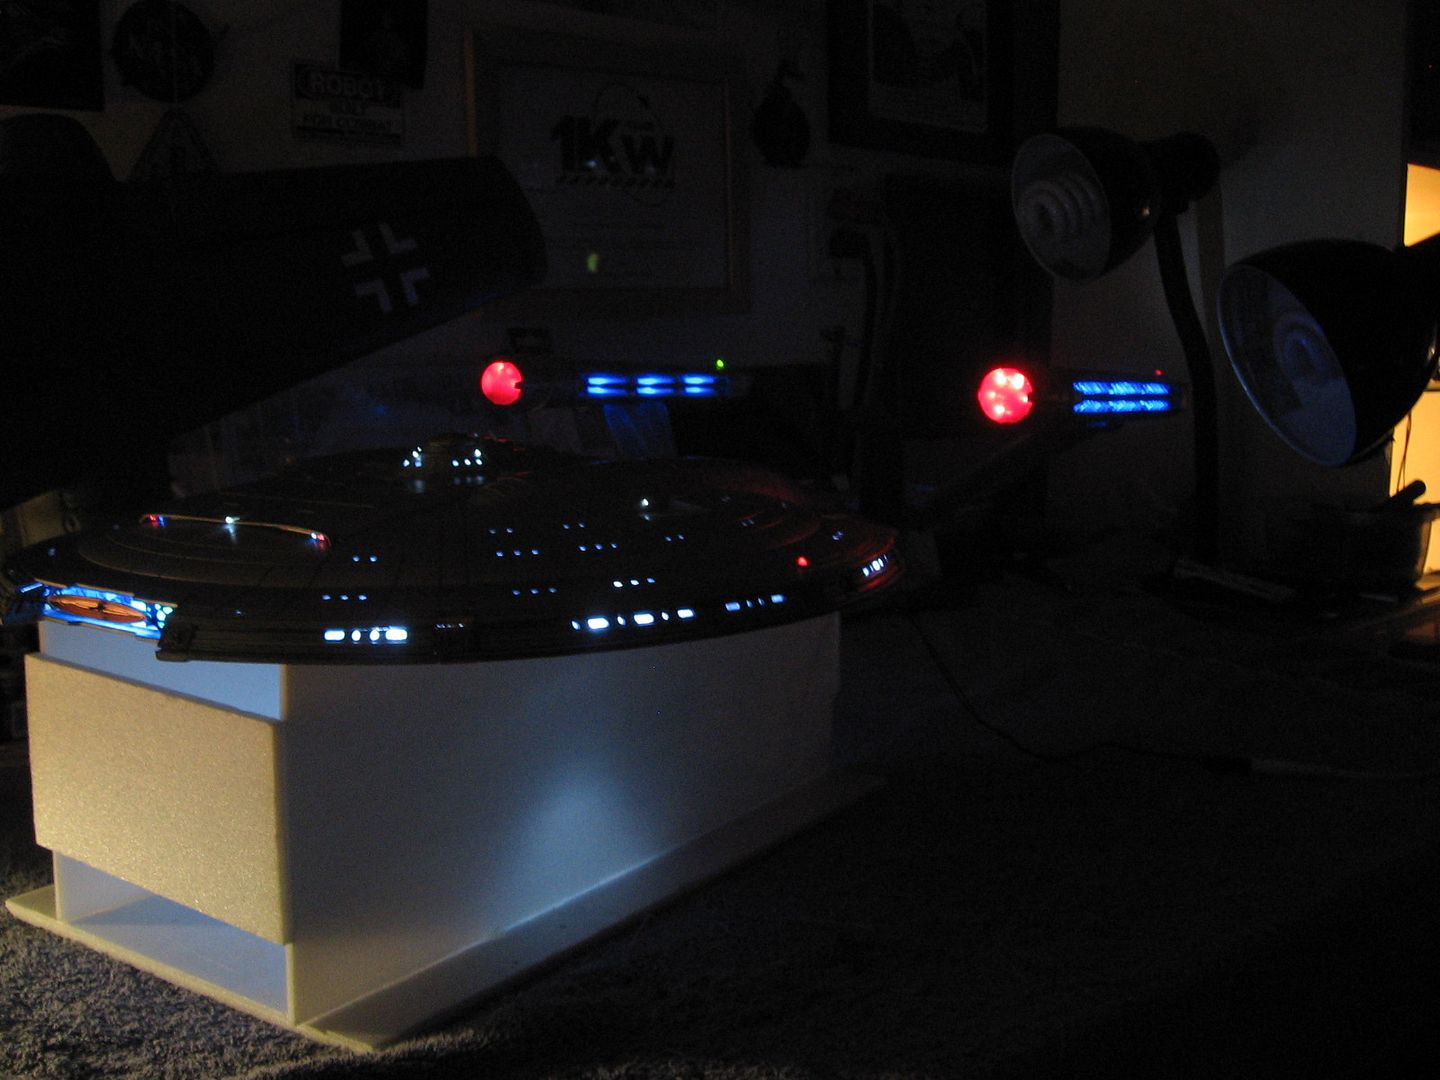
With the lights on she’s still pretty bright.
 
I bow to my master.:ninja

Steve, you really inspire me. Thanks for giving us this running tutorial!
Awesome work!:thumbsup
 
This is my last installment for today. I've been at this model for 12 hours now. As she sits right now she's ready for decals and trim painting.

She also has the pole installed. I really like these as the model can be completely detached from the stand without wires hanging down.

Great for shipping or moving.

More tomorrow,

Steve

IMG_6454.jpg
 
A bit of plastic weld or lacquer thinner works but mostly no as I don't want to melt done the fine detail. This model has so many panels and scribe lines I was afraid to.

Steve
 
Status
Not open for further replies.
Back
Top