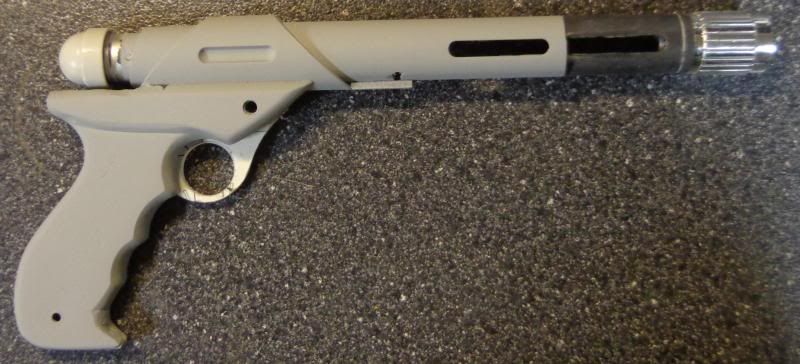
Granted, we don't know if there's even a "standard" version of this blaster. I was originally thinking of saying this was a Westar-33 or -35 or something. But there are enough similarities I decided to just stick with -34 and make it a custom version. After all, the brace that Jango had, he had ordered custom -- hollowed grips, larger prefire chambers, etc. I began to get the feeling they're like the Star Wars version of the Colt M1911, with options and presentation customization for just about any occasion or need. Mine is something like if Westar did it as a presentation sidearm for some target-shooting retired general.
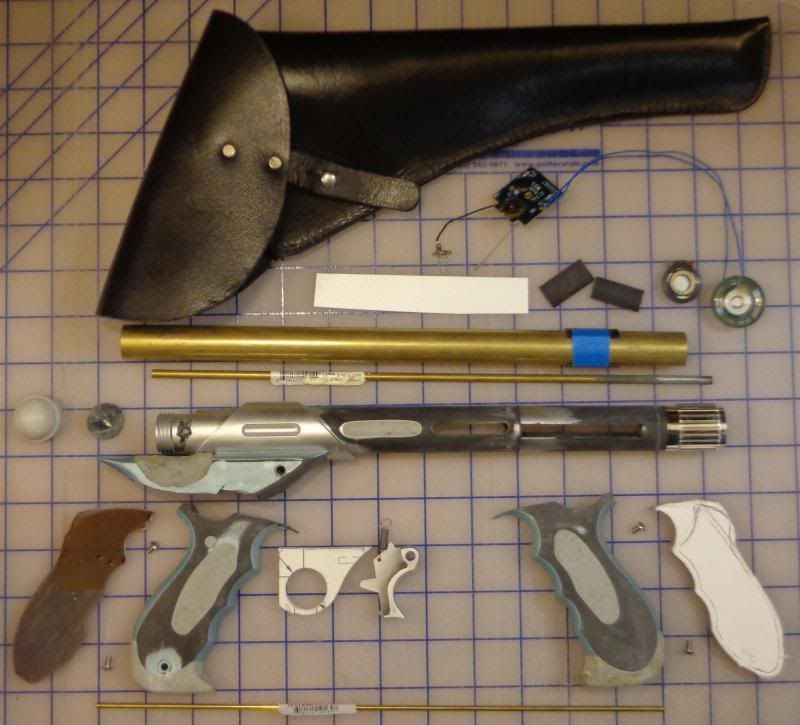
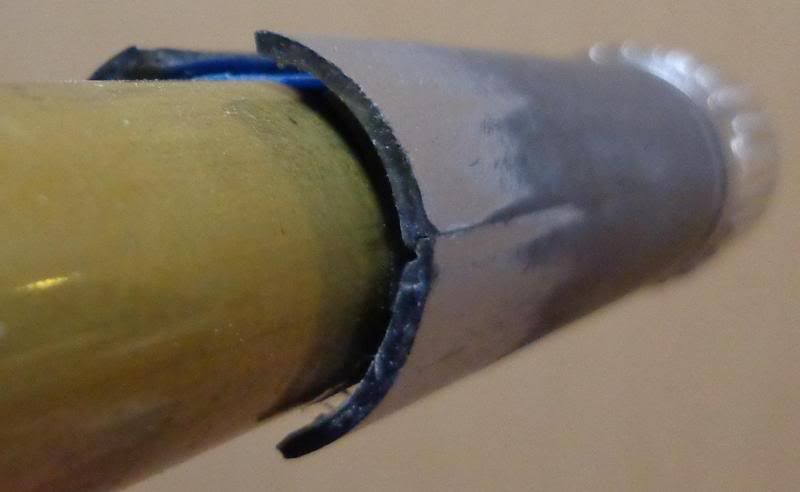
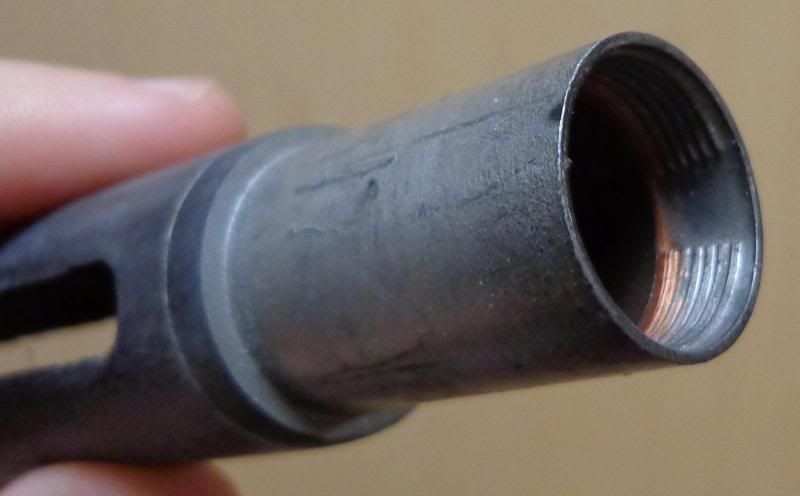
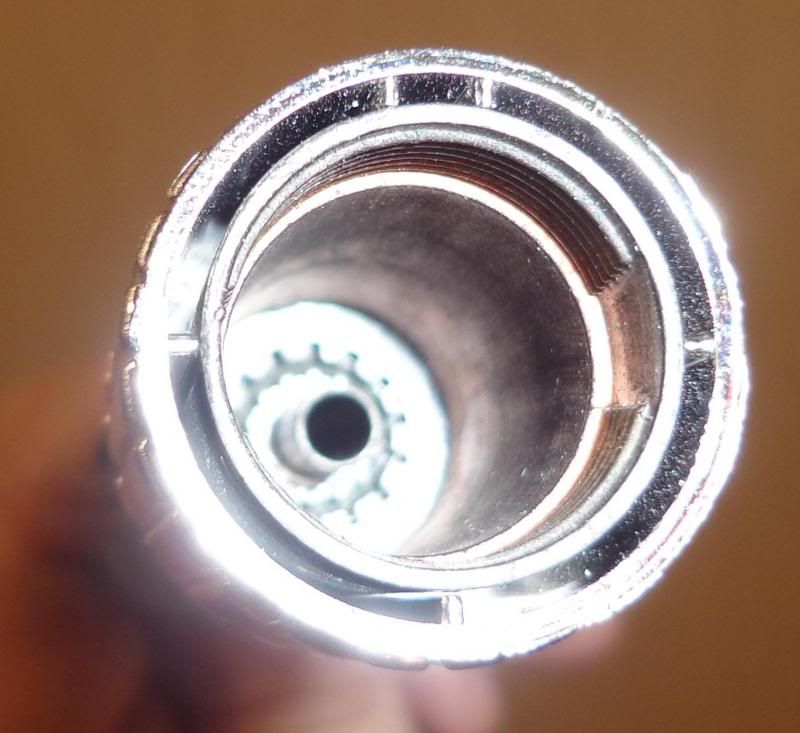
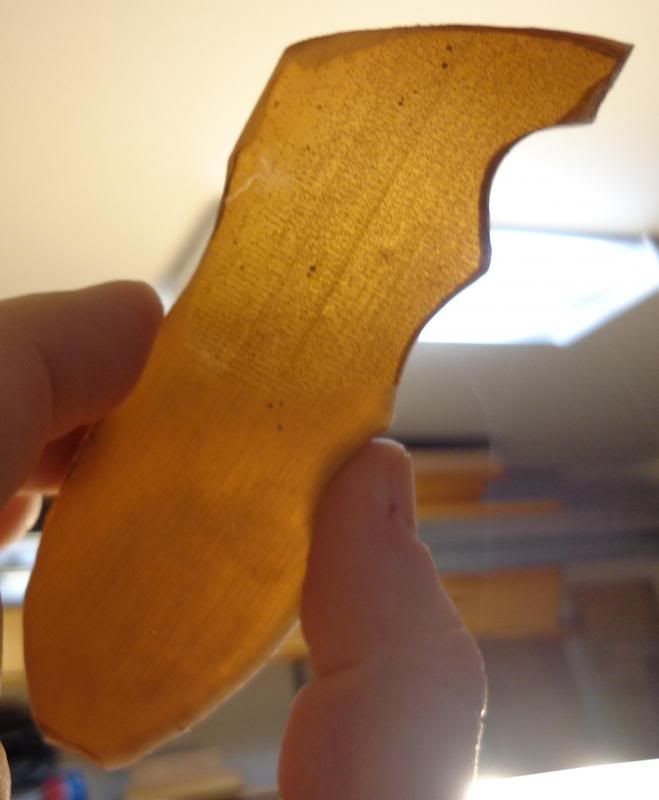
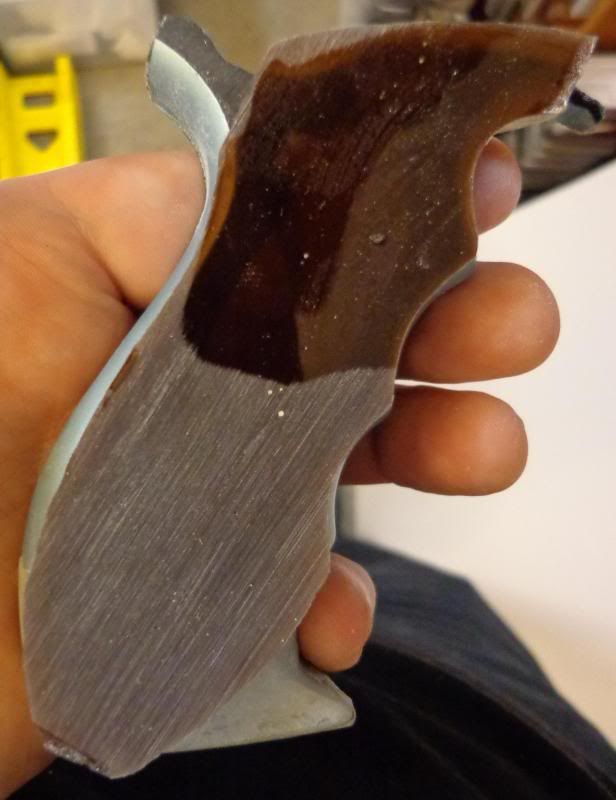
I cannibalized two of the Rubies Westars for a single blaster. I thinned the grip of one down to the correct width, and have some faux amber grip scales that I'm in the midst of grinding down to apply to them (and the screws for them, you can see alongside). The two barrels are getting combined into one longer one, the side vents being combined into one on each side. The new muzzle is a wonderful example of serendipity. A random fitting from some plumbing fixture that ended up in my bitz box along the way. I'm crafting a new endcap, as well, as part of trimming down the butt end of the blaster so it fits in the holster.
Next post will get into the specifics I'm working on...
--Jonah