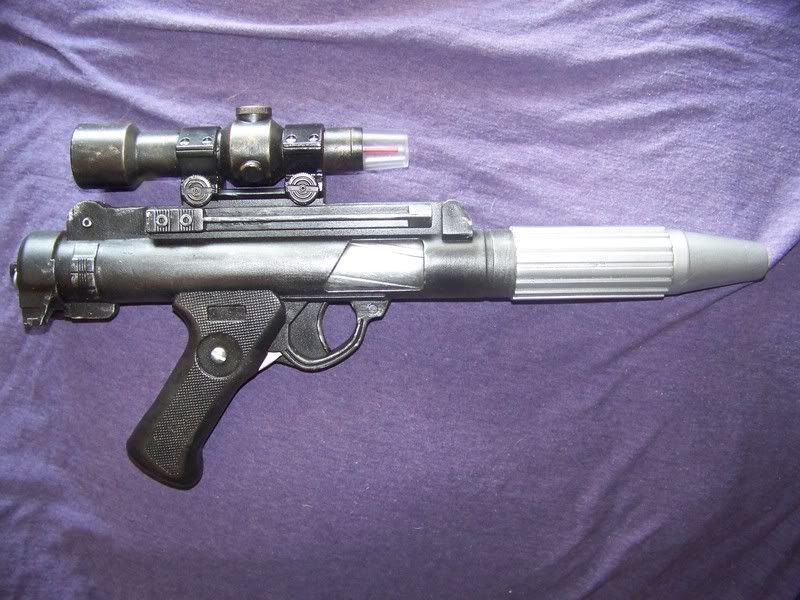
Custom DH-17 Rebel Blaster Build-Up *FINISHED*

TridCloudwalker

Sr Member
RPF PREMIUM MEMBER
Since I've finished the Star Trek Tech Manual Phaser, I've started putting all my energies into this custom build for the same client. He sent me a Hasbro/Nerf Rebel Blaster, and asked me to make a custom variation on the DH-17. I guess we can call it a DH-17A. Sounds snappy enough.

Again, he doesn't want any lights or sounds or the ability to shoot Nerf darts at cats; just a nice static display prop. I was asked to remove the stock clip on the rear underside of the barrel completely, as opposed to lengthening the barrel to the correct size. He also wants the end cap changed to just a plain cap with no protrusions on the underside. I still need to figure out if he wants the bandolier ring. I forgot to ask. Oops. I also need to put the red rod inside the single point, but I need not hollow out the whole scope so that it is functional like the one I made for myself that you can see in the link in my signature.

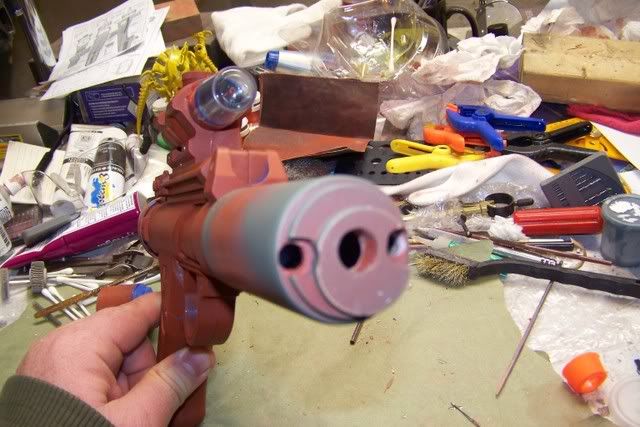
The biggest change, however, is that the ribbed barrel and cone muzzle are to be completely removed, and a shorter smooth barrel put on in its stead, along with a Sterling style layered muzzle with thick allen bolts.

And then, of course a groovy paint job.

Without further ado, here's what you came to see - Full Frontal Nudity!...er...I mean...The Blaster Pics!

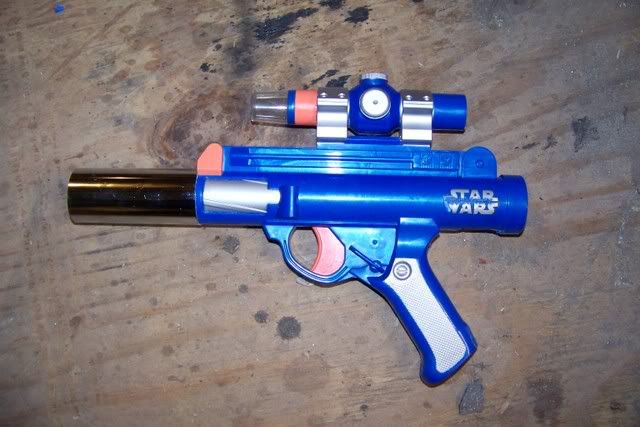
The standard "before" picture:
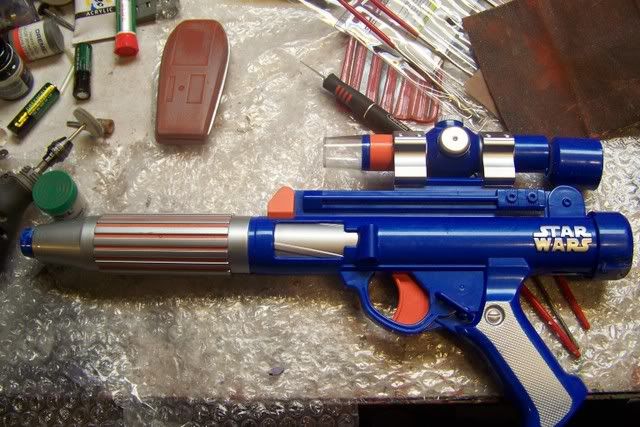
100_0700.jpg

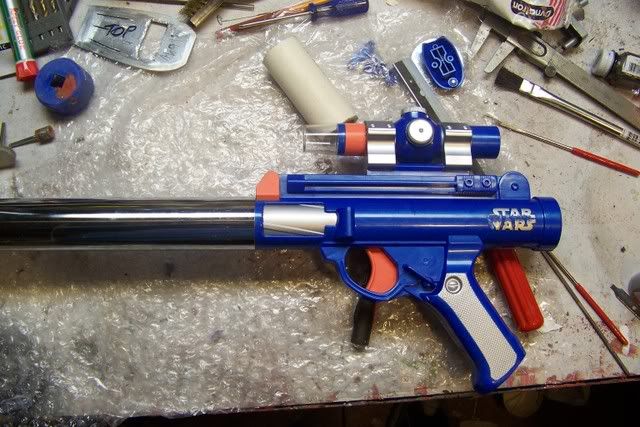
When I initially chopped the barrel off, I tried replacing it with some PVC tube, but it was just too narrow and the next size up was too wide:
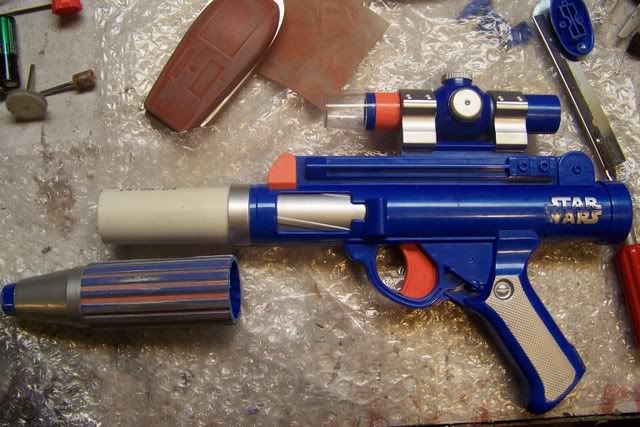
100_0701.jpg

Then chrome plumbing to the rescue!:
100_0703.jpg

Cut to size
100_0759-1.jpg

SW and LFL logos/copyrights grinded off:
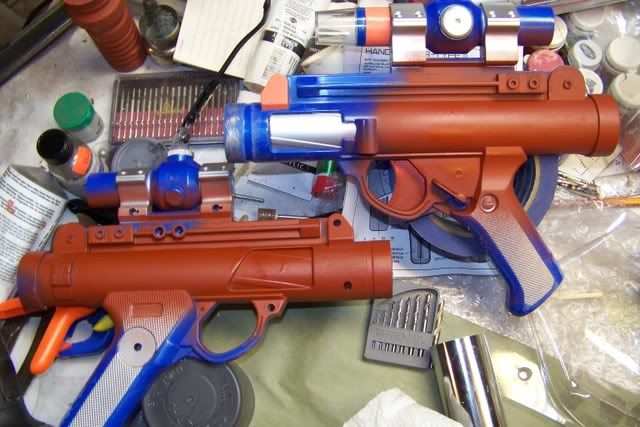
100_0779.jpg

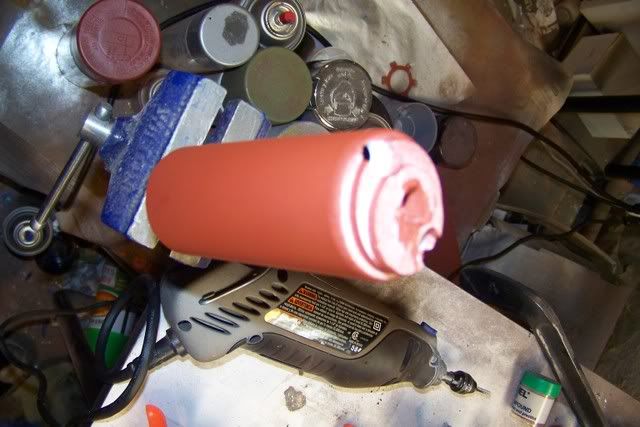
The beginnings of the Sterling-esque muzzle:
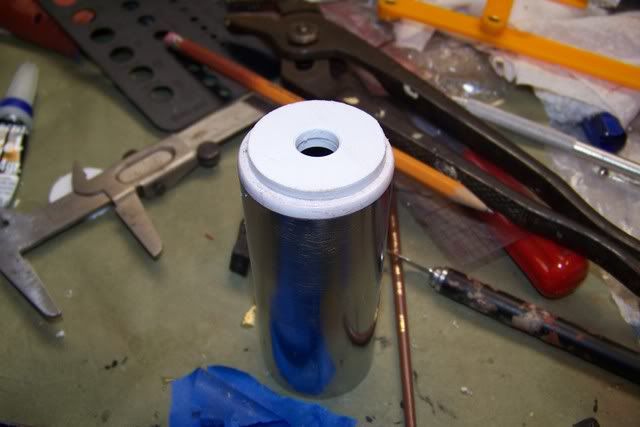
100_0831.jpg

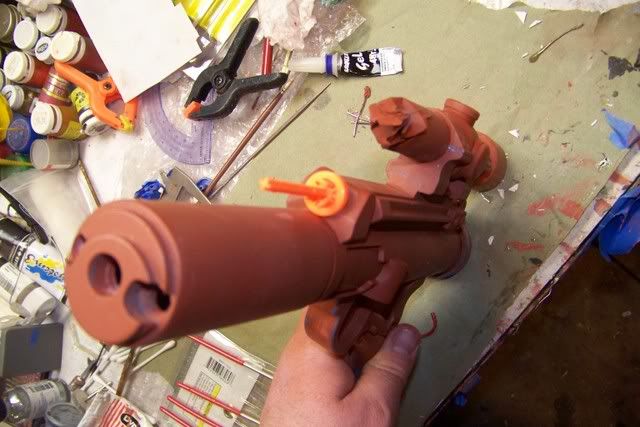
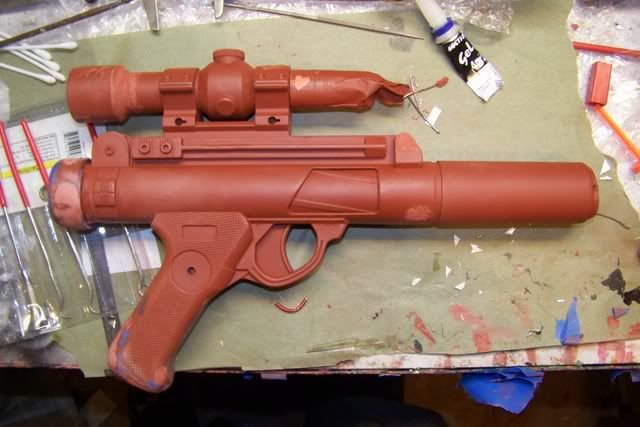
Had to glue in some styrene strip and cover in putty to repair the holes made by the foam dart holder:
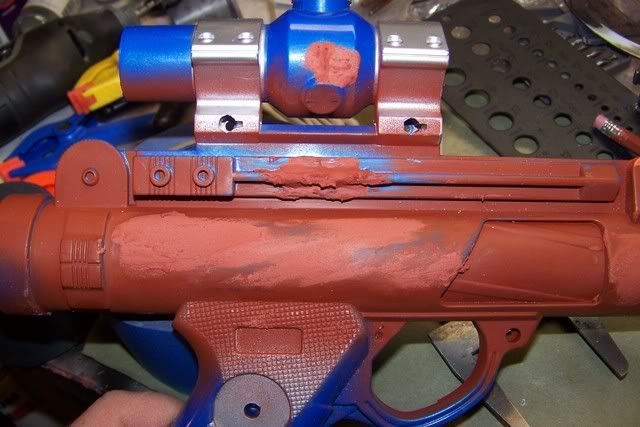
100_0832.jpg

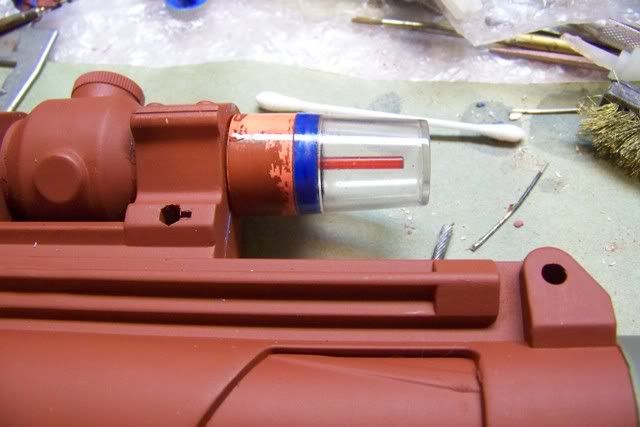
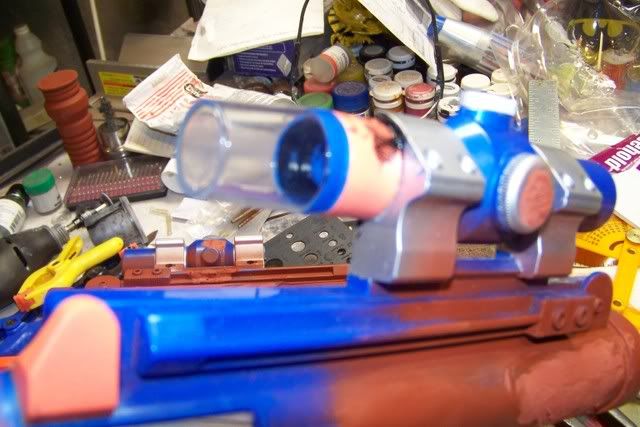
And finally, began applying black paint to the blue plastic on the inside of the single point. I need to use an angled brush because I got unluck an there was a LOT of glue holding the scope tip on and I couldn't get it off:
100_0833.jpg


That's all for now, but more updates tomorrow hopefully.
 
Last edited:
Re: Custom DH-17 Rebel Blaster Build-Up

Don't really have an interesting update today, as I'm still doing putty work. I should however have that done tomorrow, and then this will really start taking off.

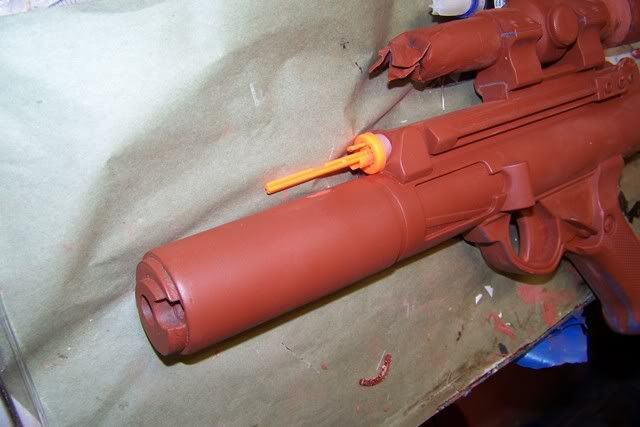
Barrel and muzzle construction done. I have two hex bolts that will go into the two holes drilled toward the edges ala Sterling:
100_0834.jpg


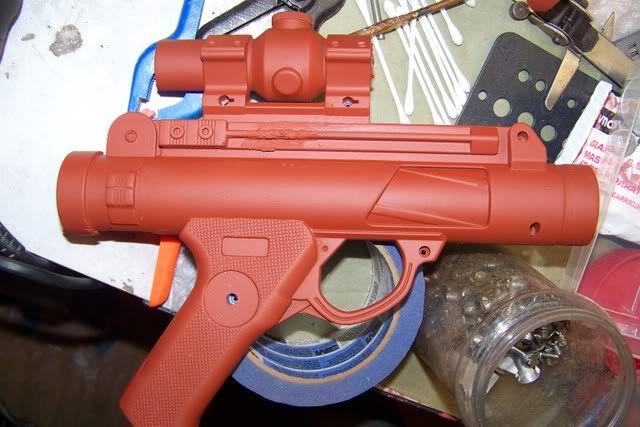
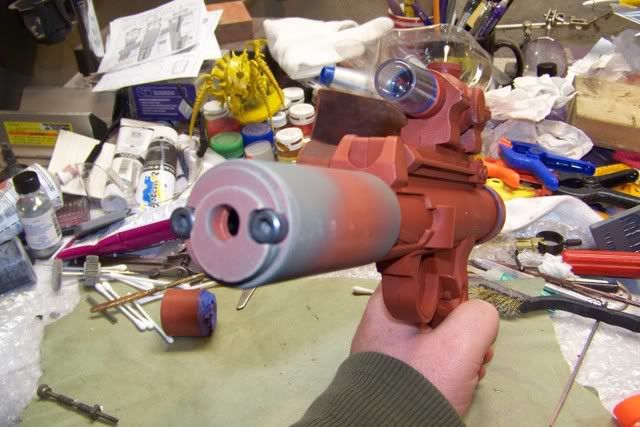
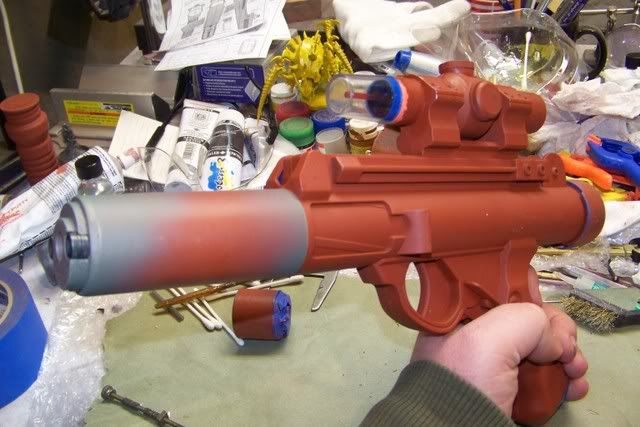
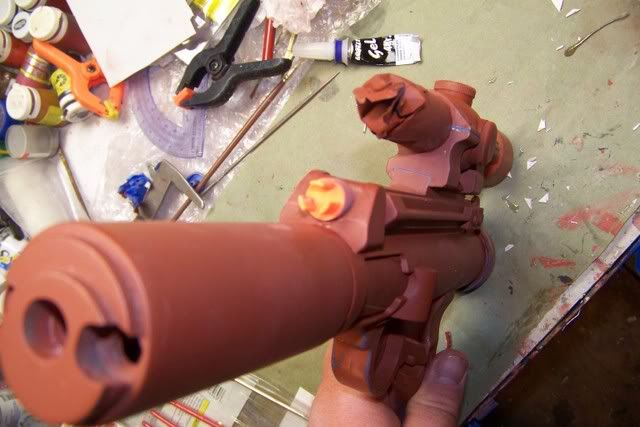
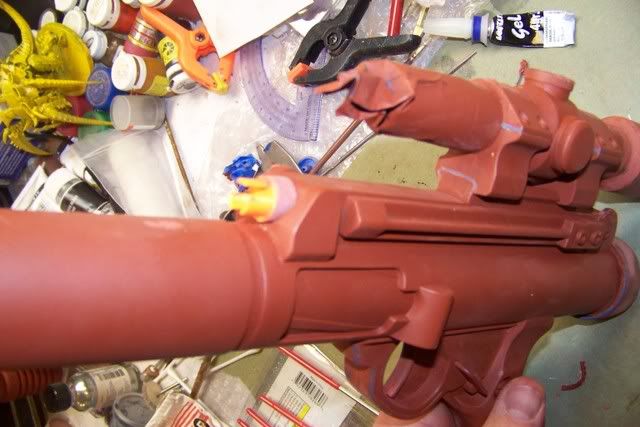
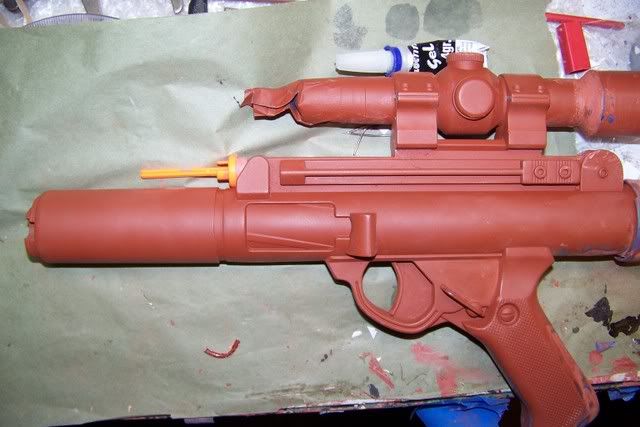
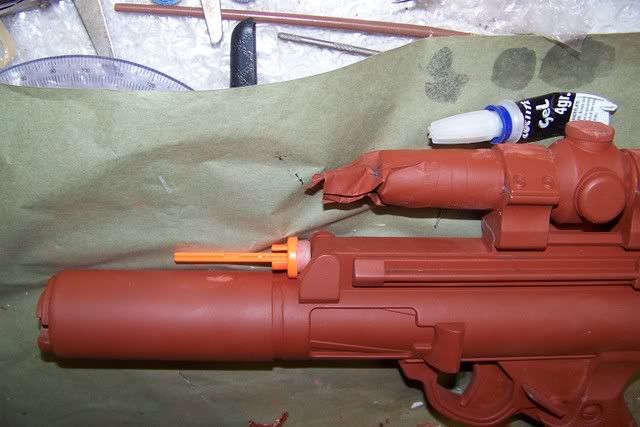
Most of the cleanup and putty work is done on the body:
100_0835.jpg

100_0836.jpg


...and...well...that's it. Sorry. I promise to have a much more interesting update tomorrow or Saturday.
 
Re: Custom DH-17 Rebel Blaster Build-Up

Ugh...I work at the post office in York, PA, and our office is moving to a new building this Saturday. I've been working some ridiculous hours getting ready for the move, and thus tend to pretty much crash as soon as I get home (sometimes without even eating dinner). I even have to go in tomorrow on my day off to help with the move.

However, despite all this, my complete and total awesomeness has enabled me to provide all you with an update tonight! Go me! :cool

I don't have any in progress pics of the red rod being attached to the inside of the single point, but rest assured, it was a total pain in the a**. The rebel blaster I made for myself some time ago was easy, as my clear cap popped right off and gave me plenty of room to work in. The cap on this one was solidly glued in place and wasn't going anywhere, so I had to improvise. What I eventually ended up doing was just drilling a hole into a thick circular piece of black plastic, inserting and gluing the red rod into it, dropping it down the scope hole, praying, and then jamming some green two part epoxy putty on top of it to keep it in place. When nuclear war comes, I'm possitive the only thing left will be cockroaches crawling over a replica single point scope.

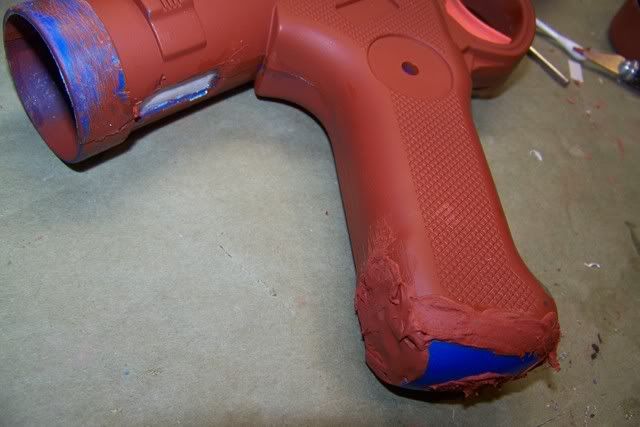
After that was all secure, I glued and screwed the body halves back together. I jammed the leftover green epoxy into the screwholes, so I can glaze putty over them and not have to worry about shrinkage. The new modified barrel is all finished. The hex screws are not permanently attached yet, as I'm going to wait until after final painting to glue them in, but I have them in for the photos for you to see. Tomorrow (or sunday if tomorrow's move kills me) I'll finish puttying the screw holes, putty and shape the gaping hole in the bottom of the grip where I removed the battery hump, and eliminate any remaining seam lines. Then it'll be ready for painting, which I hope to mostly have done on Monday. At least my government jobs gets me off work for Martin Luther King Day. More updates to come, but here are the pics I have for right now:

100_0842.jpg

100_0844.jpg

100_0845.jpg

100_0846.jpg

100_0847.jpg

100_0848.jpg

100_0849.jpg
 
Re: Custom DH-17 Rebel Blaster Build-Up

your phaser was amazing

and this is shaping up to be just as if not more awesome

keep up the good work man :thumbsup
 
Re: Custom DH-17 Rebel Blaster Build-Up

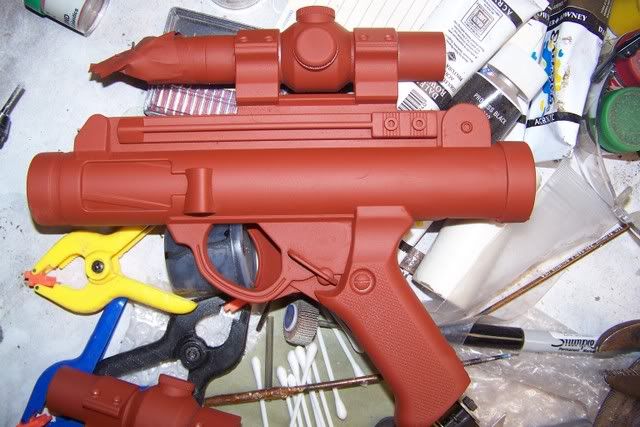
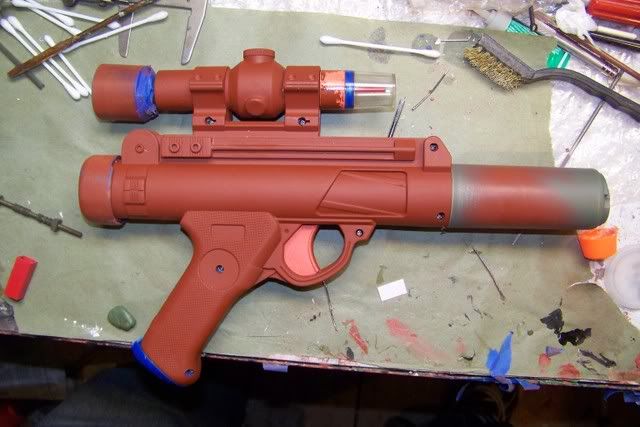
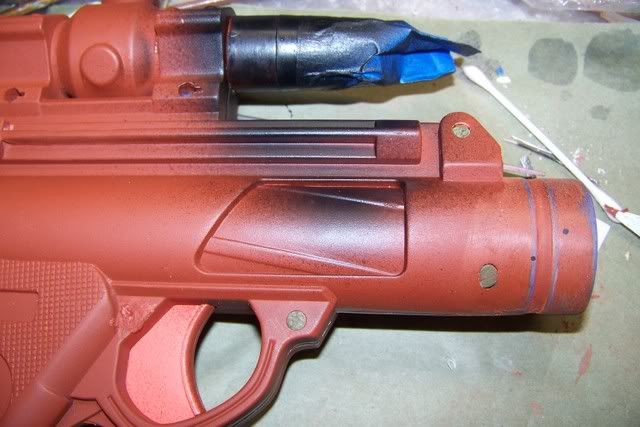
I got the last of the body work done. Just waiting for a couple small putty spots to completely cure, then final primer coat will be applied, and the PAINTING!

However, here's what I did tonight (other than more puttying and sanding):

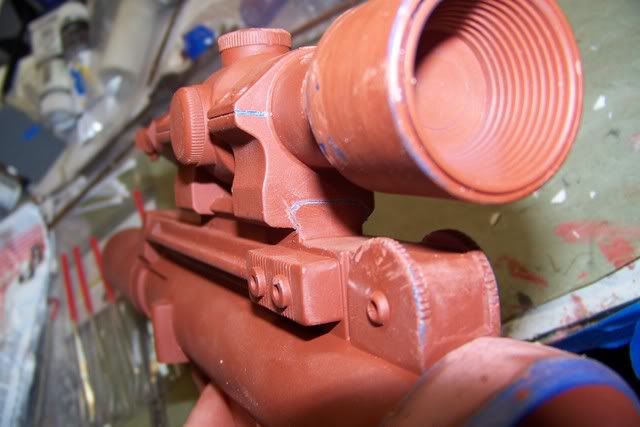
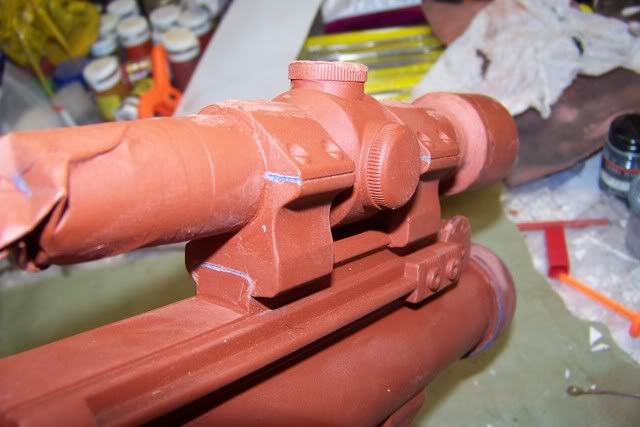
I scribed in some details around the scope to help eliminate some of the cast plastic toy look:
100_0851.jpg

100_0852.jpg


In between gap filling primer coats, I began playing around with some of the internal Nerf mechanisms I pulled out of the inside, and I came up with an interesting idea. I'll have to see if my client likes it, but I took some mock up photos. In RotJ, the rebel blasters had a targeting or sensor device on the top of the barrel. It was just a simple cone on a stick kind of design, but I always kind of liked what it added to the blaster (even though the RotJ rebel blasters were otherwise ugly as sin). So I figure if this is the DH-17A, it too must have a sensor system, so I slapped one together. I'd be curious to hear what everyone thinks. And, John, e-mail me and let me know if you want me to add it.
simple prongs:
100_0853.jpg

100_0854.jpg

prongs with antenna:
100_0855.jpg

100_0857.jpg

100_0858.jpg

100_0859.jpg


So that's about it for now. The next update will be showing this baby with most (possibly all) of its paint on. Stay tuned!
100_0850.jpg
 
Re: Custom DH-17 Rebel Blaster Build-Up

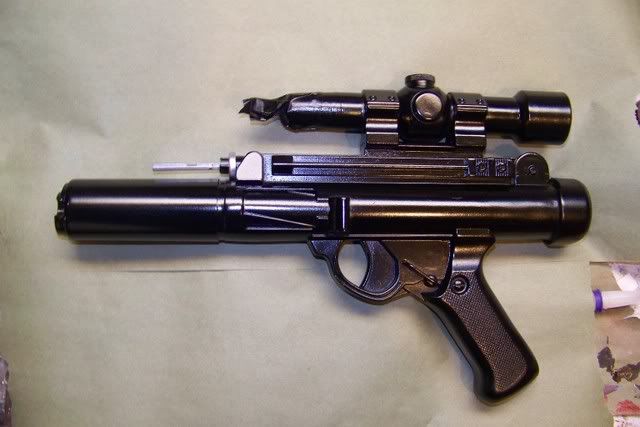
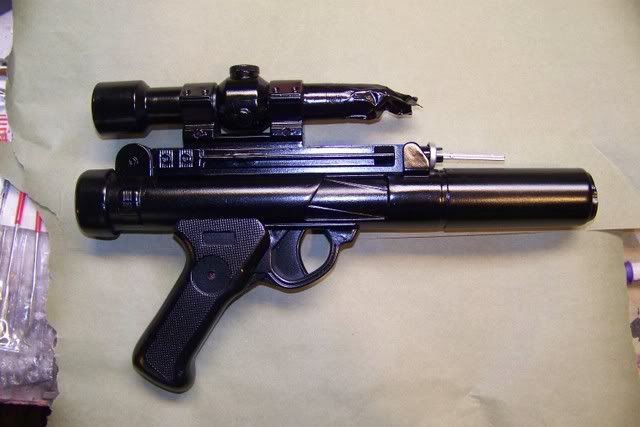
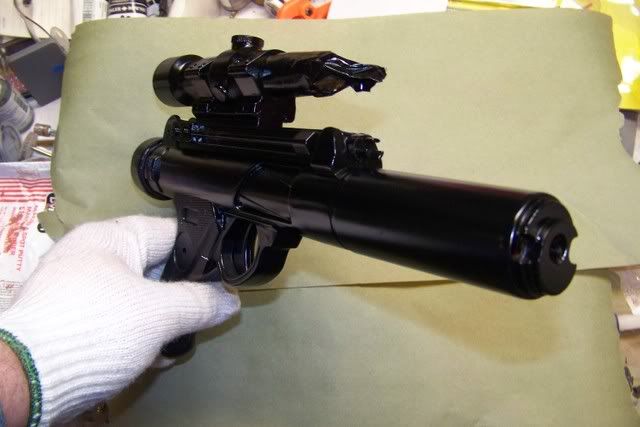
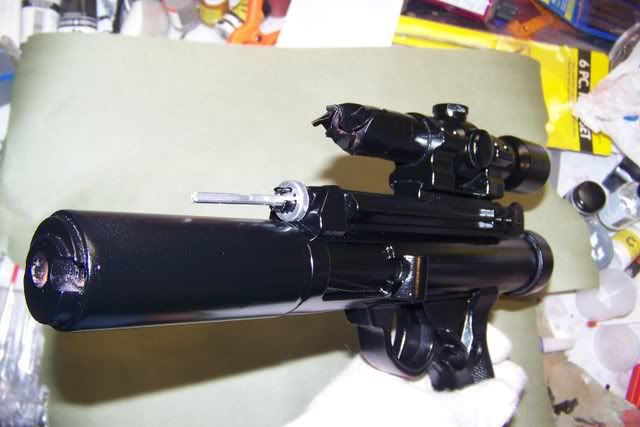
I still have to paint on some detail colors and do the weathering, which is my favorite part, but that will be in the next and final update. Here is where it's at right now. It's completely coated in the same black ceramic Duplicolor paint I used on the ST Phaser. However, certain areas will be getting masked off and hit with matte or gloss clear coats, and I'll also be working some graphite powder into the main body to give it that worn blued look. Also, I know the sensor antenna is crooked. It's only dry fitted on there for the pics.
100_0864.jpg

100_0865.jpg

100_0862.jpg

100_0863.jpg


I hope to have this finished tomorrow, but it all depends on the paint drying time. It's been taking a little longer than normal for some reason. Possibly all the humidity in the air. But once this project is done, I'll be doing a ST Nemesis phaser rifle, two concept ST phasers, and I think a Terminator Endoskeleton, plus some more things in the works in the near future.
 
Re: Custom DH-17 Rebel Blaster Build-Up

It's almost done! There's about an hours worth of work left, but I worked a 10 hour shift today and I'm burnt. Here's what I did today:

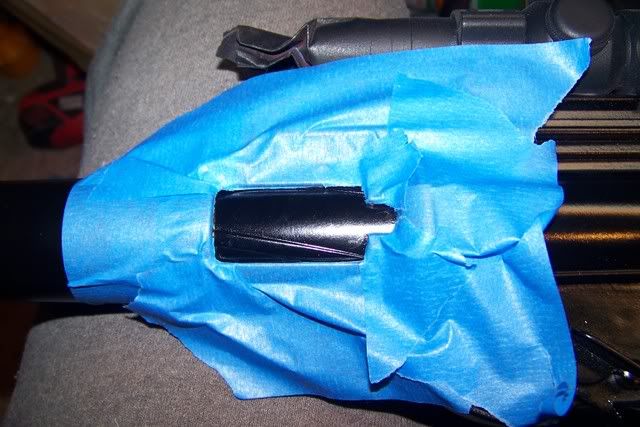
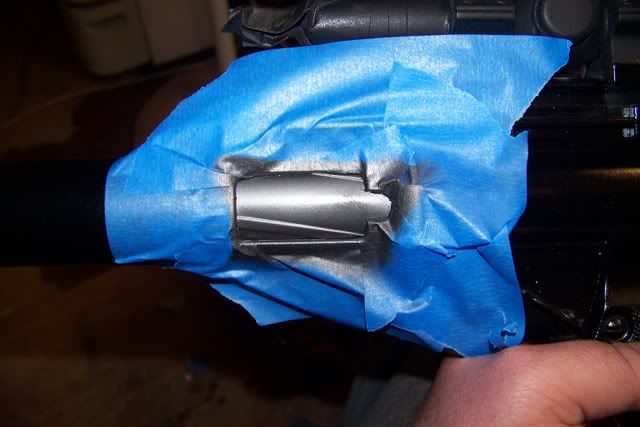
First, I masked off the....wow, I am tired, I can't think of the name. Whatever, you'll get the idea when you see the pic below. Anyways, I sprayed it with Testors Buffable Gun Metal on both sides:
100_0873.jpg

100_0874.jpg

100_0875.jpg

100_0872.jpg


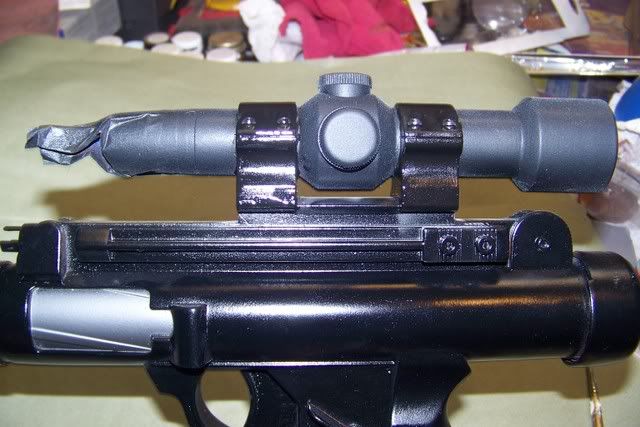
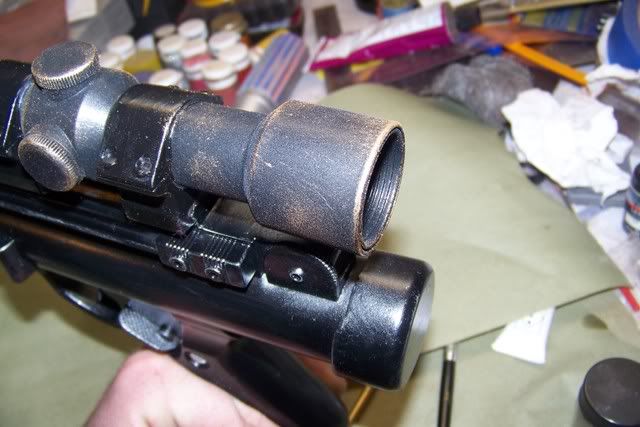
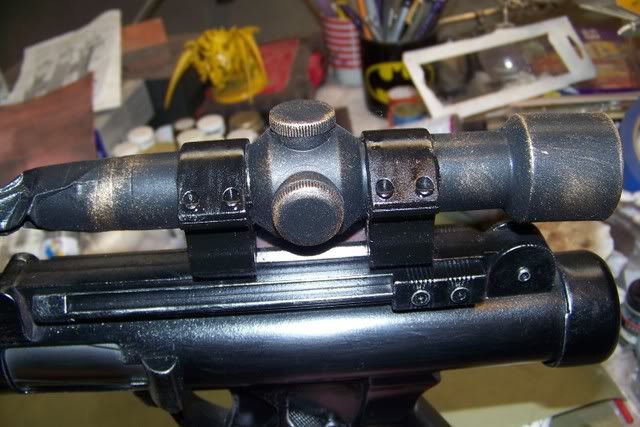
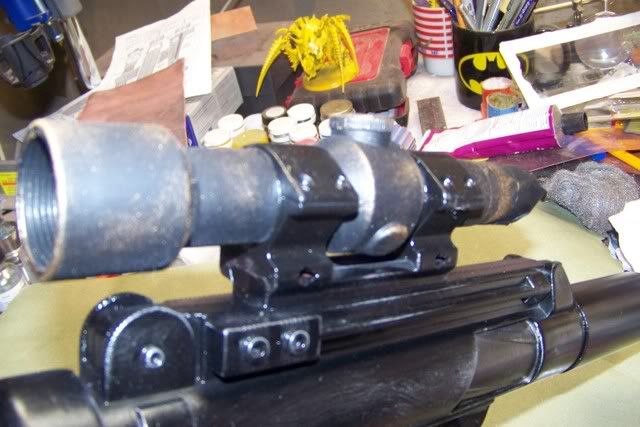
Next, I sprayed the single point scope with glass frost. It's got a little more body to it than standard matte spray, so it helps give the scope a cast metal feel to it, which really gets brought out in the weathering that you'll see later in this post. I also hand brushed gloss black onto the scope rings. It was very thick paint, so the brush strokes smoothed out, but left enough of a ripple that the rings look powder coated:
100_0876.jpg


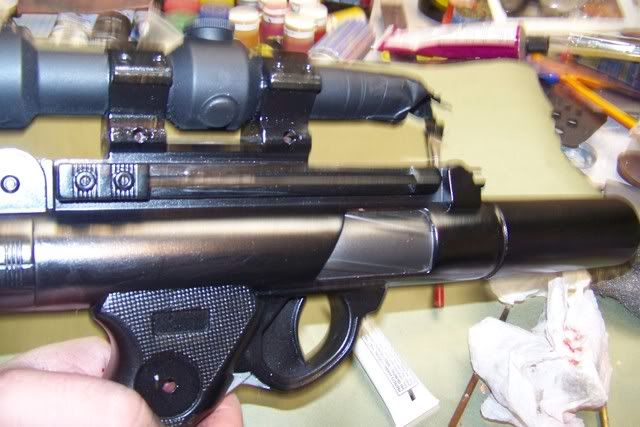
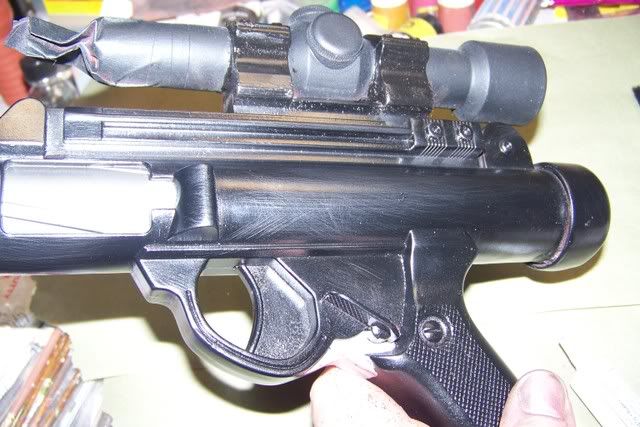
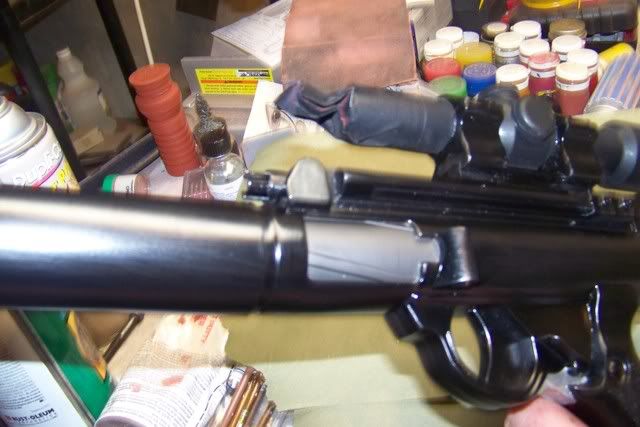
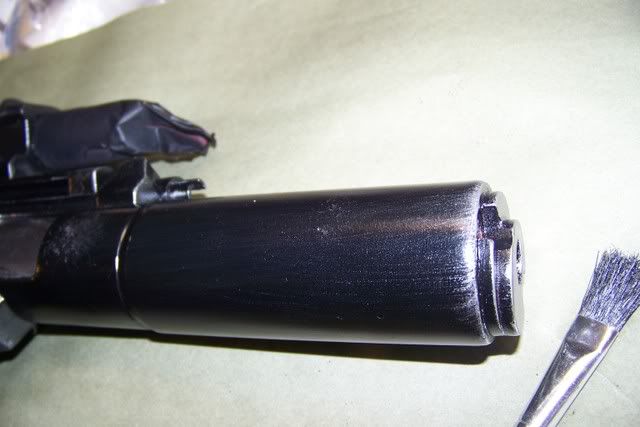
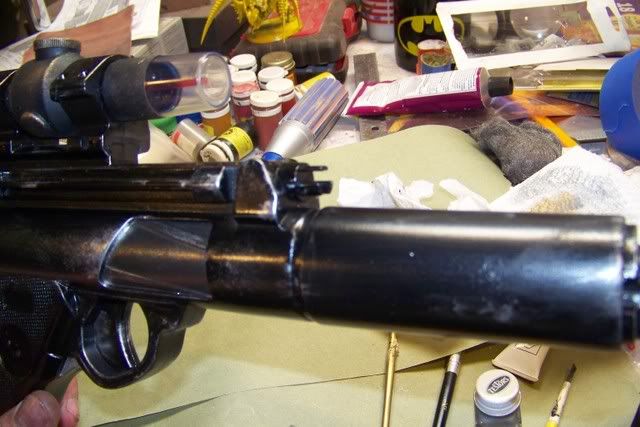
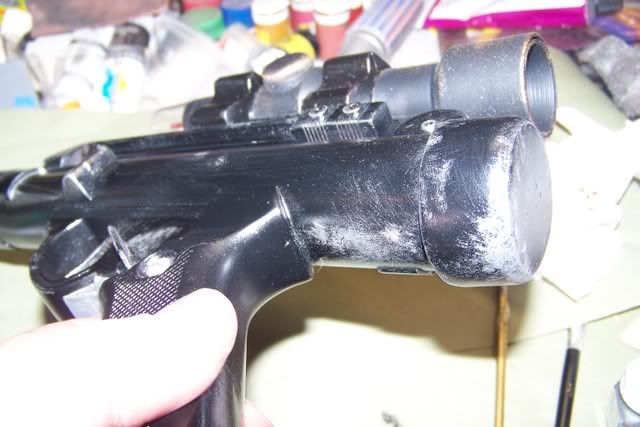
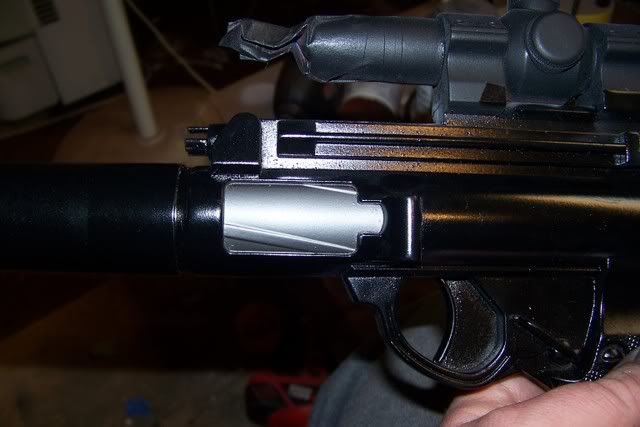
Then, after very lightly scratching the surface with fine steel wool, I started rubbing the whole body of the blaster (minus the scope, rings, and grip) with graphite powder. I used a new shop rag to really rub it in, and also used a stiff brush to get in the nooks and crannies. The pictures don't bring it out very well, but it gives everything a blued metal look:
100_0877.jpg

100_0878.jpg

100_0879.jpg


Next, I dipped a large uneven brush in some Testors silver, and brushed off the paint into a paper towel until it was barely anything left to wipe off, and I lightly dry brushed areas of the blaster that would see the most wear and handling. However, I didn't do a standard drybrushing stroke. It was more dabbing with the tip of the bristles, and then leaving some directional streak with a standard stroke:
100_0880.jpg

100_0881.jpg

100_0882.jpg

100_0883.jpg


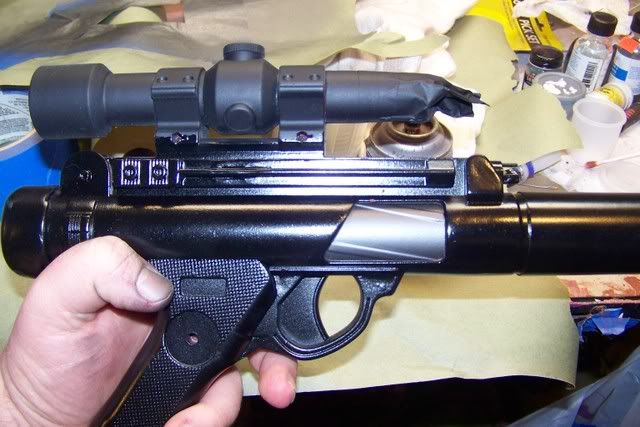
Then with a smaller brush that had a tad more paint on it, I went over some of the areas again, and added some chips and highlights. I didn't go crazy with the weathering as per the customer's order, but it still fits into the SW universe very nicely:
100_0887.jpg

100_0888.jpg

100_0889.jpg


Then I did the same with the scope, only I used Testors gold, which looks bronze when it's lightly layed onto a black undercoat:
100_0884.jpg

100_0885.jpg

100_0886.jpg


And that's it for now. Like I said, all I have left is an hours worth of work. I need to attach the hex bolts, the sensor antenna, scope bracket screws, and a screw on the side of the grip. I also need to touch up a few small areas that I smeared some paint on. Finished pics tomorrow!
 
Re: Custom DH-17 Rebel Blaster Build-Up

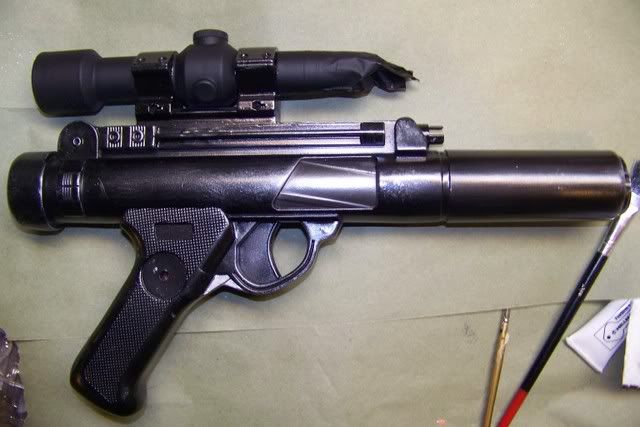
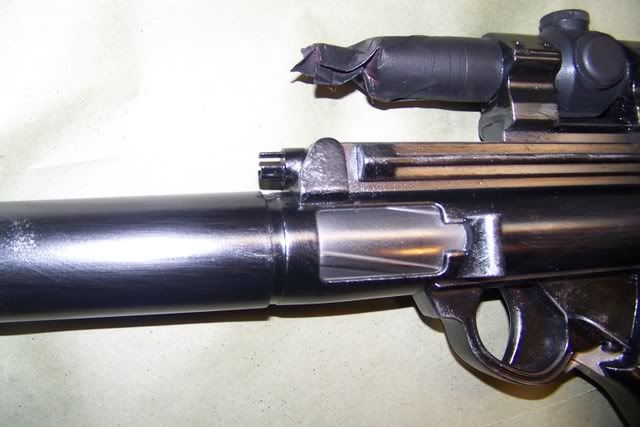
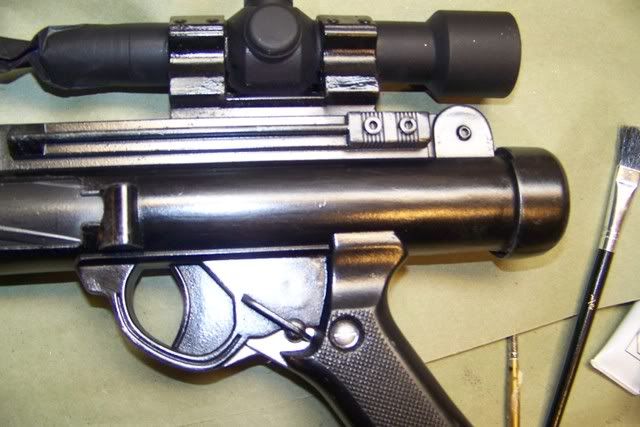
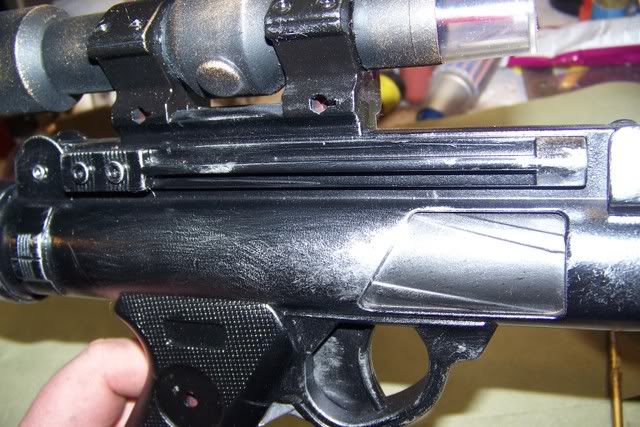
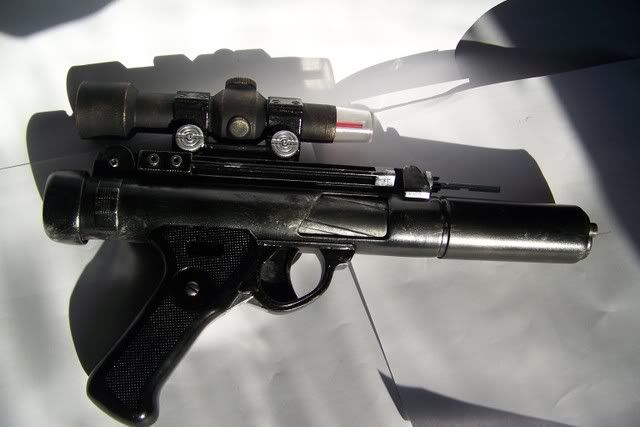
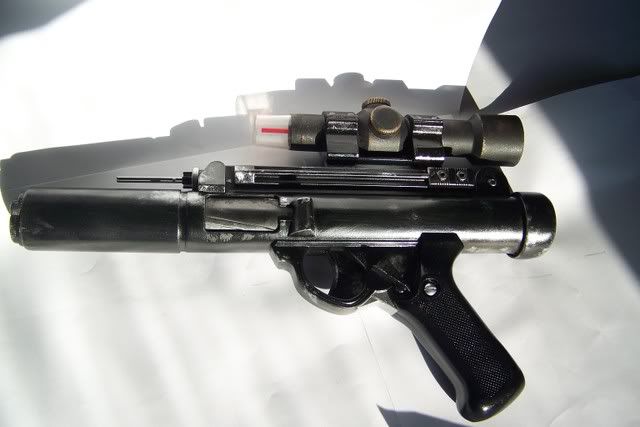
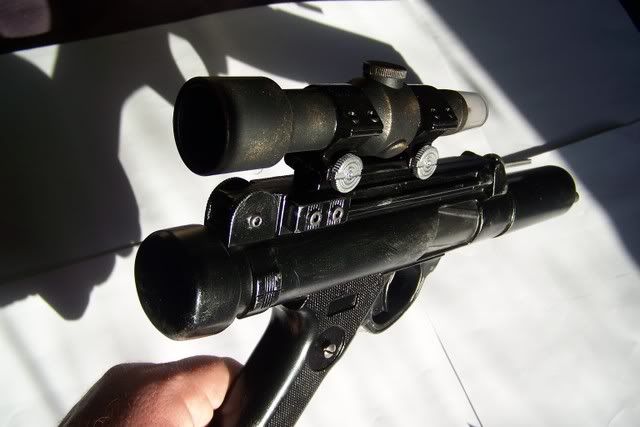
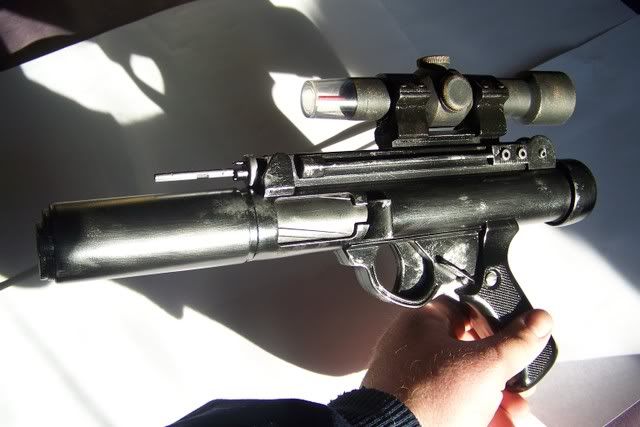
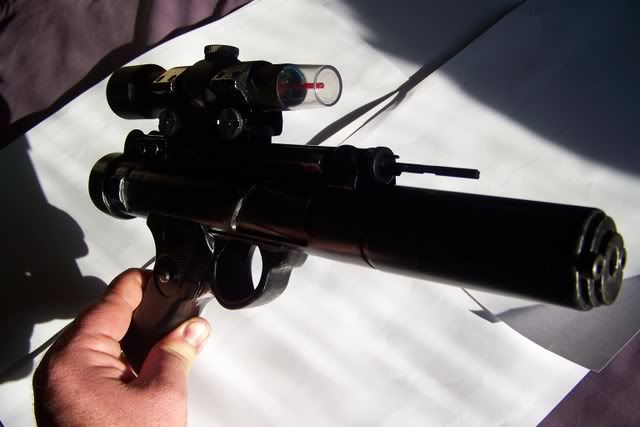
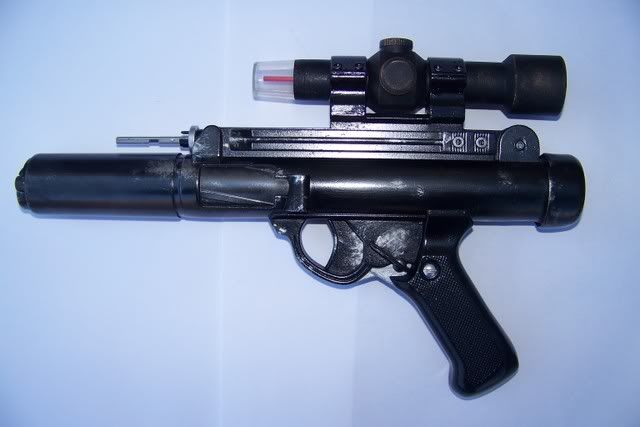
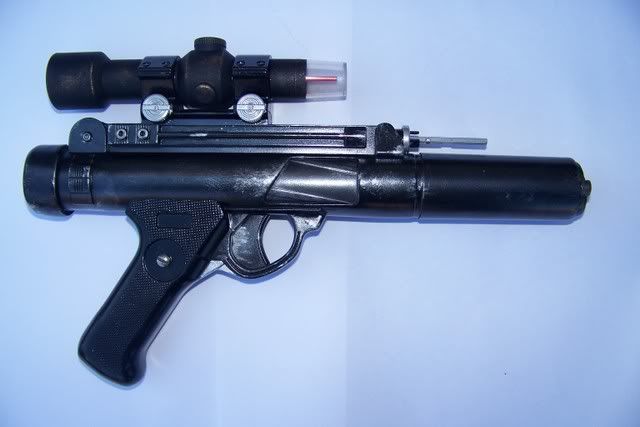
She's all fniished!

The sun was just about to disappear when I took the photos, so they didn't turn out great, but I'll try to get some better ones before I ship this out to my client on Monday.

100_0901.jpg

100_0902.jpg

100_0903.jpg

100_0904.jpg

100_0905.jpg

100_0894.jpg

100_0895.jpg
 
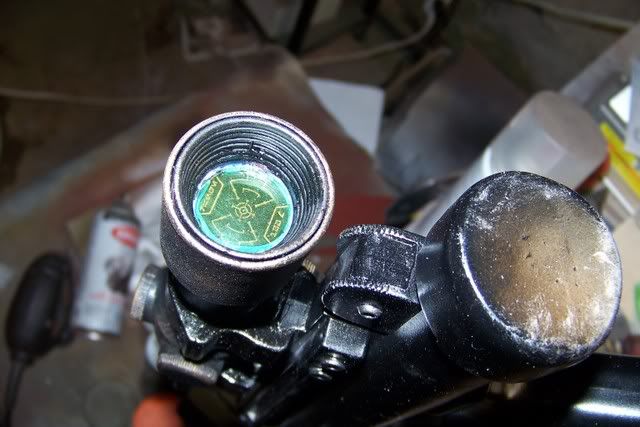
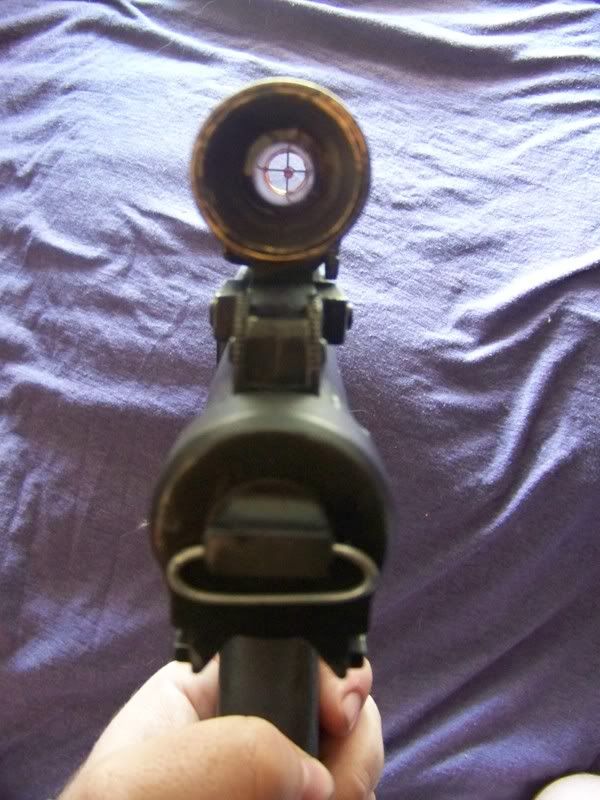
I'm shipping this out to my client tomorrow, and hopefully he can take better pics of it than I did. However, I did add one last minute detail for fun. The clear window glue is still drying, so there's a milky ring around the edges still. I hope to crap it dries and clears up. The graphic was made by someone on the board, but I can't remember who. The lens is a sprite bottle:
100_0942.jpg
 
Last edited:
Thanks. I had a blast painting this up. I'm always looking for more, so if anybody has anything they want painted, let me know. I need to make more cash to buy an OWK TPM saber. ;)
 
Thanks! That mean's a lot coming from you. I learned that trick years ago from this board. Someone did the same thing for a TOS Tricorder screen using a 2 liter coke bottle. They have just the right amount of curvature if you cut out the plastic near the top. My personal Reb Blaster has clear plastic, but for this custom build I thought it'd be cool to have a green lens.

Here's mine:
100_5478.jpg


And here you can compare the two. I'm pissed at myself because my client's paintjob looks better than the one on mine. I'm stuck with the crappy one :):
100_5474.jpg

100_0895.jpg
 
Last edited:
amazing work can't wait to see what you do next man

if its anything like this one or the phaser its bound to be absolutely beautiful

:thumbsup
 
Back
Top