bishopdonmiguel
Active Member
I'm Bishop, the M.C.P. over at Bionic Moon Labs. I'm a huge fan of classic sci-fi props and accessories. The more obscure the better. I realize my posts will appeal mostly to the old farts like me but thought I'd share some of the work that the robots have completed in the lab.
I will start with a very obscure prop from Classic BSG... the Metron Device seen in the episode "The Young Lords." This prop was also seen in an episode of Buck Rogers in the 25th Century called "The Satyr."
I'll divide the build a bit so as not to overwhelm in one post.
First, reference shots...

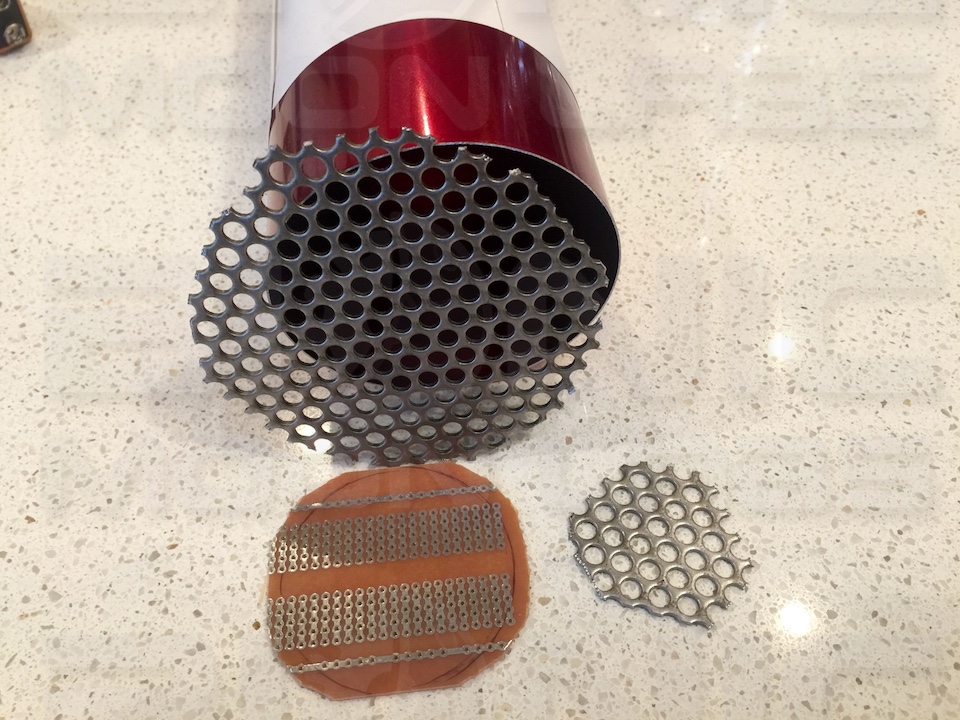
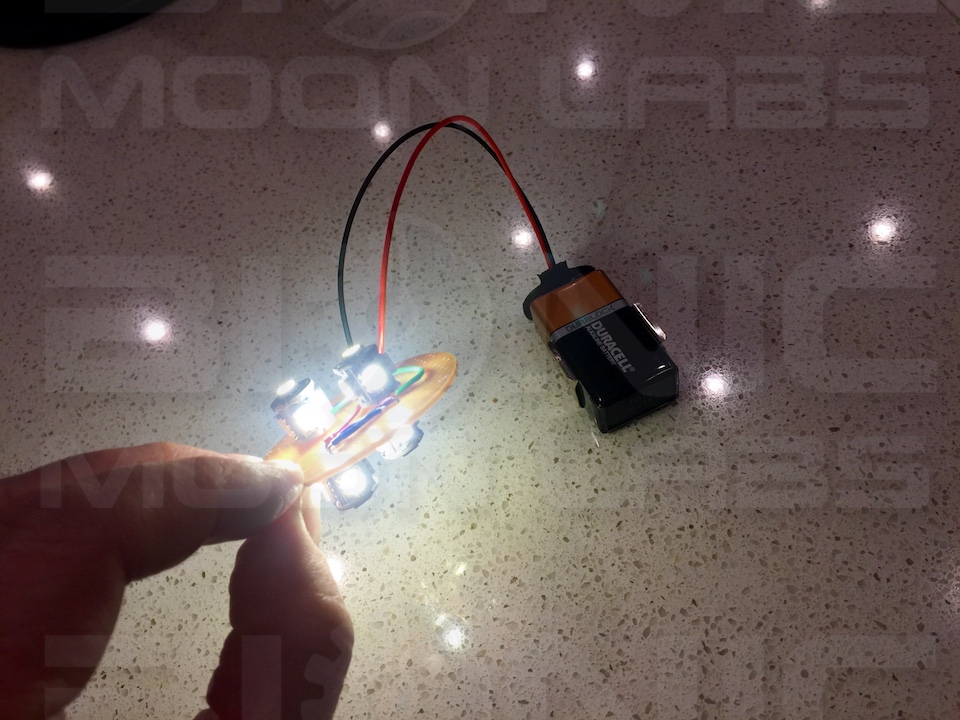
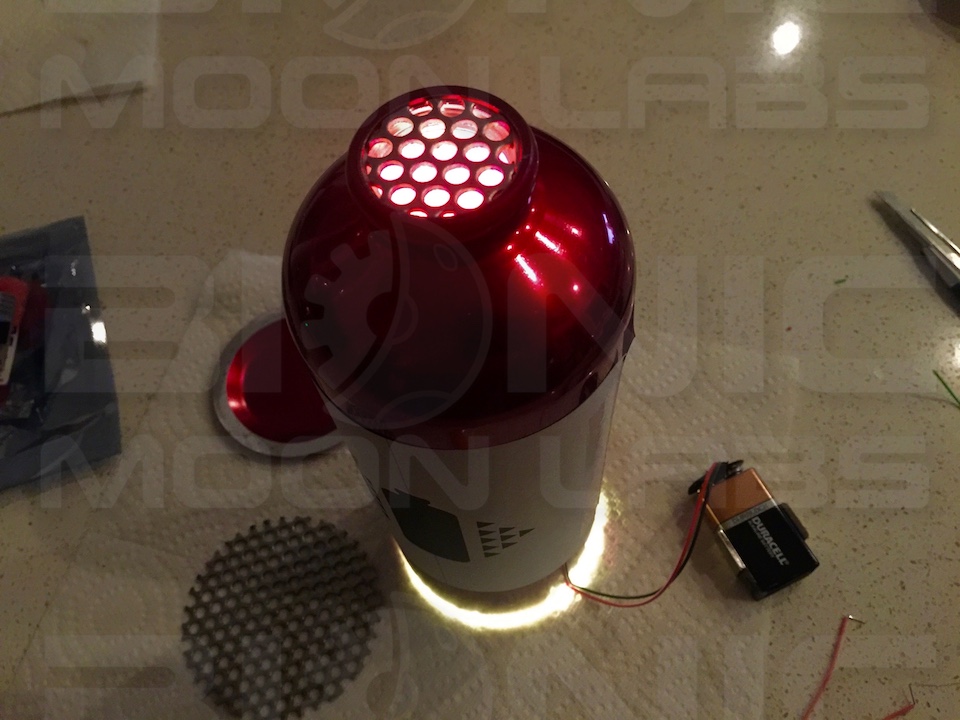
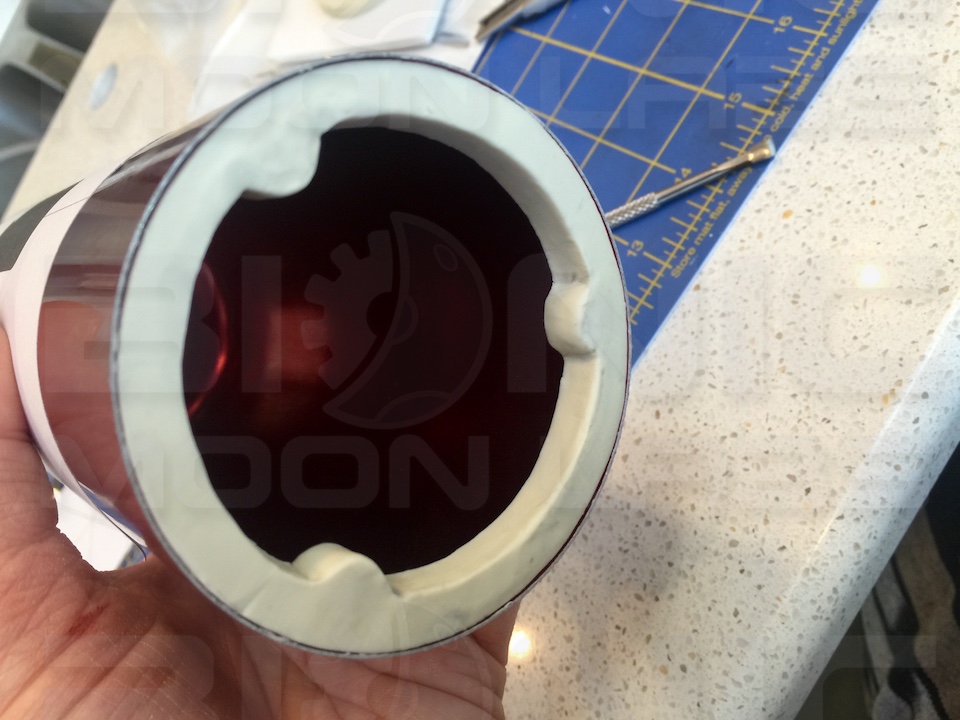
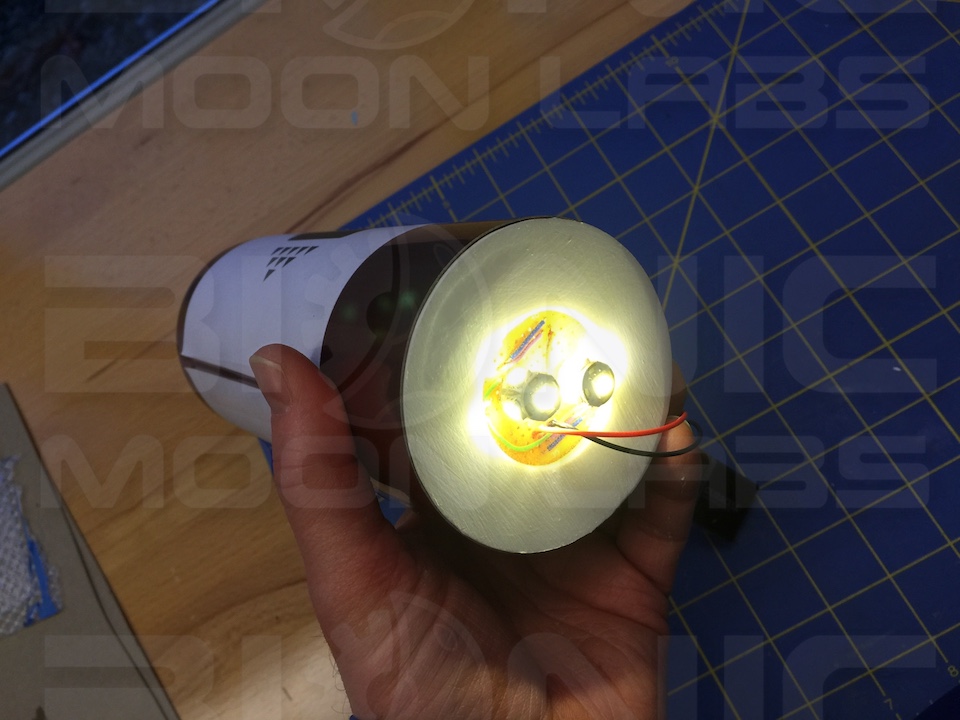
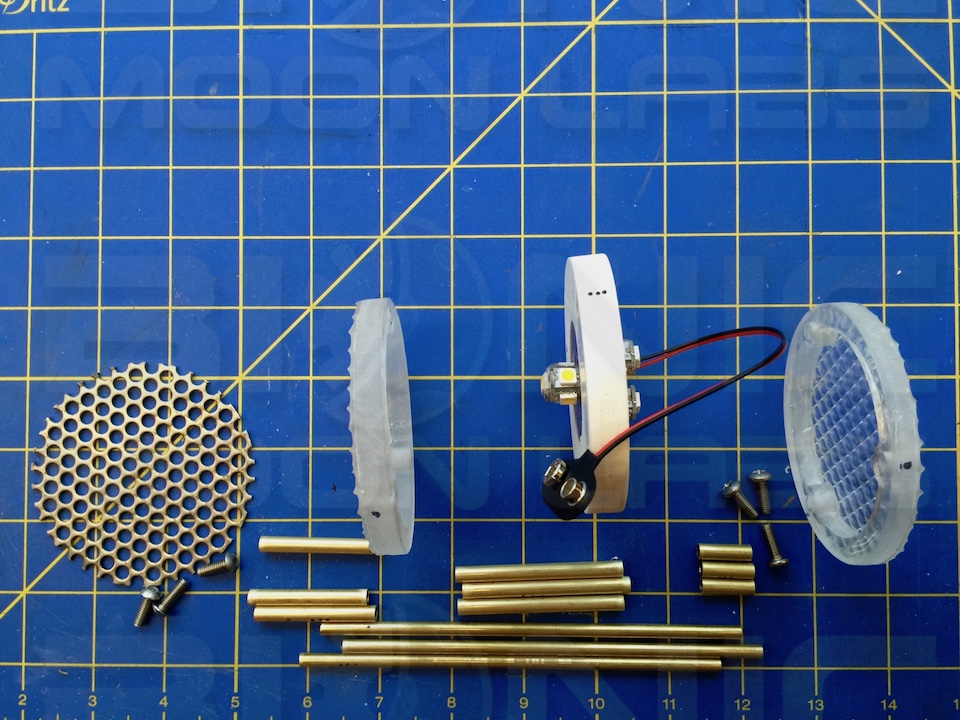
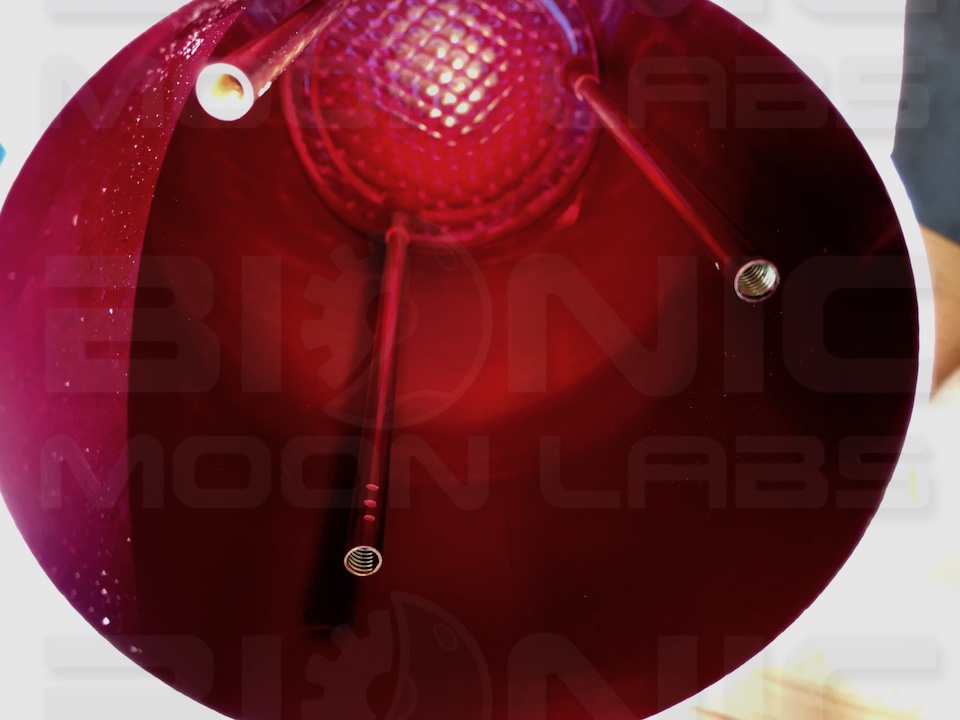
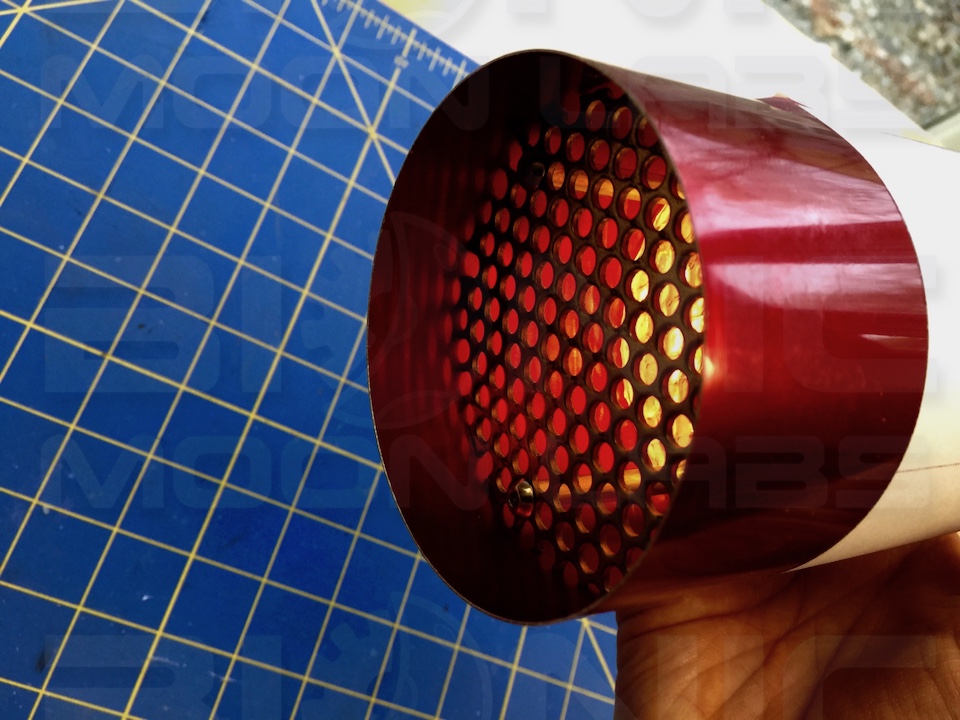
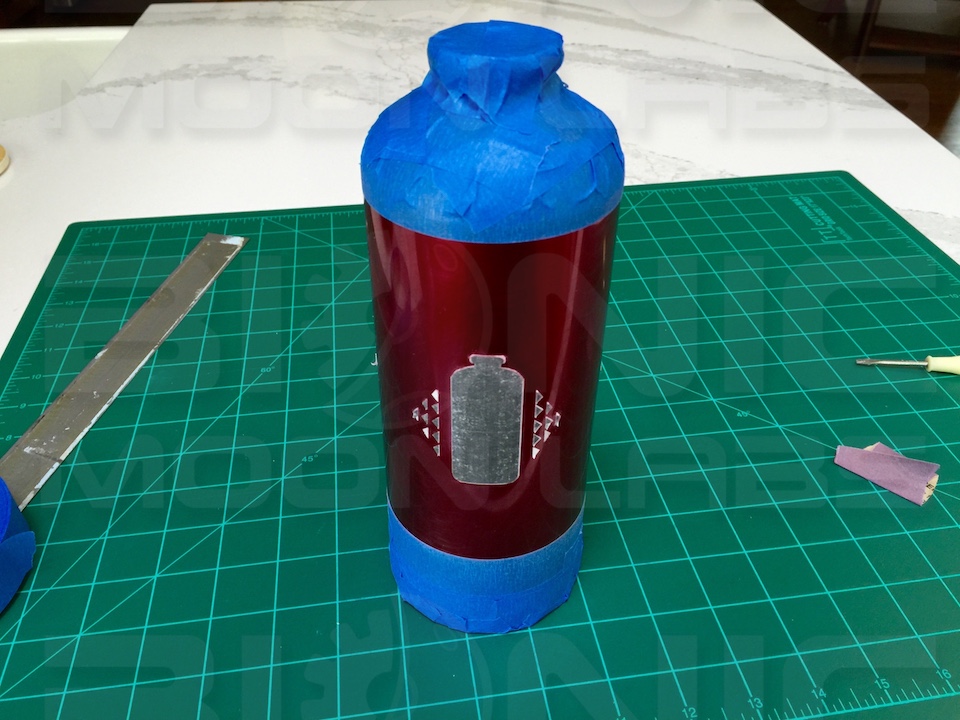
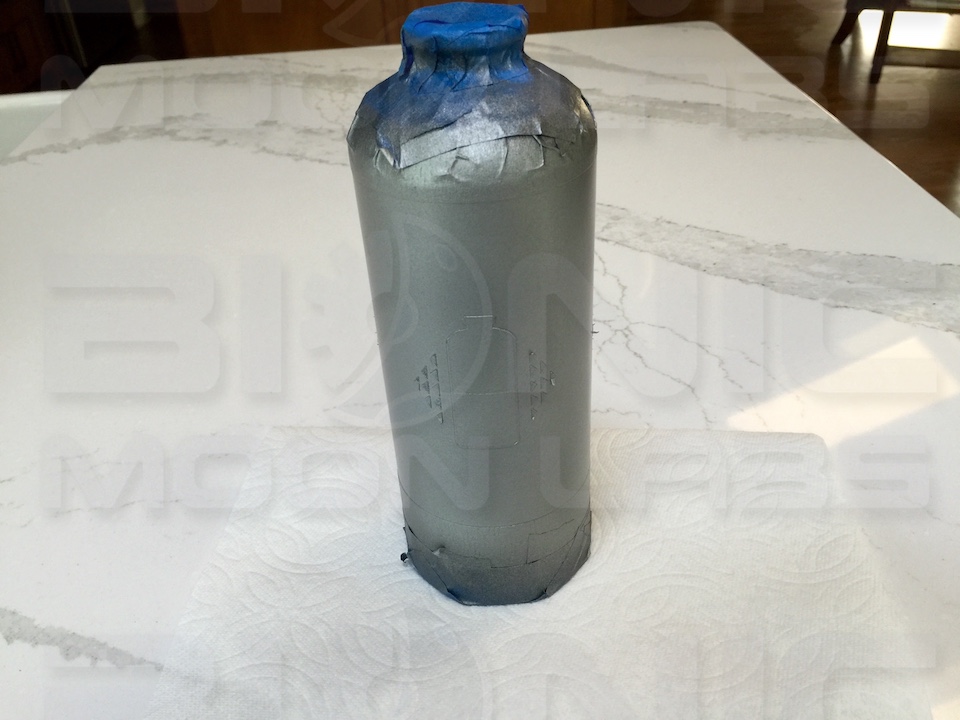
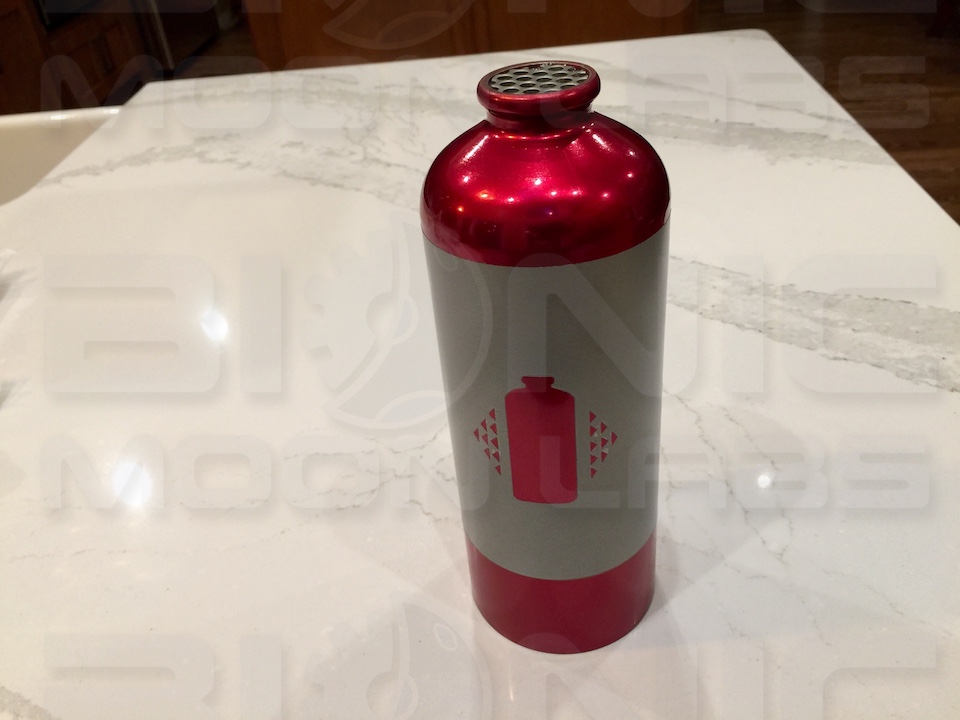
The original prop was probably held together with hot glue but I wanted to make something a bit more durable. The obvious characteristics of the device to be replicated; it is metallic red, has a design that is apparently painted on, and a switch located on a perforated sheet that activates an internal lighting source. The object looked familiar and my best guess was a "fuel (water) bottle." After searching on everyone's favorite online auction site, I found one that would work nicely and I was off to replicate the graphic as best as I could make out.

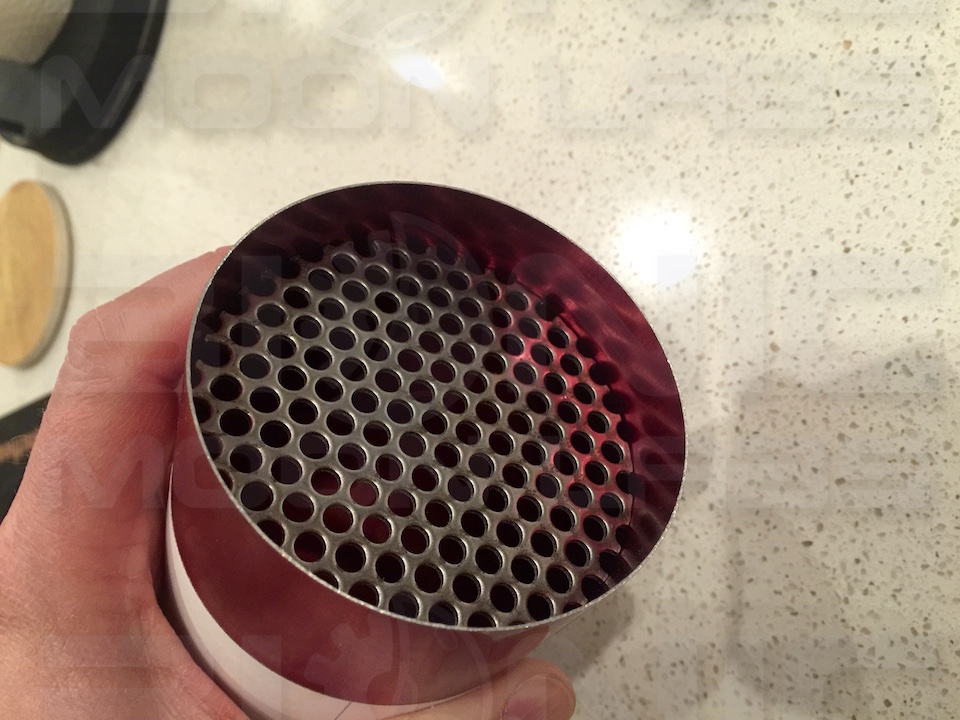
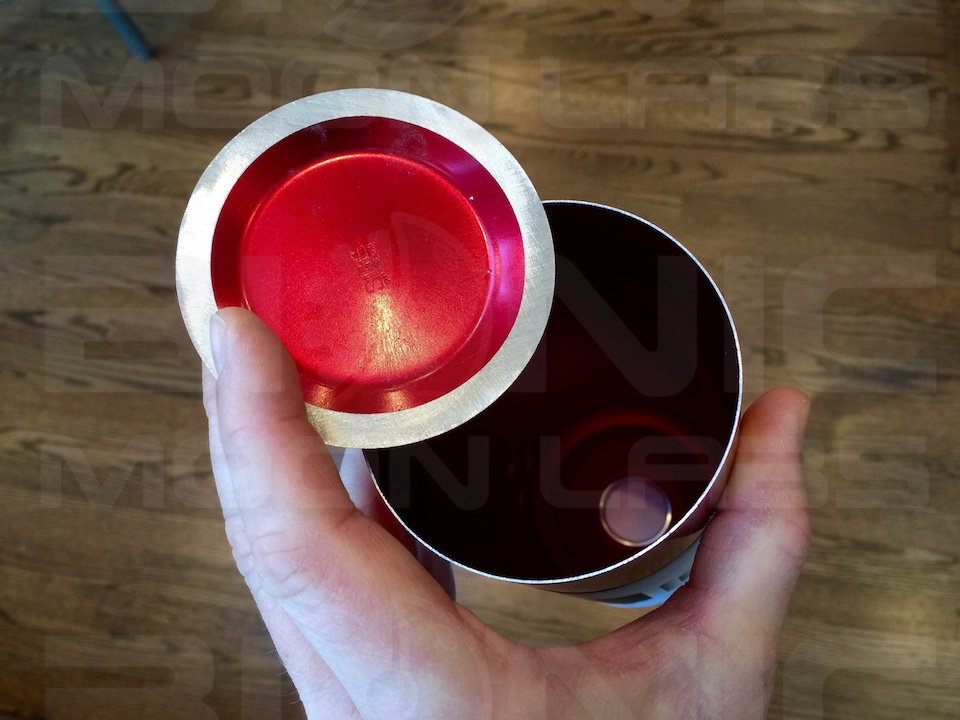
After that, it was time to remove the bottom of the bottle. Belt sanding seemed the most practical method.
To be continued...
I will start with a very obscure prop from Classic BSG... the Metron Device seen in the episode "The Young Lords." This prop was also seen in an episode of Buck Rogers in the 25th Century called "The Satyr."
I'll divide the build a bit so as not to overwhelm in one post.
First, reference shots...
The original prop was probably held together with hot glue but I wanted to make something a bit more durable. The obvious characteristics of the device to be replicated; it is metallic red, has a design that is apparently painted on, and a switch located on a perforated sheet that activates an internal lighting source. The object looked familiar and my best guess was a "fuel (water) bottle." After searching on everyone's favorite online auction site, I found one that would work nicely and I was off to replicate the graphic as best as I could make out.
After that, it was time to remove the bottom of the bottle. Belt sanding seemed the most practical method.
To be continued...
Last edited: