Figured I should finally start a thread on this one...
I purchased one of roblenzz's excellent TFA raw casts (highly recommend the product and the guy!), which can be seen here. Required very little cleanup work, and he even gave me some tips on how to do the leatherwork.

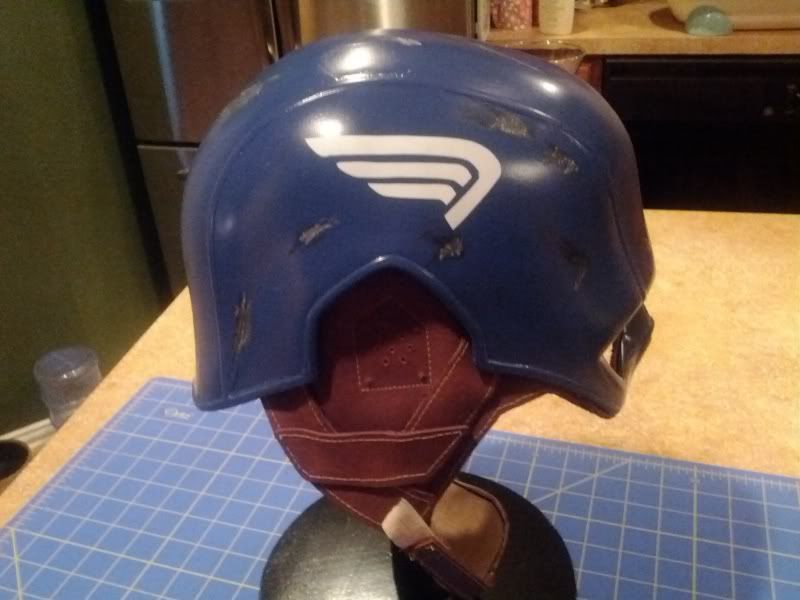
As I was about to put the final layer of primer on, a gust of wind came through and knocked the helmet off my makeshift painting stand onto the concrete deck, and put a crack in the crown of the helmet! So I decided to make this one a battle-damaged helmet :lol
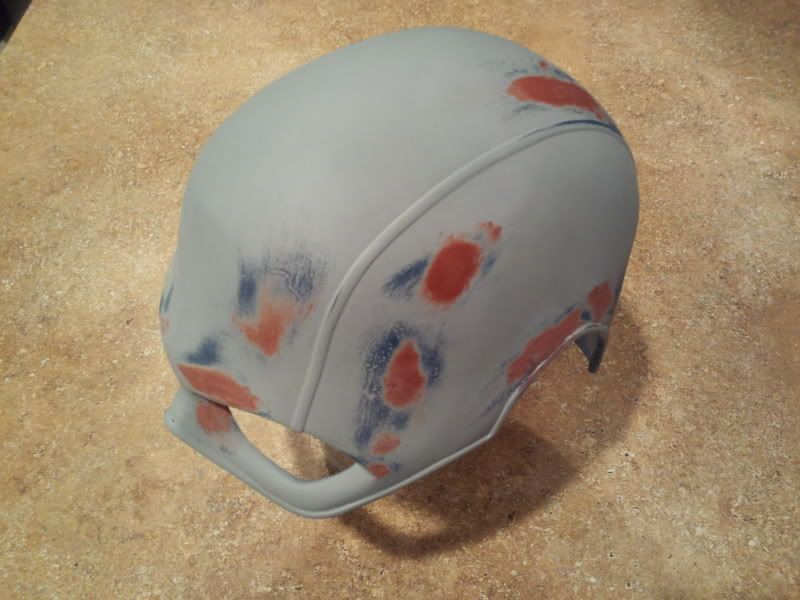
It was a simple fix actually... Put a bead of super glue along the crack, and held the pieces flush. Once the glue dried, I sanded everything down again, put a little spot putty down to smooth everything out, and then reprimered. Good as new! (mostly :lol)
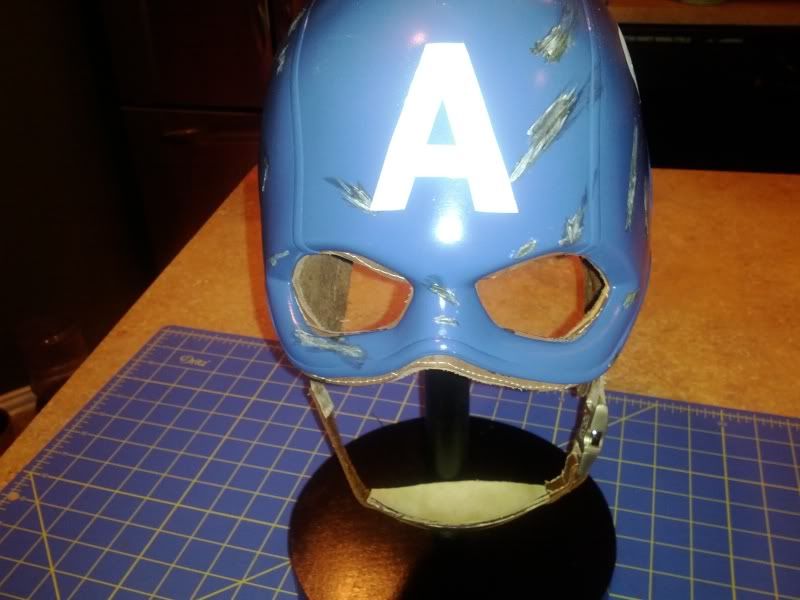
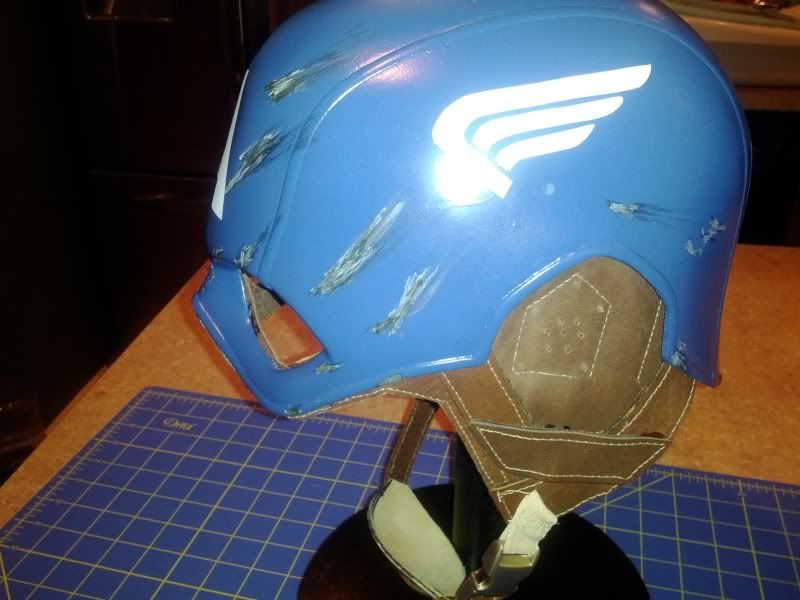
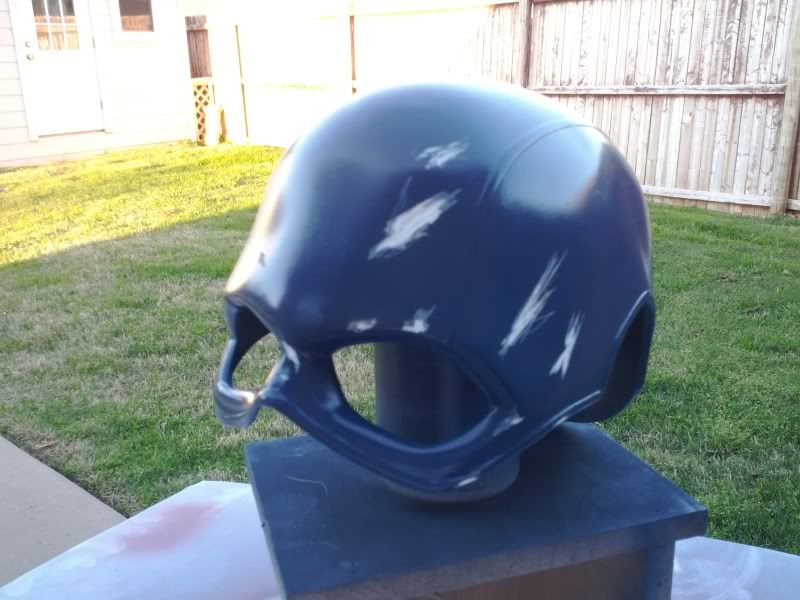
To determine the locations of the damage, I studied several screencaps from the film, and marked them onto the painted helmet with a silver Sharpie. Once it was marked up, I went at it with my Dremel!
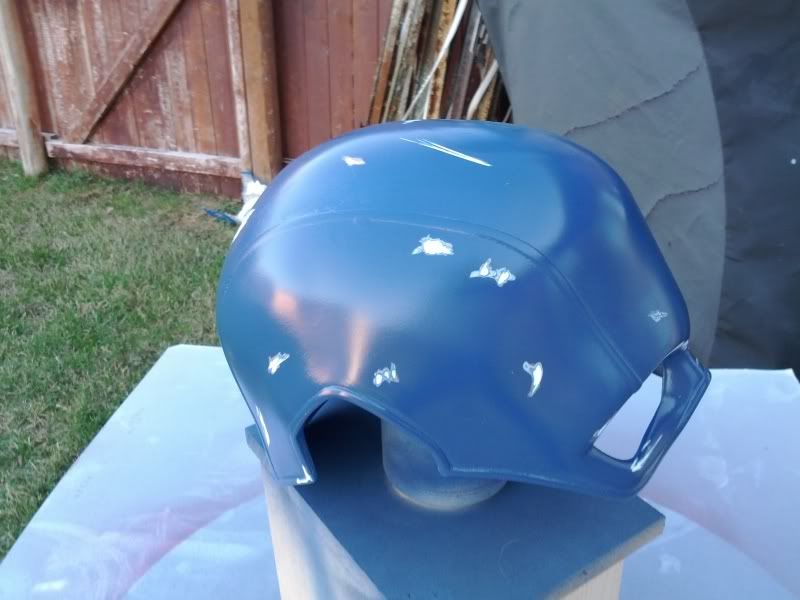
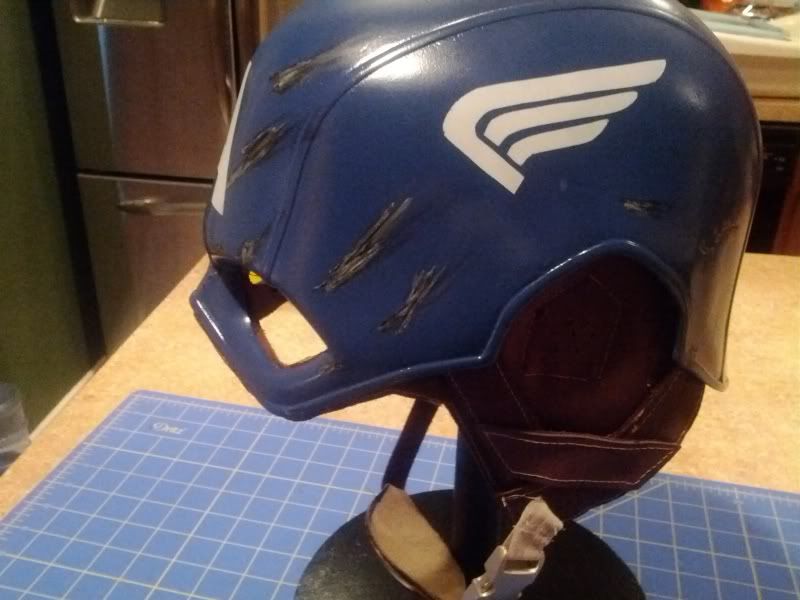
Now that all the "damage" was done, I layed down another coat of blue
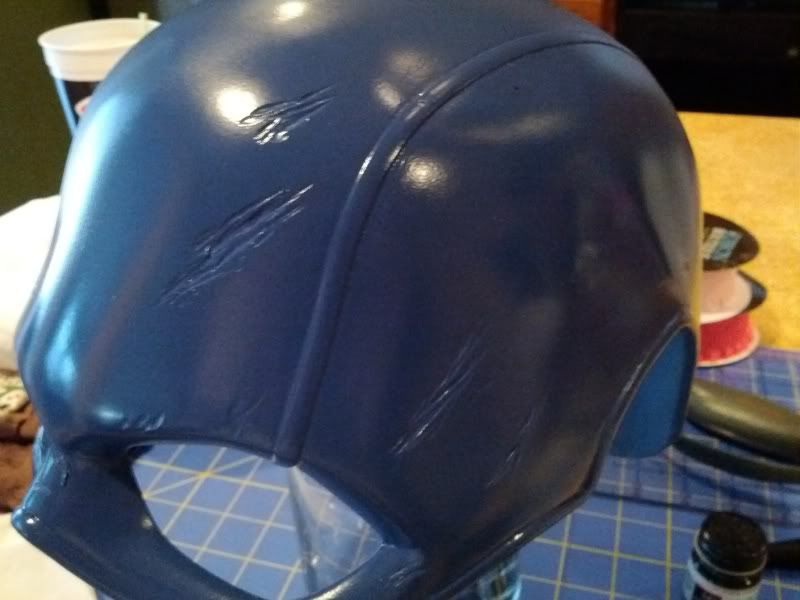
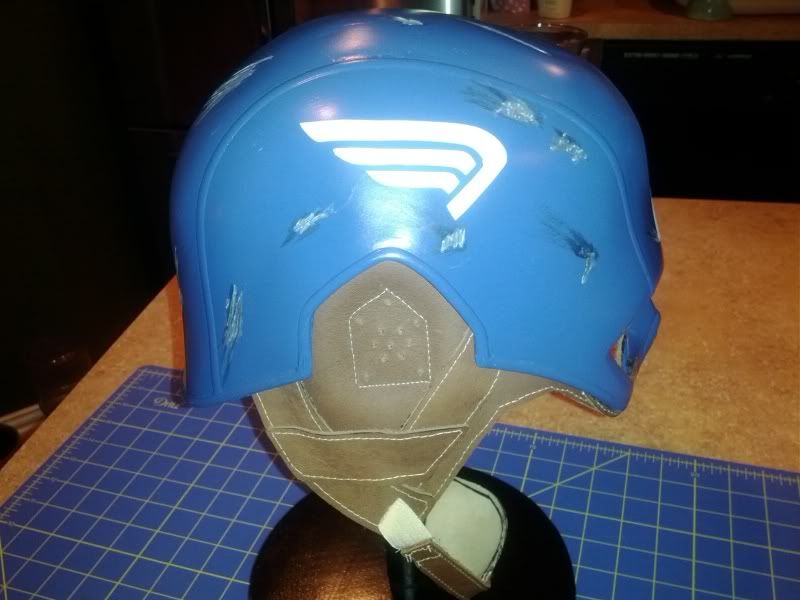
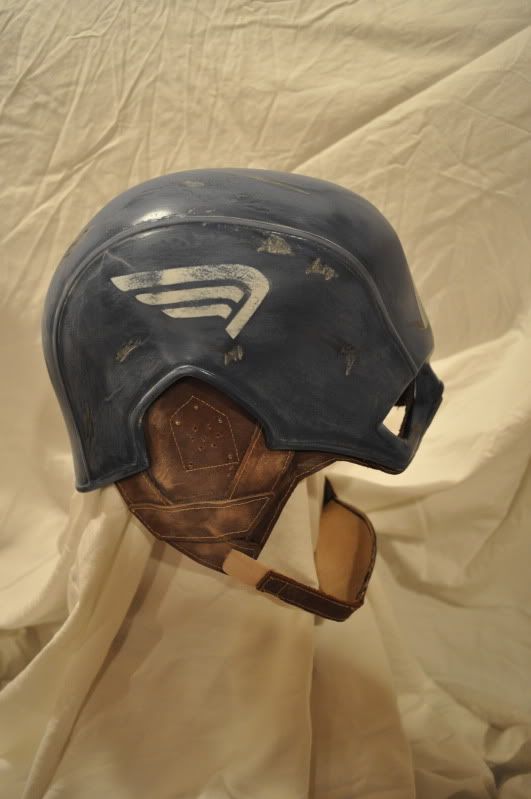
Then I hand-painted the damage areas with a mixture of paints varying from black to grey to white
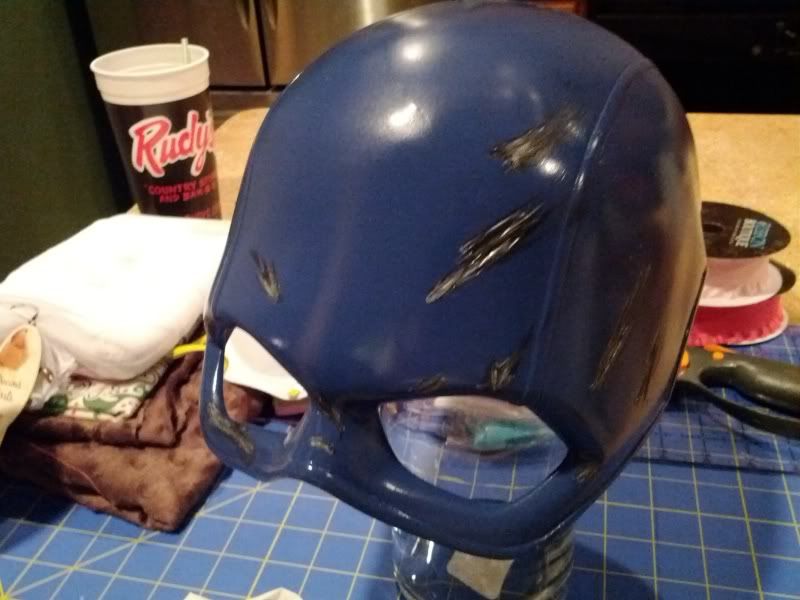
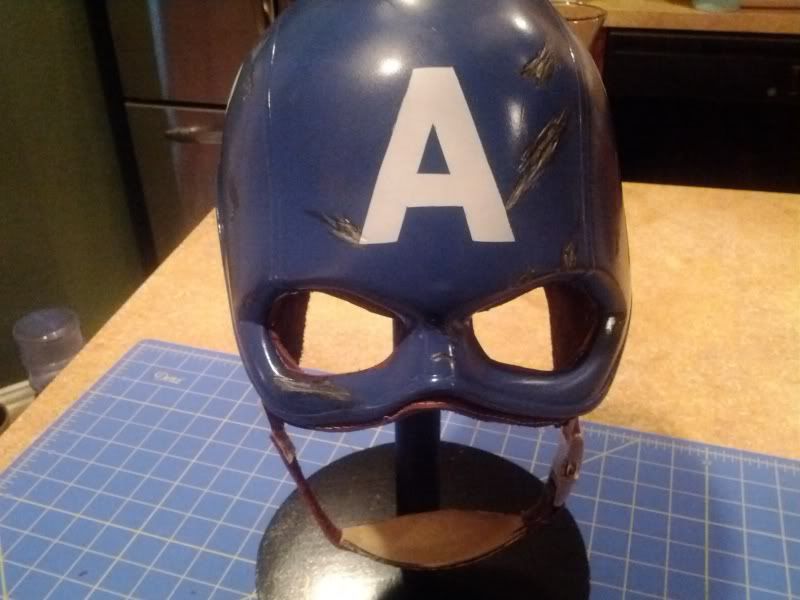
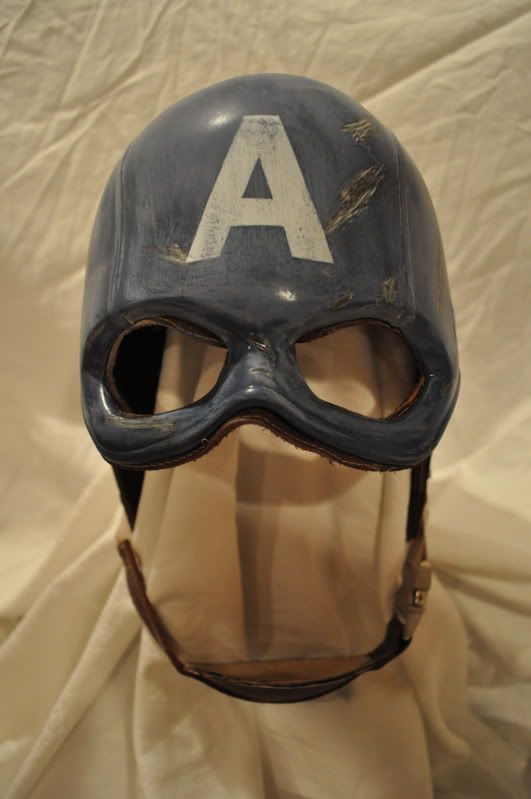
Once that was done, I masked off the "A" and wings, and then misted a few very light coats of white.
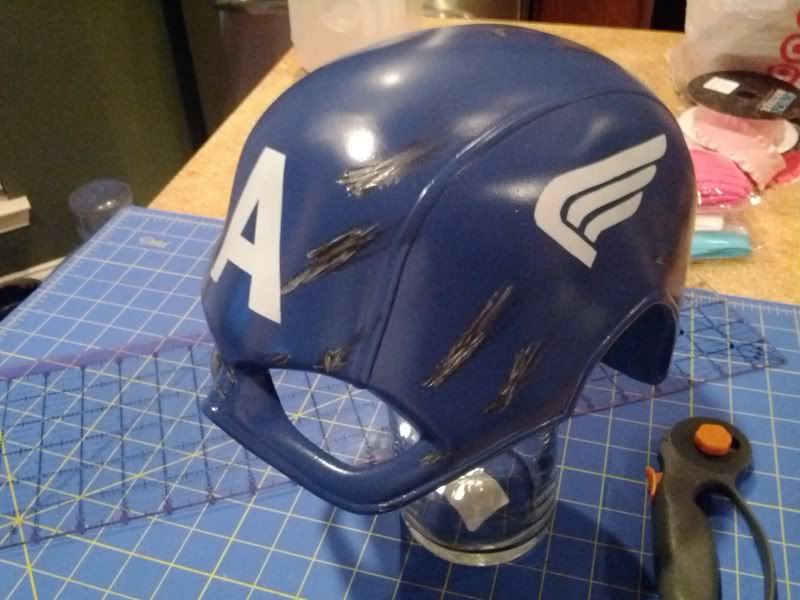
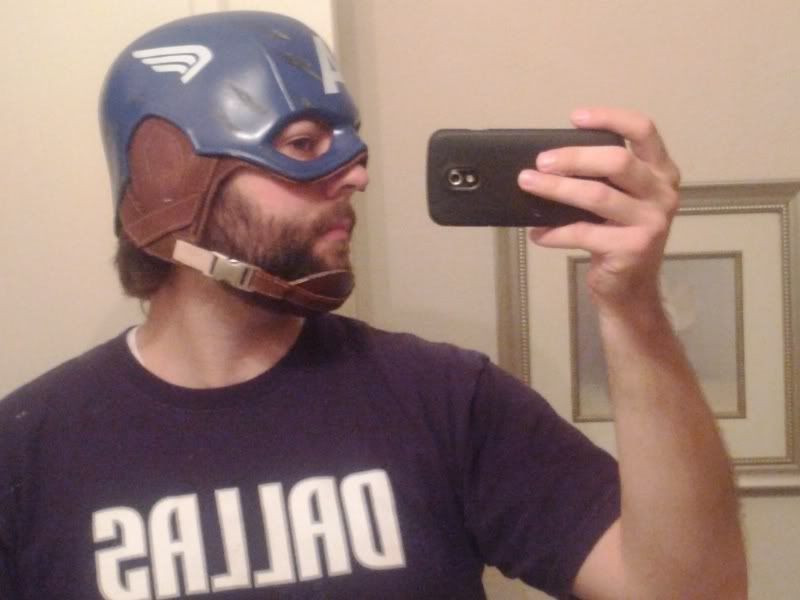
Still need to wetsand the whole thing, and then do a little aging to it. But with the painting done, I needed to start on the leather work... Also, I received a second casting (which is even better than the first!) so I could have a "new" helmet as well. The battle-damaged one just might go up in the JY once it is complete. :thumbsup
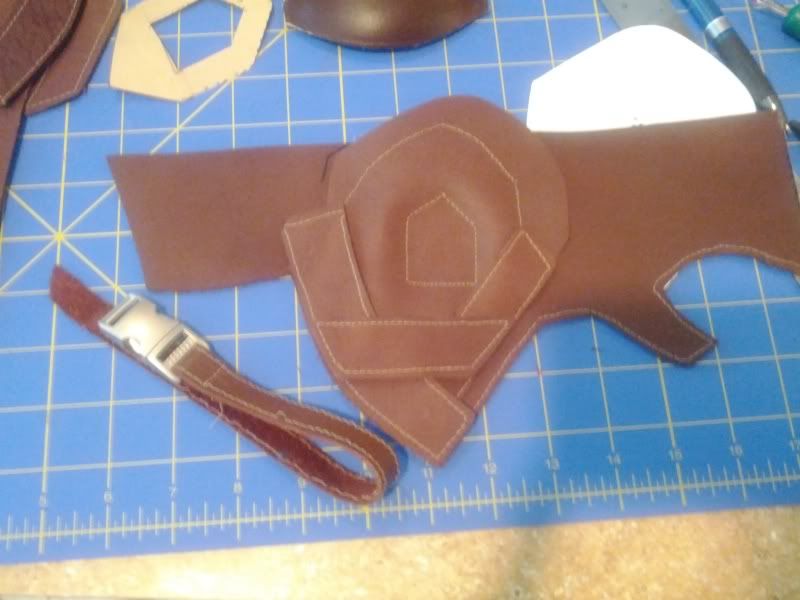
Using the patterns Bobby provided me, I started tracing and cutting the leather.
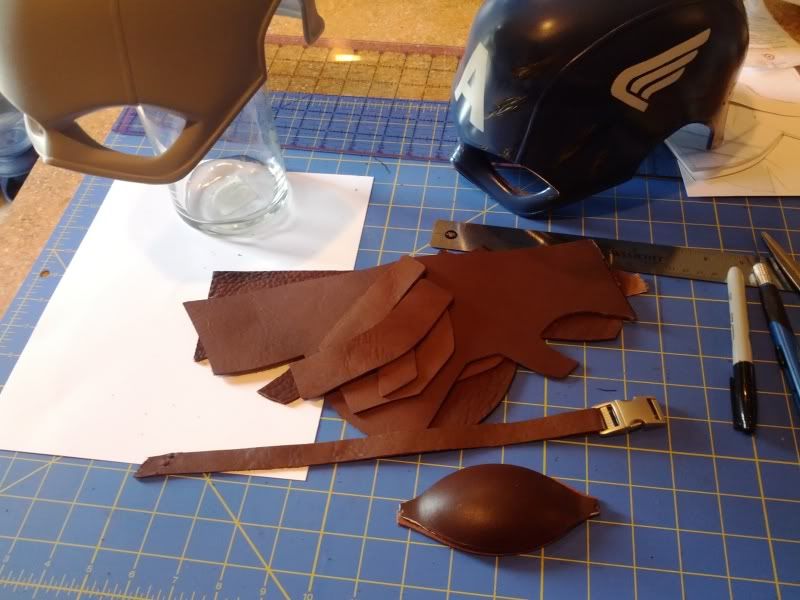
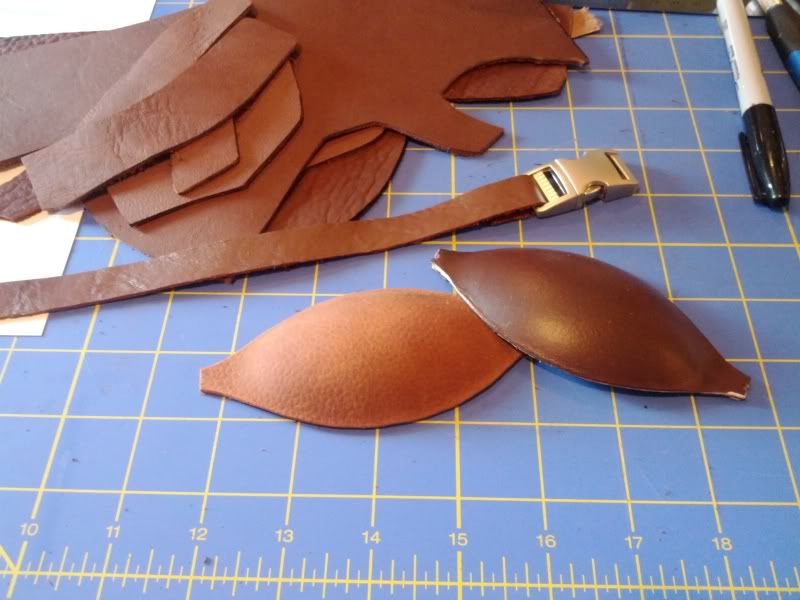
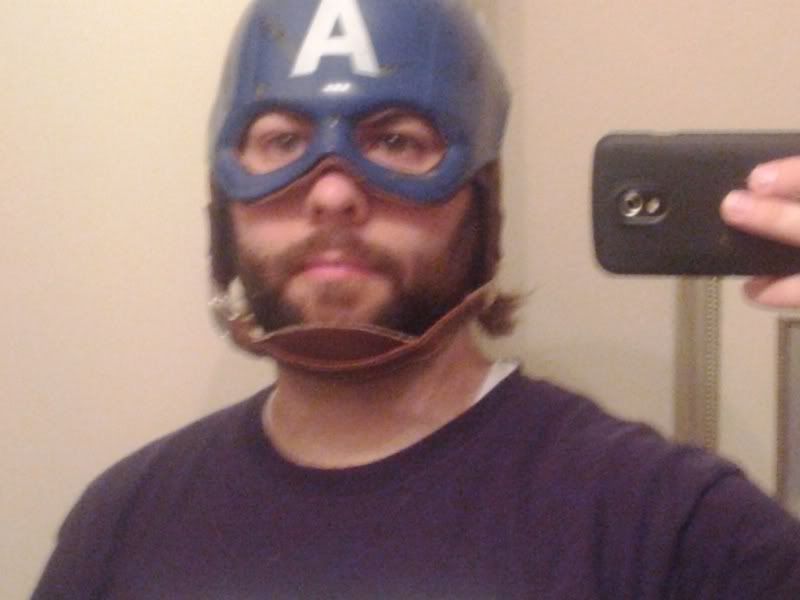
Bobby also sent me a chin cup from his supplier, and I made a second one by wetforming the leather over a ceramic dish that just happened to have the same profile.
So I've got all the pieces cut for the battle-damaged helmet, and most of the pieces cut for the "new" helmet. I also ordered a 5/8" aluminum slide buckle I found on ebay. I have a 3/4" buckle from Strapworks.com as well, but I think it is just too big. Finally, I picked up some leather sewing machine needles to be able to use my wife's sewing machine. I should be getting that part started in the next few days... Hopefully that part goes well! :lol
Stay tuned")
I purchased one of roblenzz's excellent TFA raw casts (highly recommend the product and the guy!), which can be seen here. Required very little cleanup work, and he even gave me some tips on how to do the leatherwork.
As I was about to put the final layer of primer on, a gust of wind came through and knocked the helmet off my makeshift painting stand onto the concrete deck, and put a crack in the crown of the helmet! So I decided to make this one a battle-damaged helmet :lol
It was a simple fix actually... Put a bead of super glue along the crack, and held the pieces flush. Once the glue dried, I sanded everything down again, put a little spot putty down to smooth everything out, and then reprimered. Good as new! (mostly :lol)
To determine the locations of the damage, I studied several screencaps from the film, and marked them onto the painted helmet with a silver Sharpie. Once it was marked up, I went at it with my Dremel!
Now that all the "damage" was done, I layed down another coat of blue
Then I hand-painted the damage areas with a mixture of paints varying from black to grey to white
Once that was done, I masked off the "A" and wings, and then misted a few very light coats of white.
Still need to wetsand the whole thing, and then do a little aging to it. But with the painting done, I needed to start on the leather work... Also, I received a second casting (which is even better than the first!) so I could have a "new" helmet as well. The battle-damaged one just might go up in the JY once it is complete. :thumbsup
Using the patterns Bobby provided me, I started tracing and cutting the leather.
Bobby also sent me a chin cup from his supplier, and I made a second one by wetforming the leather over a ceramic dish that just happened to have the same profile.
So I've got all the pieces cut for the battle-damaged helmet, and most of the pieces cut for the "new" helmet. I also ordered a 5/8" aluminum slide buckle I found on ebay. I have a 3/4" buckle from Strapworks.com as well, but I think it is just too big. Finally, I picked up some leather sewing machine needles to be able to use my wife's sewing machine. I should be getting that part started in the next few days... Hopefully that part goes well! :lol
Stay tuned
Last edited: