Building my first Proton Pack - UPDATE PACK COMPLETE 2/15

jhusel

Sr Member
RPF PREMIUM MEMBER
I had a nice Ghostbusters Proton pack 15 years ago, and ended up trading it. A decision I have regretted over the years. So I finally bit the bullet and decided to get another, but build it myself this time. So I got the fiberglass shell for Christmas

GhostbustersProtonPackShell.jpg

GhostbustersProtonPackShell2.jpg


I ended up joining GBFans forum to learn more about building one, placement, colors, parts, etc. I opted to get mostly metal parts for it, as the price difference wasn't that much different between that and resin.
IMG_9205.png


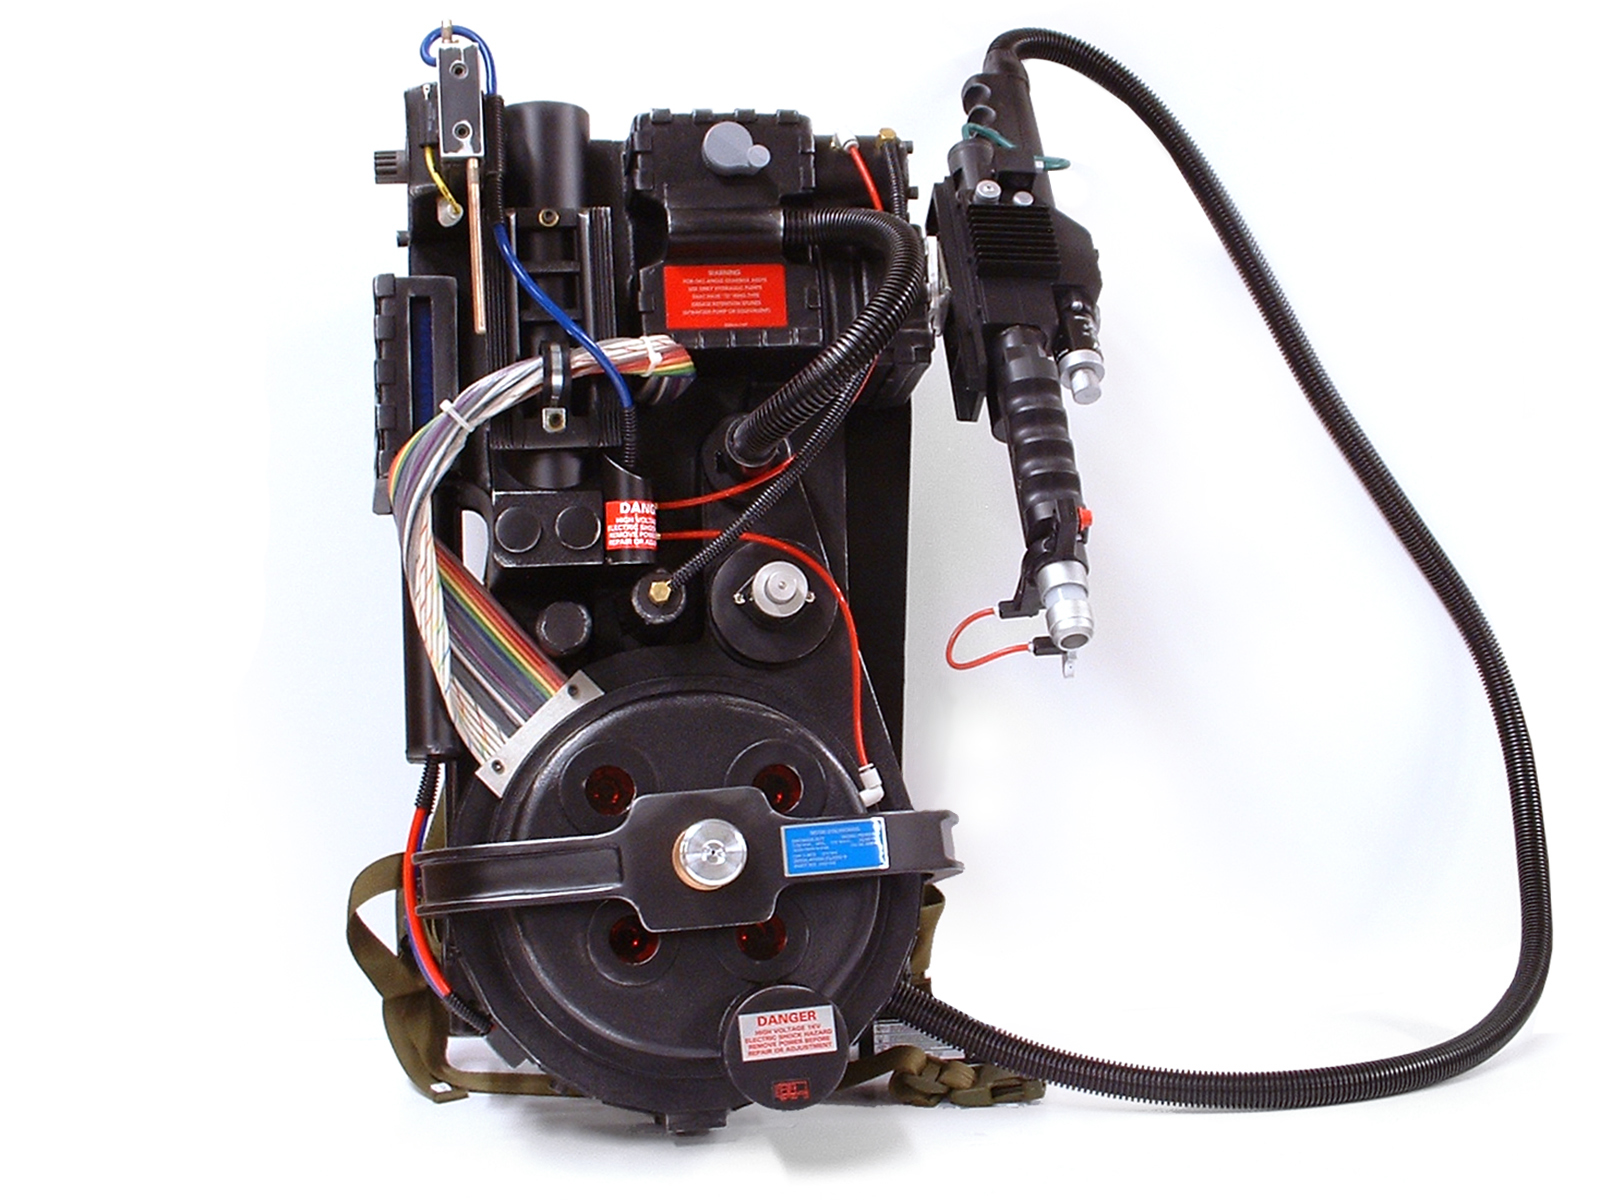
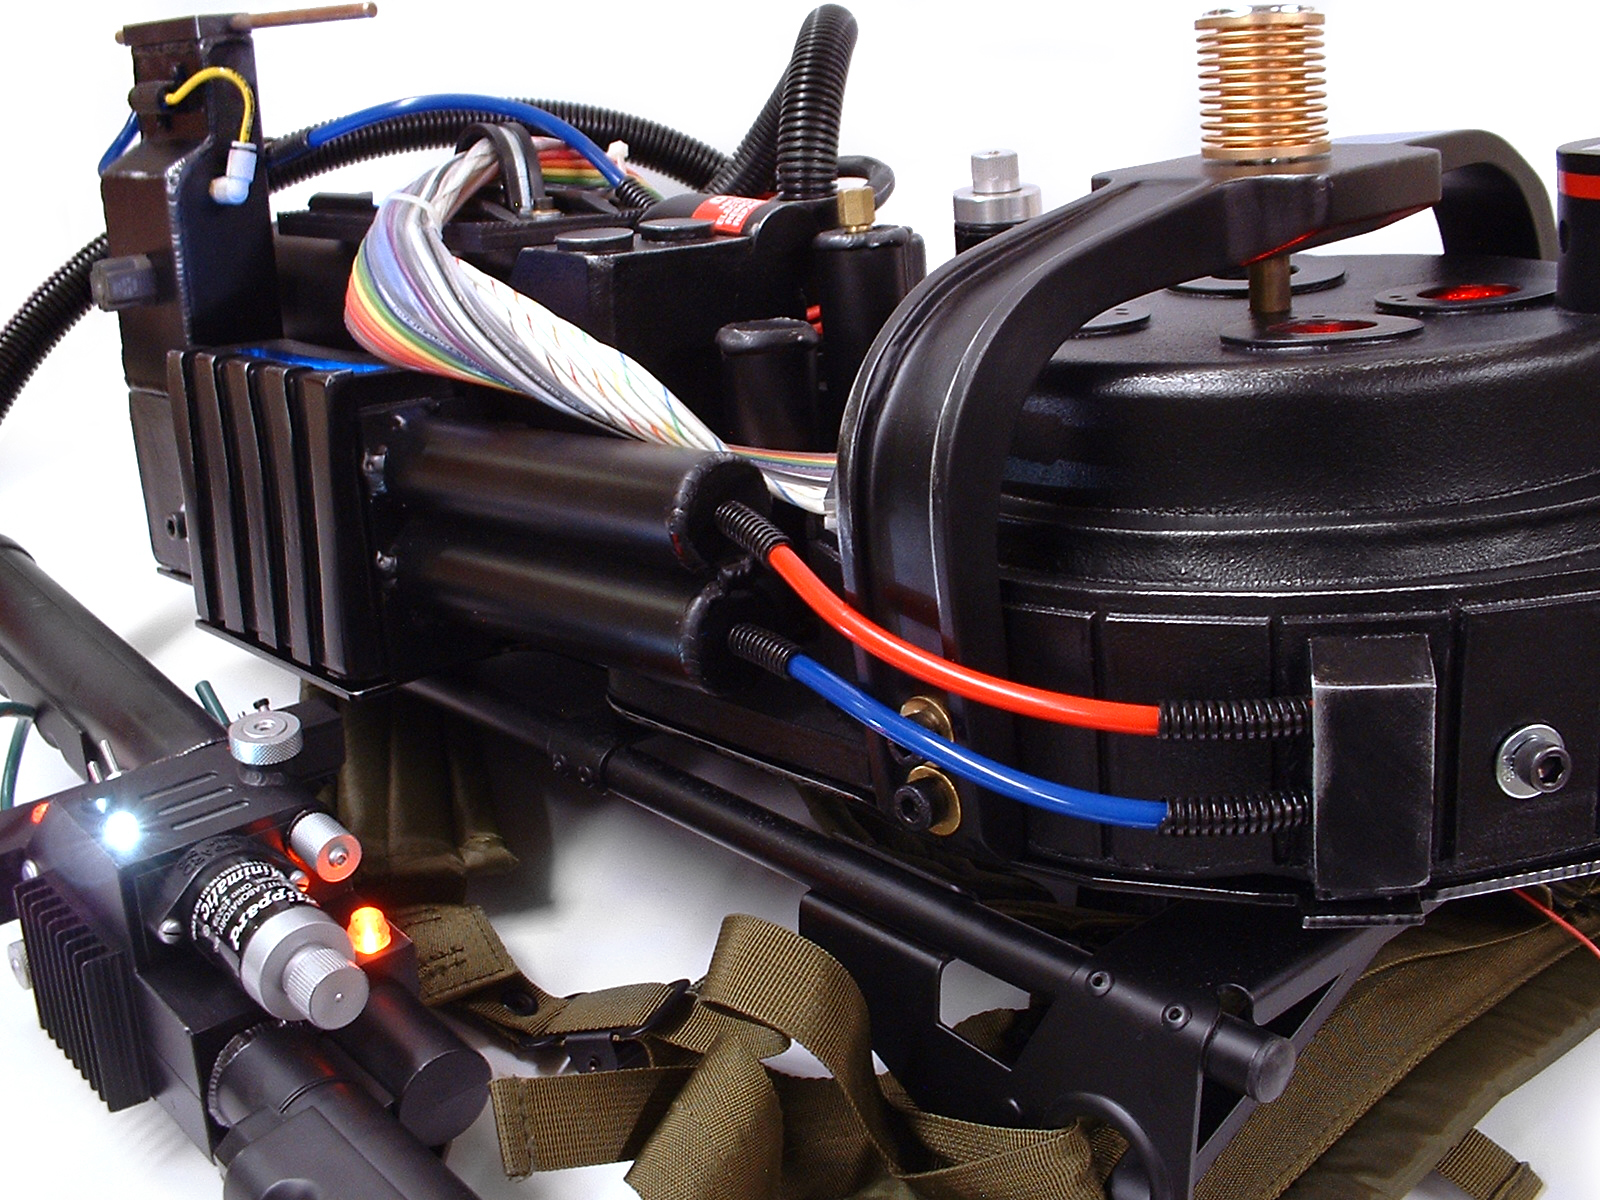
Then painted up the accessories and textured the pack, leaving the right parts smooth.
IMG_9197.jpg

IMG_9201.jpg


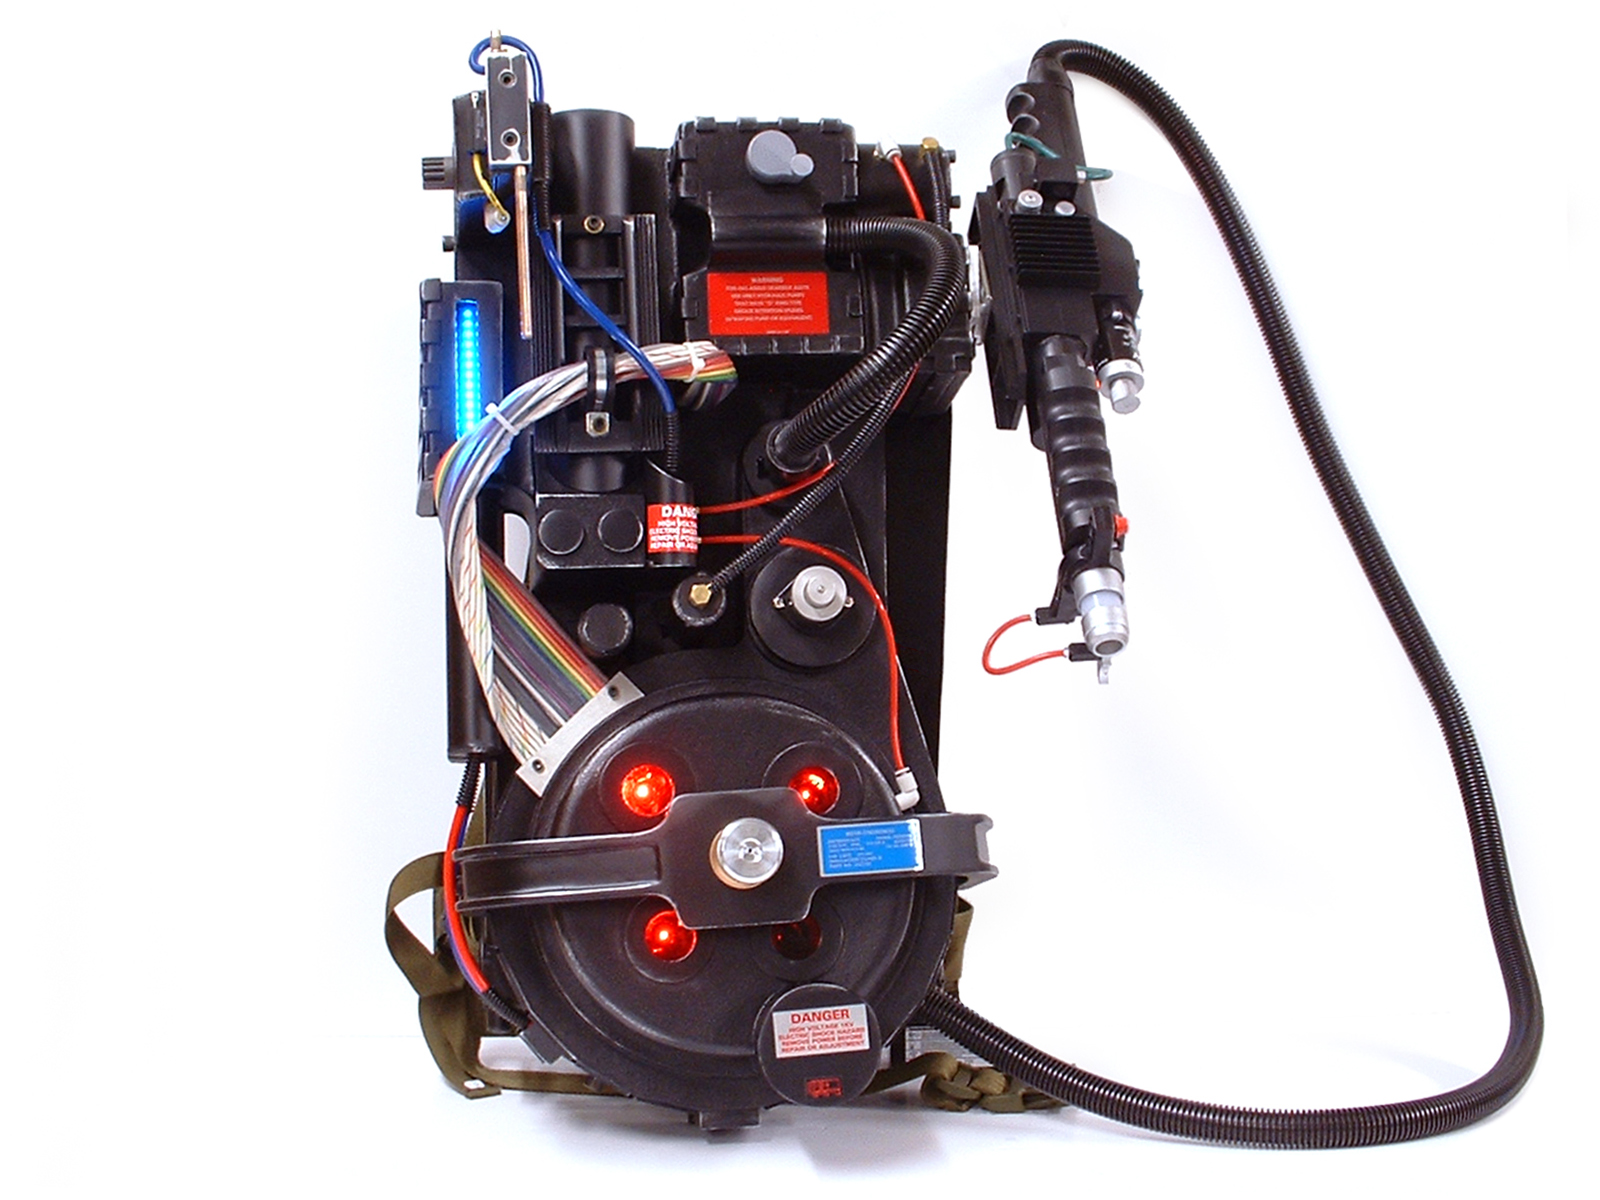
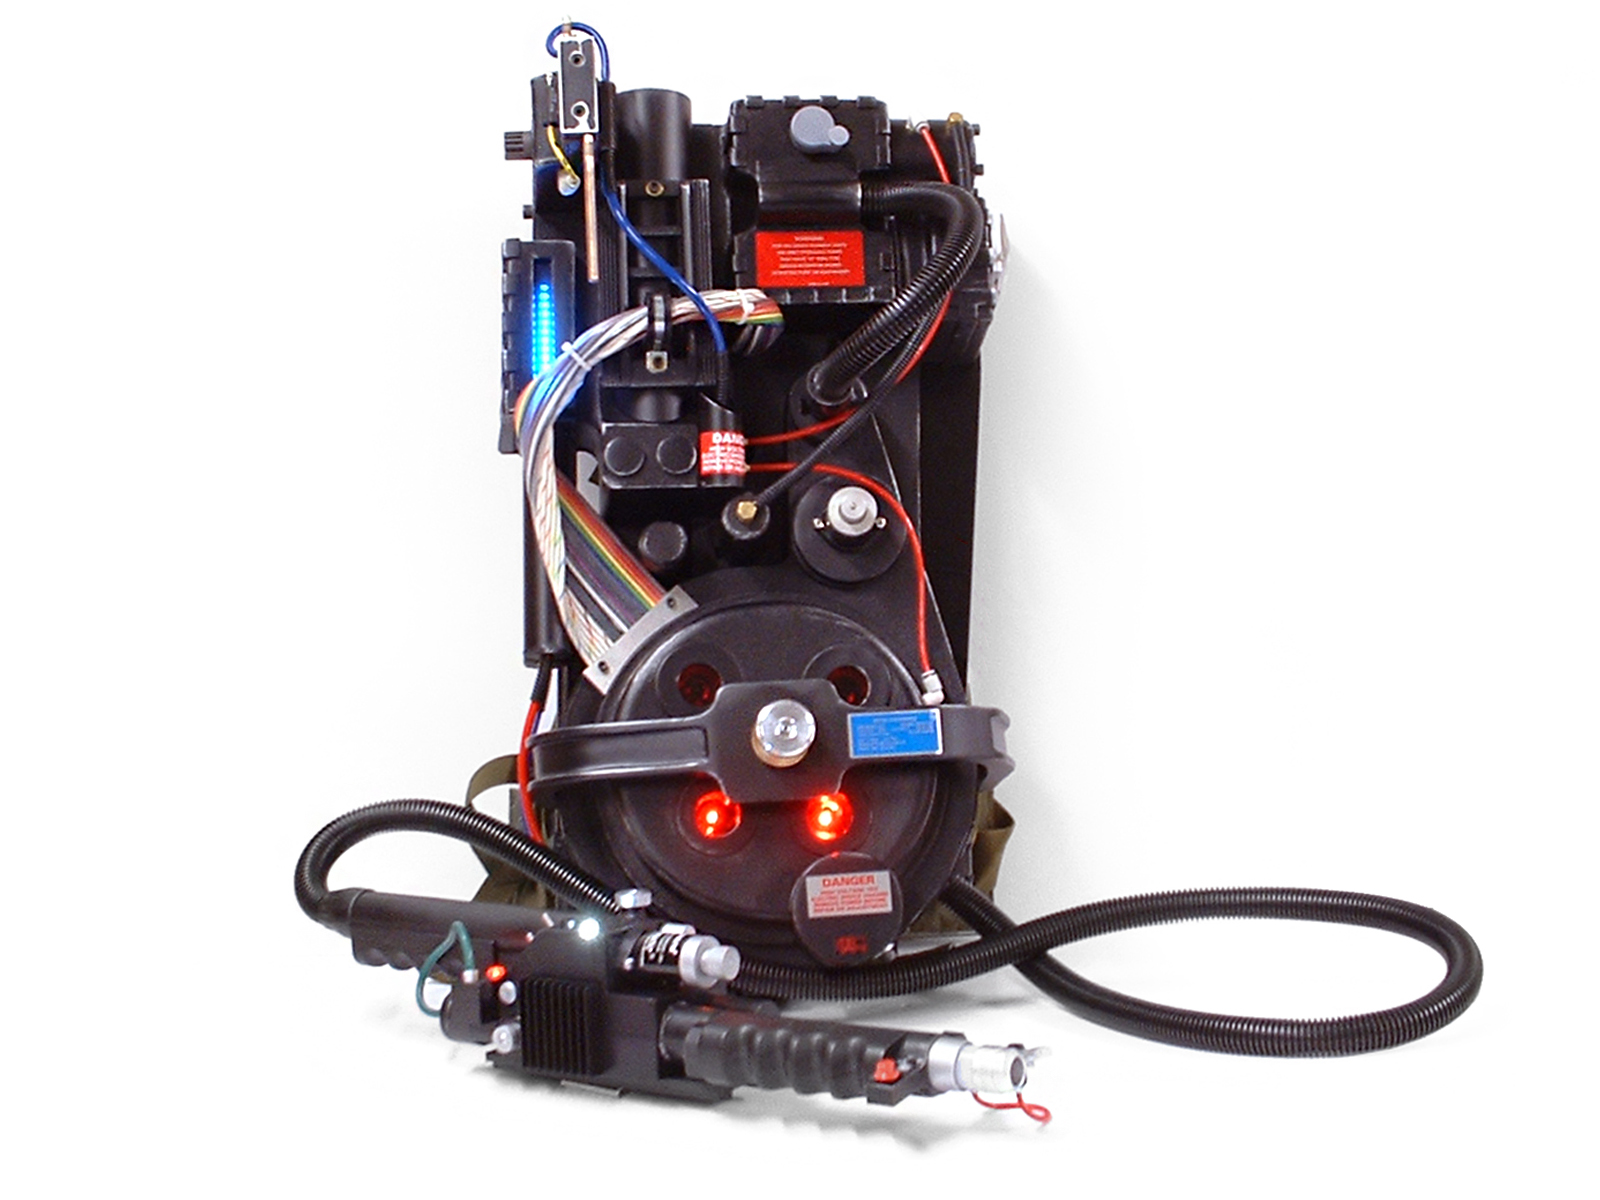
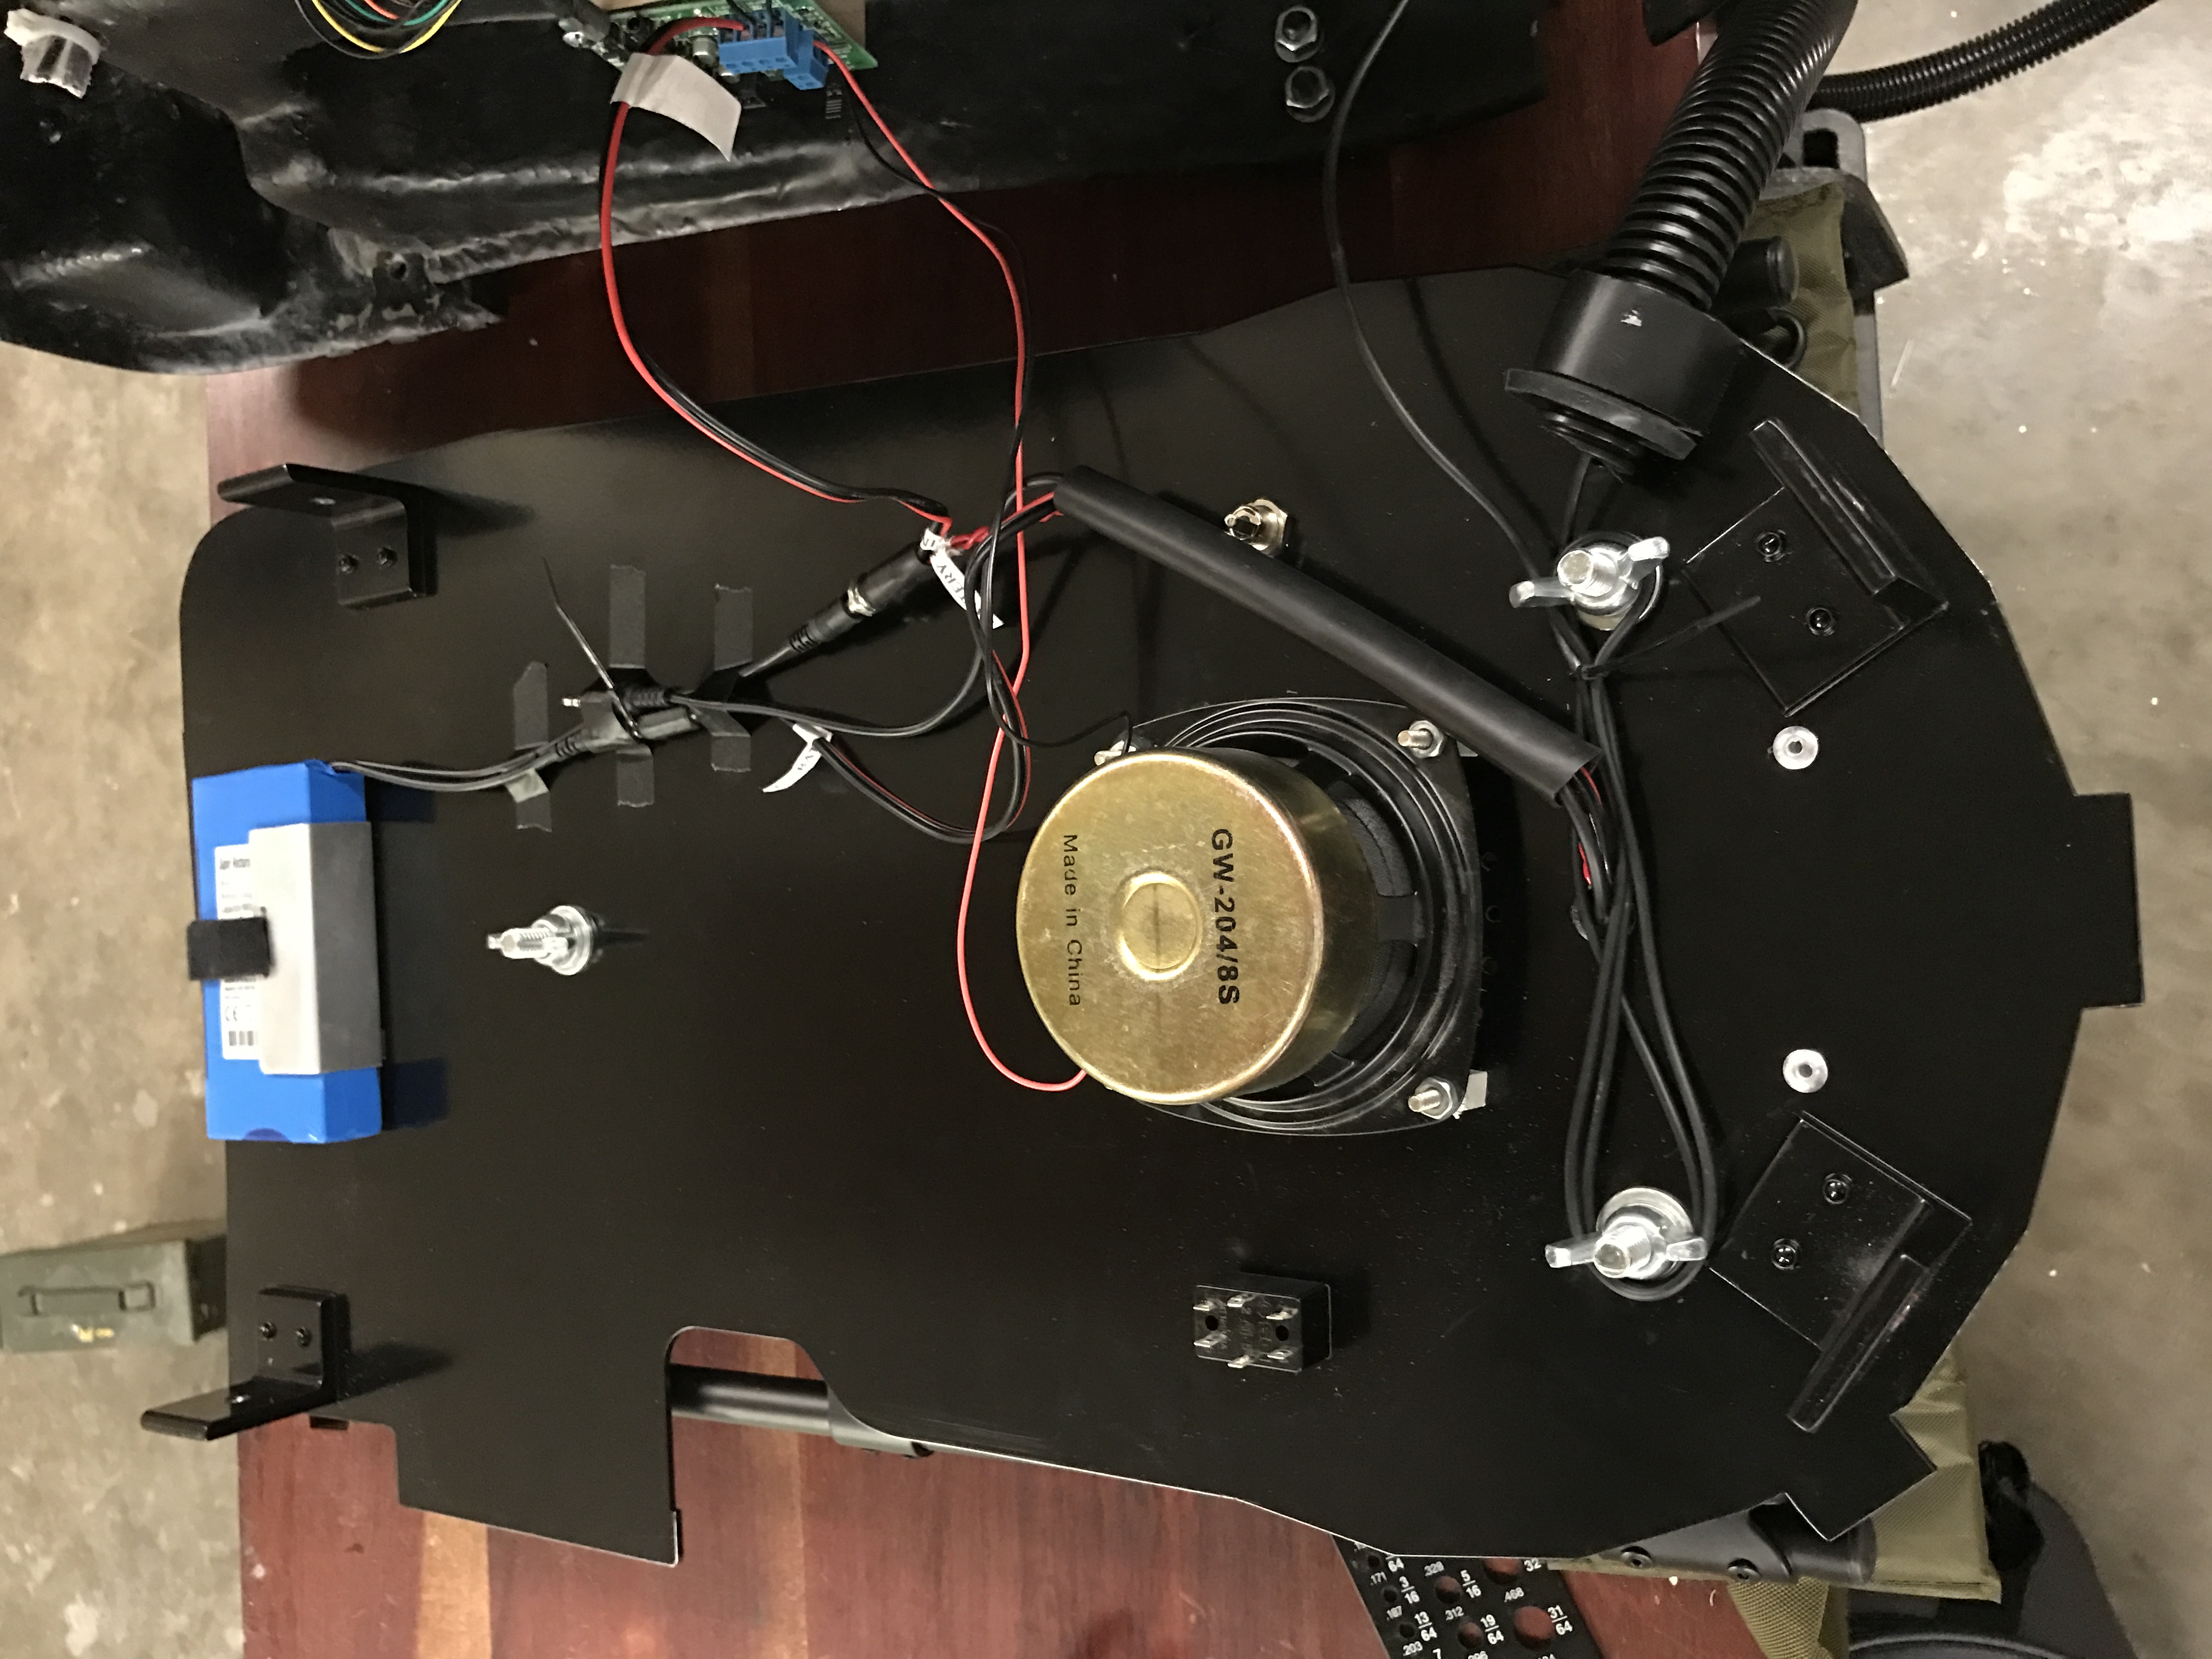
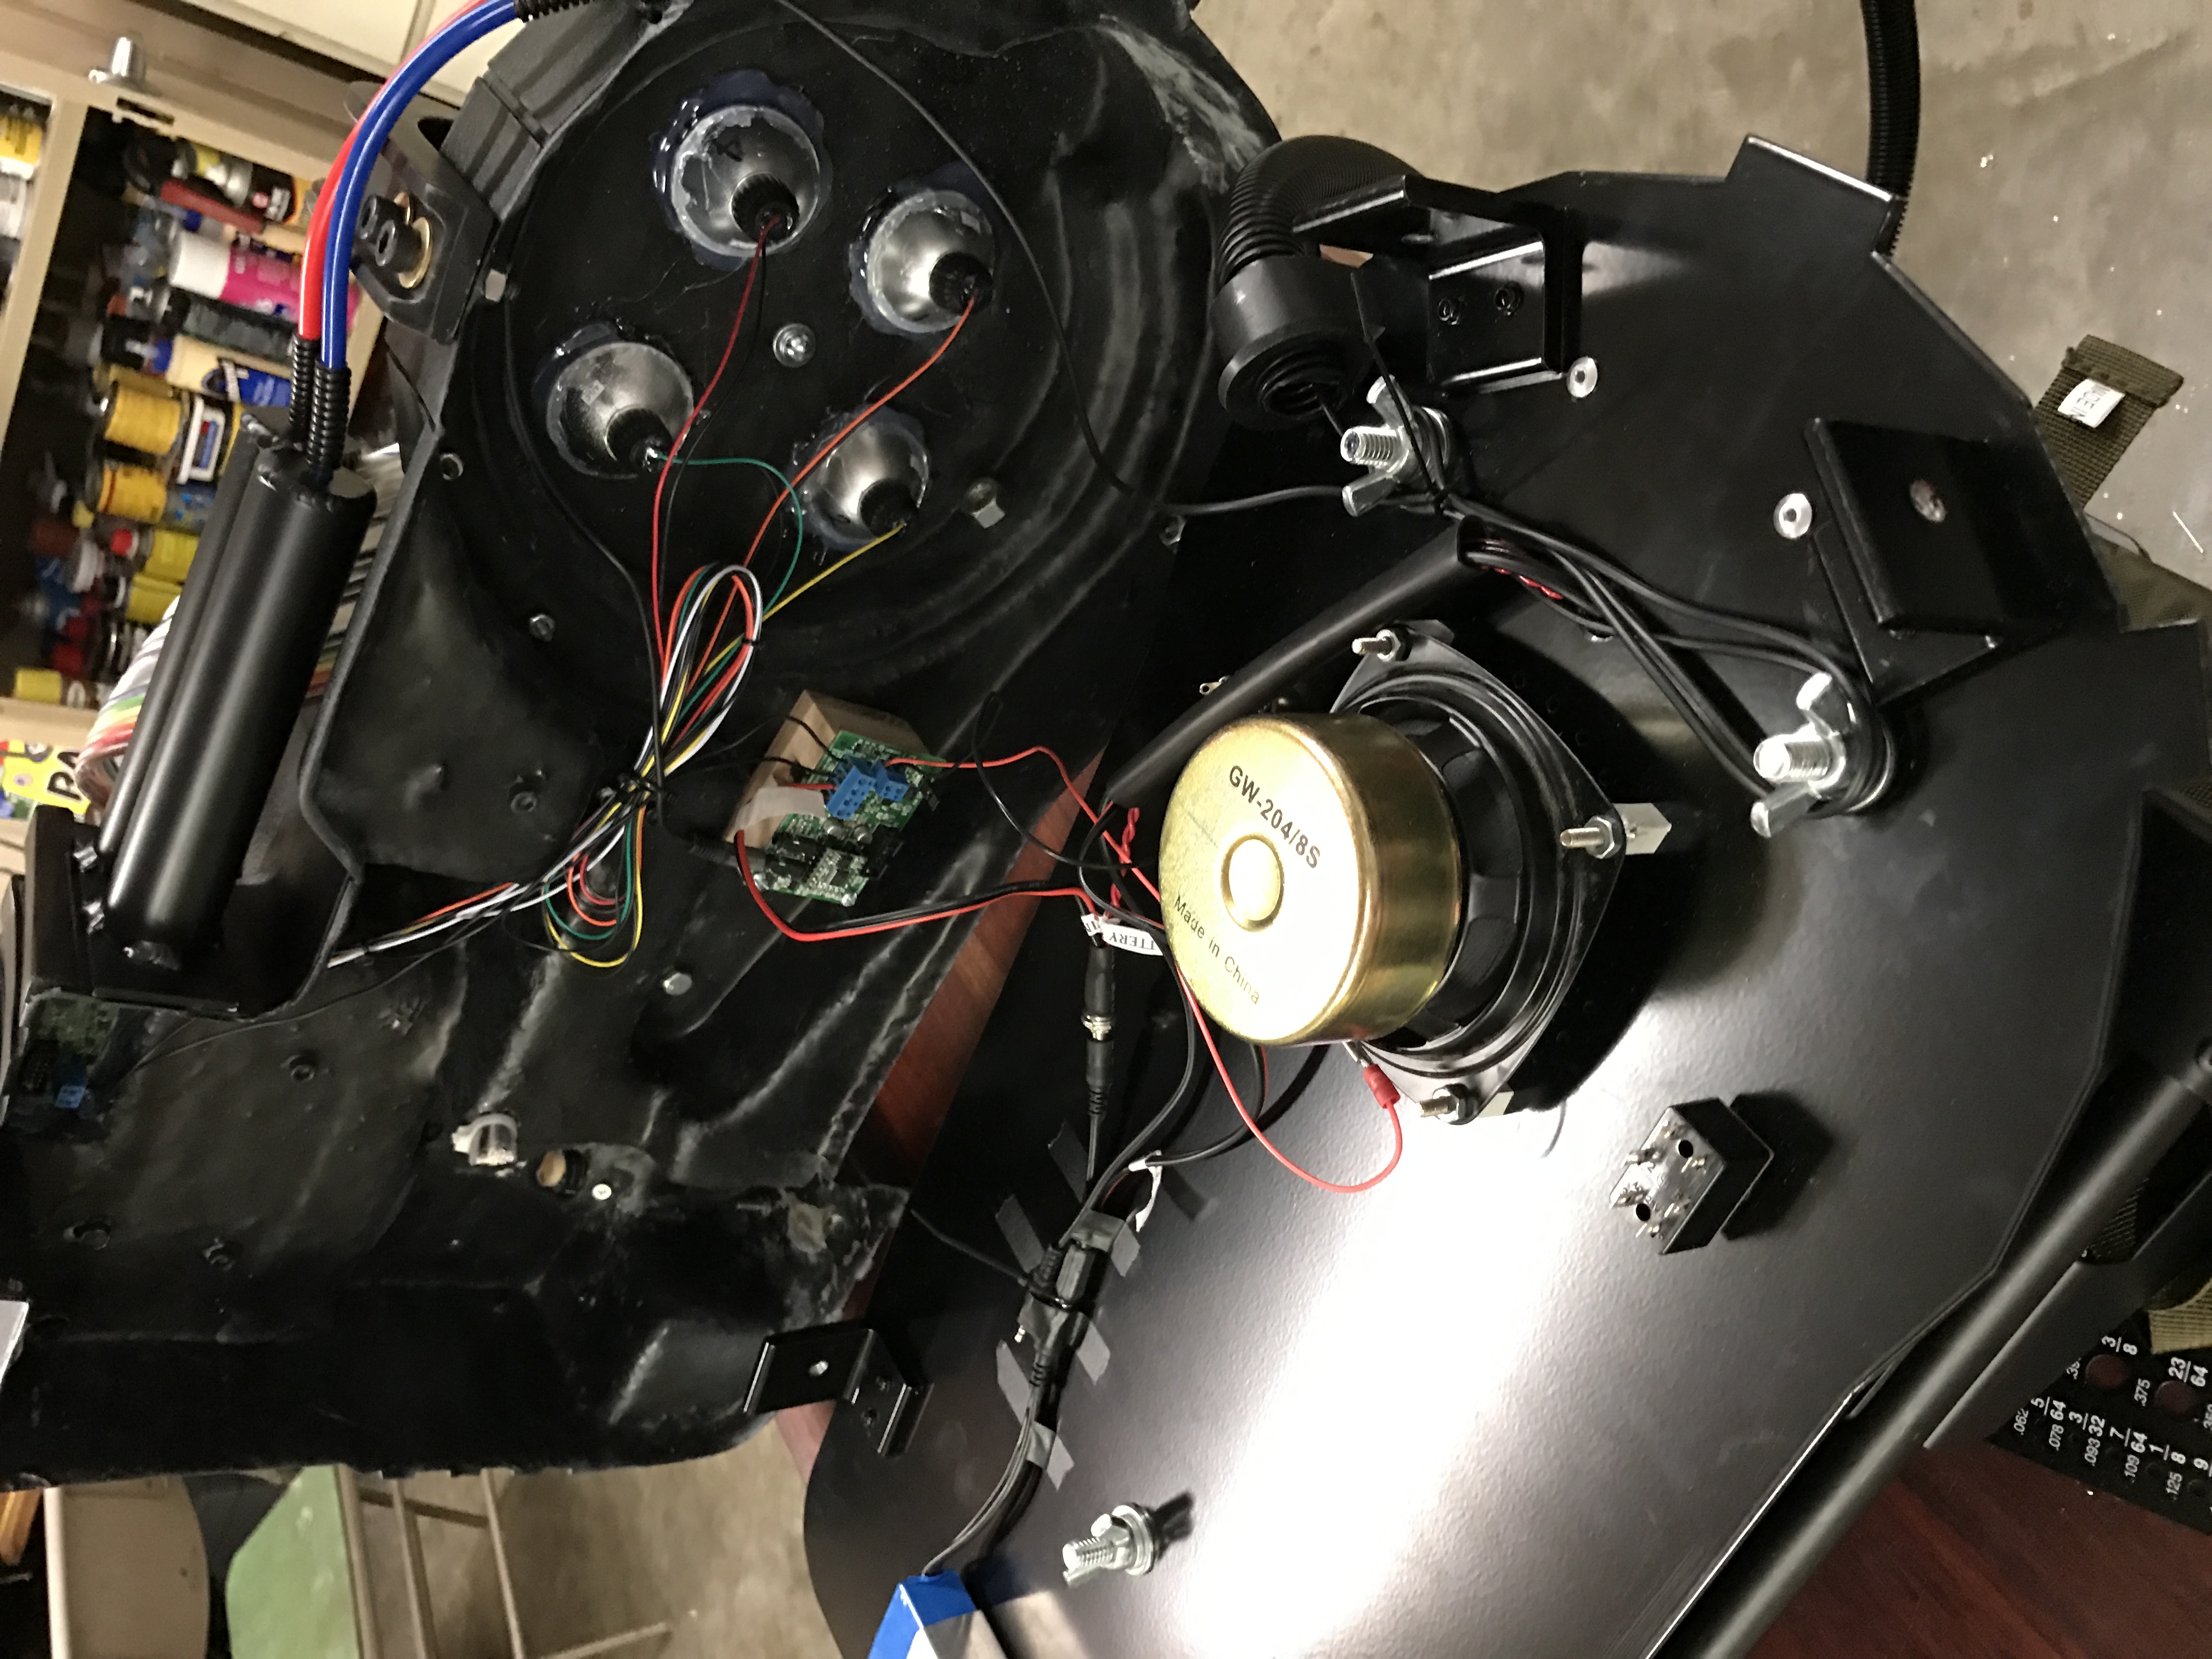
And here is where she sits today. I still have more parts on the way, including electronics to make the lights work and sounds
ghostbustersprotonpack.jpg

ghostbustersprotonpack2.jpg


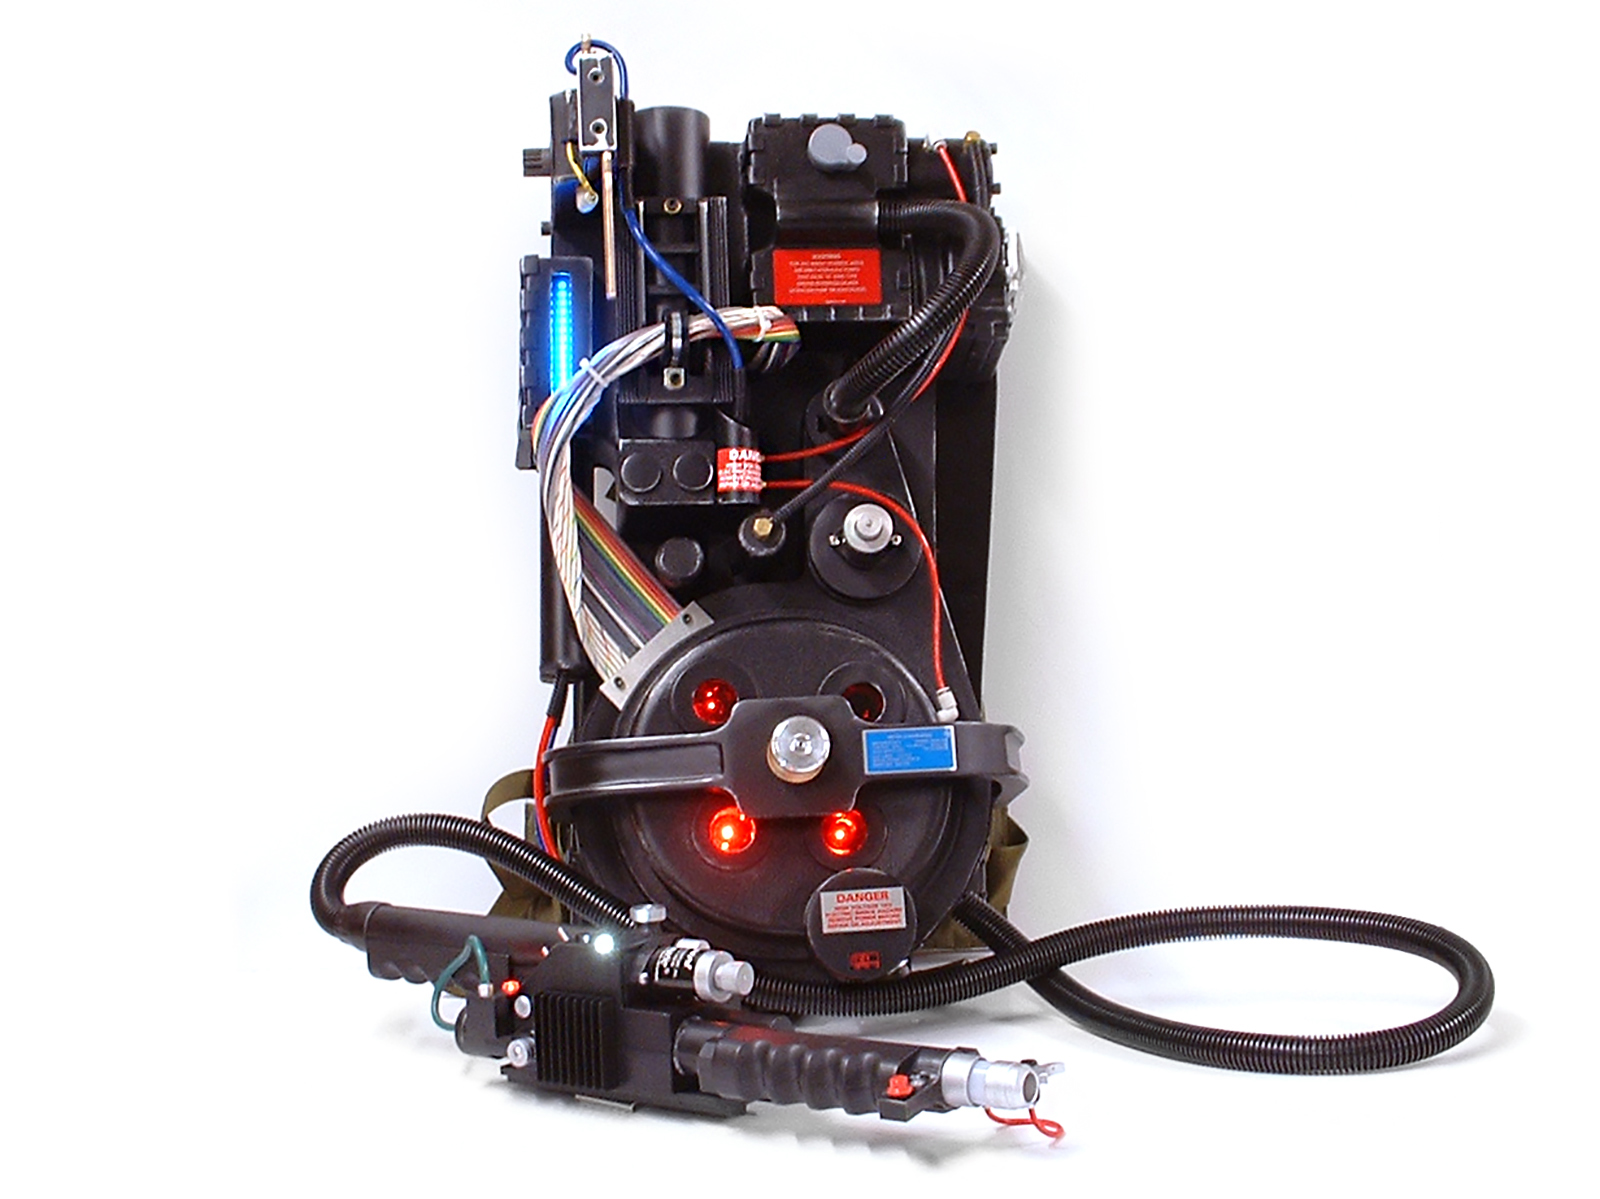
It's been a super fun project, and renewed my passion for prop building. The new project, new research, new chases of certain parts, etc.
 
Last edited:
Re: Building my first Proton Pack

Very nice build. Exactly what I would expect from you.

Who made the shell? Just curios. Looking forward to your updates. Hope you do video with the lights & sounds.

Ted.
 
Re: Building my first Proton Pack

Excellent job.....I love it !!!
I often said to myself that a working Proton pack would be a nice addition to the collection but never went to it :-(

Do you intend to weather it at the end ??
 
Re: Building my first Proton Pack

Thanks guys! I'll definitely do a video with lights and sounds, I'm very excited about adding that to it! I got the shell from eBay, as a Christmas present.

I'll weather it for sure, just not sure HOW weathered I'll go. But adding the aluminum pieces, makes me have to weather it, to show that through the paint. :)
 
Re: Building my first Proton Pack

What electronics are you going to use? I still need to install lights and sounds in mine.
 
Re: Building my first Proton Pack

What electronics are you going to use? I still need to install lights and sounds in mine.

Well I have the Matty Wand, so I bought a circuit that plugs into the back of the handle. Then you plug in lights, a battery, and speaker from that. So all the sounds and lights will be activated by the wand. As far as the lights, I'm unsure. I wanted to use the ones on GBFans.com but the estimated shipping date is May, I don't want to wait that long. So I either need to find a member there who offers some, or eBay.
 
Re: Building my first Proton Pack

Got some more work done. Stickers added, mother board mounted to the ALICE frame, brackets added (drilled, tapped, and riveted), electronics installed, foam pad added...


Still waiting on a few things. Next is to drill the speaker hole pattern, mount the battery pack, then painted the motherboard. Still a work in progress, but getting there! Video coming soon


img_9431.jpg

img_9432.jpg

img_9433.jpg

img_9434.jpg

img_9435.jpg

img_9436.jpg
 
Re: Building my first Proton Pack

Me either!! LOL. I will have final electronic piece in tomorrow, and still waiting on a few things. But here is where I am now.
ghostbustersprotonpack4.jpg

ghostbustersprotonpack5.jpg

ghostbustersprotonpack6.jpg


And just for fun
ghostbustersomniprotonpackcover.jpg
 
Re: Building my first Proton Pack

Ok, finally got to the electronics! I had thought an AWESOME idea would be to have a speaker hole pattern like a radiation symbol. I spent a lot of time working on it, and then to find out someone already did it on this board. LOL Great minds I guess..... ha
img_9500.jpg

img_9501.jpg

img_9502.jpg


I got the motherboard all cleaned up and ready to paint. However, I decided to go with a powdercoat finish since we have a place here in town that does that. And here is a short video of the electronics! It's ALMOST done!!
 

Attachments

  • img_9501.jpg
    img_9501.jpg
    1.9 MB · Views: 164
  • img_9501.jpg
    img_9501.jpg
    1.9 MB · Views: 170
  • img_9501.jpg
    img_9501.jpg
    1.9 MB · Views: 203
  • img_9502.jpg
    img_9502.jpg
    2 MB · Views: 213
  • img_9502.jpg
    img_9502.jpg
    2 MB · Views: 170
  • img_9502.jpg
    img_9502.jpg
    2 MB · Views: 217
Last edited by a moderator:
Re: Building my first Proton Pack

I finally finished! I decided I couldn't wait any longer and machined my own Ion Arm end cap. For the motherboard, I decided against paint, knowing that it would look terrible after a while. So a I had a local company powder coat it for me yesterday, turned out great!!
img_9565.jpg


So here are the final pics!
ghostbustersprotonpacka.jpg

ghostbustersprotonpackb.jpg

ghostbustersprotonpackc.jpg

ghostbustersprotonpackd.jpg

ghostbustersprotonpacke.jpg

ghostbustersprotonpackomnicover.jpg
 
Last edited:
I got the Spengler charging port in and so I finally completed my pack (for the most part). Here are a couple of shots of the inside. I'm very happy with how it turned out. What a fun project!!!


img_9719.jpg

img_9720.jpg
 
This thread is more than 7 years old.

Your message may be considered spam for the following reasons:

  1. This thread hasn't been active in some time. A new post in this thread might not contribute constructively to this discussion after so long.
If you wish to reply despite these issues, check the box below before replying.
Be aware that malicious compliance may result in more severe penalties.
Back
Top