Mangamax
New Member
Hi folks.
On a big Star Wars building spree right now and i was looking around for a new project. Trouble was - no money.
Then i stumbled on Skaughts excellent and insperational tutorial her on how he made his Dianoga.
Thought i'd have a go as (A) i've always loved the beastie (Dianoga, not Skaught) (B) It looked like i could make it with stuff i had around already.
Figured first thing was do the eye, as all the rest would naturally follow on from there.
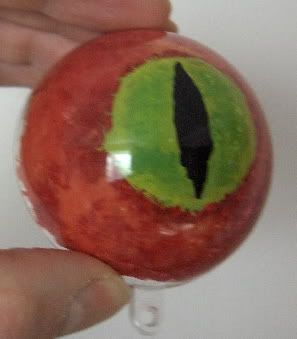
I had a clear hemipsphere in the bits box that has half a toy container. It was about the right size, so i painted it from the inside, figuring the natural lens-like effect done that way is far more natural looking than any amount of Gloss Varnish can produce:
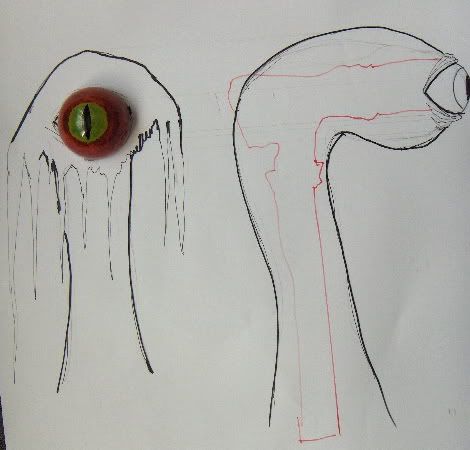
Once that was done, i puy it on a piece of A2 paper and drew him out roughly. With that, i could then do what Skaught had done and use plumbing parts for the frame, and this would give me an idea of the sizes i'd need:
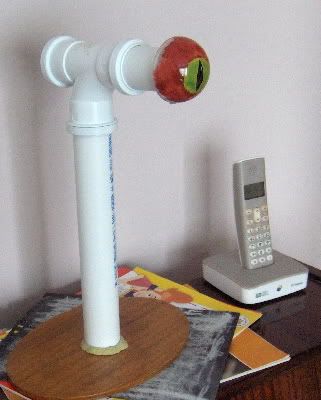
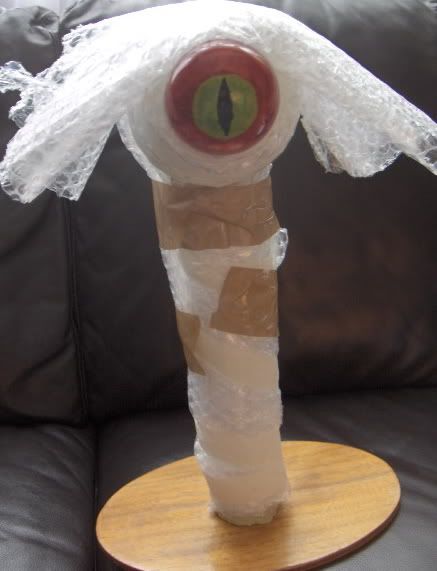
So built that, bunged on the eye and plopped it onto a base:
Looks odd in the next pic, which is the body bulked out with Bubblewrap and some were left hanging down for the basis of the tendrils:
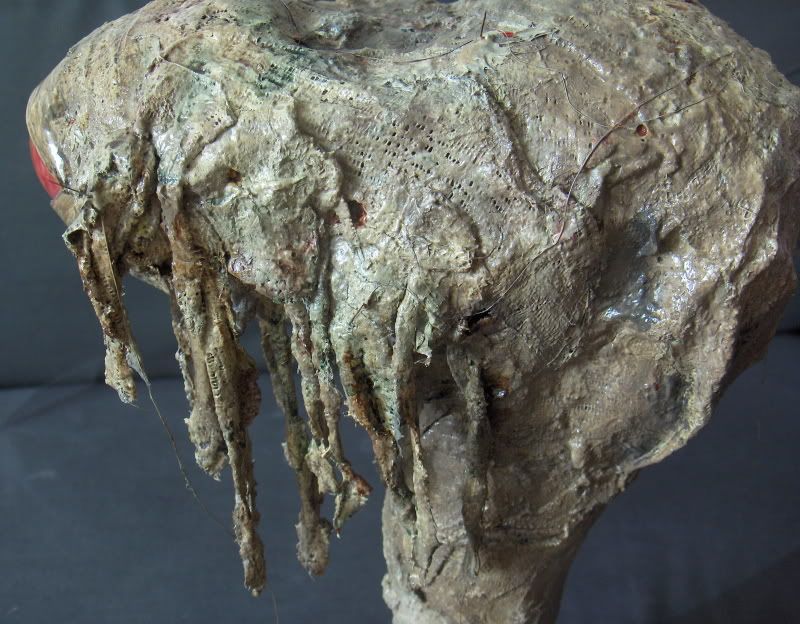
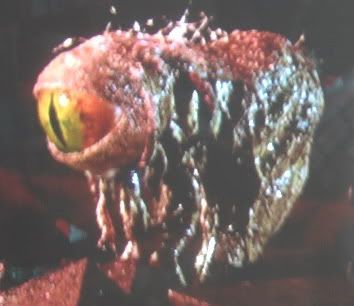
I watched the fellas scene at this point and noticed, when he turned to show his profile, that he's got a distinctive dip up top in the middle of his head:
I'd not done that, so it was out with the scalpel to remove a section:
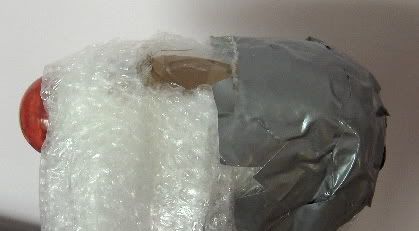
Then i covered most of it with silver Duct Tape just so i could see it more solid:
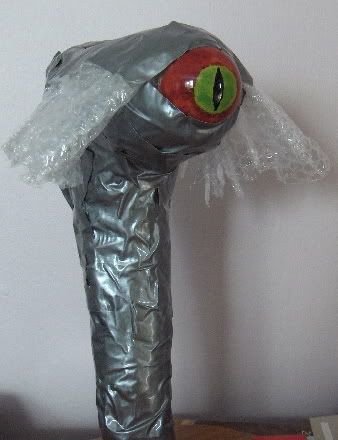
I decided to do the eyelids next, figuring they'd be a bugger to paint once on the eye.
For them i used a section of a regular carrier bag, wrinkled up to give some nice wrinkly detail, taped to a piece of card, painted Bleached Bone, then washed with Burnt Umber. Then it was a simple matter of cutting it to the right width and then folding and folding until it was the right thickness and Hot Glued in place:
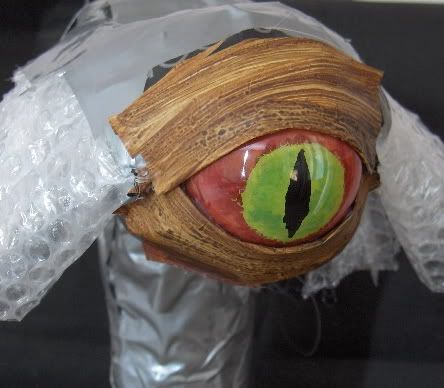
I was going to go with Skaughts next step of putting on Liquid Latex but i'd only be able to afford to put on a thin coat and feared all the edges of the Duct Tape would show through.
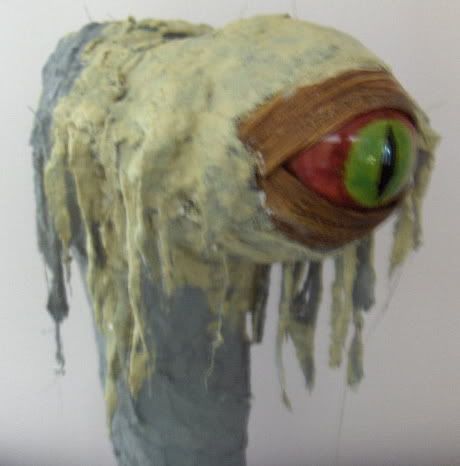
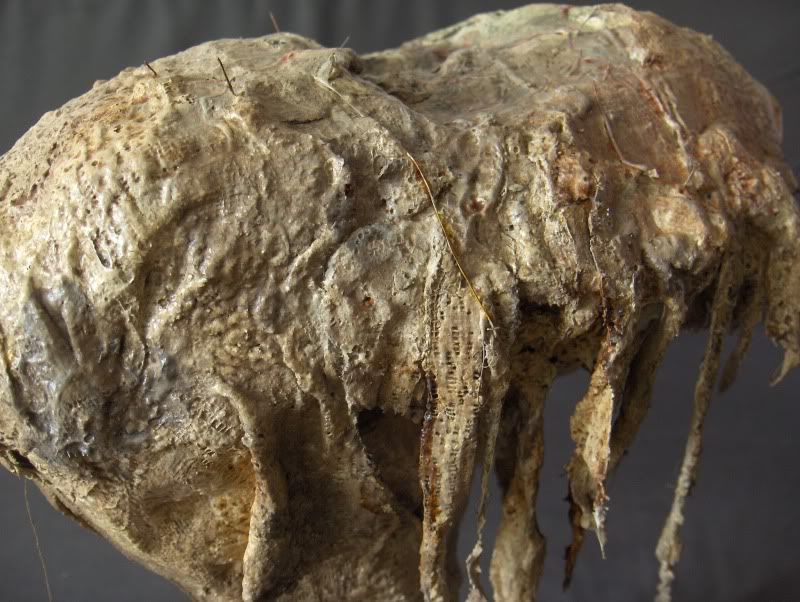
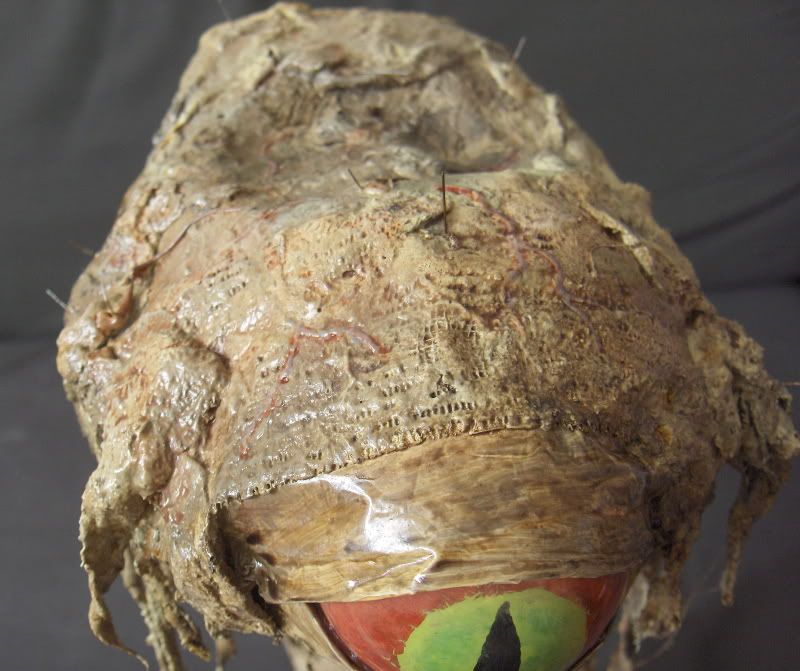
Decided to Plaster Bandage, a material i'd never used before, to try and smooth everything out.
WOW!
SO pleased i'd used it!
What BRILLIANT stuff!
Stuck no probs, could be smoothed if i wanted, could be left rough if i wanted, could be balled up to make extra lumps and dried extra fast.
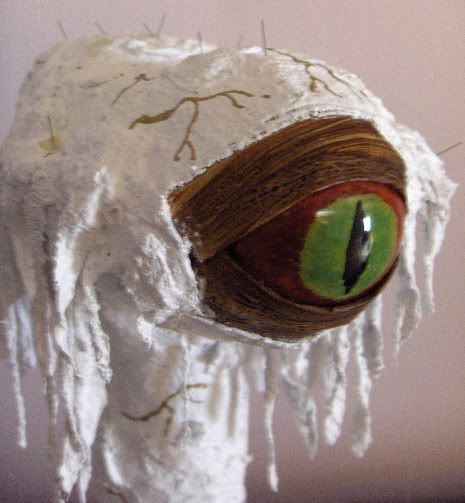
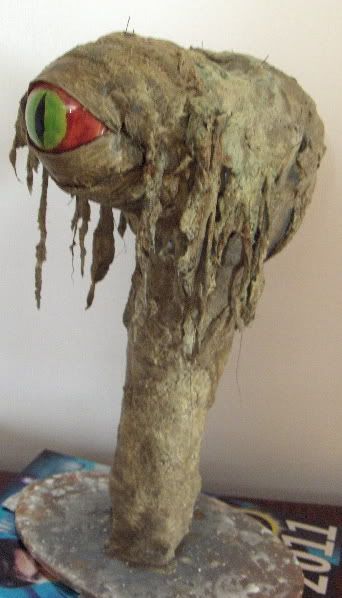
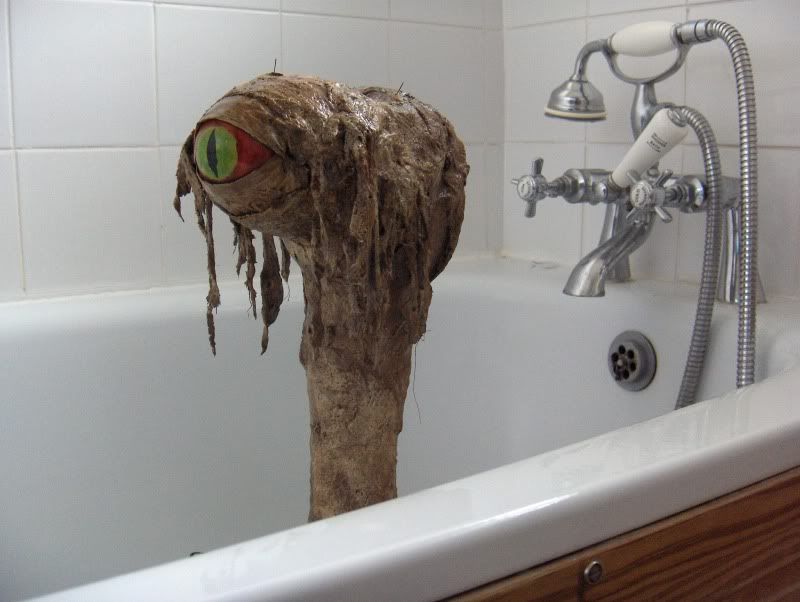
Best of all, i could cut it into strips, wet it, twirl it roughly, and they made excellent tendriles - so i rapidly removed the existing bubblewrap dangly parts and bunged loads on.
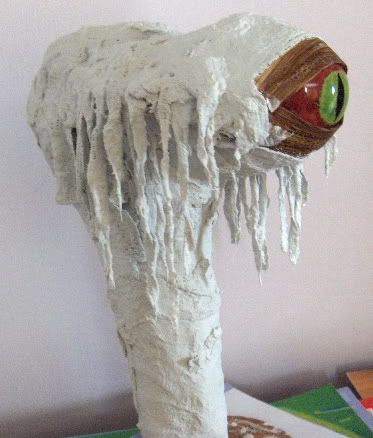

Next up, veins made from Hot Glue and hairs all over made from a donor bristle brush.
On a big Star Wars building spree right now and i was looking around for a new project. Trouble was - no money.
Then i stumbled on Skaughts excellent and insperational tutorial her on how he made his Dianoga.
Thought i'd have a go as (A) i've always loved the beastie (Dianoga, not Skaught) (B) It looked like i could make it with stuff i had around already.
Figured first thing was do the eye, as all the rest would naturally follow on from there.
I had a clear hemipsphere in the bits box that has half a toy container. It was about the right size, so i painted it from the inside, figuring the natural lens-like effect done that way is far more natural looking than any amount of Gloss Varnish can produce:
Once that was done, i puy it on a piece of A2 paper and drew him out roughly. With that, i could then do what Skaught had done and use plumbing parts for the frame, and this would give me an idea of the sizes i'd need:
So built that, bunged on the eye and plopped it onto a base:
Looks odd in the next pic, which is the body bulked out with Bubblewrap and some were left hanging down for the basis of the tendrils:
I watched the fellas scene at this point and noticed, when he turned to show his profile, that he's got a distinctive dip up top in the middle of his head:
I'd not done that, so it was out with the scalpel to remove a section:
Then i covered most of it with silver Duct Tape just so i could see it more solid:
I decided to do the eyelids next, figuring they'd be a bugger to paint once on the eye.
For them i used a section of a regular carrier bag, wrinkled up to give some nice wrinkly detail, taped to a piece of card, painted Bleached Bone, then washed with Burnt Umber. Then it was a simple matter of cutting it to the right width and then folding and folding until it was the right thickness and Hot Glued in place:
I was going to go with Skaughts next step of putting on Liquid Latex but i'd only be able to afford to put on a thin coat and feared all the edges of the Duct Tape would show through.
Decided to Plaster Bandage, a material i'd never used before, to try and smooth everything out.
WOW!
SO pleased i'd used it!
What BRILLIANT stuff!
Stuck no probs, could be smoothed if i wanted, could be left rough if i wanted, could be balled up to make extra lumps and dried extra fast.
Best of all, i could cut it into strips, wet it, twirl it roughly, and they made excellent tendriles - so i rapidly removed the existing bubblewrap dangly parts and bunged loads on.
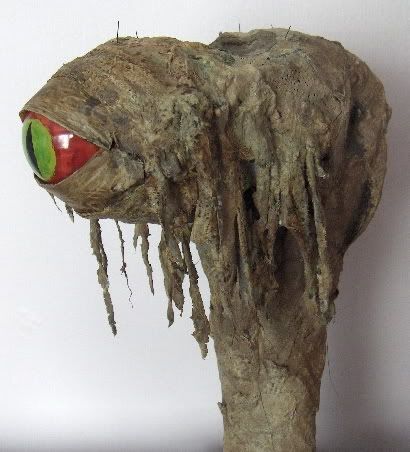
Next up, veins made from Hot Glue and hairs all over made from a donor bristle brush.