Hello people.
During the last three months I have finished the construction of the Colonial Viper and the Cylon Raider. Both models already have their primer coats and are ready to start painting.

I have also built the showcases where they will be exposed once finished.
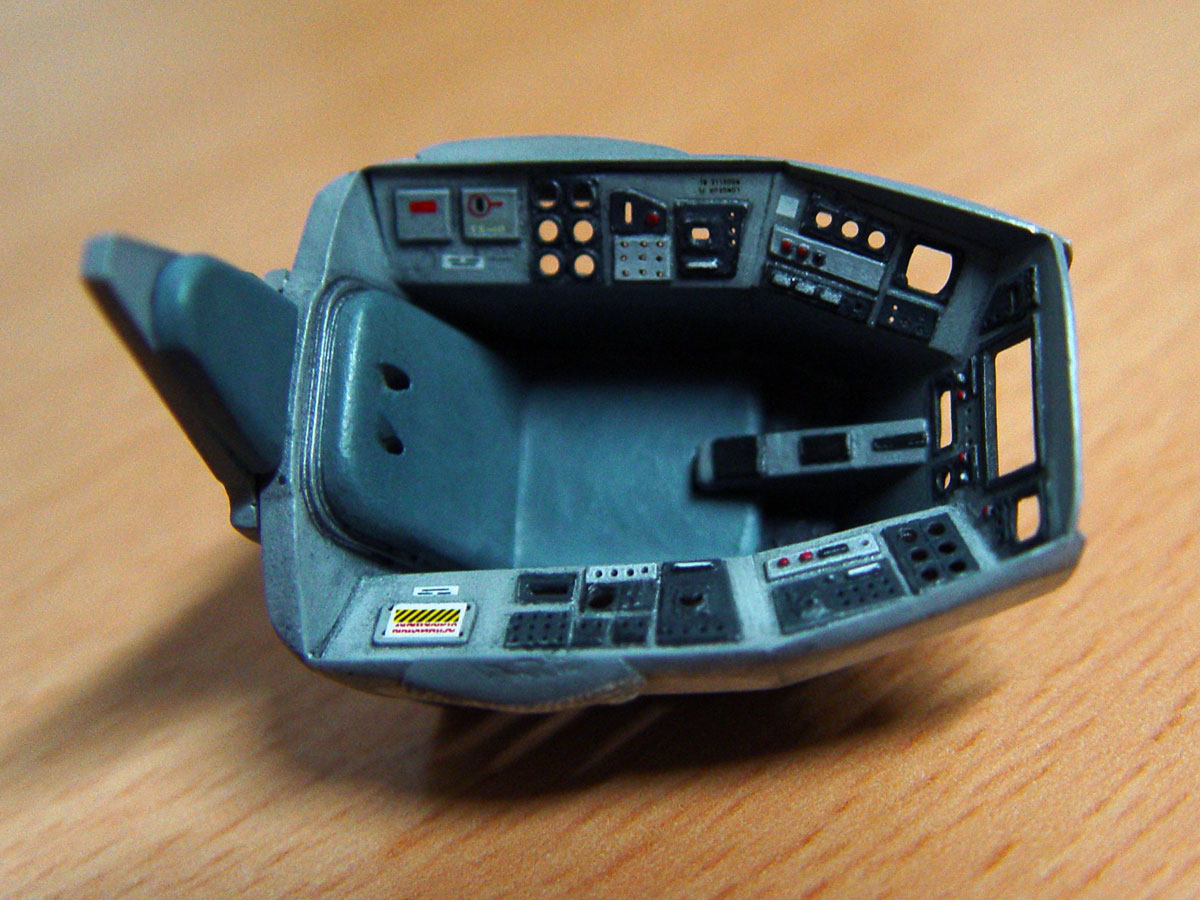
One of the parts that has delayed my work is the cockpit of the Viper. I was not very happy with the fit of my first cockpit, especially when it came to placing the windshields, and I had to do several tests until I found the solution. The problem was that I had taken as reference the cockpit that comes with the model. And that cockpit is wrong.

The two rear sides are not flat. They have a slight curvature that makes the windows can not be flat. The cause is that they close backwards at an excessive angle. That rear part has to be wider to be able to place the windows well. In addition, in this way it is more similar to the cockpit of the original models of the series.

I also made the interior frames of the cockpit to cover the joints of the transparent plastic and get a better look.


Once I had both models ready to start the painting work,
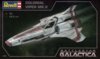
I decided to be faithful to my first intention and started the construction of the Viper MK-II.
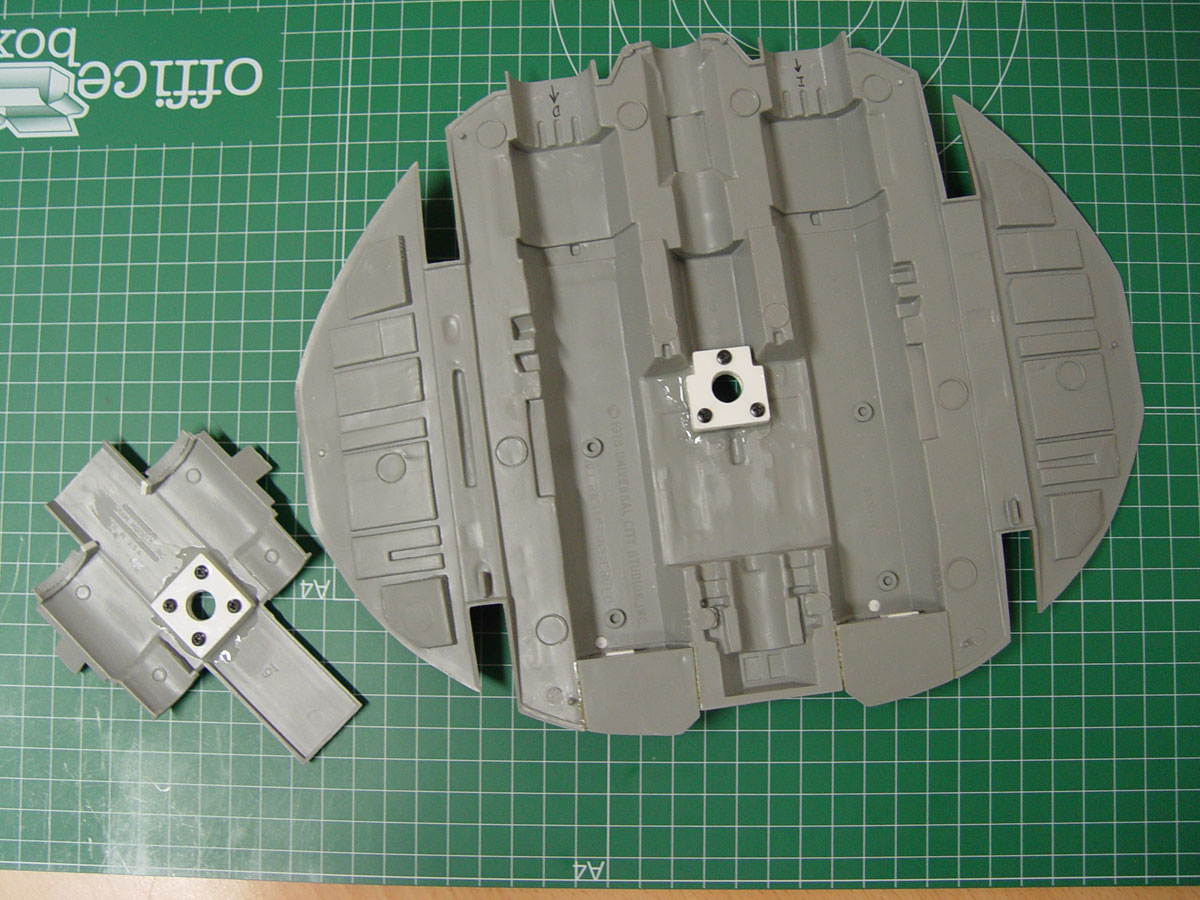
The first step was to provide illumination to the ends of the wings. For this I placed four red rectangular leds inside. Some pieces of optical fiber will take care of bringing the light to the outside. The interior space of the wings is very narrow, which forced me to sand the LEDs to reduce their thickness.

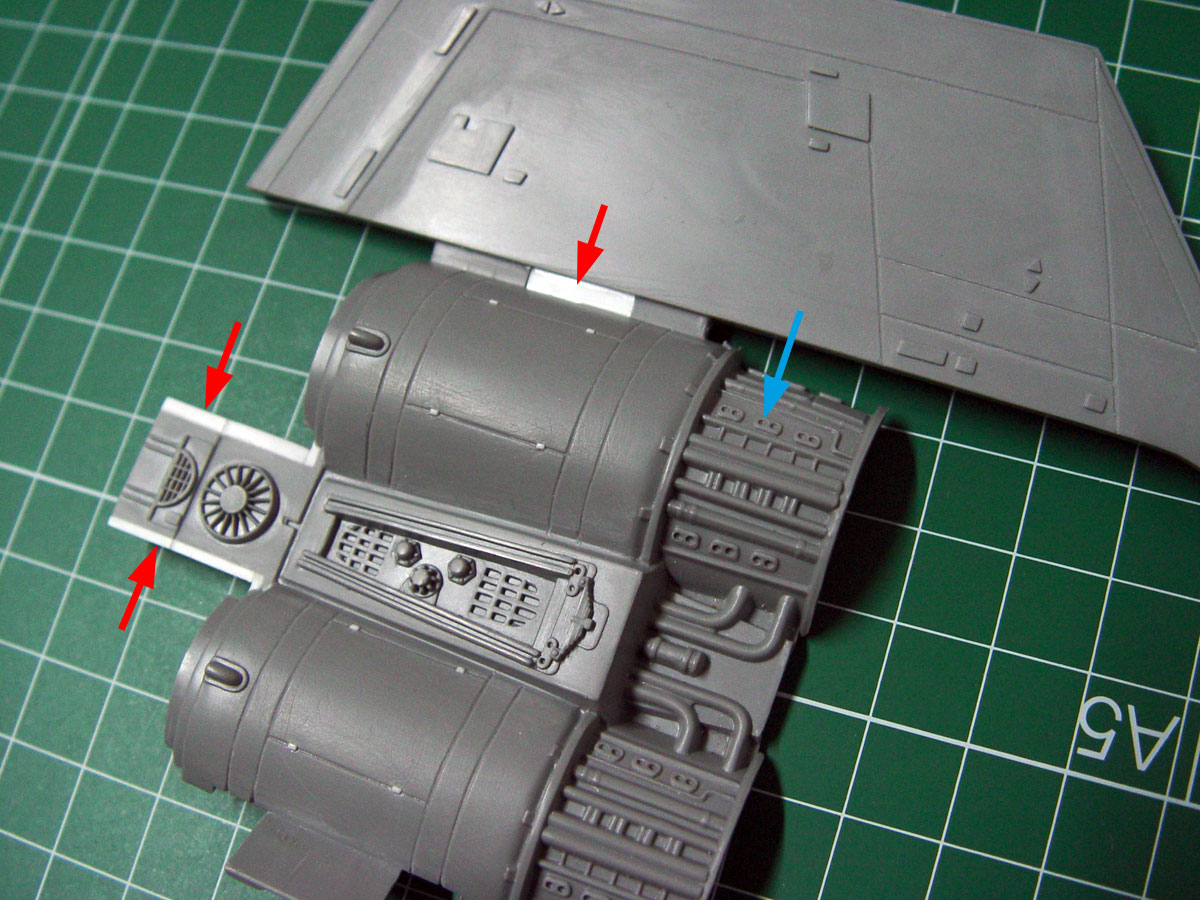
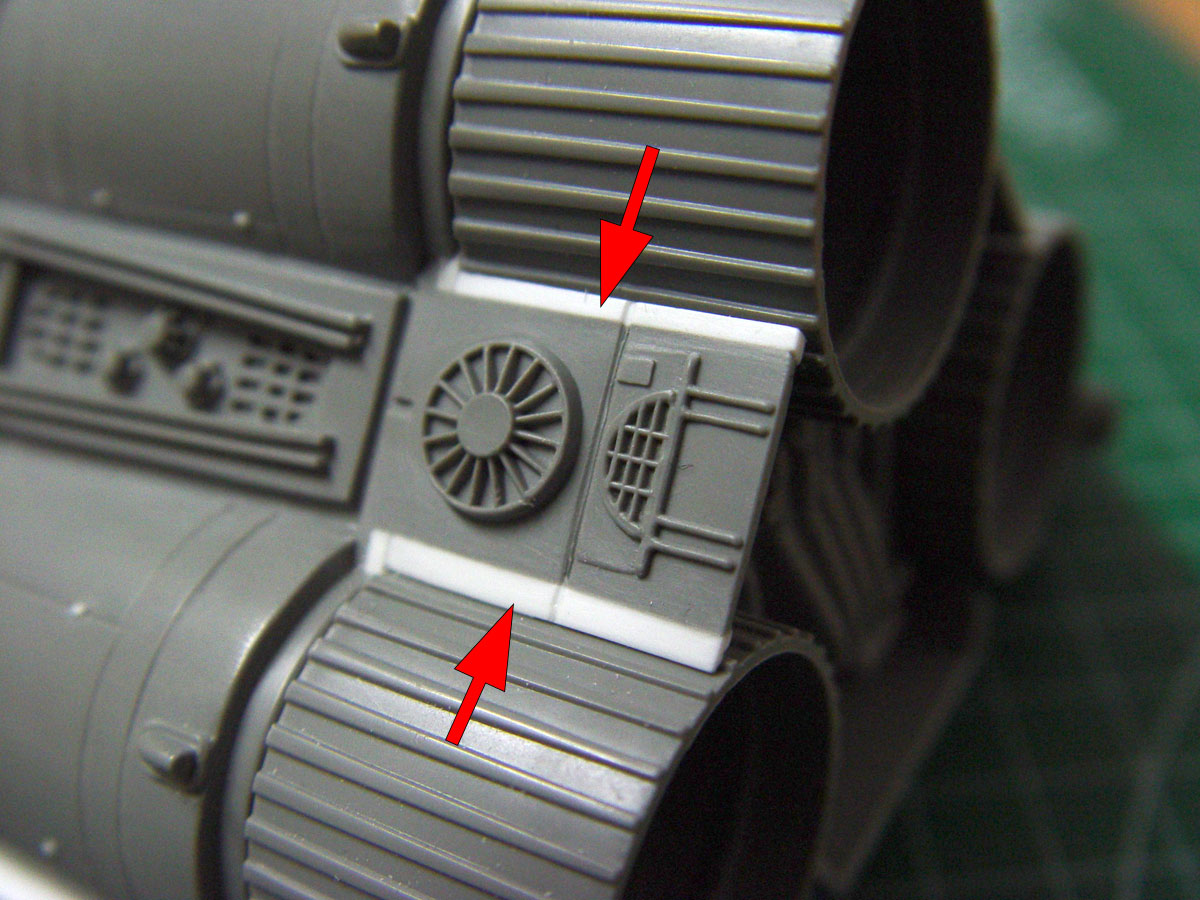
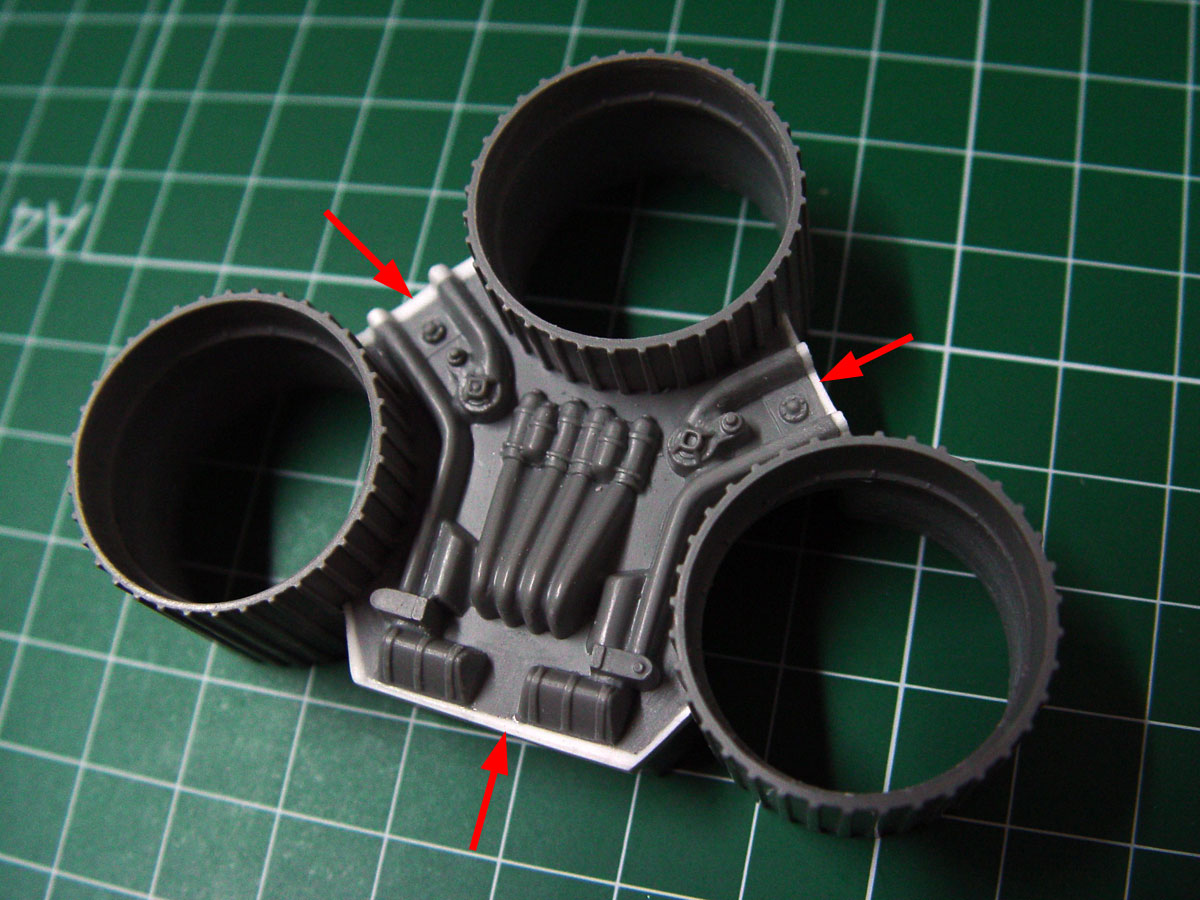
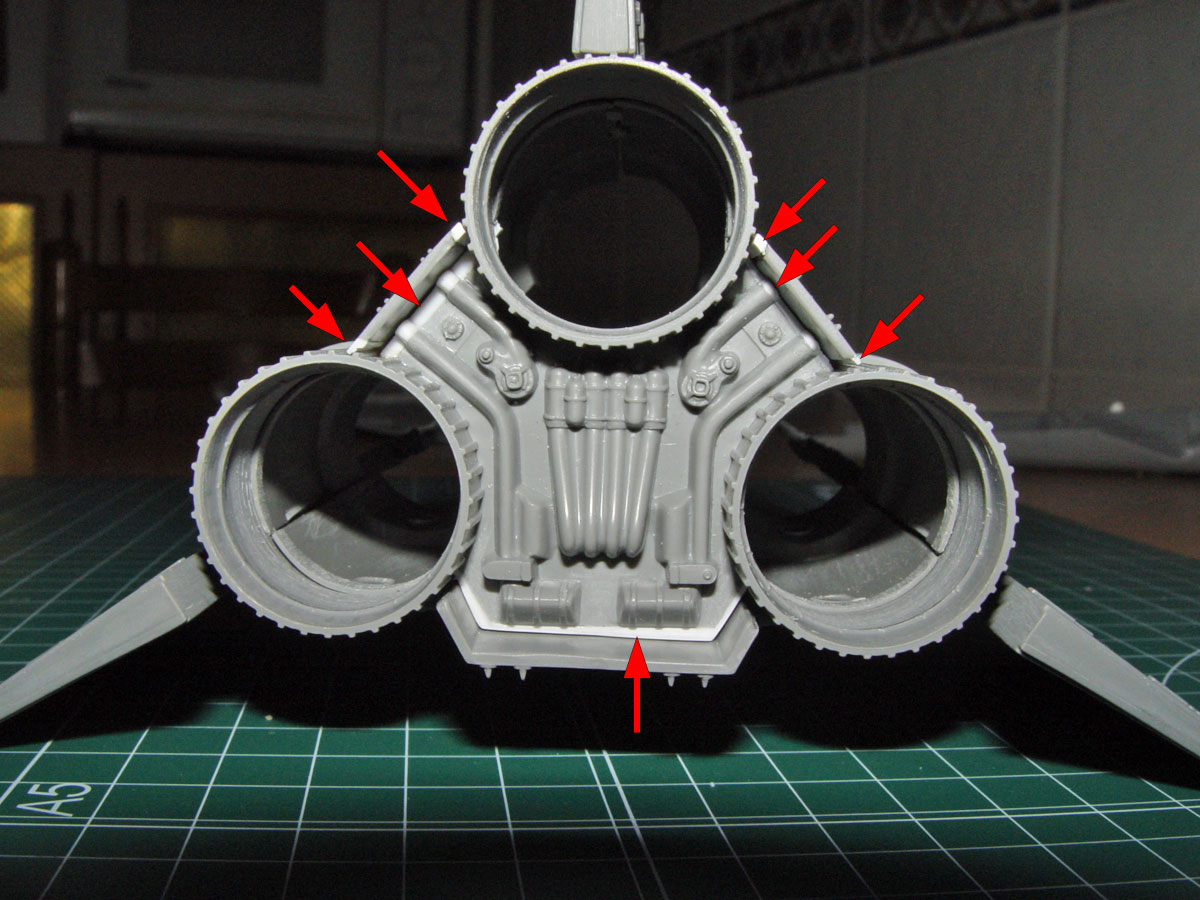
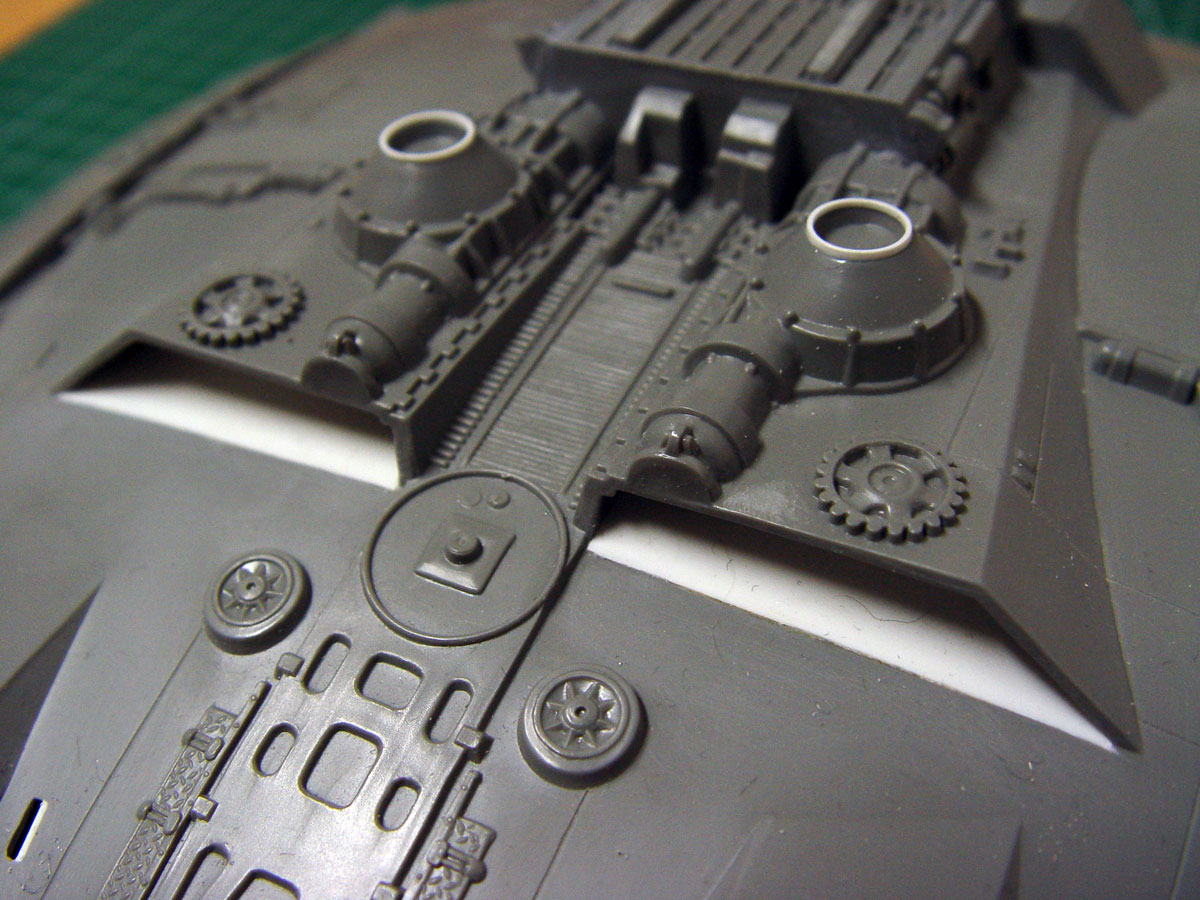
Next I detailed the areas where the engines are seen using electric guitar string, fishing line and stretched plastic. I also drilled all the RCS (Reaction Control Systems) points of the fuselage. Later those holes will be covered by pasting small pieces of plastic on the inside of the pieces. I don't like the proposal of the kit to simulate those holes with decals.

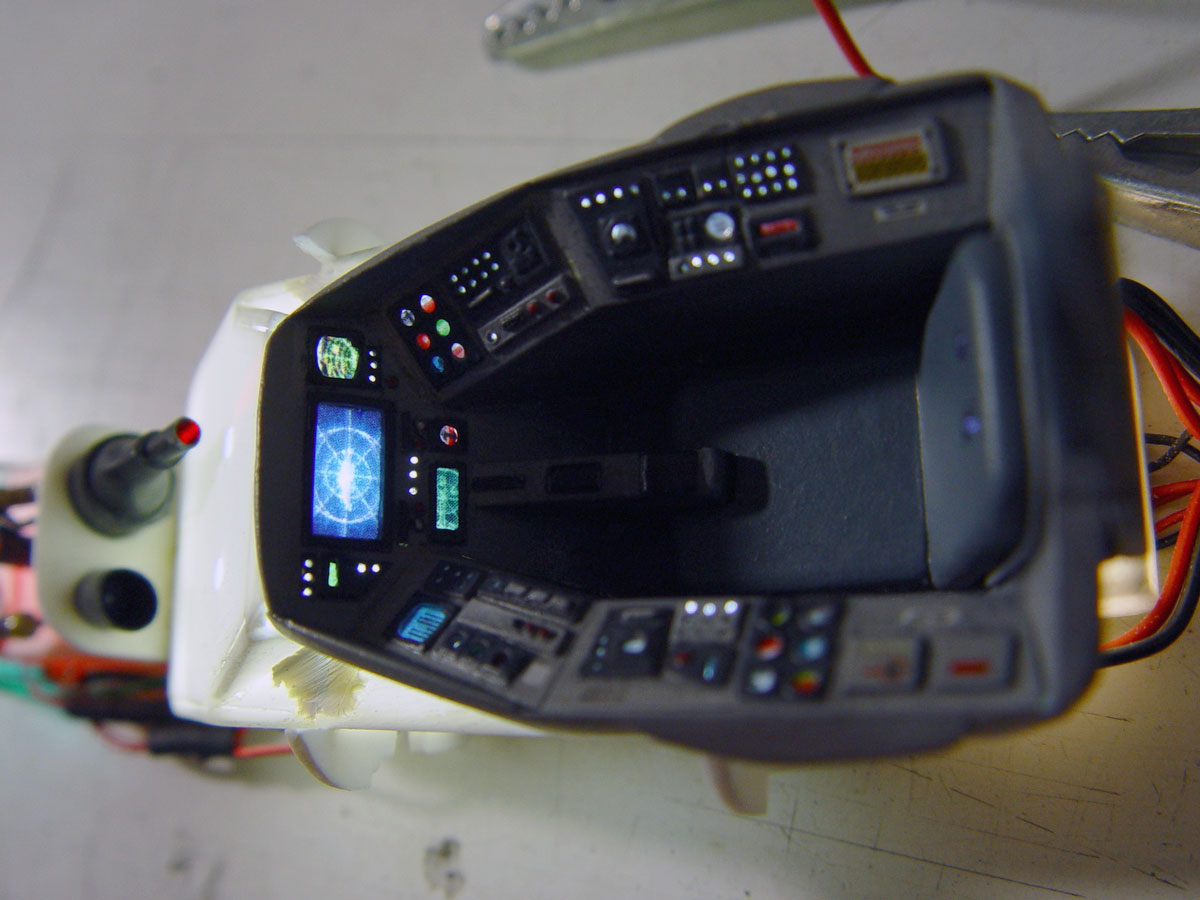
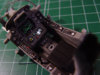
The next part to work was the cockpit. The first thing I did was to detail it a bit more with photoetches and pieces of my own construction.
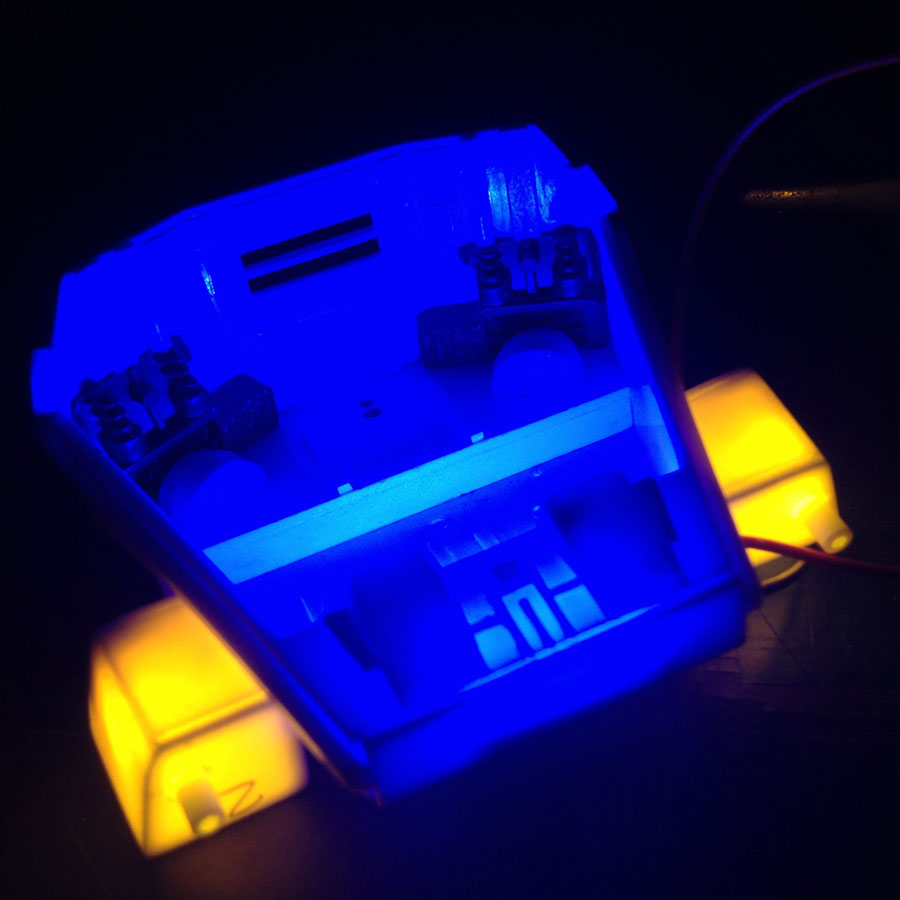
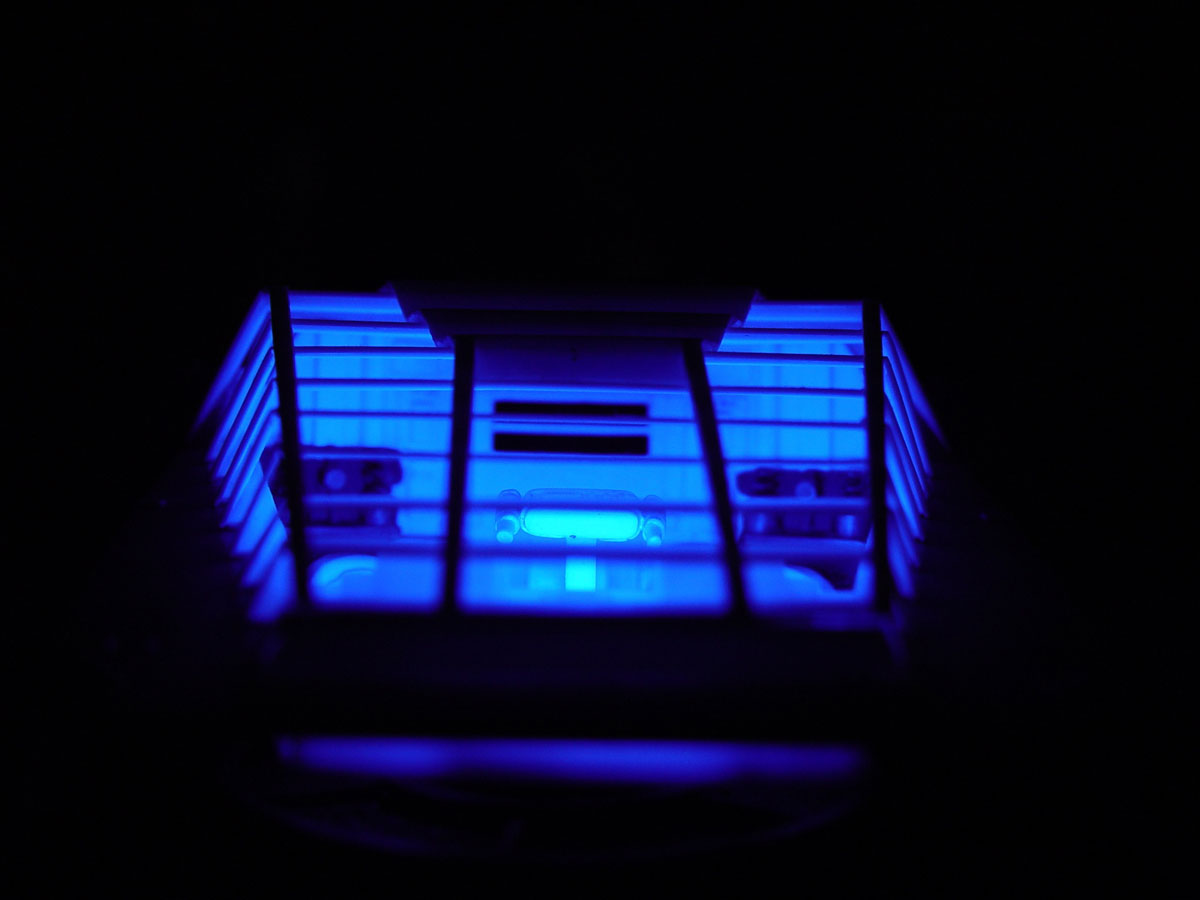
The next thing was to give it lighting. To do this, I drilled all the screens and covered their holes again with pieces of transparent plastic on which to place the decals. I also made some holes to illuminate different buttons with fiber optics.
To illuminate the screens I placed white leds behind the front console. And to illuminate the buttons I built a small structure attached to the cockpit in which I placed a red led, another green and one that alternates the colors red and blue.
Once equipped with lighting I painted the cockpit in gray with different instruments in black and white and red buttons. I painted the seat in black without further complications because, once the figure of the pilot is placed, it will hardly be visible. Then I put the decals and gave a few layers of matt varnish spray to homogenize the finishes.


For the pilot, the kit gives you the option to choose between Apollo and Starbuck. The only thing to do to choose between them is to choose between the two frontal pieces of the torso: one is "masculine" and the other "feminine" because it has more bulging breasts.
I chose Starbuck because for the other Viper I had already placed a male figure.
The figure has very broad and square shoulders, and a very narrow head. I reduced the width of the shoulders with sandpaper and also made them less squares by sanding them until I gave them a slight downward inclination.
To enlarge the part of the head a little, I placed two small circles of plastic on both sides, thus giving a little more volume to the head.
I painted the flight suit in dark green and the reliefs where clarified in successive layers or rises of tone. When I was satisfied with the result, I applied GreenStuff gold paint very diluted in water in several brush strokes and insisting more on the most outstanding areas. The result seems to me quite convincing and simulates the metallic effect of the costumes used in the television series.
I painted the helmet with a mixture of gold and silver colors with details in silver and bronze. The face shield is painted in silver and shaded with Tamiya smoke color.


Next step: illuminate the thrusters.