if you're doing weathering, you're definately going to have to pick up a double action airbrush with a good compressor.
Not necessarily - just about the only time I DON'T use an airbrush, is for weathering.
Try to think of weathering as a natural process, instead of something that is added as an afterthought. Now what this means, is that sometimes, you have to pre-plan the weathering, before you ever paint the object.
Suppose you have a helmet and you want to show that it took a hit or just got dinged up from daily use. Damage like this will usually wear down to the base material. So, you have to decide what kind of material would this helmet be made from - is it metal, or some kind of space-age polymer. If it's metal, is it steel/aluminum/titanium/something else? What you need to determine is, what color is the base, if the helmet was fresh from the production line, before paint was added? Paint the entire helmet that color (or the parts that would made from that material).
Try and determine what kind of damage you want to replicate - is it a projectile strike, a bat to the head or did you drop the helmet down the side of a cliff? Projectile hits, unless from dead-on, are directional. Blunt object strikes, will be more radial and everyday use, will be random.
Now a good technique for this kind of weathering is the salt technique. It's very precise in application and very effective. You can make it random or you can shape it. You take salt ( I like to use both table and sea, because of the varying sizes of the crystal) and add cold water to make a firm paste. You put this where ever you want the base material to show through. Examine photos of real life damage to see what patterns they form and try to copy them. There's no shame in copying nature.
Allow the salt patches to dry for a few days. Then paint your top color(s) and allow to dry for a few more days. When this is all dry, you're going to want to weather this top coat. This is because the helmet would have started to weather before it started getting banged up - this means the top coats of paint will have more weathering than the base material which wasn't exposed until a later time.
For the first layer of weathering, you can use light mists of browns and blacks and some pastels (realize that after a lot of handling the pastels will come off). You can set the pastels with hairspray (AquaNet is fairly popular among modelers). Also, mix of thin washes of acrylic paints in colors contrasting to the base paint (if the helmet is dark colored, use a light colored wash and vice-versa). Just use some acrylic paint (like Tamiya XF series or testors model master line) and mix with thinner until it's a watery consistency. Use a fine tipped brush, soak up some thinner and touch it to a corner - capillary action with draw the paint around any details. Do this until you're happy with the build-up.
After the first layer of weathering, start removing some random spots of salt, to show the base material underneath. Weather the helmet again, to weather the newly exposed material.
Repeat this process untill all the salt is off. You can also occassionally lightly scuff random areas, in-between weathering layers, with a scotch-brite pad - this will add annother layer of weathering depth.
For the final layer of weathering, I prefer a dot filter. It mutes the base colors and gives it an almost sun-faded effect.You'll need artists oils, in bright colors - white, yellow, green, red, blue, etc. (newton and grumbach are good for this) as well as turpenoid (Weber Oderless in the blue and white bottle). You'll also need some toothpicks and a wide fan brush.
Take the brush and dip it in the turpenoid and just kinda slather it all over the top. Now using the toothpicks, make very tiny, random dots of all the different colors all over the helmet. Now keeping the brush fairly damp (not dripping wet, but not dry), start at the top and pull straight down. Do this until you no longer see streaks of individual colors. The idea is to use the oils to vary the color tones of the underlying paint, not color the item.
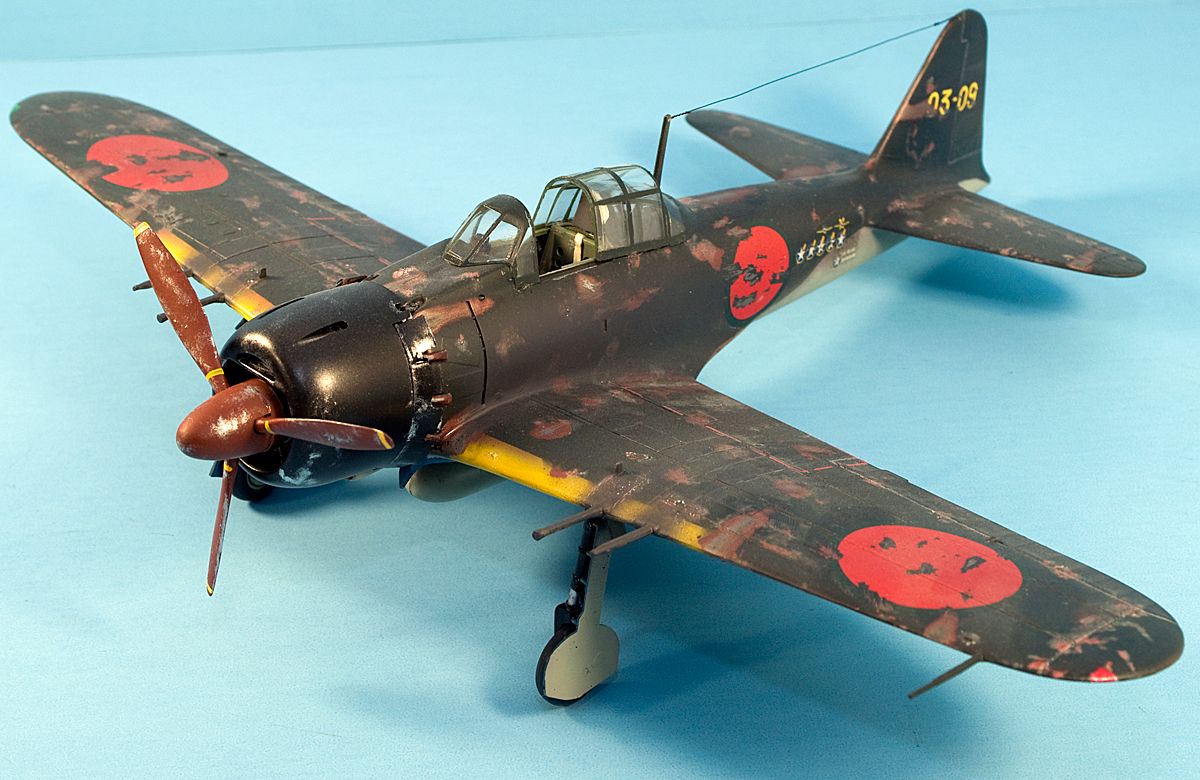
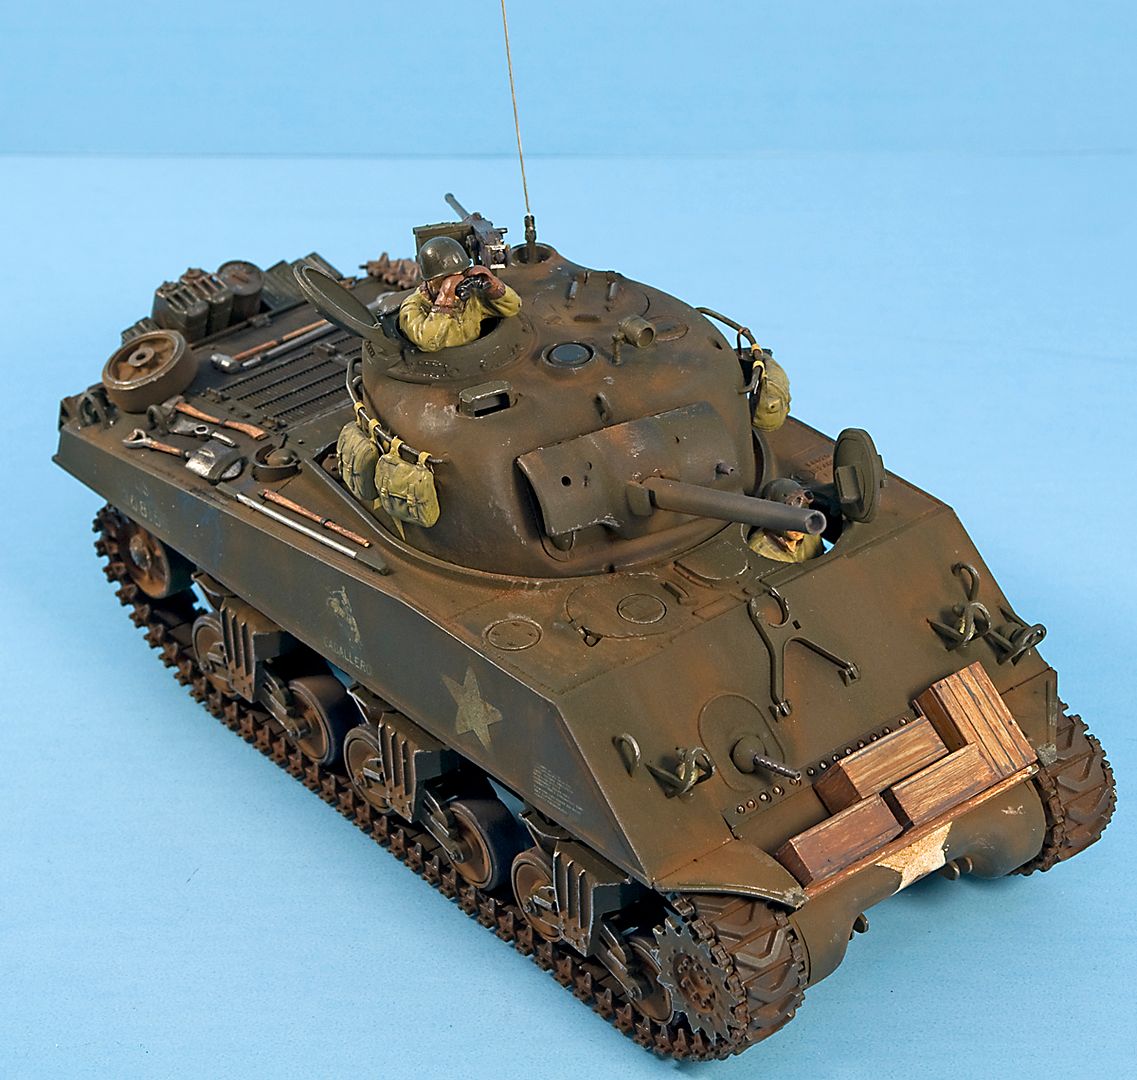
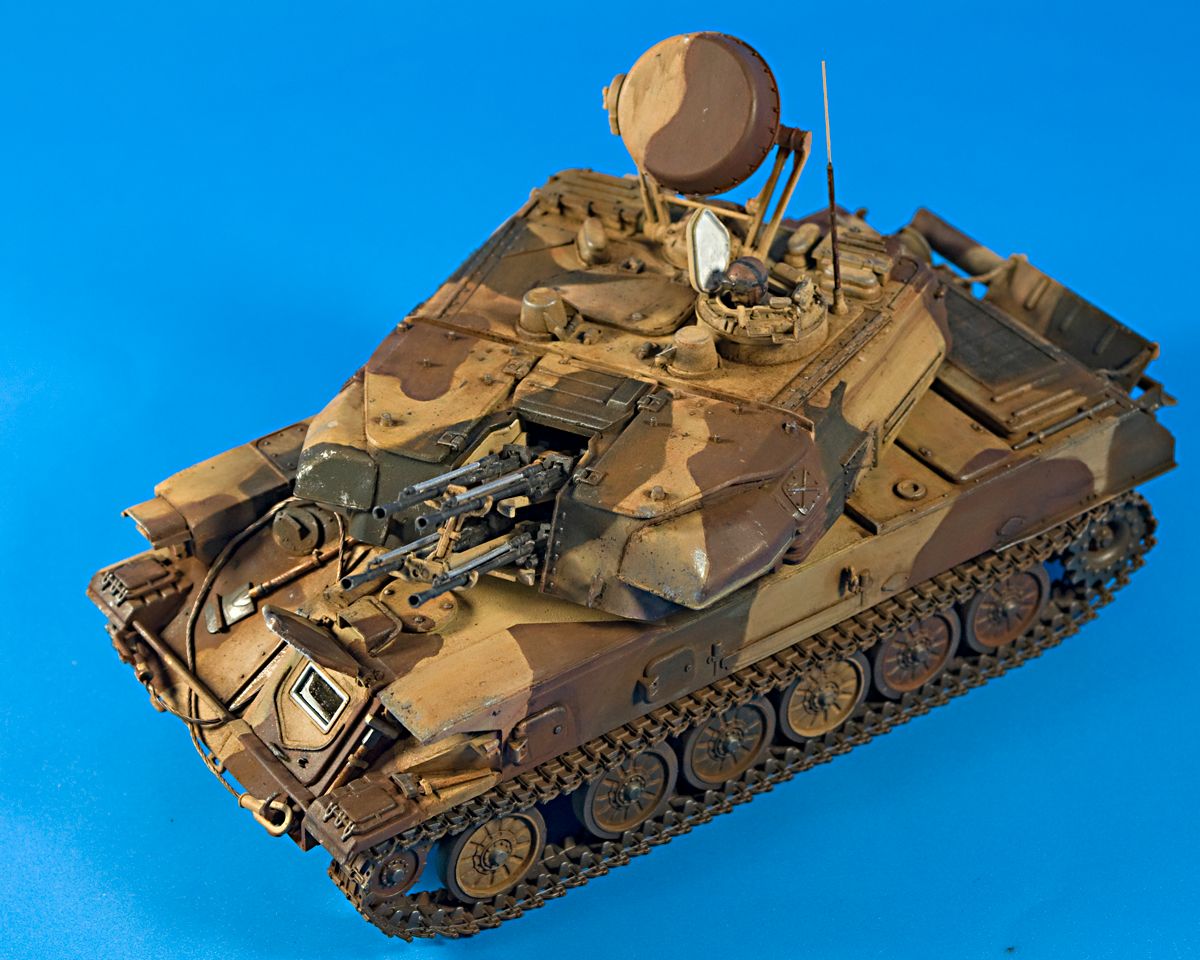
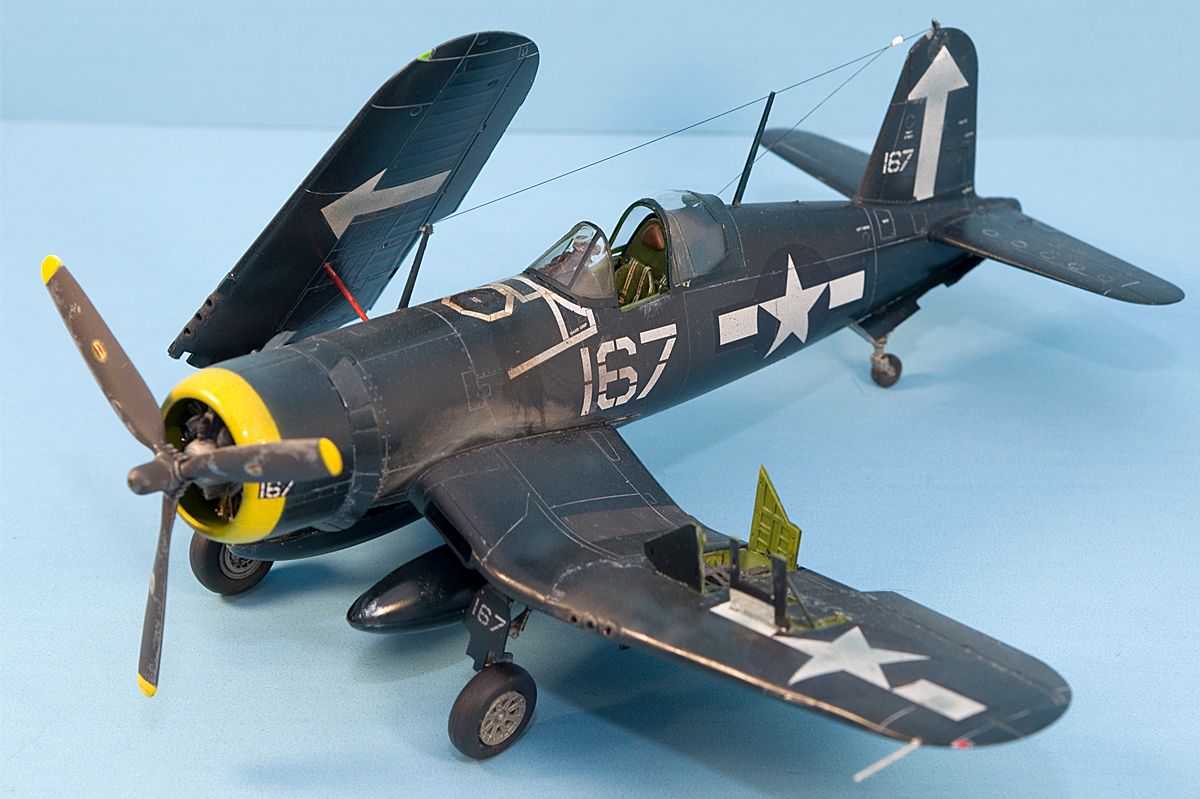
For references, here are some models I've built showcasing the different weathering techniques
Salt technique:
Pastels:
Dot Filter:
Thin Wash (panel line enhacement):
Any more questions or clarifications, feel free to ask.
-Fred


