Bandai 1/144 ROS Falcon kit as ESB/ROTJ era Falcon? That's my goal. And I seem to have reached it. Now it needs a few friends in its scale...

Minor paint tweak... I appear to have the time...
IMG_20210331_215546.jpg
 
Holy frack! It's so small I hadn't noticed that when gluing him in, I must have broken off one of 3PO's arms! I just made him a new one. Also tweaked Han's headrest a little.


IMG_20210401_181322.jpg
IMG_20210401_211754.jpg
 
Last edited:
Not a whole lot new as I wait for the clear styrene to be delivered on Monday, but I did take time today to 'weed' out an additional (roughly) 15% of the too-dense sidewall greebles (on top of not adding almost ANY of the piping provided by the the kit). It's still a little busy, but more acceptable now, I think.

IMG_20210402_204133.jpg
 
Last edited:
It's good to understand what that detail looks like zoomed up, but revert back to an image that is scaled right for the work you are doing

J
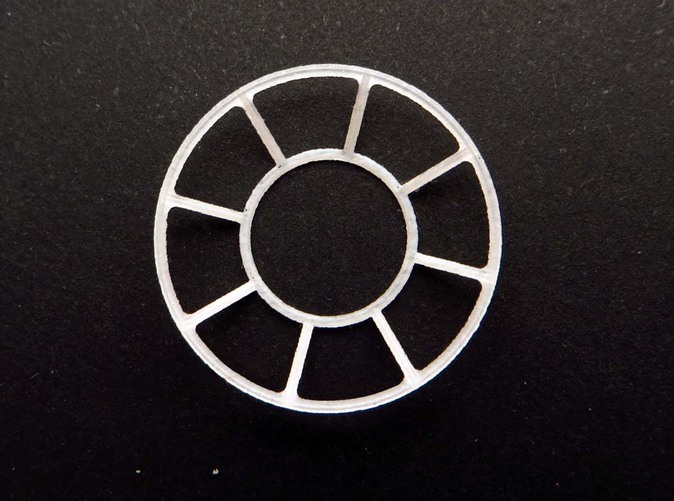
I'm killin' myself on this tiny canopy glass thing... Question: should I go original miniature & just do no 'glass' at all (& take out the 'glass' at the gun wells), or leave the wells enough alone & keep trying to do the Cockpit with .005 clear styrene?
 
I was hell bent on my 1/72 was having a glass canopy... until I saw a comparison photo of with and without. And at that scale clear styrene doesn't mimic glass well. With 'glass' it just made it feel like a toy, so the decision was made to go open canopy. I dont even notice there's nothing there and am glad I went in that direction.

In this case though all I can say is it's your build and you build it how you want. If deep down you want that glass canopy then persevere to create that.

When making small windows I go to the newsagent and buy a4 sized clear OHT sheets like the teachers wrote on in school to put on the projector.... no computers projecting then!
Cost nothing and would be an easy cut, bend and pva glue in place inside your canopy.

Just my 2 cents mate.
Cheers,
Josh
 
I was hell bent on my 1/72 was having a glass canopy... until I saw a comparison photo of with and without. And at that scale clear styrene doesn't mimic glass well. With 'glass' it just made it feel like a toy, so the decision was made to go open canopy. I dont even notice there's nothing there and am glad I went in that direction.
Josh, you mean there's no 'glass' on your amazing & perfect Falcon kit?
Okay, that sinks it. Open for me too! Thanks mate!
 
Josh, you mean there's no 'glass' on your amazing & perfect Falcon kit?
Okay, that sinks it. Open for me too! Thanks mate!

To add, thanks for the kind words on my falcon. I dont know about perfect but I was happy to achieve a nice finish on her! Much appreciated.
Cheers,
Josh
 
I carved them out....I used a small drill to get inside each frame, then carved them out with a scalpel
View attachment 1443745

J
Honestly, that's what I was gonna do, but last time I carved that kind of small clear styrene with my sharpest X-acto knife I gave blood & used many band-aids. It's worth the price of a couple of large pizzas to avoid that again... man, that is a nice lookin' Falcon there!
 
Now that this cockpit will be more visible, I touched up Chewie's fur colour a little, straightened a line here & there, poked faces to suggest features, & put the whites in 3PO's eyes (yeah, he looks a little bug-eyed, but it works for him being in back).
IMG_20210404_211248.jpg
 
Last edited:
Just did a little pre-shading today. By the time the turret well rings get here she should be mostly painted & ready for final assembly.
Also, I'm doing something I haven't done in untold ages- I'm painting this thing 100% by brush. I honestly can't recall the last time I did that. Probably in the 70's. It's so small, and the detail on this is so fine I don't want layers of rattle can paint on it (and I'm not gonna get an airbrush to mix paint just for this). Which means, either it will be an against-the-odds success, or a miserable failure. I'm betting on the former, but like Conan said, we shall see... ;)
img_20210406_172450-jpg.jpg
 
Last edited:
Your keeping great momentum with this build. It has definitely been exciting following along.

As for painting, the fact it is so small is exactly why an airbrush is perfect. If painting an extensive job... and I used tamiya enamels on my falcon.... I just kept a pot of enamel thinner ( from the hardware) and the airbrush lived soaking in that for a fortnight. Just quick spray through and wipe out between colours. It made the multiple colours, multiple painting process much easier than cleaning every time.

That aside though Ive seen some great efforts brush painting but good quality brushes with soft bristles that pallet well are a must and playing with viscosity to level out brush marks. I bought a set of about 30 brushes in different sizes for oil, acrylic and water and paid about $18 for them from an office supply store so there's good cheap synthetic brushes out there.

Looking foward to your paint with much anticipation.

Cheers,
Josh
 

Your message may be considered spam for the following reasons:

If you wish to reply despite these issues, check the box below before replying.
Be aware that malicious compliance may result in more severe penalties.
Back
Top