L DIABLO
New Member
well first let me start off by saying this is my first attempt at anything of this nature , in no way am i trying to use it as an excuse , with that being said hope you like my thread , i tried to make this mask as authentic as possible , i tried to put myself in the characters shoes per say.
TOOLS USED:
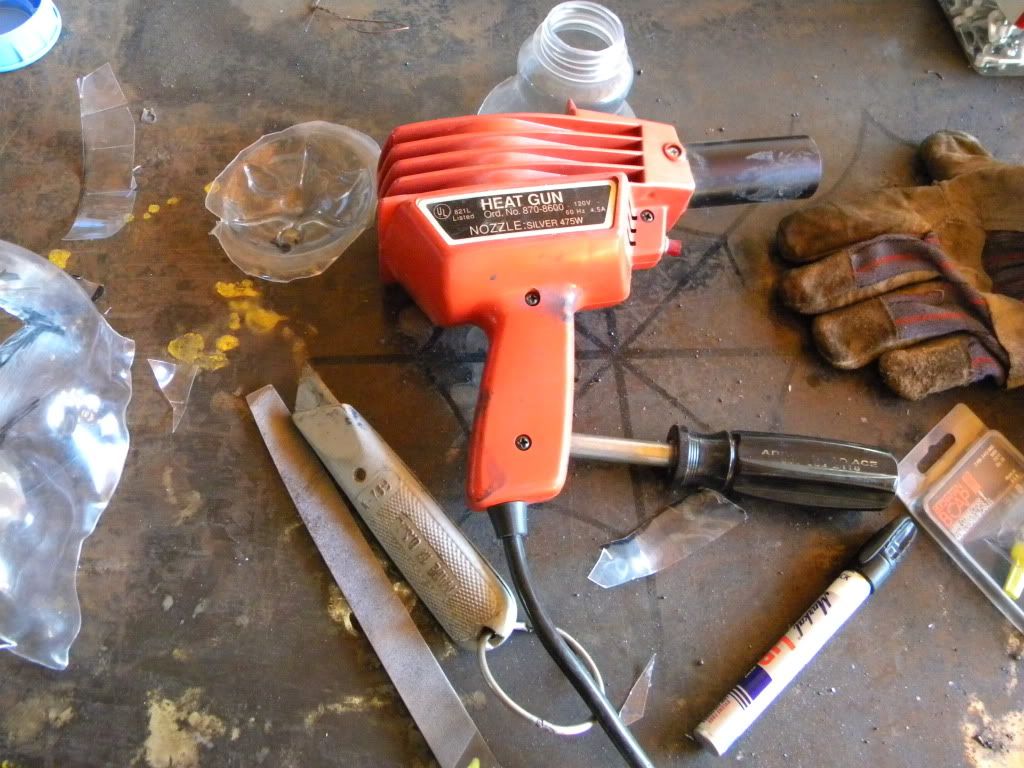

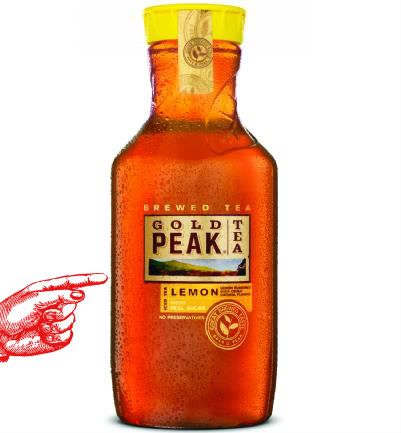
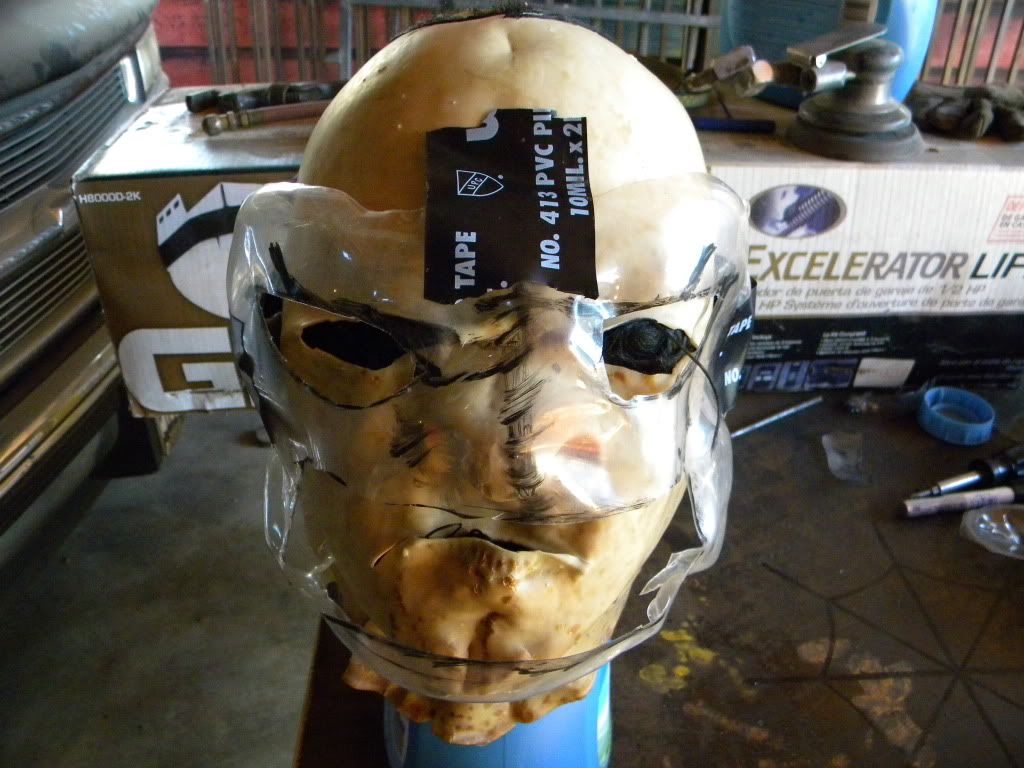
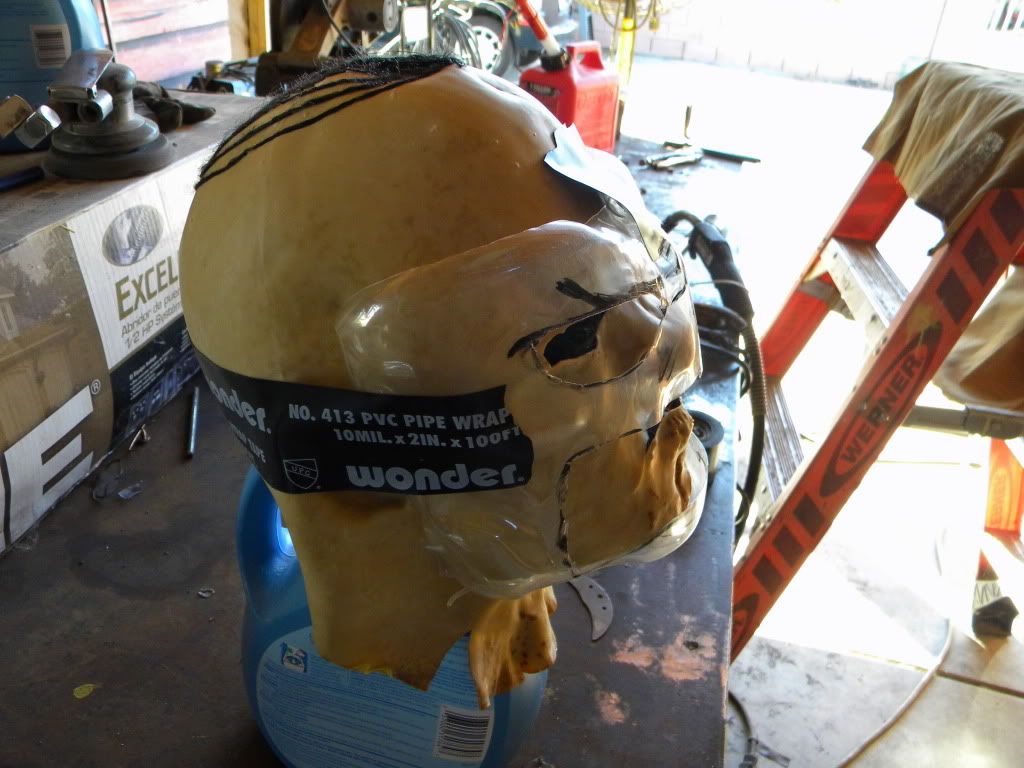
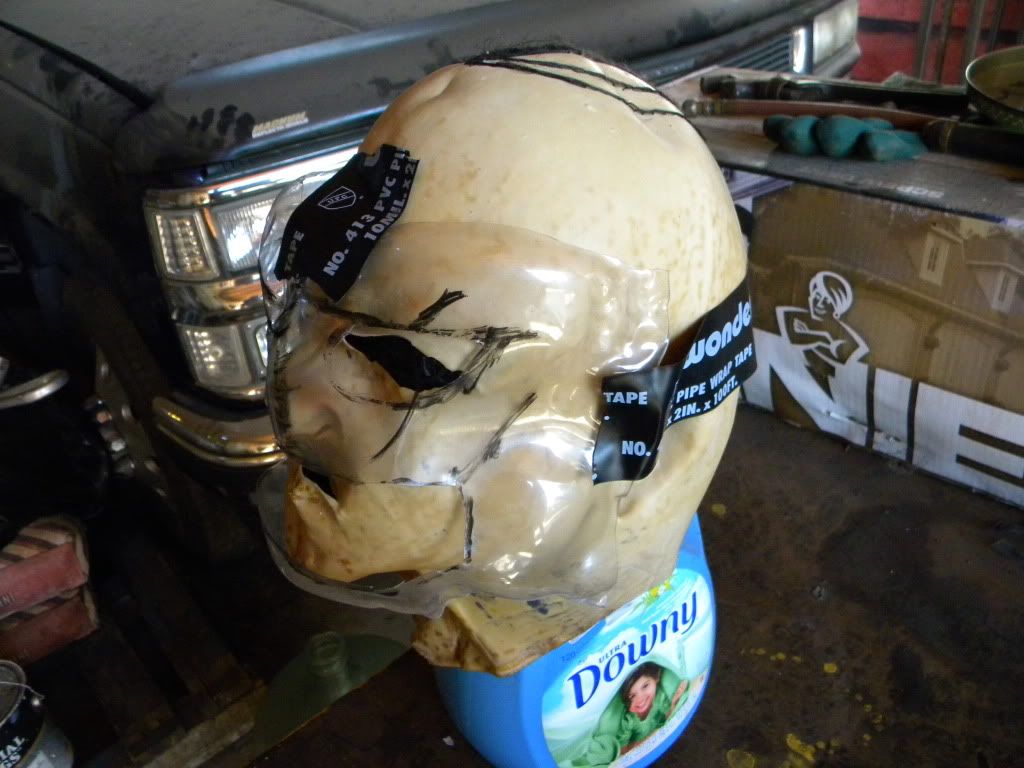
The base of the mask is made of a gold peak bottle ( center section)
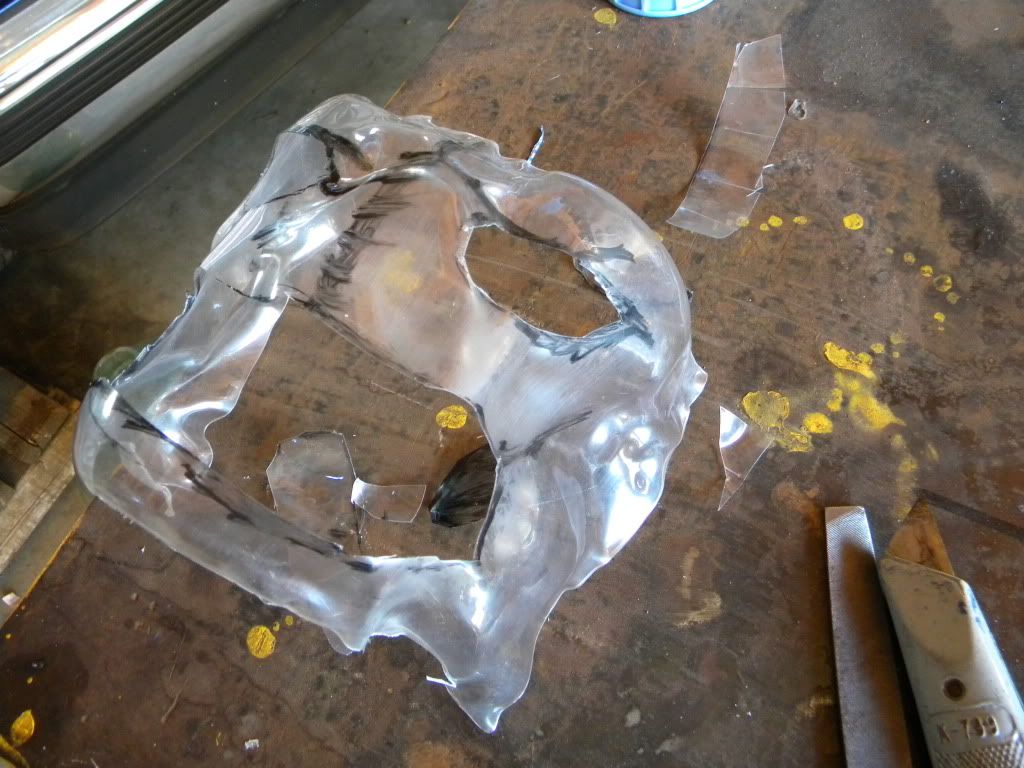 i then took a heat gun and went crazy with it focusing on the shape of the scare crow face , and sculpting it as i see fit , this is what i ended with.
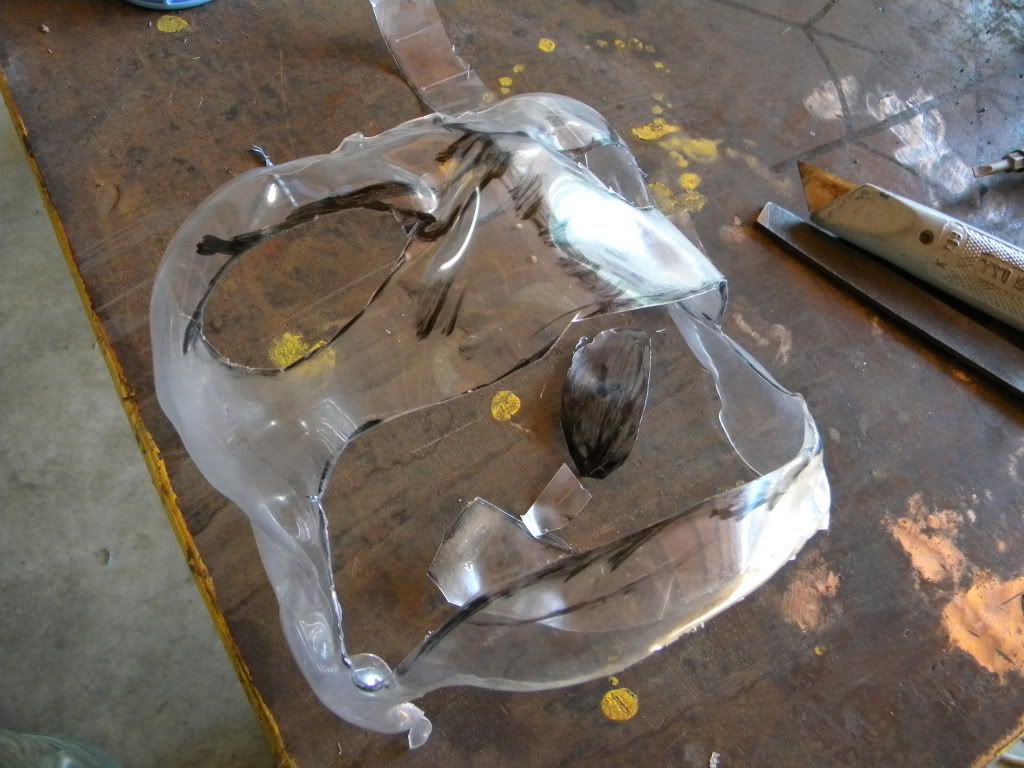
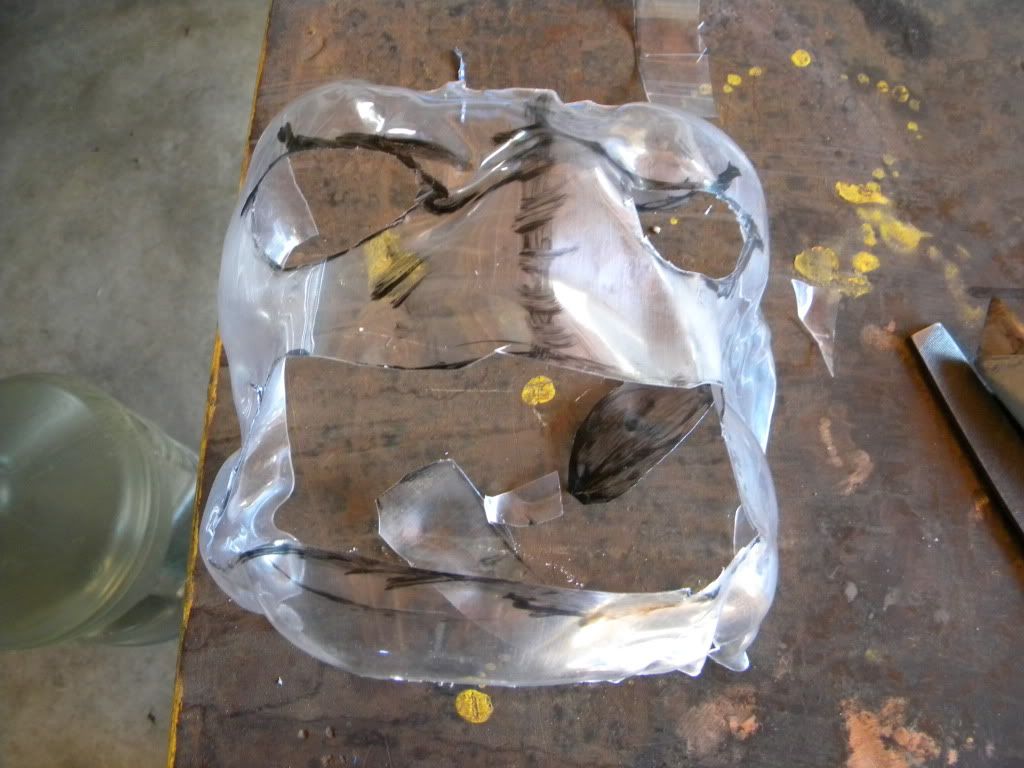 then i roughly drew where the eyes where located and where the stitching would end up , once i liked the look i cut out the mouth and eyes
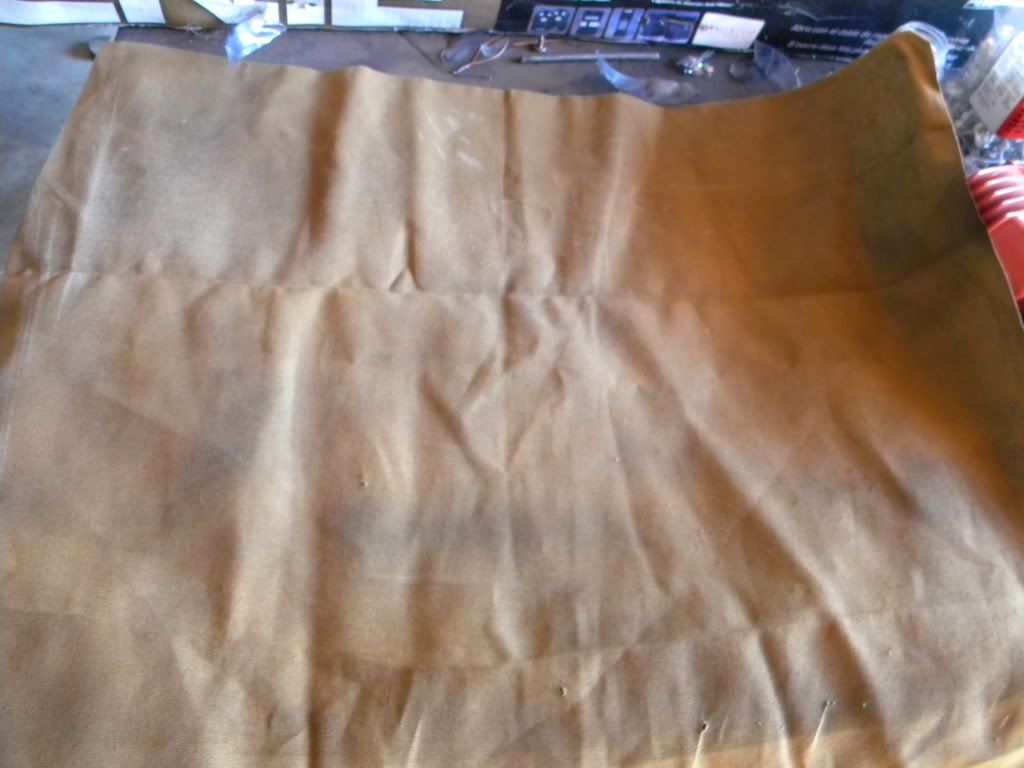
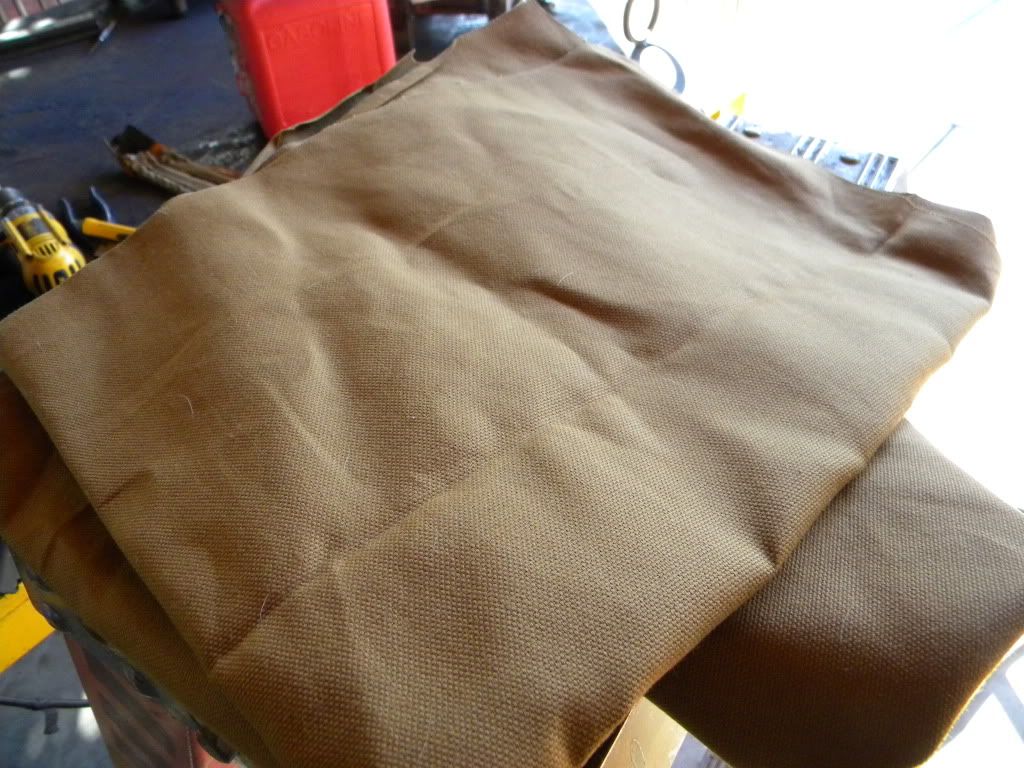 the material i choose for the mask itself is a canvas type material , like what is used for carhart clothing ( very strong )
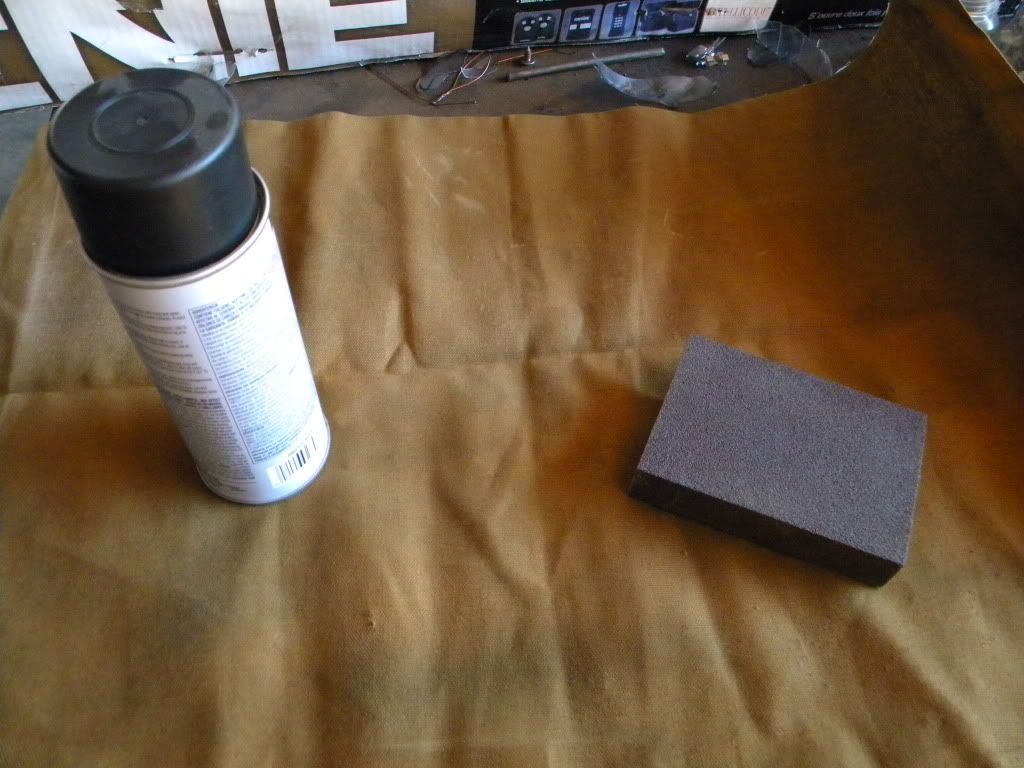 it looked too crisp and clean for my liking so i took some matte black spray paint to give it a dirty look , i also aged the material with some rough sand paper.
 this is what i ended up with im very happy with the outcome
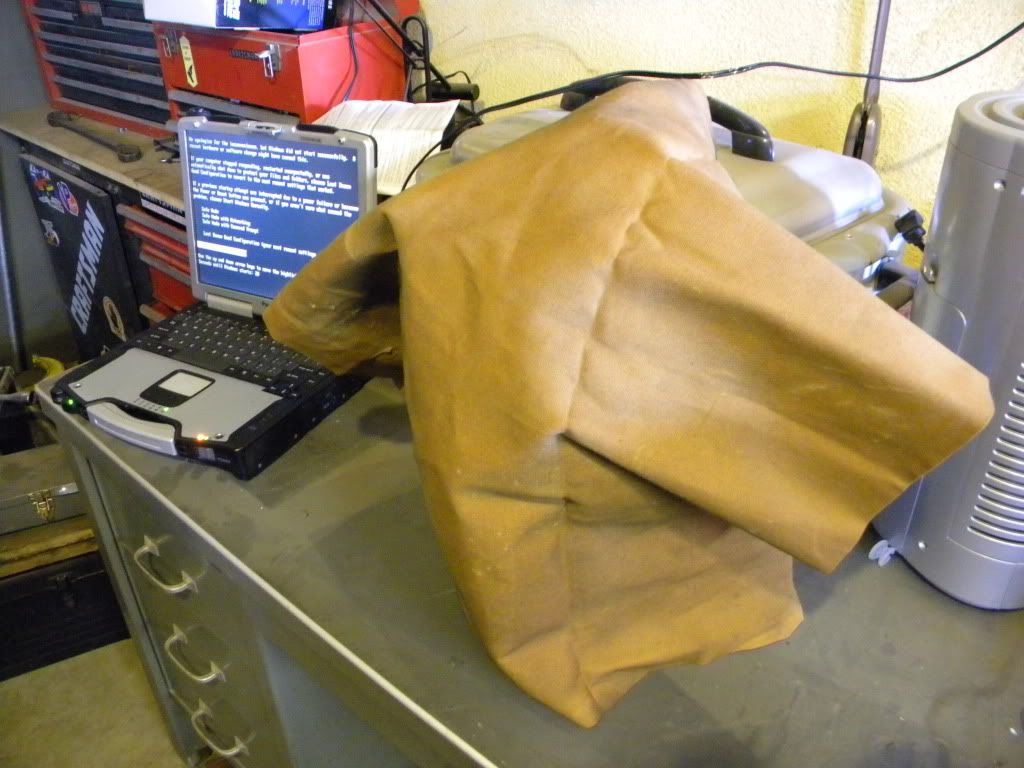
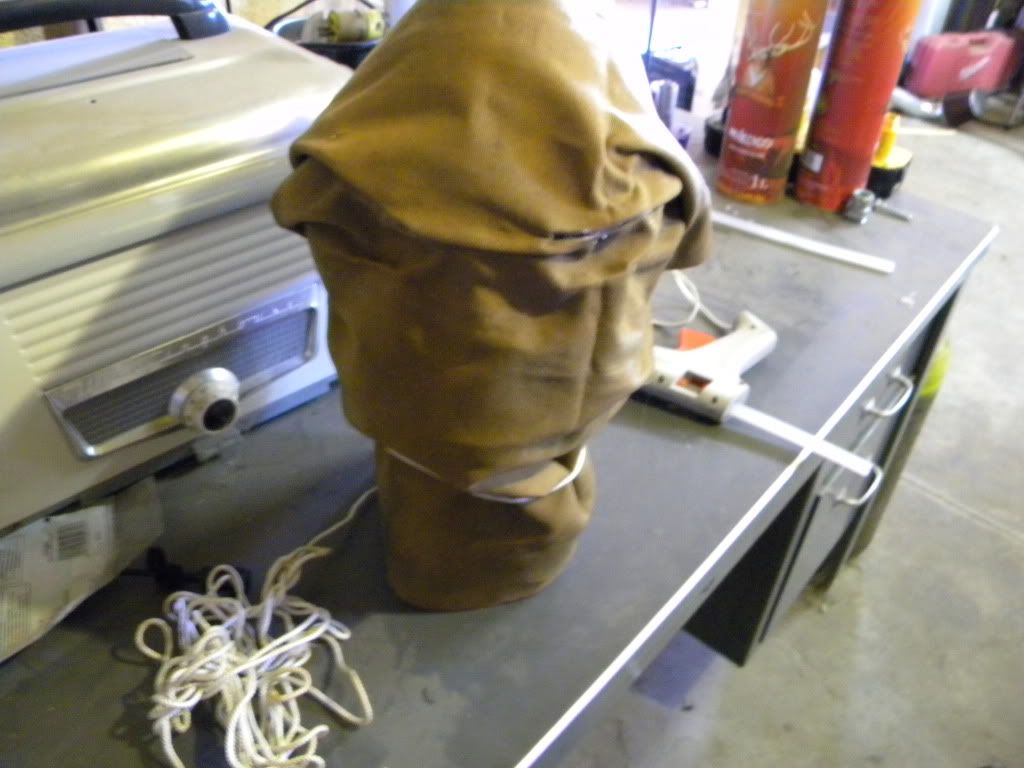
 i dont have a maniquin head so i got an old mask and stuffed it with bags and proped it to start the fabric work.
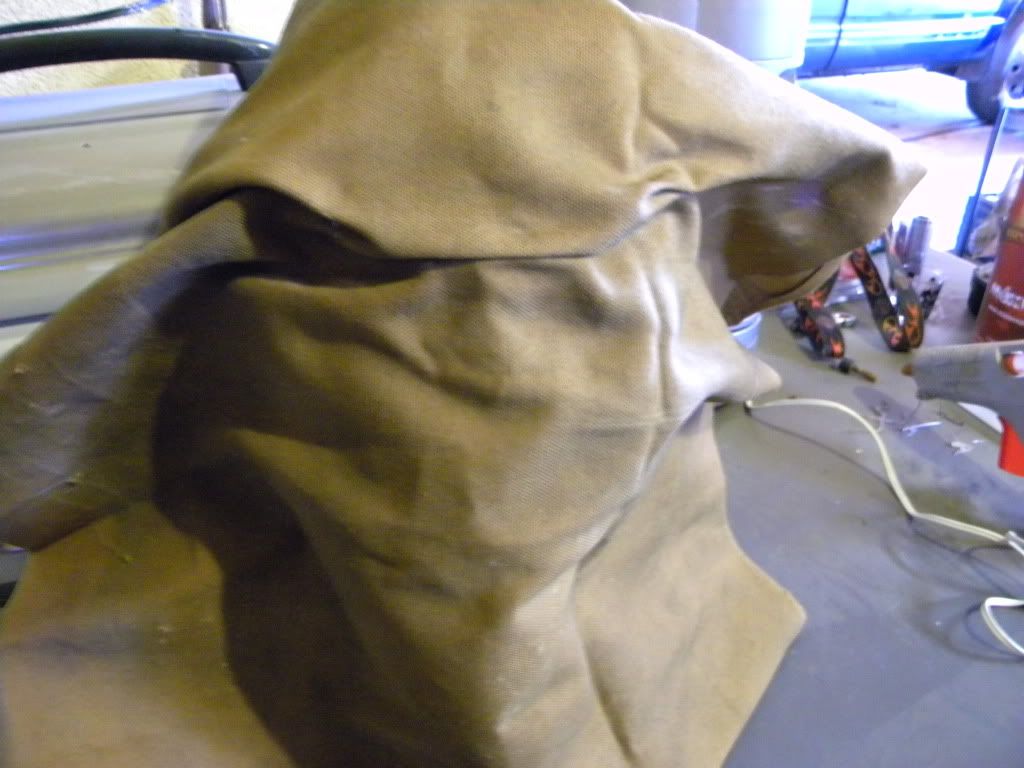
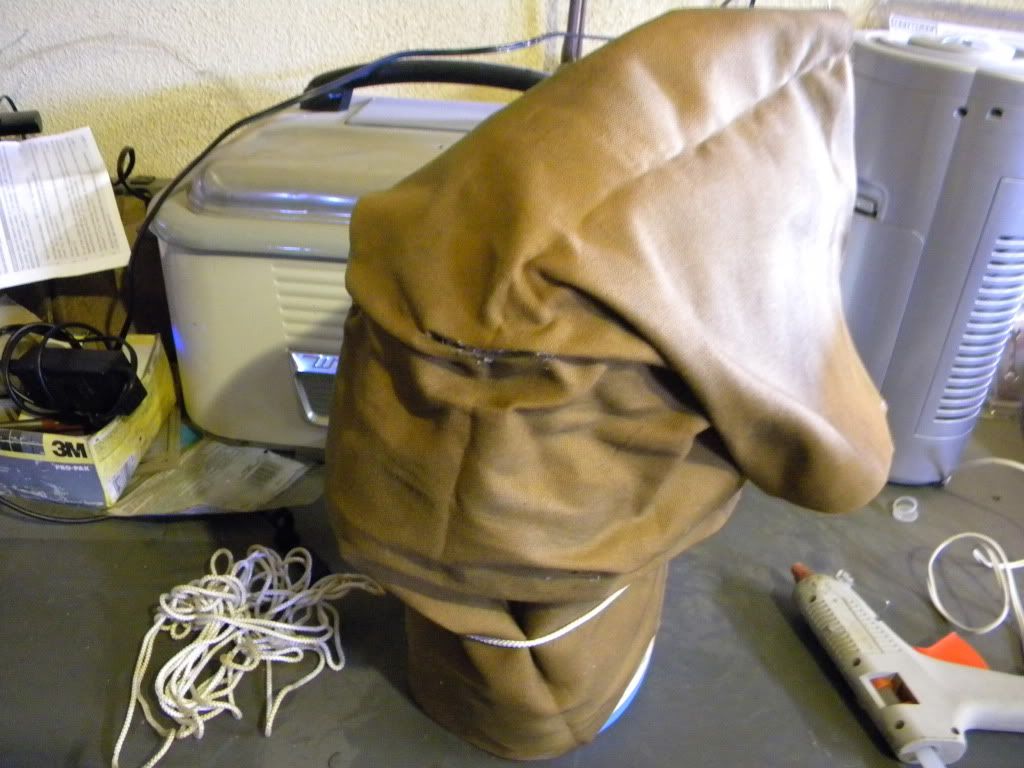
 then i threw the canvas on the mask and started to sculpt the material before i permanently glued it down.
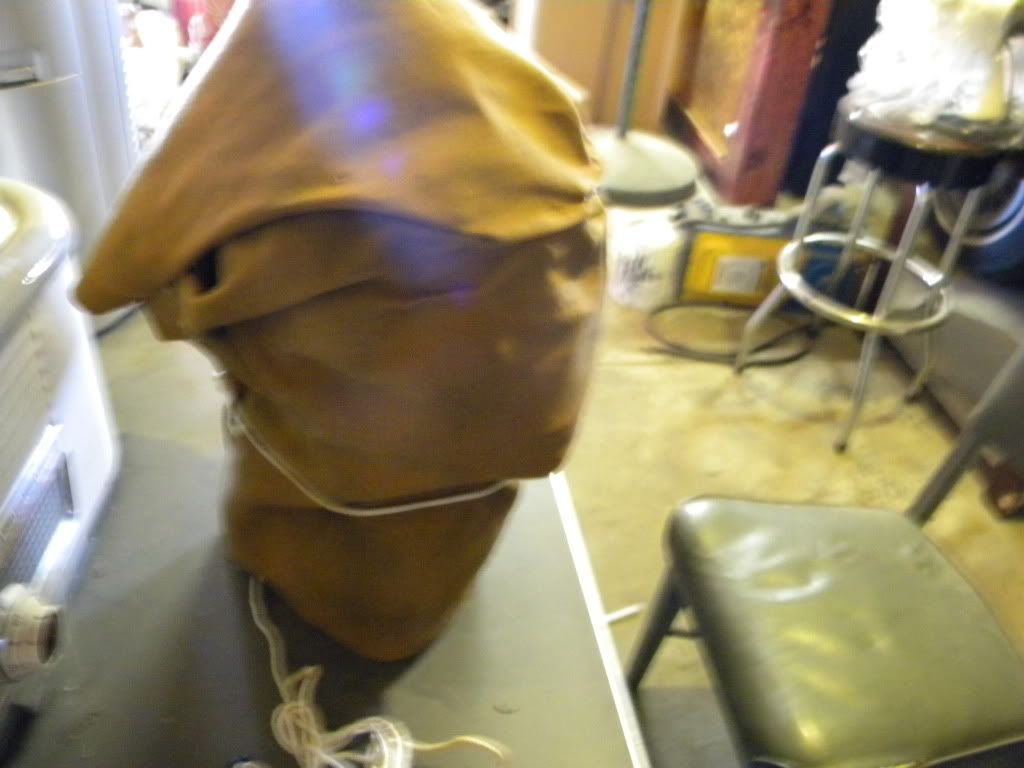
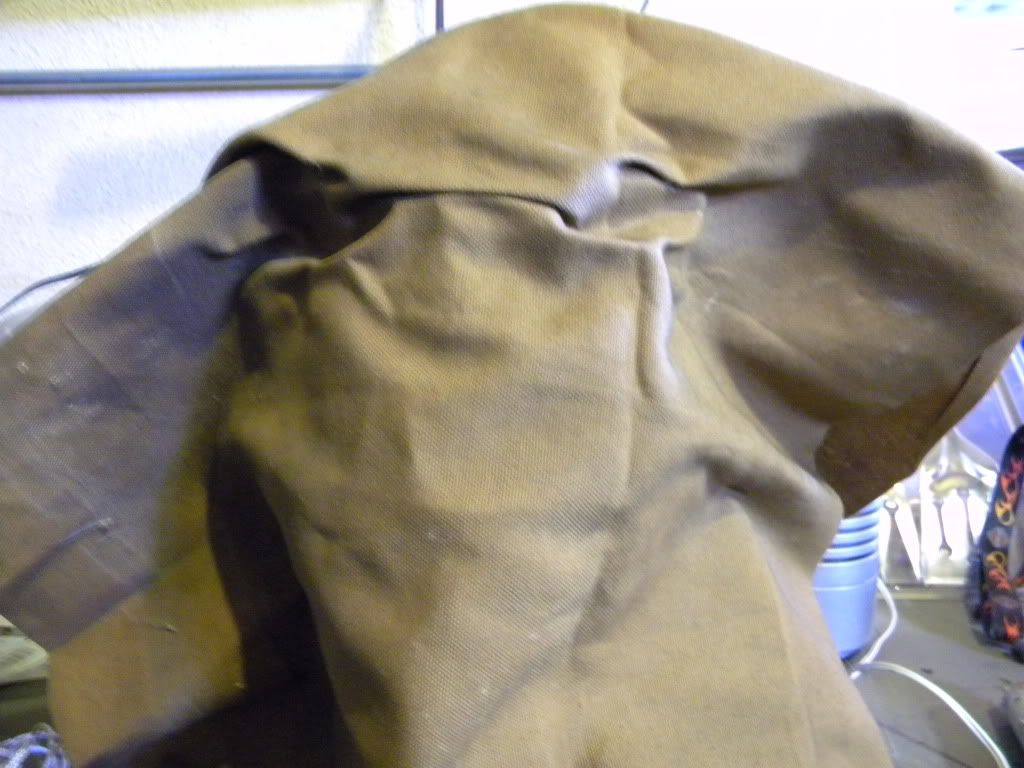
 here is what i ended up with after gluing it down (rought look)

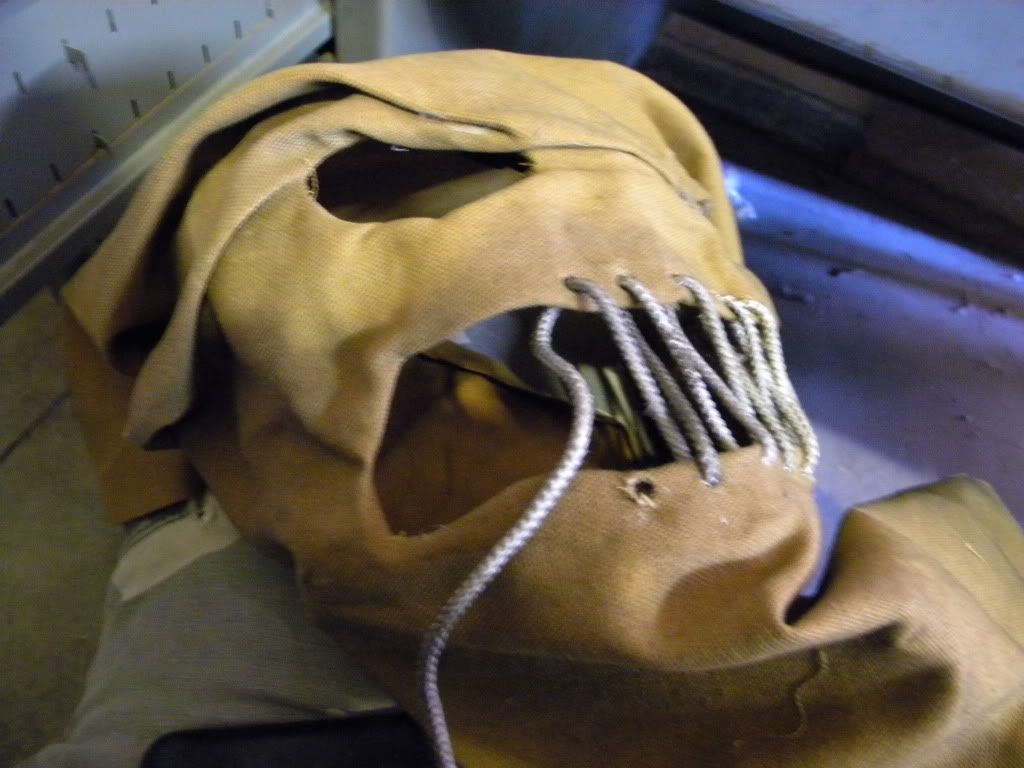
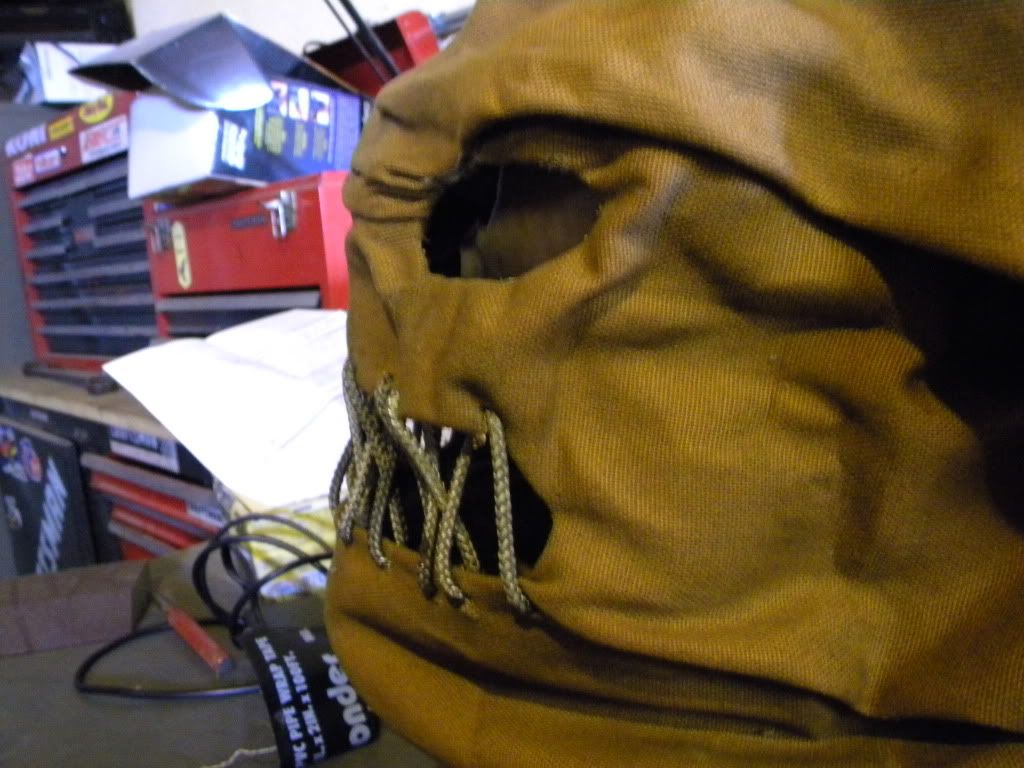
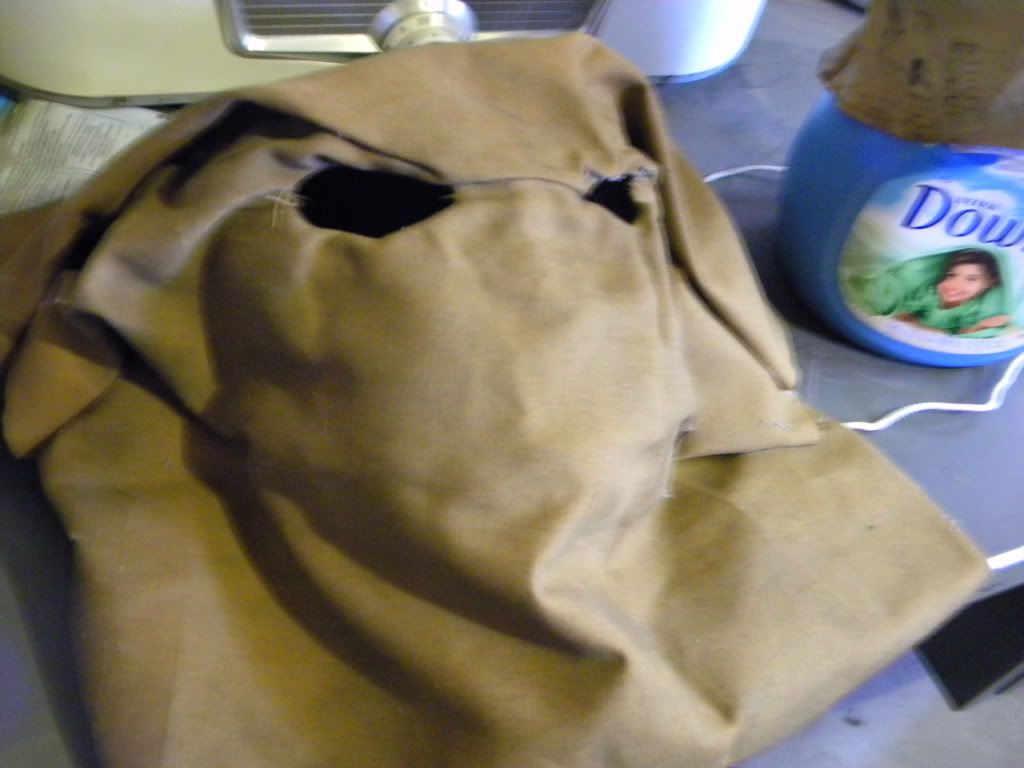 then i cut out the eyes making sure to give myself enough fabric to roll behind the eye sockets to give it a clean look.
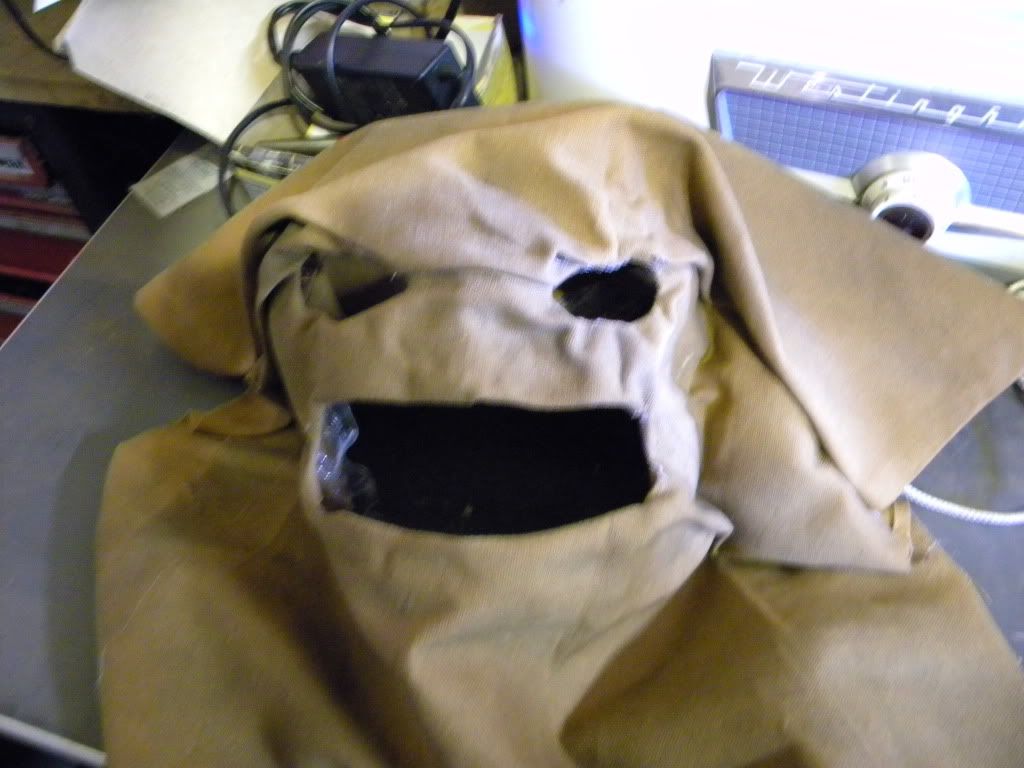
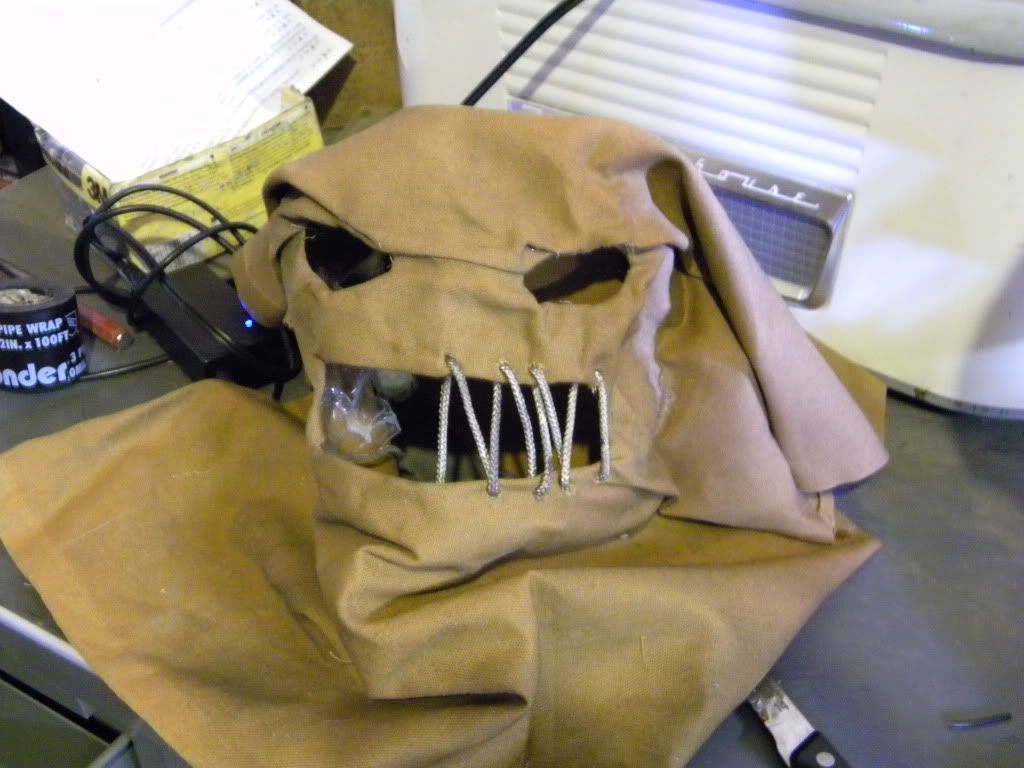
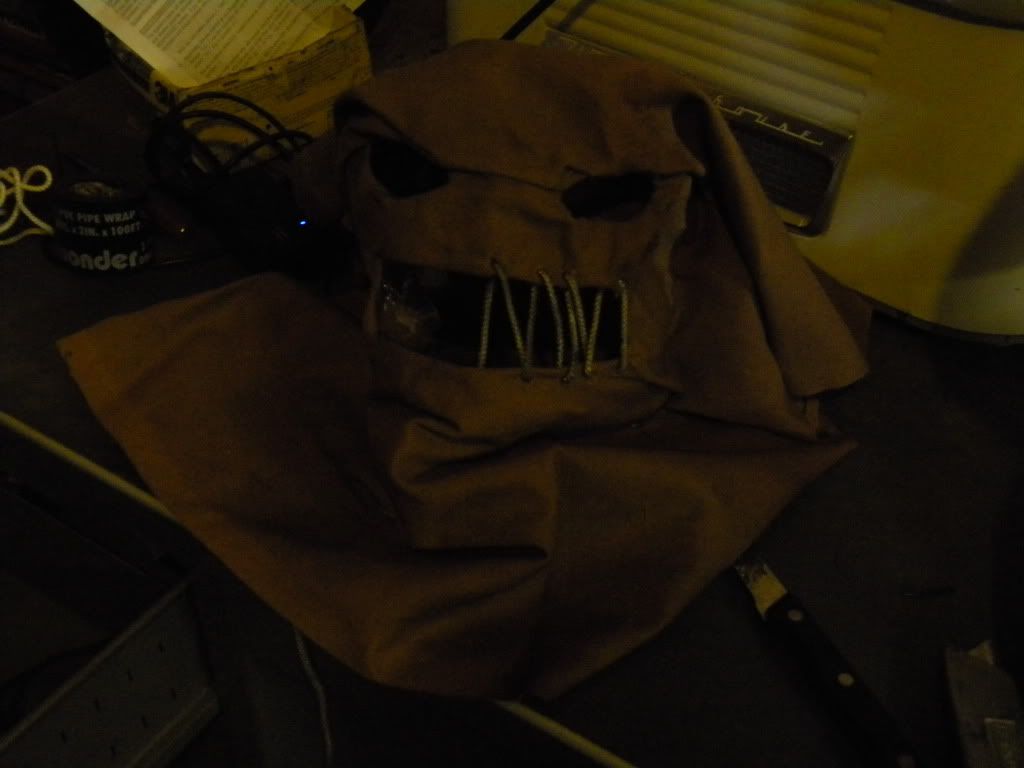
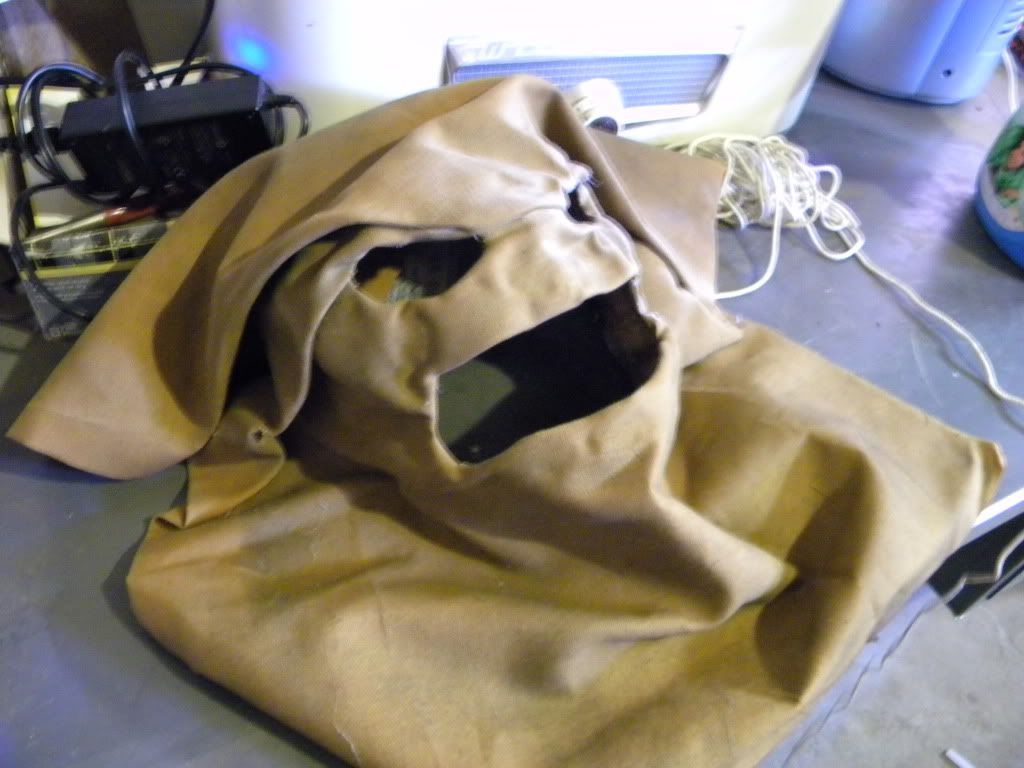 next i cut out the mouth , kindof looks like the oogie boogie man from the night mare before Christmas at this stage.
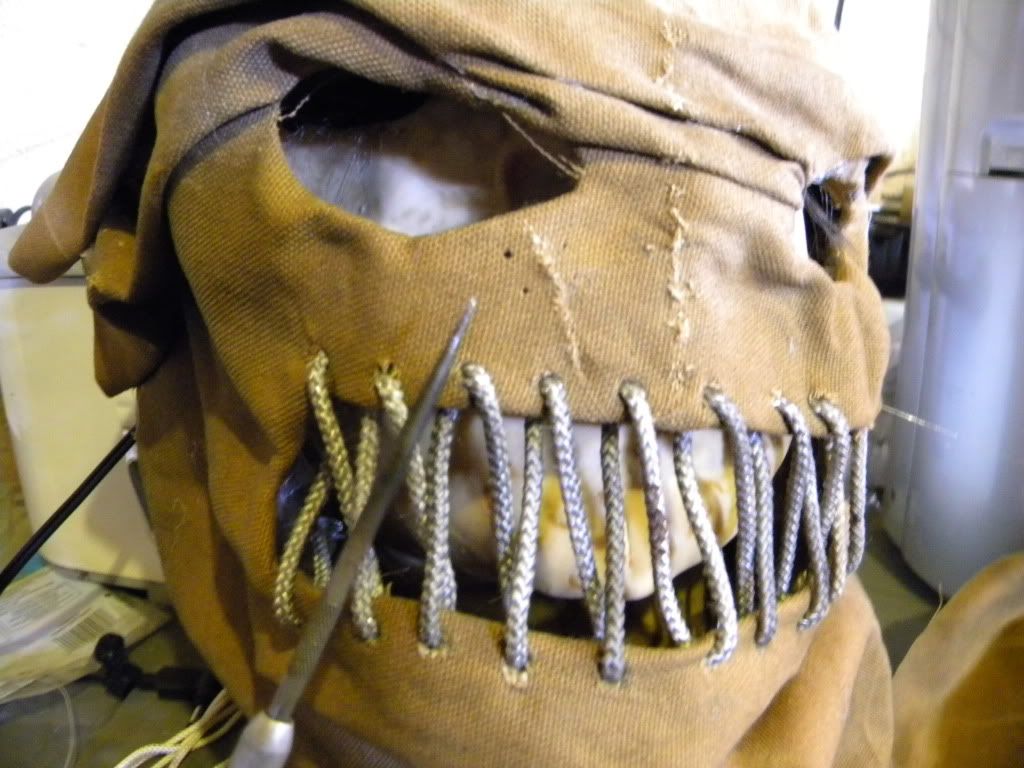
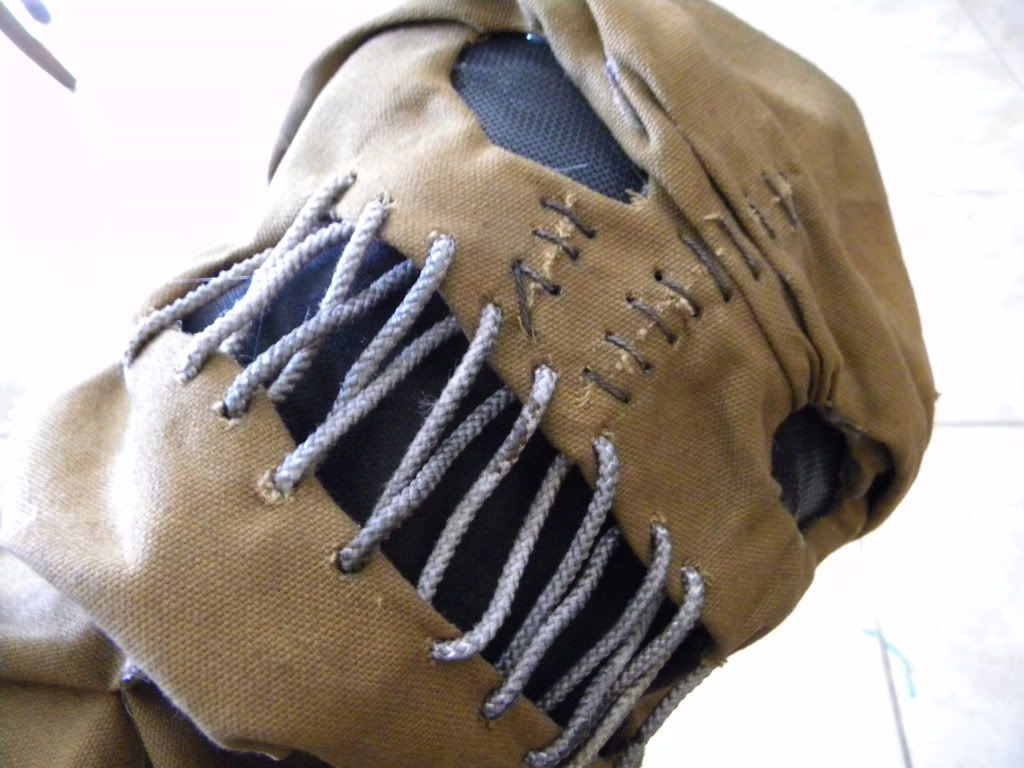
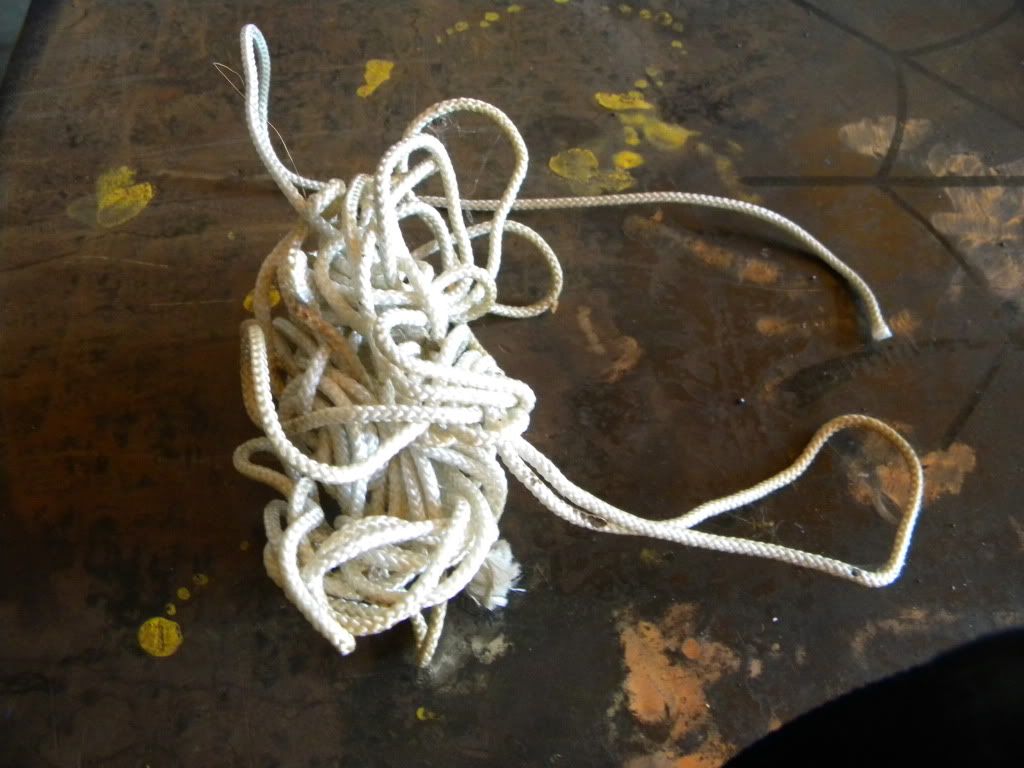 next up is the stitching for the mouth , i decided to use some pull chord which is very sturdy and the thickness i desired ,
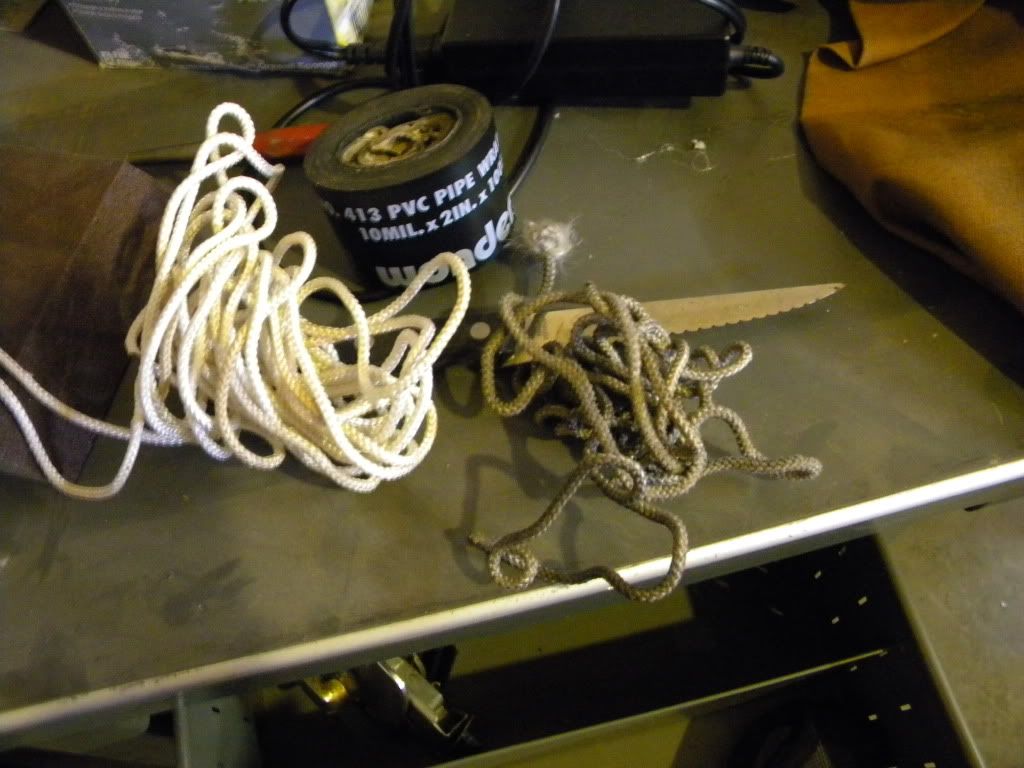 the chord looked way too clean for a dirty scare crow so i misted some spray paint on the chord and went around wiping anything dirty with the chord and i ended up with this comparison.
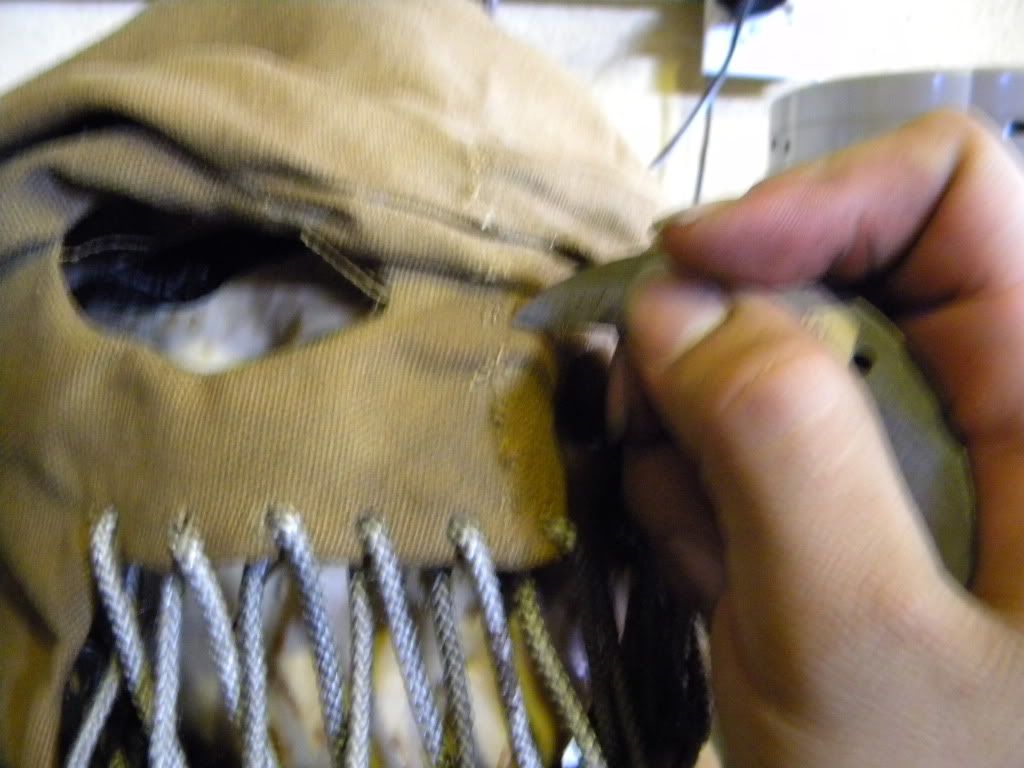
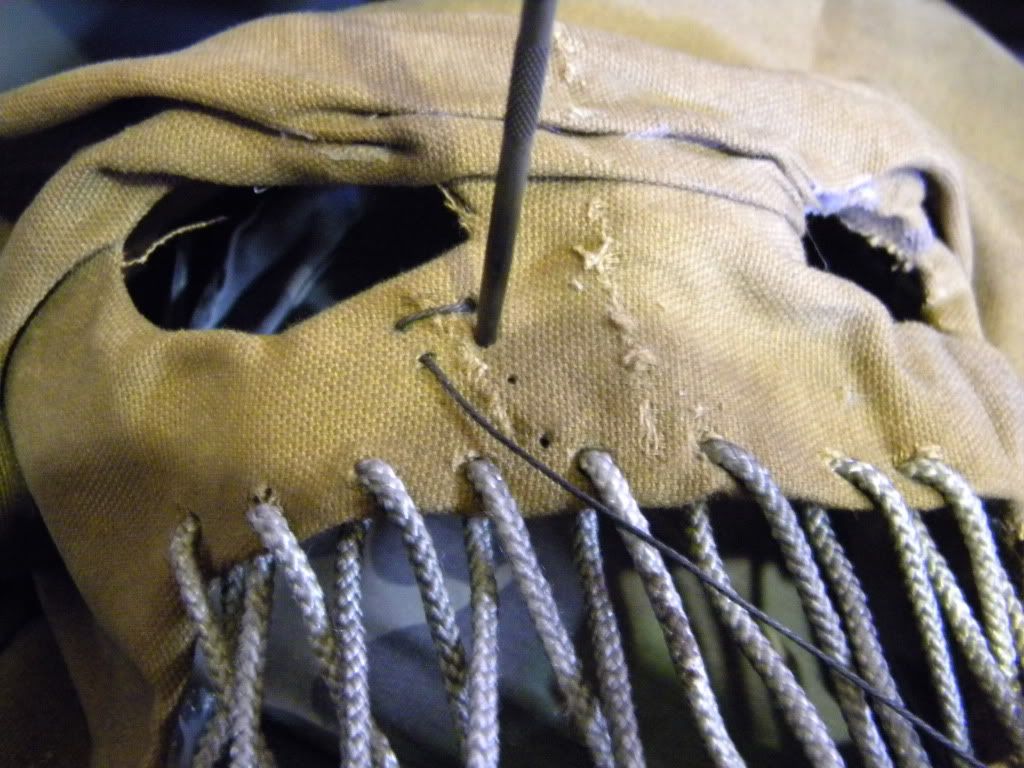
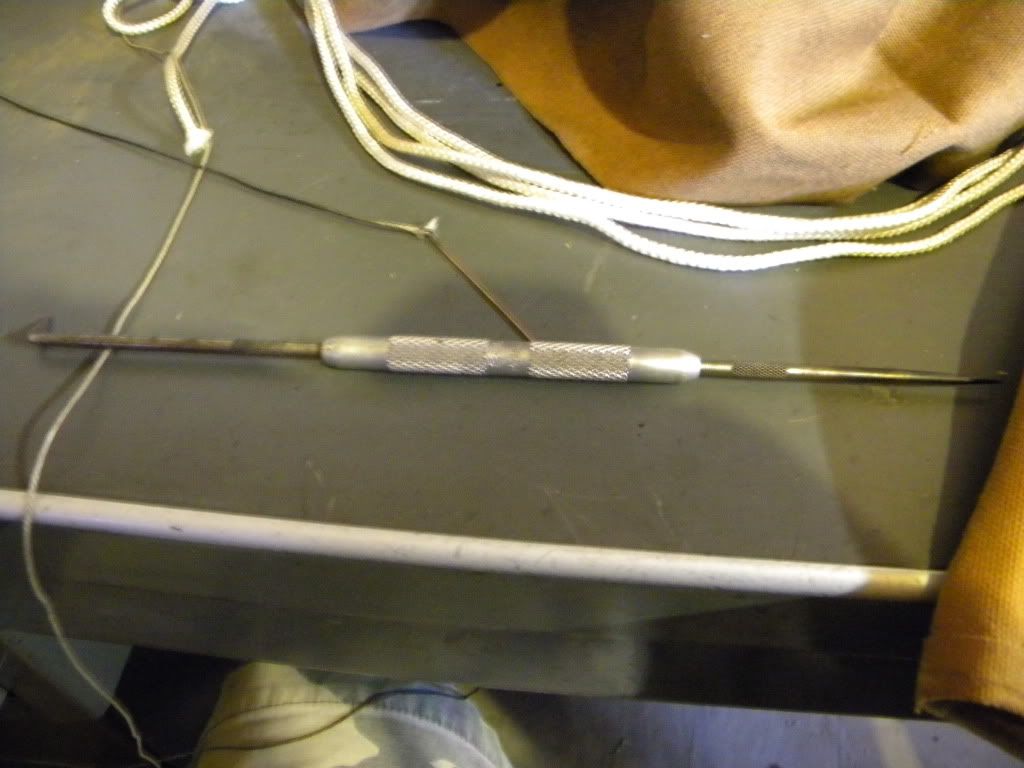 the tool i used to make the holes for the heavy stitching its a metal scribe tool , be careful it is very sharp , i had to use this as the material and plastic is very hard to penetrate.


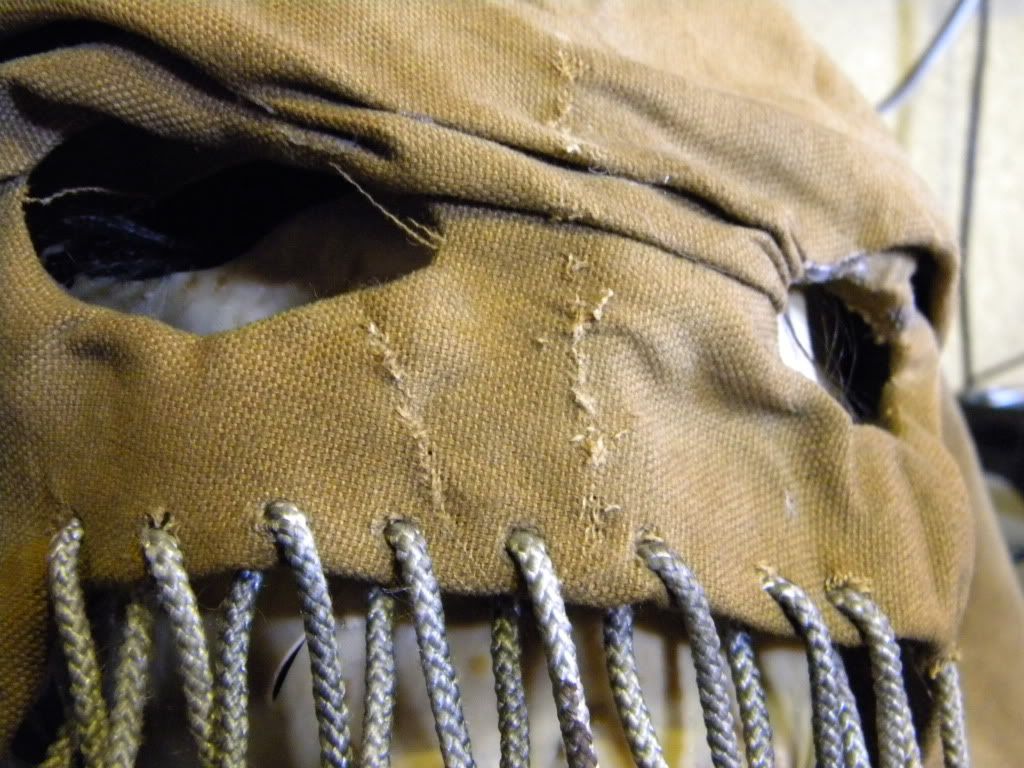
here is the mouth stitching finished it took me an hour and a half to do the stitching , as i had to make the hole , widen it with a screw then thread it in , be careful not to stab your hand as i did.:facepalm

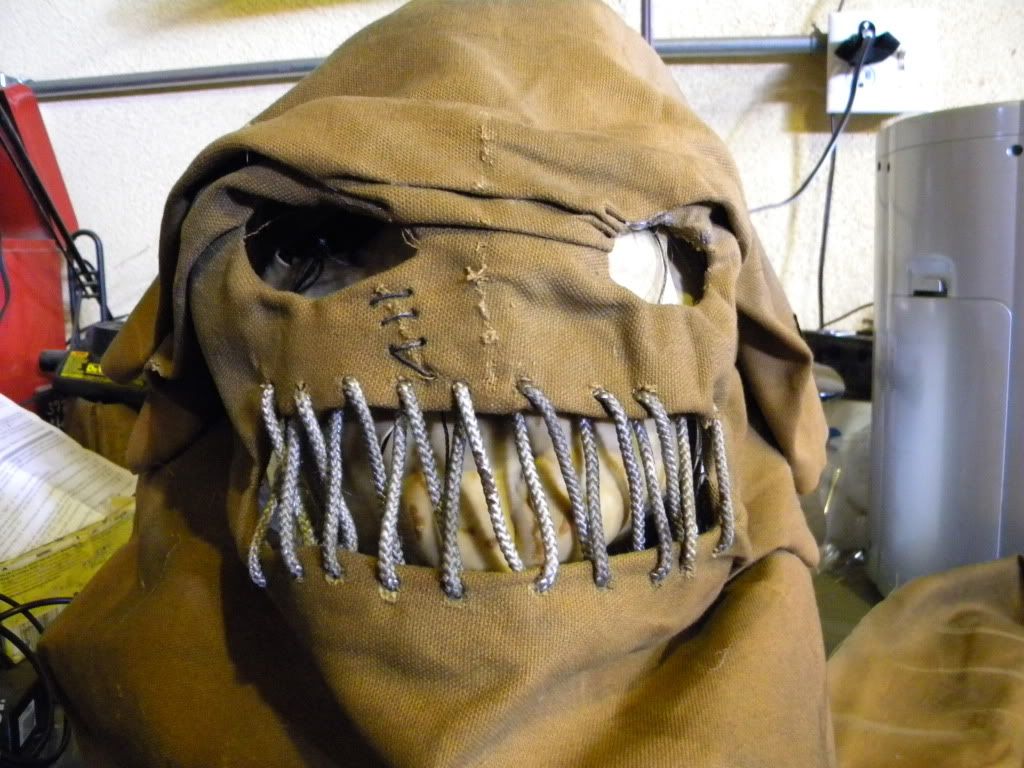
the devil is in the details they say so i decided to give it actual tear damage before stitching the face , i am using a tallon razor for the tearing
 here is the under eye stitching using my pick tool
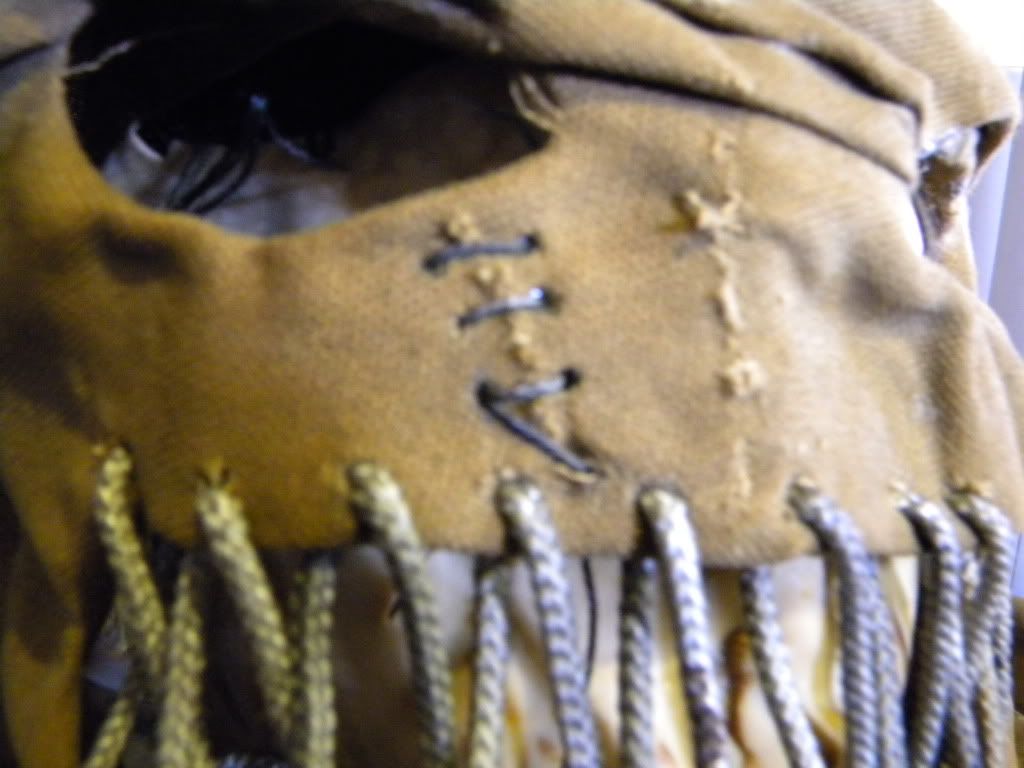
here is the eye finished , the same technique was used for the middle of the face.
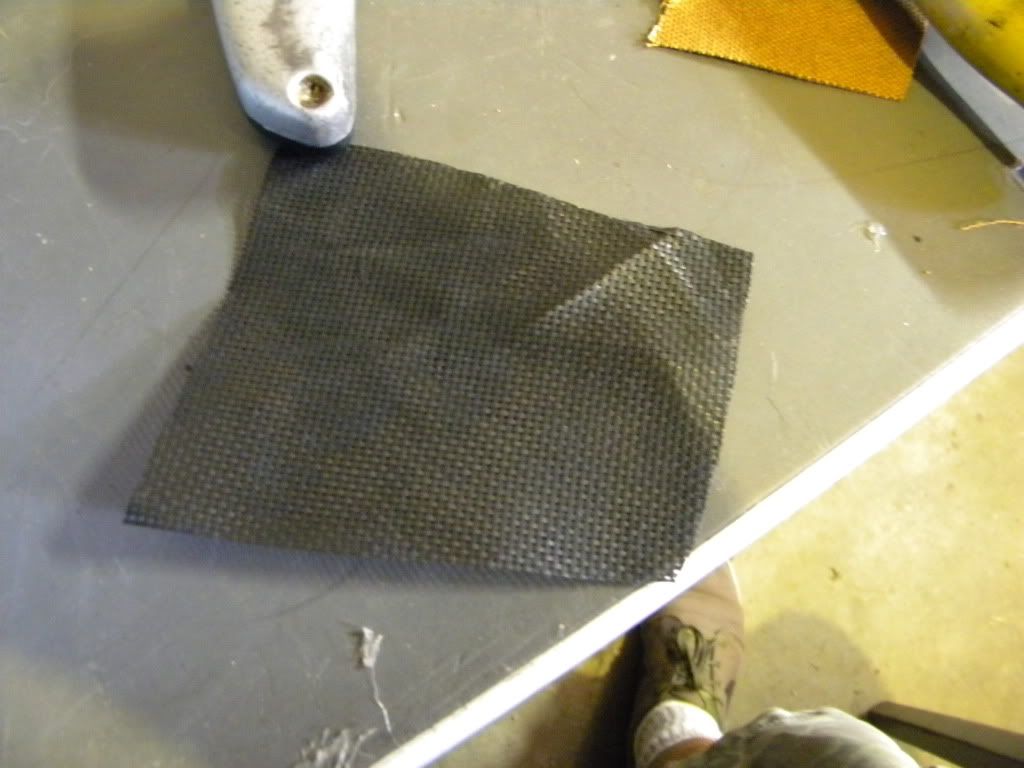
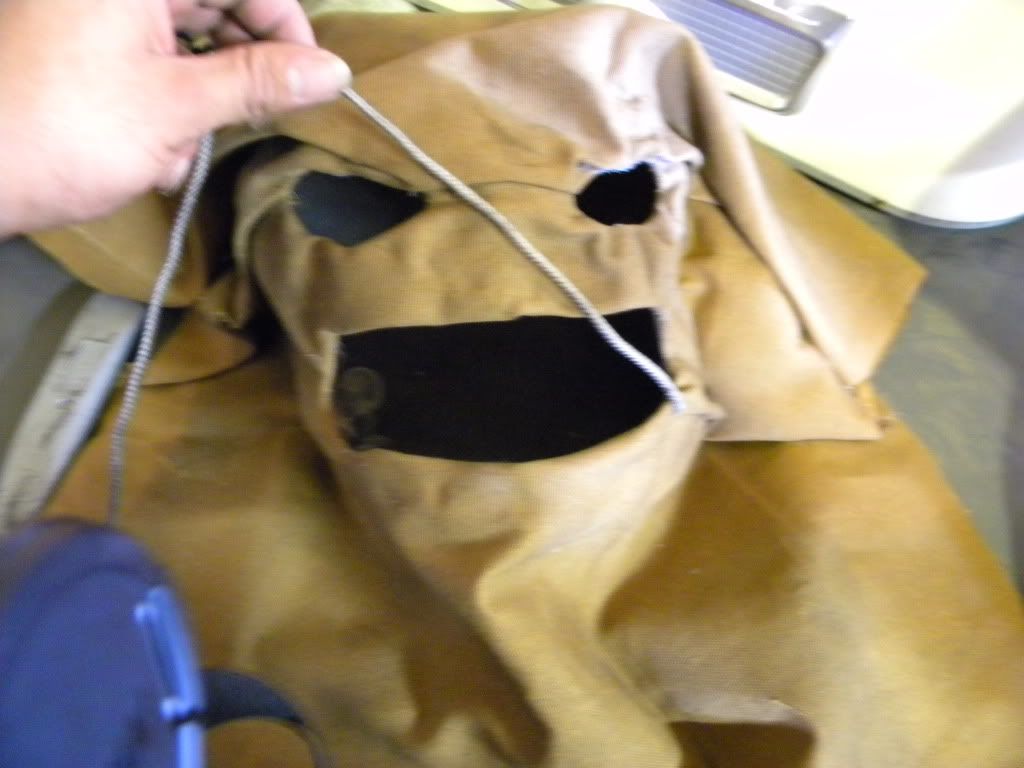
up next i wanted to blacken out the eyes and mouth so i looked around the house and used a black tarp material ( the same material they use on fences in construction jobs)
 here are the eyes finished
 for the mouth i used the same canvas material but spray painted matte black it gave it the perfect look
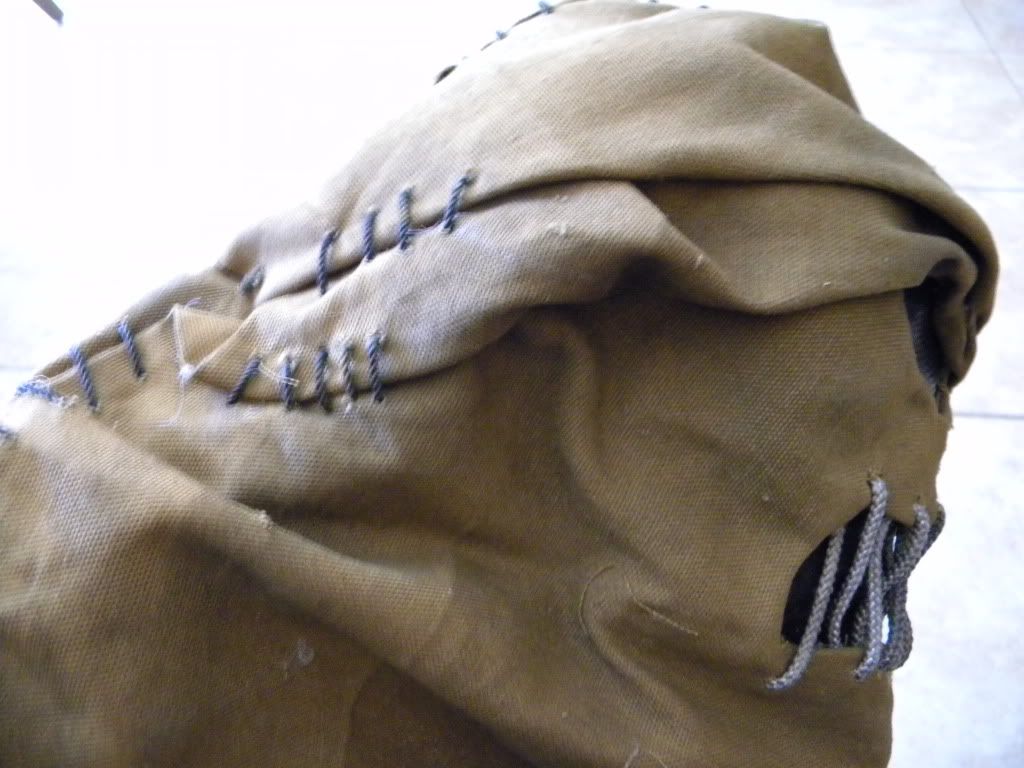
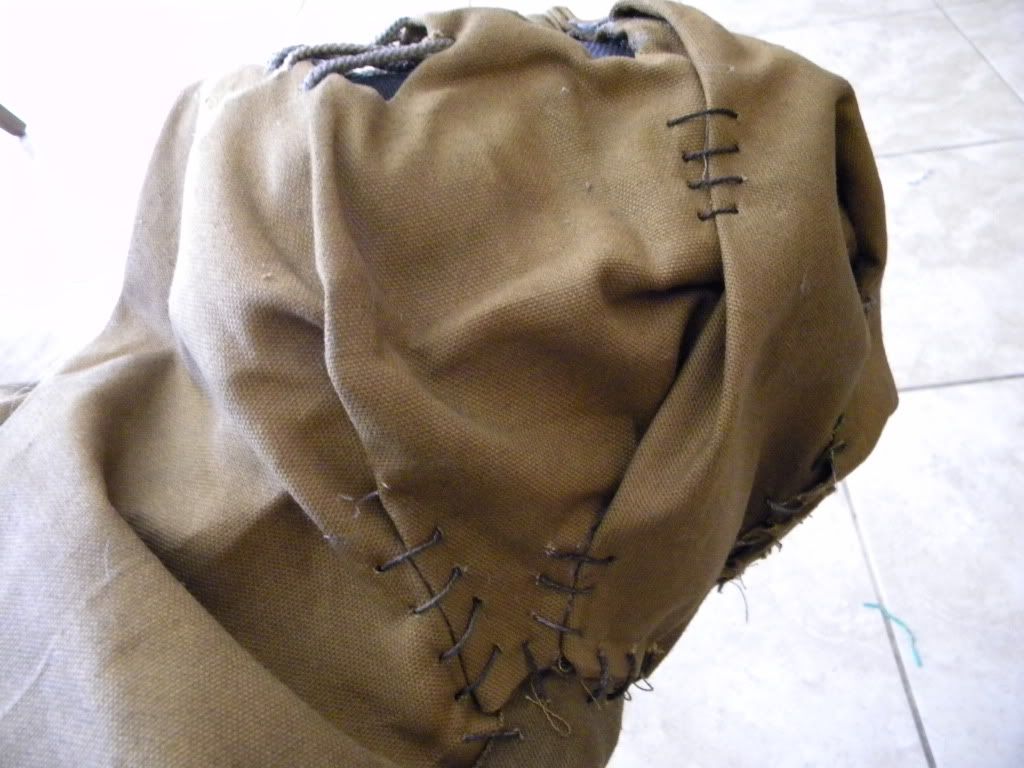
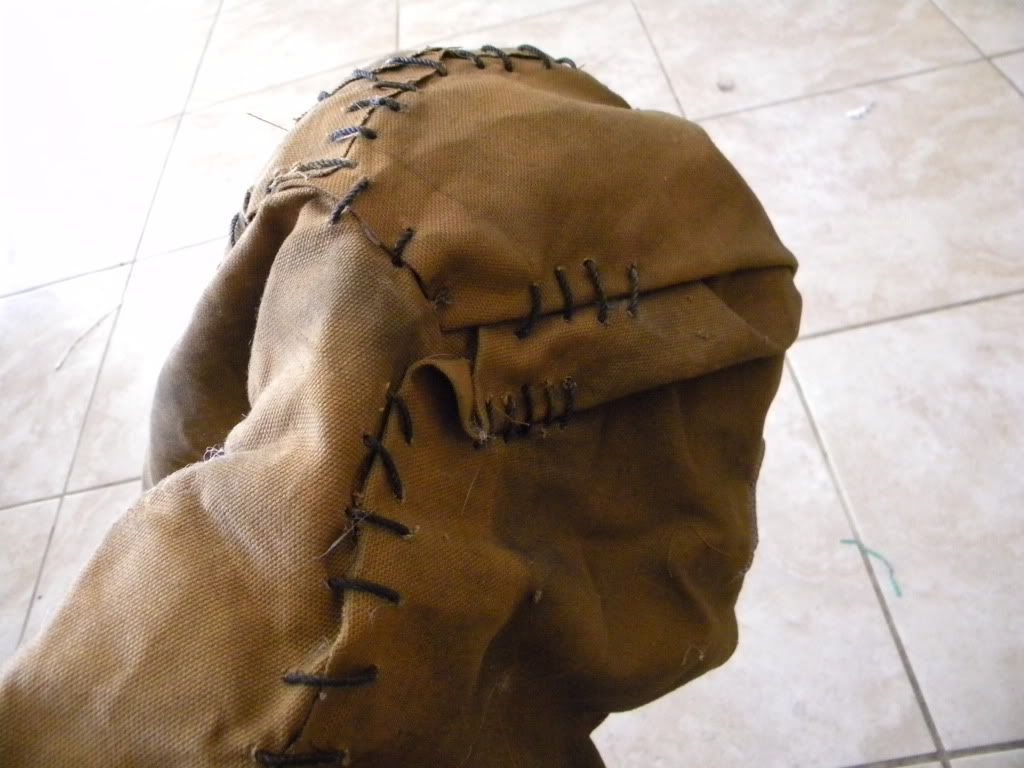
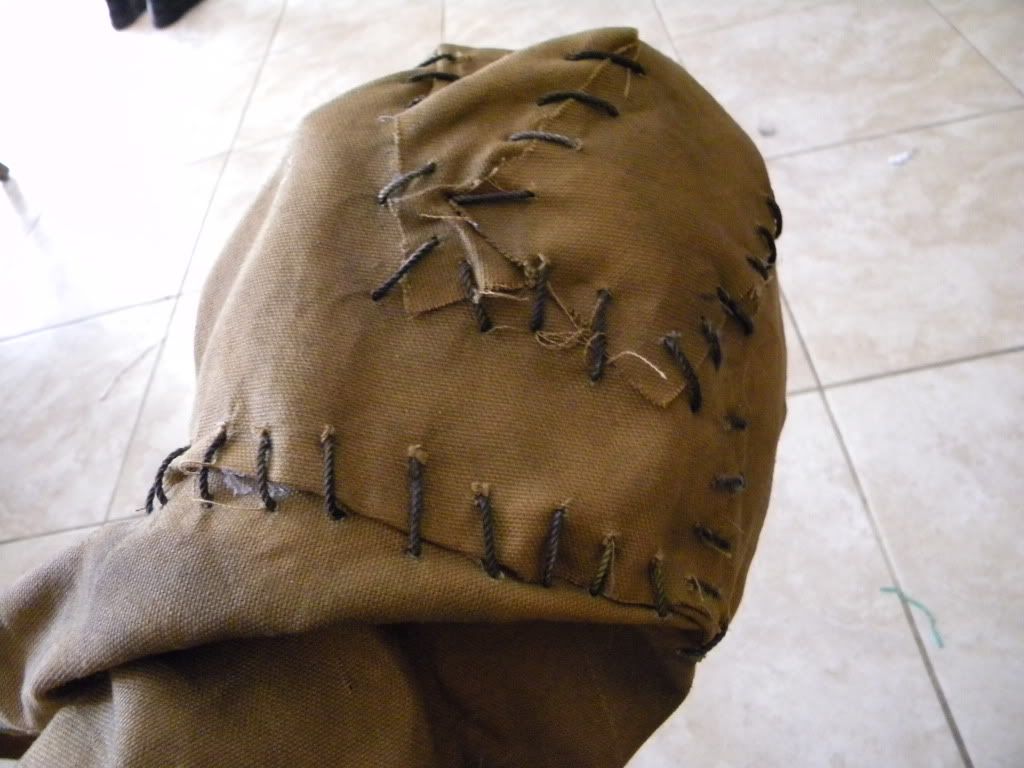
for the finishing touches i decided to do a heavy rough looking stitch for the back of the head.although it is going to be hidden under a hood

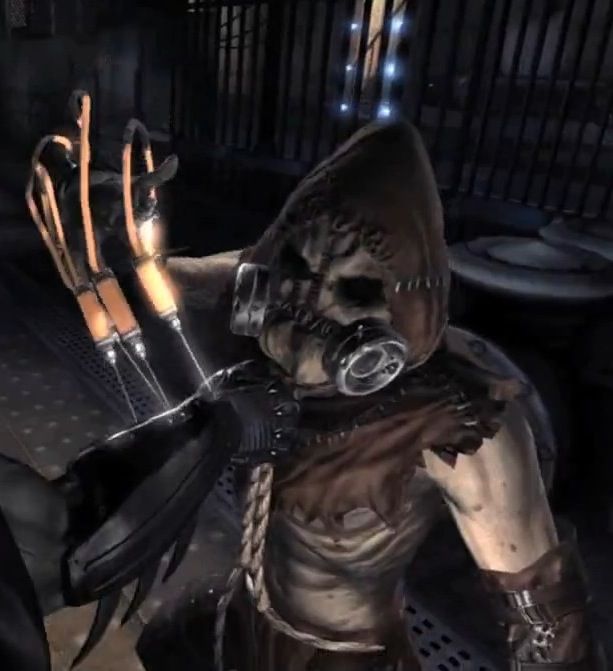
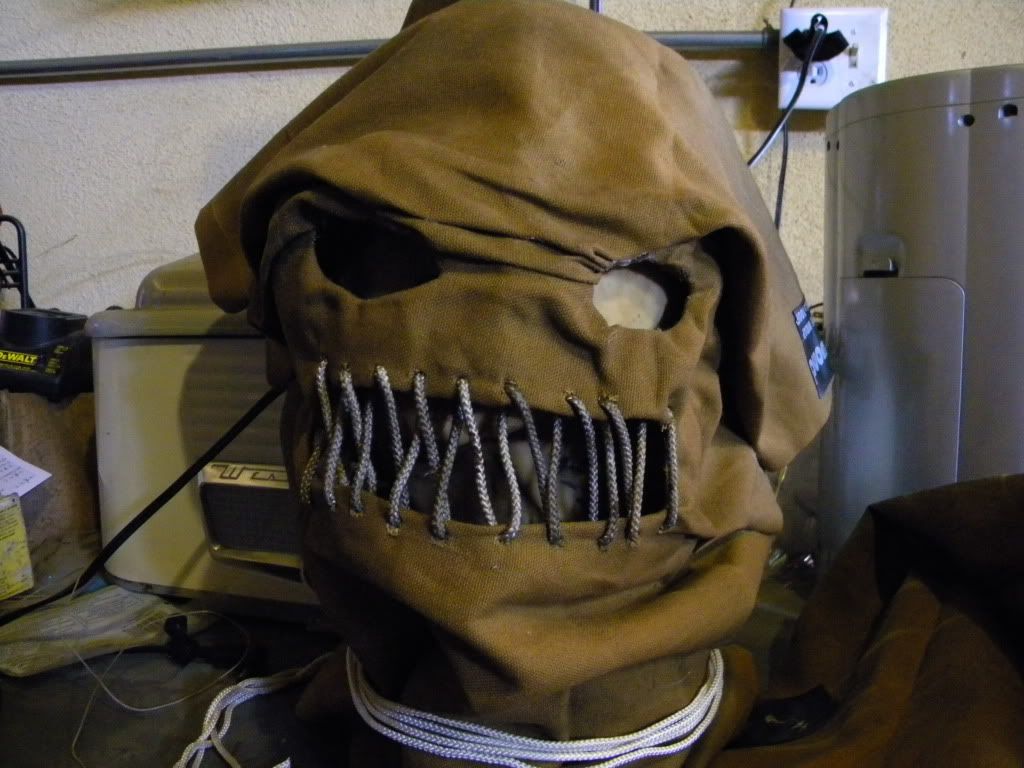
and here it is as it sits now
TOOLS USED:
The base of the mask is made of a gold peak bottle ( center section)
here is the mouth stitching finished it took me an hour and a half to do the stitching , as i had to make the hole , widen it with a screw then thread it in , be careful not to stab your hand as i did.:facepalm
the devil is in the details they say so i decided to give it actual tear damage before stitching the face , i am using a tallon razor for the tearing
here is the eye finished , the same technique was used for the middle of the face.
up next i wanted to blacken out the eyes and mouth so i looked around the house and used a black tarp material ( the same material they use on fences in construction jobs)
for the finishing touches i decided to do a heavy rough looking stitch for the back of the head.although it is going to be hidden under a hood
and here it is as it sits now
Last edited: