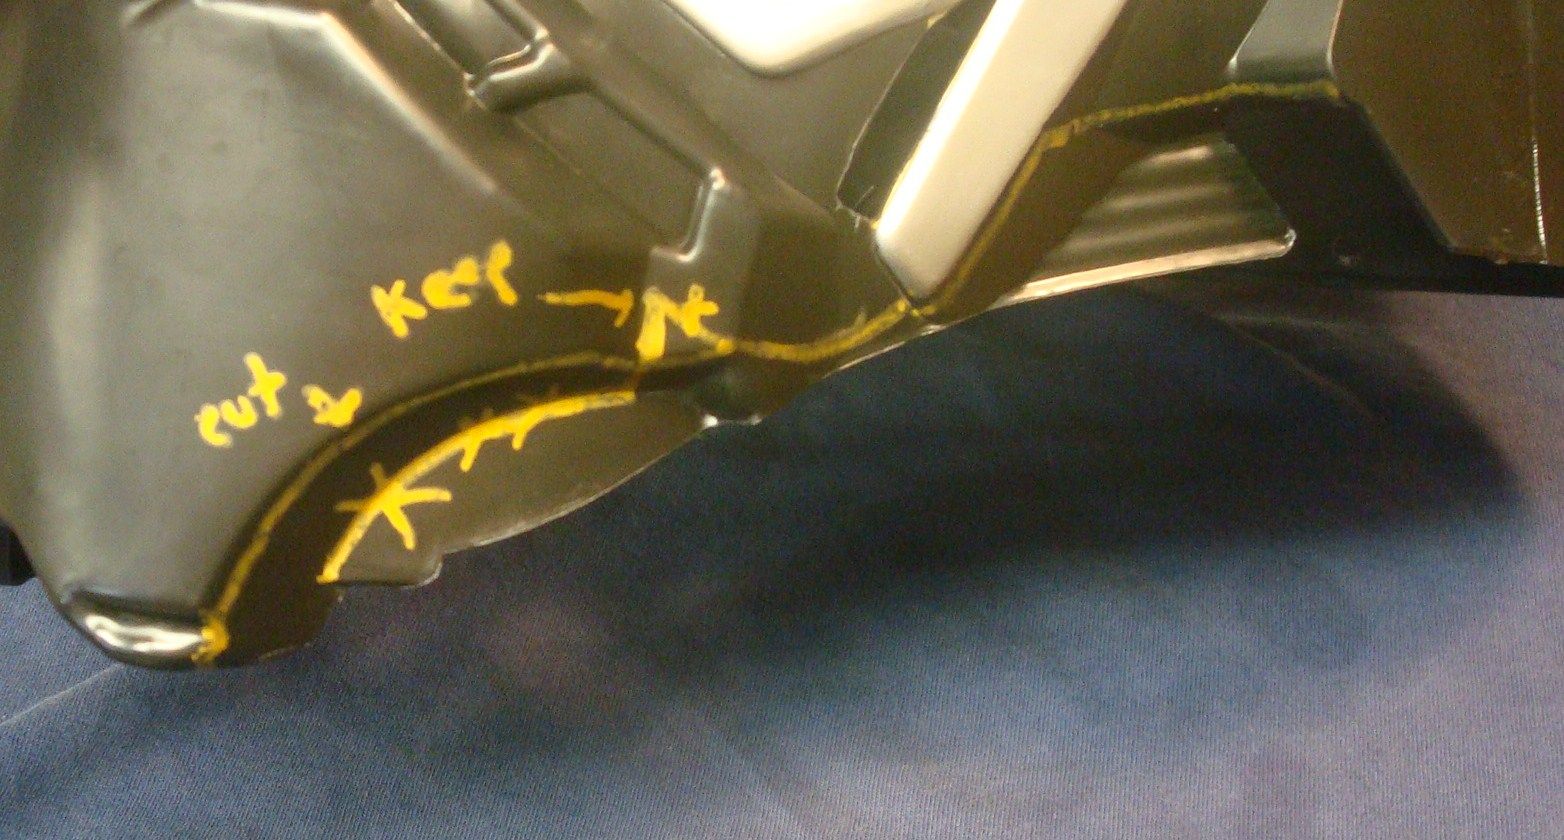
Anyone planning on picking up the Target Helmets and "improving" on them?

Has anyone been able to find these in Canada? Is someone else distributing them? Maybe the Disney store?
 
Question for everyone modifying a Kylo, did you shorten the length at all? When viewed from the side, it seems a bit longer than it should, and wide when viewed from the front. I'm about to start work on this over the weekend and just wondered if anyone else shortened it up. I figured once I fiberglassed the inside, I'd try to rubberband it or something to make the face less wide. Any other tips I should know before starting this up?
 
Question for everyone modifying a Kylo, did you shorten the length at all? When viewed from the side, it seems a bit longer than it should, and wide when viewed from the front. I'm about to start work on this over the weekend and just wondered if anyone else shortened it up. I figured once I fiberglassed the inside, I'd try to rubberband it or something to make the face less wide. Any other tips I should know before starting this up?

That's because the Rubies Kylo helmet is bigger than what what used in the movie.

The only shortening I did was on the sides. When combined with the lower jaw details that I fabricated, it helped to make it look a little more accurate.

 
Re: Anyone planning on picking up the Target Helmets and "improving&qu ot; on them?

Looking great!
 
To be honest I don't really know based on the size of the adult one it seems it could possibly be a larger helmet as well but there is no way to confirm that

Sent from my LG-D850 using Tapatalk

Thats where I am at also. I wish there was more details in some of these products provided, such as dimensions. I'd like to purchase one and modify it similar to the examples in this thread. There is some great discussion, ideas and examples provided that I'm appreciative of.

My hope is that since the kids size was also running large, it would then therefore be more of a standard adult size helmet. But, as you mentioned, its hard to know and may in fact be the adult size anyway. I suppose I could always return if it doesnt work!
 
Well, not sure what to make of this... If you follow the link to the Amazon page it lists the Rubie's product #as 32268 and it says the dimensions are 10"x10"x10". The product number of the Taget helmet is different, but a cursory Google search didn't turn up any dimensions, so... I'm not sure if it's the same or not.

Sent from my LG-D850 using Tapatalk
 
It'd possible they just market the helmet as a and adult but the target helmet is definitely larger than that

Sent from my LG-D850 using Tapatalk
 
The only good helmet was Boba. The others are terrible.

Reel


Sent from my iPhone using Tapatalk
 
The only good helmet was Boba. The others are terrible.

Reel


Sent from my iPhone using Tapatalk
Idk I personally like the kylo helmet of course it's not great but with modding it can be and the boba helmet requires a very long and tedious paint job to look good.

Sent from my LG-D850 using Tapatalk
 
Finally freed up some time in my schedule to get back to work on mine. The four viewings of TFA I've made it to also helped me want to get back into the swing of things.

Back before I started this I was brainstorming on ideas on how to do this and had basically come to a similar conclusion of everyone else: Bondo and resin. Problem is, I bought resin that doesn't have fiberglass in it for slush casting the inside. If I scuff the hell out of the interior and slush the resin around inside anyway, will it hold enough for general costuming use, especially after the Bondo on the outside of the shell? Thanks in advance.
 
Wow! You guys have done a great job with these! Every time I look at the two halves of my helmet (I ripped the Velcro off... That's as far as my conversion has gotten) all I can think is "Wow, that was a waste of $30..." but you guys are REALLY inspiring! I might take a crack at this Kylo helmet yet!
 
Hello everyone! Inspired by all the great builds here, I decided to try my hand at upgrading the Target Kylo Ren helmet. To elaborate on what I did, I first started by gluing the two halves together. I used hot glue and strips of cereal box cardboard as reinforcement. After the they were secured together, I began dremeling out all the cheek details as well as cutting out the lower portions of the jaw line and the "bridge of the nose" area for a more layered look. Then I sanded down the seam between the two halves until they were as flush as i could get them. Then I filled in the reminder with spot putty. I also added additional sections of the jaw, added more depth to the rim of the helmet, and filled in the gap of the "nose bridge" area that I had cut out. After that I used a dremel to create all the physical damage based on reference pictures, primed it with filler primer, and sanded. Put on a coat of hammered black spray paint which was not black AT ALL. It was a much more grey/gunmetal color even though the can said "black". In order to fix it, I misted on some black gloss and then taped off and did the silver details. Added 2 layers of screen door mesh (not pictured) and TA DA! Questions are welcome if anyone would like some additional information. Good luck to everyone and their builds! I sure had a lot of fun!

12524024_775994869210538_3939278066344934382_n.jpg


12508884_775994882543870_9216936731417483680_n.jpg


12572967_775994902543868_6039223042008478532_n.jpg


12507546_775994915877200_5070974371171187974_n.jpg


12510289_775994949210530_5998148761303577420_n.jpg
 
Hello everyone! Inspired by all the great builds here, I decided to try my hand at upgrading the Target Kylo Ren helmet. To elaborate on what I did, I first started by gluing the two halves together. I used hot glue and strips of cereal box cardboard as reinforcement. After the they were secured together, I began dremeling out all the cheek details as well as cutting out the lower portions of the jaw line and the "bridge of the nose" area for a more layered look. Then I sanded down the seam between the two halves until they were as flush as i could get them. Then I filled in the reminder with spot putty. I also added additional sections of the jaw, added more depth to the rim of the helmet, and filled in the gap of the "nose bridge" area that I had cut out. After that I used a dremel to create all the physical damage based on reference pictures, primed it with filler primer, and sanded. Put on a coat of hammered black spray paint which was not black AT ALL. It was a much more grey/gunmetal color even though the can said "black". In order to fix it, I misted on some black gloss and then taped off and did the silver details. Added 2 layers of screen door mesh (not pictured) and TA DA! Questions are welcome if anyone would like some additional information. Good luck to everyone and their builds! I sure had a lot of fun!

https://scontent-mia1-1.xx.fbcdn.ne...=494cee3862e31a5cdd605b3f670d59a1&oe=57385512

https://scontent-mia1-1.xx.fbcdn.ne...=ed9fda4b79e0ed96f4d960d4d05c8f5c&oe=573B61DB

https://scontent-mia1-1.xx.fbcdn.ne...=2bd58d467f59633bf08e213e69abe64e&oe=573117C9

https://scontent-mia1-1.xx.fbcdn.ne...=6a9288d116b86fac9271e1194bdde6d3&oe=5738F59A

https://scontent-mia1-1.xx.fbcdn.ne...=35c1e99aa312ab16c5fae6e6f222b3bd&oe=57413D65
What did you use for the metal finish?

Sent from my LG-D850 using Tapatalk
 
Back
Top